
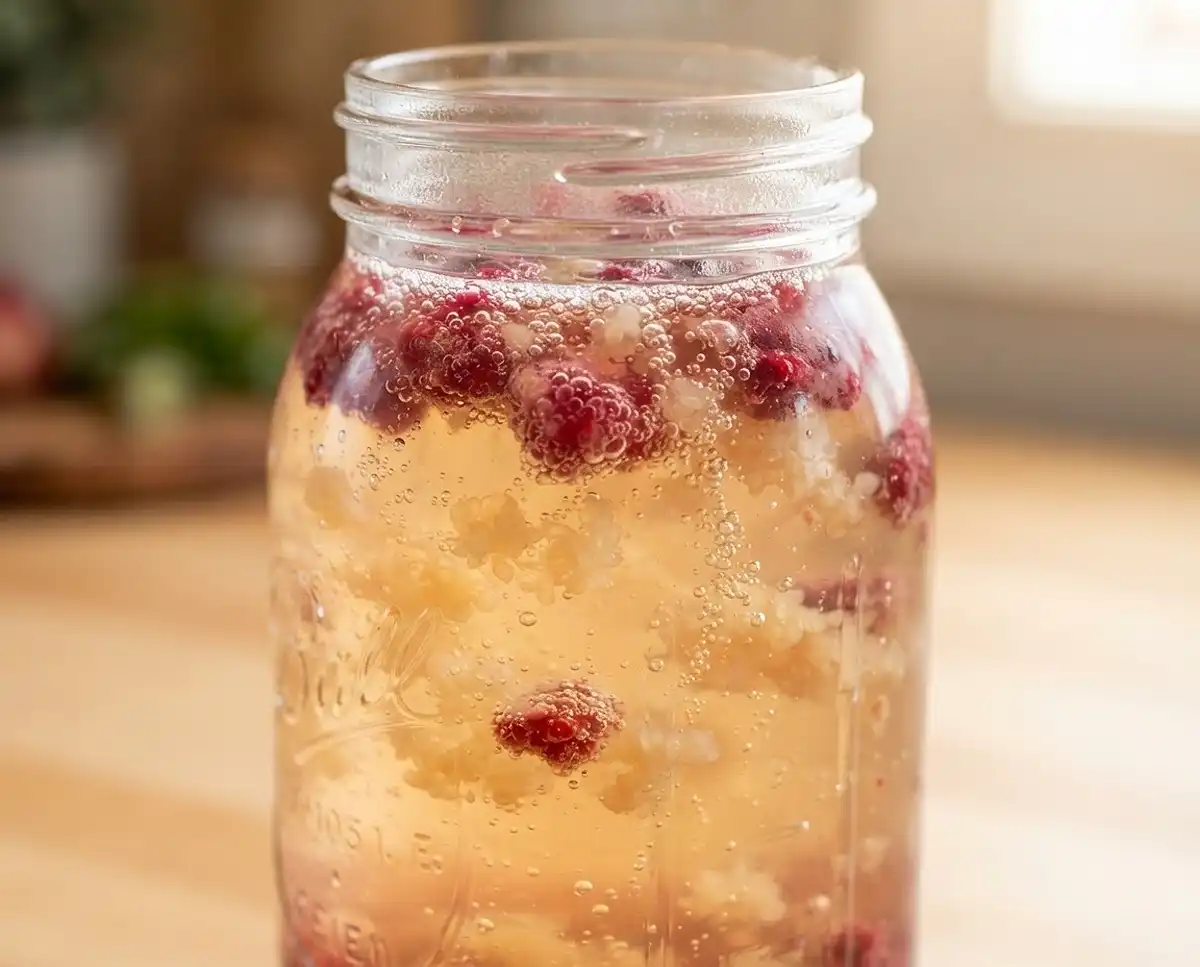
Learn how to make water kefir at home with just a few simple ingredients and a couple of days of patience. This fizzy, probiotic-packed drink is cheaper than store-bought kombucha and way more satisfying to make yourself.
Honestly, I stumbled into water kefir almost by accident. A friend handed me a jar of grains and said “just add sugar water,” and I thought — that’s it? That’s the whole thing? Spoiler: it’s basically that simple, and now I make a batch every single week.
Table of Contents
What Is Water Kefir (And Why Should You Care)?
If you’ve been wondering what is kefir and how it’s different from kefir milk, here’s the quick version. Water kefir is a fermented drink made with live culture grains — not dairy at all. It’s naturally fizzy, lightly tangy, and absolutely loaded with good-for-you probiotics.
Unlike dairy-based kefir drinks, water kefir is 100% vegan and works beautifully for anyone avoiding lactose. Think of it as a lighter, fruitier cousin to kombucha — but honestly easier to make at home.
The grains are the real magic here. They look like little translucent crystals, and they eat the sugar you add to the water. By the time fermentation is done, most of that sugar is gone. What you’re left with is a tangy, bubbly, gut-friendly drink you can flavor any way you like.
Quick Overview
This water kefir recipe gives you a naturally effervescent, probiotic-rich drink that you can customize with any fruit you love. The process has two stages: a primary ferment of 2 to 4 days, then a second ferment of 24 hours to add fruit flavor and build that satisfying fizz.
You’ll end up with about a half gallon of finished kefir water per batch. It stores beautifully in the fridge for up to two weeks, and the grains are reusable indefinitely — so this is basically a gift that keeps on giving.
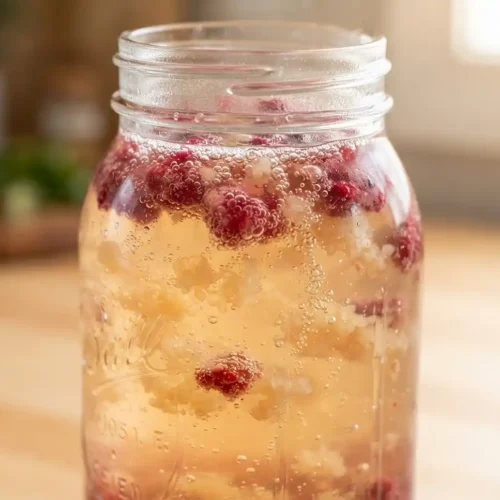
Sparkling Water Kefir
Equipment
- Two half-gallon mason jars
- Third clean jar for second ferment
- Metal or plastic mason jar lids
- Thin kitchen cloth
- Fine-mesh plastic strainer
- Long spoon or muddler
- measuring cups
- Small jar for storing grains
Ingredients
Primary Ferment
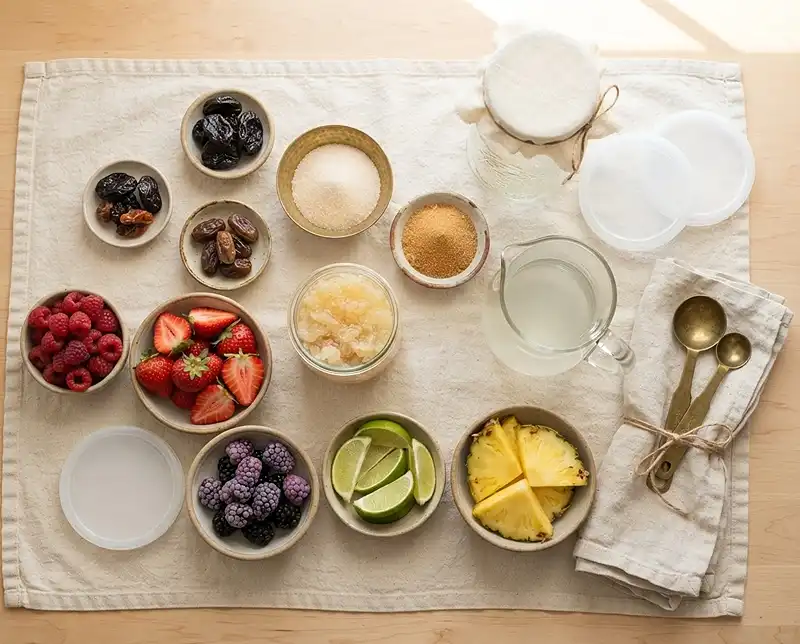
- ½ cup live water kefir grains must be alive and active; 1/4 cup per jar
- 8 cups tap or well water cool, not hot; divided between two jars
- ½ cup sugar divided; organic cane, coconut, or a mixture
- 2 wedges lemon optional; adds brightness, 1/4 wedge per jar
- 2 prunes or dried fruit optional; dates or other dried fruit work too, 1 per jar
- ½ cup reserved kefir water optional; 1/4 cup per jar, skip for your first-ever batch
Second Ferment (Flavoring)
- 1 to 2 cups fresh fruit berries, peaches, mango, pineapple, plums, apples, pears, or grapes; or 1 cup 100% fruit juice in winter
- fresh ginger slices or a cinnamon stick optional, for extra warmth
Instructions
- Set up your jars. Fill two half-gallon mason jars with 4 cups of cool tap water each. Add 1/4 cup of sugar to each jar and stir until it’s mostly dissolved. You can also mix the full 1/2 cup of sugar first and then divide it between the jars.
- Add the grains and extras. Add 1/4 cup of kefir grains to each jar. If this isn’t your first batch, add 1/4 cup of reserved kefir water to each jar to kickstart fermentation — skip this for your very first batch. Drop in 1/4 of a lemon wedge and 1 prune per jar; these feed the grains, with the prune providing extra minerals and the lemon keeping things balanced.
- Primary fermentation, 2 to 4 days. Cover both jars with a thin kitchen cloth and leave them on the counter. Two days is usually enough in a warm kitchen; plan for 3 to 4 days if it’s cold. Taste before moving on — the water should be only slightly sweet with a light tang, like a gentle fizzy lemonade without the sweetness. If it’s still very sweet, give it more time.
- Second ferment with fruit. In a third clean jar, add 1 to 1 1/2 cups of fresh, ripe fruit and muddle it a little to release the juices. Add a few thin slices of fresh ginger or a cinnamon stick for extra warmth if you like. In winter, 1 cup of 100% fruit juice works beautifully as a stand-in.
- Strain and seal. Strain both jars of fermented kefir water into the fruit jar, filtering out the grains and setting the grains aside. Fill the jar to about 1/2 inch from the top, then seal it tightly with a lid.
- Build the fizz, 24 hours. Leave the sealed fruit jar on the counter for 24 hours to carbonate. Burp the lid every 8 to 12 hours by cracking it open briefly to release pressure, then sealing it back. Don’t skip this — an un-burped metal lid can bend or blast open.
- Refrigerate and enjoy. When the fruit is floating near the top, it’s ready. Burp it one more time, then refrigerate with the lid tight. Once cold, taste it and strain out the fruit before serving, or simply strain as you pour to let the fruit keep infusing.
- Store and reuse the grains. Put the strained grains in a smaller jar with the leftover kefir water so they stay wet and fed. For weekly batches, keep them in the fridge and feed them a tablespoon of sugar each week. To grow more grains for sharing, keep them at room temperature and feed every couple of days.
Notes
Ingredients
| Ingredient | Amount | Notes |
|---|---|---|
| Primary Ferment | ||
| Live water kefir grains | 1/2 cup | Must be alive and active |
| Tap or well water | 8 cups, divided | Cool, not hot |
| Sugar | 1/2 cup, divided | Organic cane, coconut, or a mixture — see notes |
| Lemon wedges | 2 (optional) | Adds a nice brightness |
| Prunes or dried fruit | 2 (optional) | Dates or other dried fruit work too |
| Second Ferment (Flavoring) | ||
| Fresh fruit | 1 to 2 cups | Berries, peaches, mango, pineapple, plums, apples, pears, or grapes |
Sugar note: Don’t stress about the sugar — the kefir grains literally eat it during fermentation. The finished kefir water drink will be only mildly sweet, not sugary. Using a mix of organic cane sugar and a little coconut sugar gives a nice depth of flavor without overpowering the grains.
How to Make Water Kefir at Home — Step by Step
Learning how to make kefir at home is much easier than most people expect. You just need two half-gallon mason jars, your grains, and a little patience. Here’s exactly how to do it.
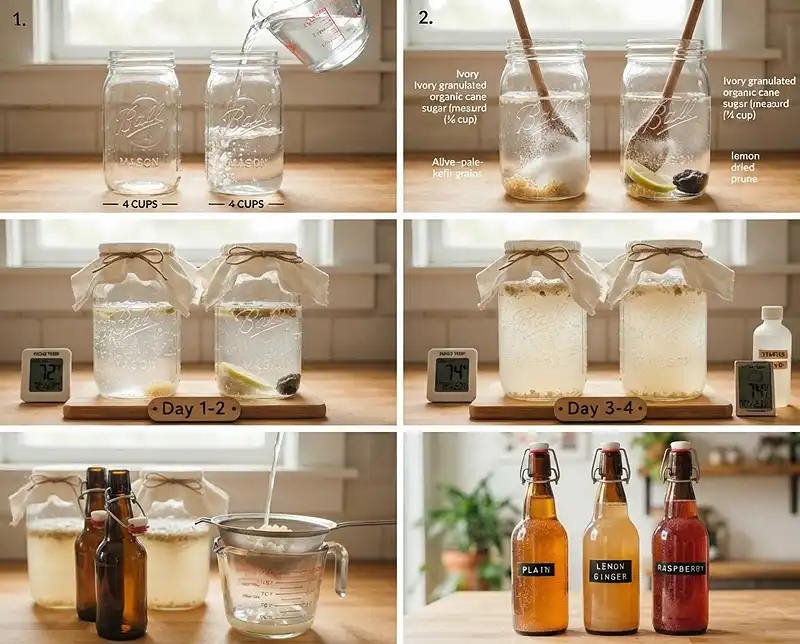
Step 1 — Set Up Your Jars
Fill two half-gallon mason jars with 4 cups of cool tap water each. Add 1/4 cup of sugar to each jar and stir until it’s mostly dissolved. You can mix up the full 1/2 cup of sugar first and then divide it — totally up to you.
Step 2 — Add the Grains and Extras
Add 1/4 cup of kefir grains to each jar. If this isn’t your very first batch, add 1/4 cup of your reserved kefir water to each jar as well — this helps kickstart the fermentation. Skip this step for your first-ever batch, that’s totally fine.
Drop in 1/4 of a lemon wedge and 1 prune per jar. These little additions feed the grains and help them thrive. The prune provides extra minerals, and the lemon keeps things happy and balanced.
Step 3 — Primary Fermentation (2 to 4 Days)
Cover both jars with a thin kitchen cloth and leave them on the counter. Two days is usually enough if your kitchen is warm. If it’s cold out, plan for 3 to 4 days. The goal is for the grains to eat most of the sugar, leaving the water just slightly sweet and nicely tangy.
Taste it before moving on. If it’s still very sweet, it needs more time. You want a light tang, like a gentle fizzy lemonade without the sweetness. Trust your taste buds here — they’ll tell you when it’s ready.
Step 4 — Second Ferment With Fruit
This is the fun part where you add real flavor. Grab a third clean jar and add 1 to 1 1/2 cups of fresh, ripe fruit. Berries, peaches, mango, pineapple, plums, concord grapes, apples, pears — all amazing. Muddle the fruit a little to release the juices.
Want a little extra warmth? Add a few thin slices of fresh ginger or a cinnamon stick. In winter when fresh fruit is hard to find, 1 cup of 100% fruit juice works beautifully as a stand-in.
Strain both jars of fermented kefir water into the fruit jar, filtering out the grains. Set the grains aside — you’ll need them. Fill the jar to about 1/2 inch from the top, then seal it tightly with a lid.
Step 5 — Build the Fizz (24 Hours)
Leave the sealed fruit jar on the counter for 24 hours. This second fermentation is what makes your kefir water drink properly bubbly and delicious. During this time, the kefir is building up pressure inside the jar — which is great, but it means you need to burp the lid every 8 to 12 hours.
Burping just means cracking the lid open briefly to release pressure, then sealing it back. Don’t skip this — an un-burped metal lid can literally bend or blast open. (Yes, that happened to me. It was memorable.)
A Note on Metal vs. Plastic Lids
Metal lids create a tight seal that lets pressure build, giving you the most bubbly, effervescent kefir water. The trade-off is they absolutely require regular burping.
Plastic lids self-burp, so if you’re going to be out of the house for more than 8 hours, they’re the safer choice. The downside? The kefir comes out a little less fizzy. I personally switch between both depending on my schedule.
Step 6 — Refrigerate and Enjoy
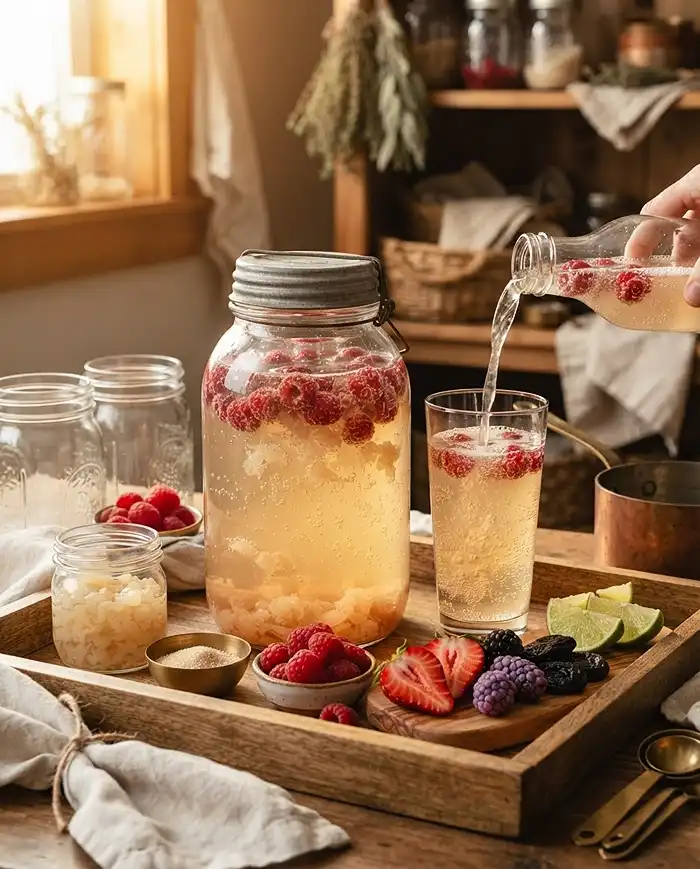
After 24 hours, the fruit will be floating near the top — that’s your sign it’s ready. Burp it one more time, then pop it in the fridge with the lid tight. Once it’s cold and chilled, give it a taste. You can strain out the fruit before serving, or just strain as you pour to let the fruit keep infusing.
How to Store and Reuse Your Kefir Grains
After you strain out the grains, put them in a smaller jar with the extra kefir water that’s left over. They need to stay wet and fed to stay alive.
If you’re making kefir weekly (recommended!), just store the grains in the fridge and feed them a tablespoon of sugar every week to keep them happy. If you want to grow more grains to share with friends, keep them at room temperature and feed them every couple of days — they grow much faster that way.
The grains are genuinely happiest when they’re actively making kefir. One batch a week is the sweet spot and keeps them thriving long-term.
Expert Tips for the Best Water Kefir
Temperature Makes a Big Difference
Warm kitchens speed up fermentation significantly. In summer, 2 days is often all you need. In a cold winter kitchen, plan for closer to 4 days. The grains aren’t in a rush — they’ll get there, just on their own schedule.
Choose Your Sugar Wisely
Organic cane sugar is the most reliable choice for healthy, active grains. Coconut sugar adds a subtle caramel note and works well in a blend. Avoid refined white sugar long-term, as it lacks the trace minerals that keep grains happy. Check out Healthline’s guide to water kefir benefits for more on what the grains actually need to thrive.
Fruit Combinations to Try
Mango and pineapple make a tropical version that tastes like a fizzy vacation. Blueberry and lemon is bright and refreshing. Peach and ginger is honestly incredible in late summer. The combinations are endless — treat it like a creative experiment every batch.
For a fun color twist, try a handful of butterfly pea flowers in the second ferment. Speaking of vibrant drinks, this butterfly pea flower lemonade uses a similar color-changing magic and is worth trying alongside your kefir.
Troubleshooting Common Issues
Kefir tastes too sweet: It needs more fermentation time. Leave it another day and taste again.
No fizz after the second ferment: The lid wasn’t sealed tightly enough, or it was too cold. Try a warmer spot and make sure the lid is really secure.
Grains are shrinking: They may be stressed from chlorine in tap water. Let the water sit out for an hour before using, or switch to filtered water.
Cloudy water: Totally normal! That cloudiness is a sign of active, healthy fermentation. You want that.
Variations
Juice-Based Winter Version
When fresh fruit is out of season, swap in 1 cup of 100% fruit juice for the second ferment. Apple juice, grape juice, or tart cherry juice all work beautifully and give you a rich, deep flavor without needing fresh produce.
Spiced Kefir Water
Add a cinnamon stick, a few cardamom pods, or star anise to the second ferment jar along with your fruit. This gives the kefir a warming, almost mulled-cider quality that’s perfect for fall and winter batches.
Ginger Beer Style
Skip the fruit entirely and use fresh ginger slices plus a squeeze of lemon juice in the second ferment. The result is a spicy, crisp ginger beer alternative with all the probiotic benefits of kefir water. Incredibly refreshing over ice.
Storage Instructions
| Item | Storage Method | How Long |
|---|---|---|
| Finished kefir water drink | Refrigerator, sealed jar | Up to 2 weeks |
| Kefir grains (weekly use) | Refrigerator in kefir water, fed weekly | Indefinitely |
| Kefir grains (long rest) | Fridge in sugar water, minimal feeding | Several months |
| Kefir grains (sharing/backup) | Counter at room temp, fed every 2 days | Ongoing — they’ll grow |
Reheating and No-Waste Ideas
Water kefir is always served cold — no reheating needed or recommended. The live cultures are sensitive to heat, so keep it chilled right up until you pour it.
Got extra fermented fruit from the second ferment? Don’t toss it. Blend it into a smoothie, swirl it into yogurt, or use it as a topping for oatmeal. It’s tangy, soft, and full of flavor. Zero waste, all reward.
If your kefir gets a little too tangy sitting in the fridge, mix it with sparkling water or coconut water for a lighter, diluted drink. It stretches the batch further and mellows the sourness perfectly.
Water Kefir FAQs
How do I know when my water kefir is ready to move to the second ferment?
Taste it. The water should be only mildly sweet with a noticeable tang. If it still tastes very sugary, it needs more time. On a warm day this usually takes 2 days; in a cold kitchen, plan for 3 to 4 days.
Can I use tap water to make water kefir at home?
Yes, most tap water works fine. If your water is heavily chlorinated, let it sit out uncovered for an hour before using — chlorine can stress the grains over time. Filtered water is also a great option if you want to be extra careful.
How is water kefir different from kefir milk?
Water kefir uses live culture grains fermented in sugar water and is completely dairy-free and vegan. Kefir milk is fermented in cow or goat milk and has a yogurt-like flavor and texture. Both are rich in probiotics, but water kefir is lighter and fruity while milk kefir is creamier and tangy.
What happens if I forget to burp the jar during the second ferment?
The pressure inside will keep building, and with a tight metal lid, this can cause the lid to warp or the jar to overflow when opened. In serious cases it can cause a blowout. Set a phone reminder every 8 to 12 hours during the second ferment — it only takes a second and saves a big mess.
Can I make a smaller batch of water kefir?
Absolutely. Scale everything down proportionally. One jar with 4 cups of water, 1/4 cup sugar, and 1/4 cup grains works perfectly. The fermentation timeline stays the same regardless of batch size.
Final Thoughts
Making water kefir at home is one of those skills that sounds fancier than it actually is. Two jars, some sugar water, a handful of grains, and a few days — that’s genuinely all it takes to have a steady supply of fizzy, probiotic-rich kefir water on hand every week.
Once you’ve got your grains going, you’ll wonder why you ever paid $5 a bottle for store-bought kombucha. This is better, it’s cheaper, and you made it yourself. That’s hard to beat.
While you’re experimenting with homemade drinks and snacks, don’t miss this showstopper Oreo Basque cheesecake or these incredibly crispy Parmesan accordion potatoes — both worth making on the same weekend as your first kefir batch.
Give this recipe a try and let me know how your first batch turns out in the comments below. If you love it, save it to Pinterest so more people can discover how easy homemade kefir water really is!
