
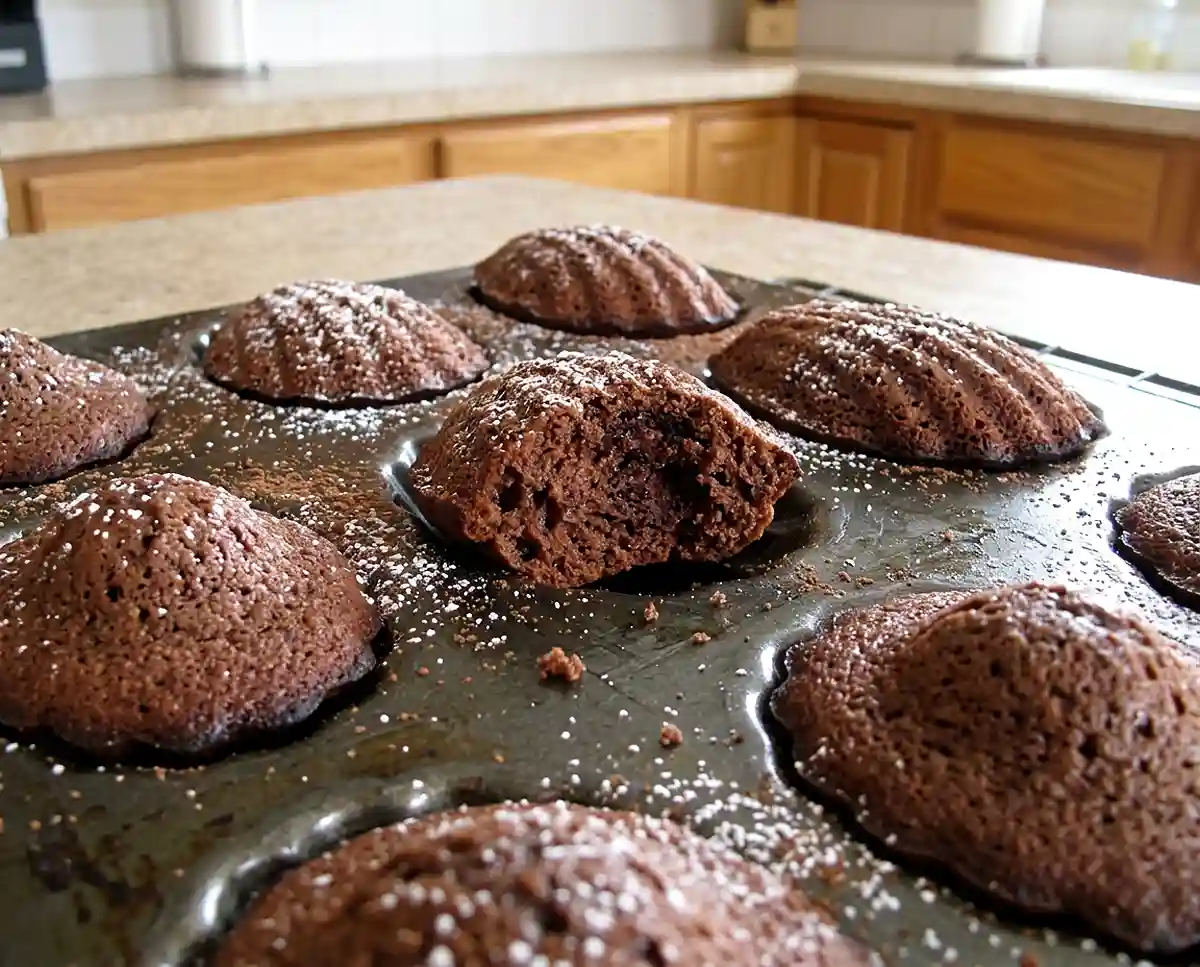
Make chocolate madelines with soft, buttery centers, a hint of orange, and that classic hump. Easy chill-and-bake steps for bakery-worthy treats at home.
Chocolate madelines are my go-to when I want something that feels fancy but takes zero stress. The first time I made them, my kitchen smelled like a chocolate-orange candy shop, and my family stole half the tray before I could even dust them. Consider this your friendly guide to getting that soft, buttery crumb at home.
Table of Contents
Why You’ll Love These Chocolate Madelines
These chocolate madelines are tender, cocoa-rich little shell cakes with a gentle orange note and a buttery crumb. They bake in just a few minutes, so you get that warm-from-the-oven magic almost instantly.
The secret is a chilled batter and a frozen pan. That cold-to-hot shock is what pushes up the famous hump in the middle, and honestly, it feels a little like a baking magic trick.
Dust them with cocoa and powdered sugar and you’ve got the perfect snack for tea, coffee, or a lazy Saturday. Feeling fancy? They also make a lovely base for a chocolate dipped madeleine, which I’ll walk you through in the variations below.
- Soft and buttery: a tender crumb with deep cocoa flavor
- Bright and fresh: orange zest and juice keep the chocolate from feeling heavy
- Make-ahead friendly: the batter rests in the fridge while you do something else
- Pretty without effort: a simple dusting makes them look bakery-made
A Quick Bite of Madeleine History
Madeleines trace back to the French town of Commercy, where pastry chefs made them famous in the 18th century, according to Britannica’s madeleine entry. Nobody fully agrees on who invented them first.
I find that weirdly charming. A cake with a mystery origin story and a built-in seashell shape? Count me in.
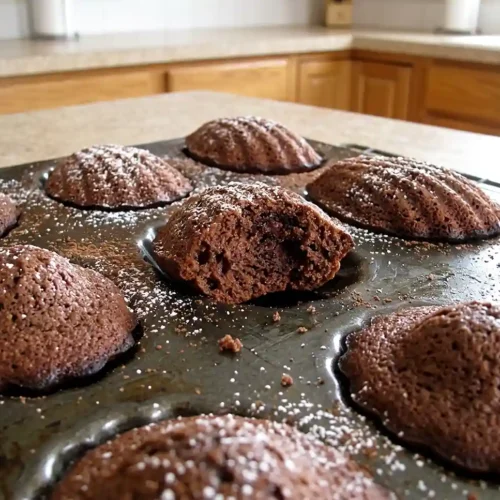
Chocolate Madelines Recipe with a Dreamy Orange Twist
Equipment
- Madeleine pans
- Large sifter
- Large mixing bowl
- small bowl
- Whisk
- Measuring cups and spoons
- Wire cooling rack
- Dull knife or offset spatula
Ingredients
For the Madeleines
- 1 cup King Arthur Unbleached All-Purpose Flour (120g)
- 1 teaspoon baking powder
- ¼ teaspoon table salt
- 2 tablespoons Dutch-process cocoa (11g)
- 2 large eggs at room temperature
- ½ cup granulated sugar (99g)
- ½ teaspoon King Arthur Pure Vanilla Extract
- 2 tablespoons honey (42g)
- ½ teaspoon orange zest
- 2 tablespoons orange juice (28g)
- 8 tablespoons unsalted butter melted (113g), plus more for the pans
For the Topping
- 2 tablespoons confectioners’ sugar (14g)
- 1 tablespoon unsweetened cocoa plus extra flour or cocoa for dusting the pans
Instructions
- Butter every well of the madeleine pans generously. Dust lightly with flour or cocoa and tap out the extra. Cocoa keeps the shells dark, with no pale floury patches. Freeze the pans for at least 10 minutes and preheat the oven to 350°F.
- Set a large sifter over a mixing bowl and sift in the flour, baking powder, salt, and Dutch-process cocoa. This keeps cocoa clumps out of the batter.
- In a small bowl, whisk together the eggs, granulated sugar, vanilla, honey, orange zest, and orange juice.
- Pour the liquid mixture into the dry ingredients and whisk until no lumps remain. Add the melted butter and whisk until the batter is smooth and glossy.
- Cover the bowl and chill the batter for 1 hour. This rest is what gives you the plump humps.
- Fill each well of the cold pan with 1 level tablespoon of batter. Tap the pan on the counter so the batter settles into the grooves.
- Bake for 8 minutes in a light-colored pan or 6 minutes in a dark-colored pan. They’re done when the edges just start to pull away from the pan and you smell chocolate strongly. Don’t overbake.
- Let the madeleines cool in the pan on a rack for 5 minutes. Then nudge them out gently with a dull knife or offset spatula. Don’t leave them in the pan any longer or they’ll stick. Move them to the rack to finish cooling, then repeat with the remaining batter.
- Sift the confectioners’ sugar and unsweetened cocoa together. Dust the tops of the madeleines right before serving so the dusting stays crisp.
Notes
Ingredients for Chocolate Madelines
You probably have most of these in your pantry already. The orange zest and honey are what set these chocolate madelines apart from the standard version, so don’t skip them.
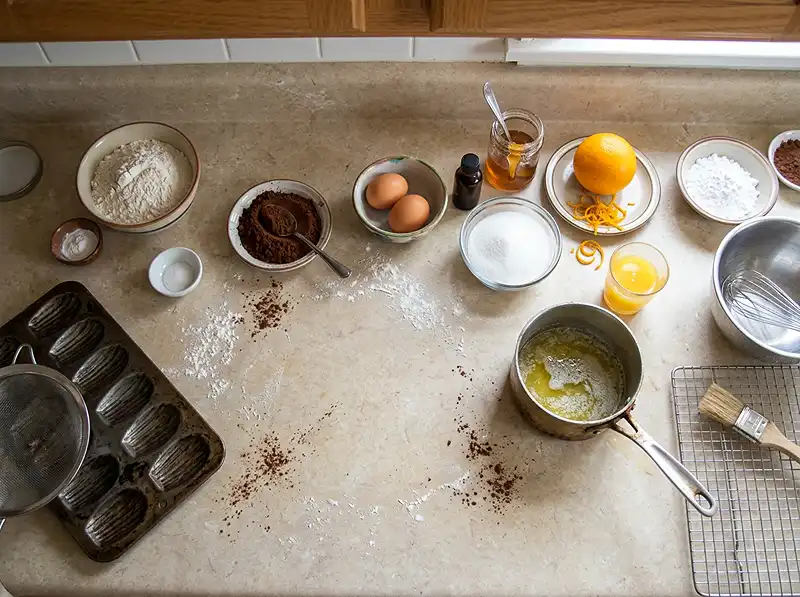
| Ingredient | Amount | Why It Matters |
|---|---|---|
| For the Madeleines | ||
| King Arthur Unbleached All-Purpose Flour | 1 cup (120g) | Gives the cakes their soft structure |
| Baking powder | 1 teaspoon | Helps create that signature rise |
| Table salt | 1/4 teaspoon | Rounds out the chocolate flavor |
| Dutch-process cocoa | 2 tablespoons (11g) | Smooth, deep chocolate taste |
| Large eggs, at room temperature | 2 | Whisk up lighter and blend more evenly |
| Granulated sugar | 1/2 cup (99g) | Sweetens and helps the edges brown |
| King Arthur Pure Vanilla Extract | 1/2 teaspoon | Adds warmth and depth |
| Honey | 2 tablespoons (42g) | Keeps the crumb moist and tender |
| Orange zest | 1/2 teaspoon | The bright note in every bite |
| Orange juice | 2 tablespoons (28g) | Adds gentle citrus flavor |
| Unsalted butter, melted | 8 tablespoons (113g) | Delivers that rich, buttery flavor |
| For the Topping | ||
| Confectioners’ sugar | 2 tablespoons (14g) | A snowy, sweet finish |
| Unsweetened cocoa | 1 tablespoon | Adds contrast and a little extra chocolate |
A Quick Note on the Cocoa
This batter uses baking powder as its only leavener, which is why Dutch-process cocoa works so nicely here. If you want to dig into the science, King Arthur has a helpful breakdown of Dutch-process versus natural cocoa.
For the best results, stick with Dutch-process. It gives these chocolate madelines a smoother, more mellow flavor.
How to Make Chocolate Madelines Step by Step
Good news: the work is mostly waiting. The chilling and freezing do the heavy lifting, so read through the steps once and you’re set.
Step 1: Prep the Pans
Butter every well of your madeleine pans really well. Don’t be shy here, because this is your insurance against stuck cakes. Lightly dust with flour or cocoa, then tap out the extra.
Slide the pans into the freezer for at least 10 minutes. Preheat your oven to 350°F while you wait.
Tip: Dusting with cocoa instead of flour keeps the shells looking dark and clean, with no pale, floury patches.
Step 2: Sift the Dry Ingredients
Set a large sifter over a mixing bowl. Add the flour, baking powder, salt, and cocoa, then sift everything into the bowl.
It’s a small step, but it keeps your batter smooth and stops sneaky cocoa clumps from showing up later.
Step 3: Whisk the Batter
In a small bowl, whisk together the eggs, sugar, vanilla, honey, orange zest, and orange juice. Your kitchen is about to smell amazing, so take a deep breath.
Pour the liquid mixture into the dry ingredients and whisk until no lumps remain. Add the melted butter and whisk until the batter looks smooth and glossy.
Step 4: Chill the Batter
Cover the bowl and chill the batter for 1 hour. I know, waiting is the worst, but this rest is what gives you those plump humps.
Use the time to make a cup of tea, tidy up, or scroll for your next baking project.
Step 5: Fill and Bake
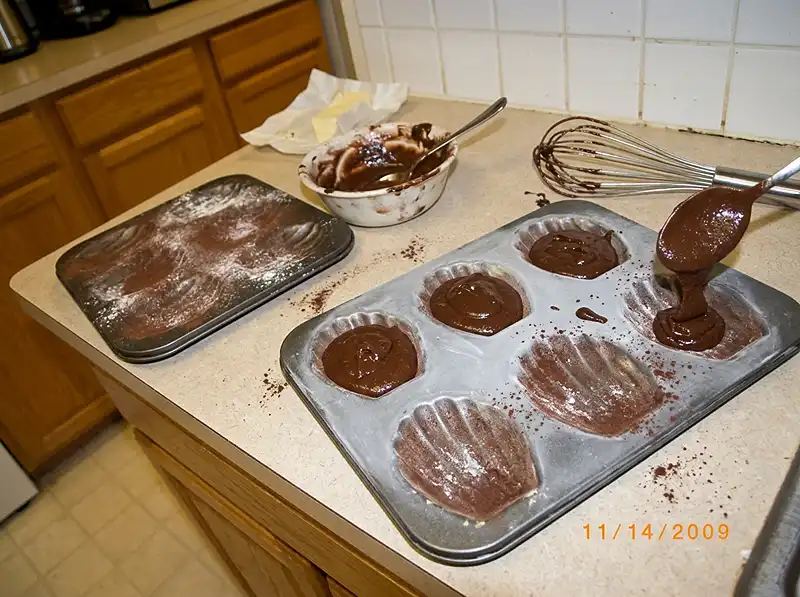
Fill each well of the madeleine pan with 1 level tablespoon of batter. Once filled, tap the pan on the counter to encourage the batter into all those pretty grooves.
Bake for 8 minutes in a light-colored pan, or 6 minutes in a dark-colored pan. You’re looking for edges that just start to pull away from the pan, plus a strong whiff of chocolate. Be careful not to overbake.
Step 6: Cool and Release
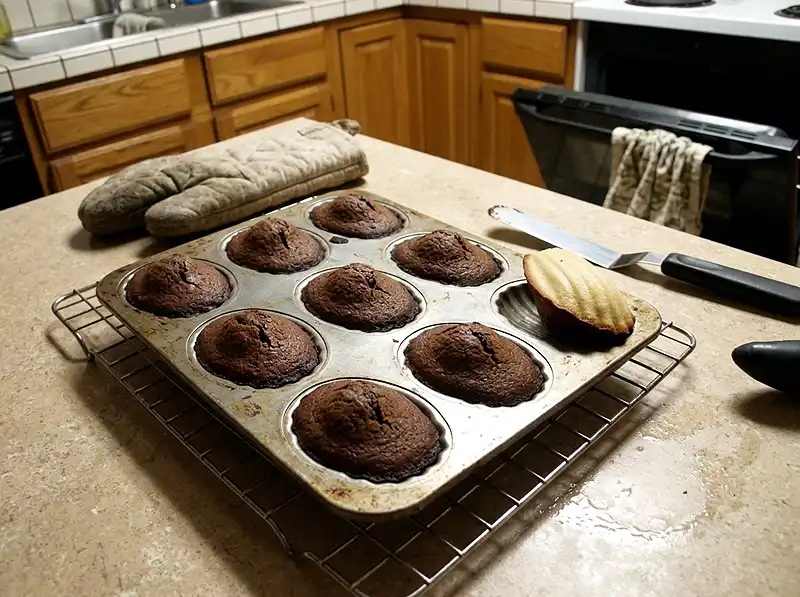
Pull the pan from the oven and let the madeleines cool in the pan on a rack for 5 minutes. Then gently nudge them out with a dull knife or an offset spatula.
Don’t let them hang out in the pan too long, or they’ll stick. Move them to the rack to finish cooling, then repeat with any remaining batter.
Step 7: Dust and Serve
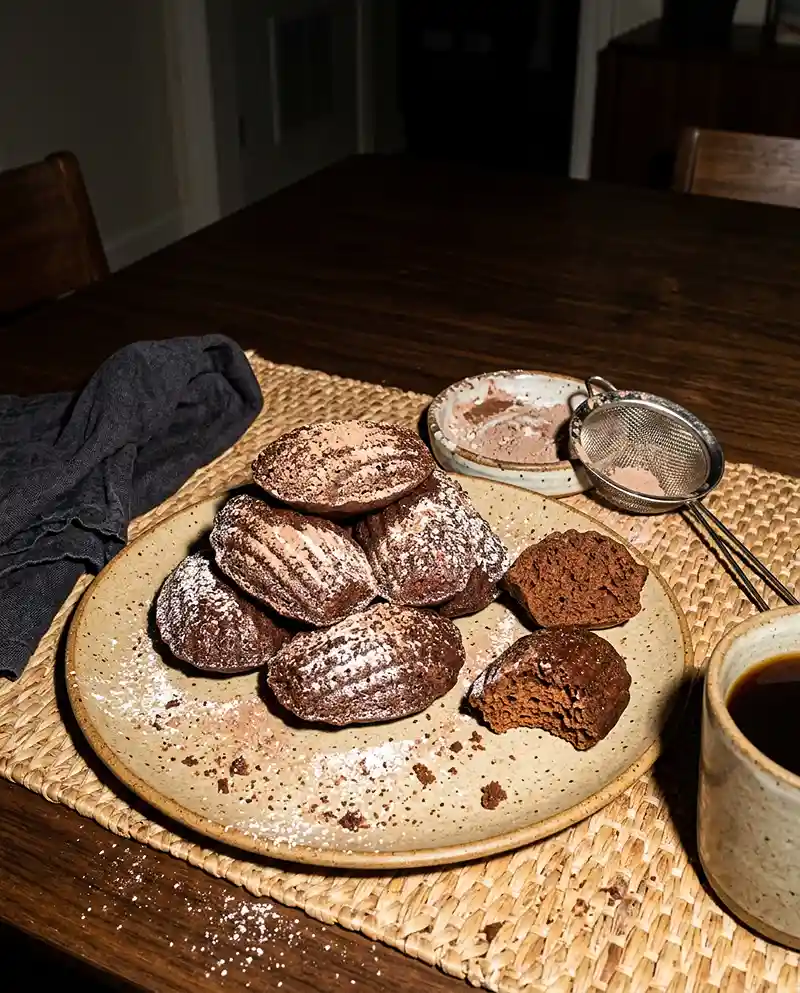
Sift the confectioners’ sugar and cocoa together. Use the mixture to dust the tops of your chocolate madelines right before serving.
Waiting until the last minute keeps the dusting looking crisp and pretty. Warm madeleines with a mug of coffee? That’s a good afternoon.
Expert Tips, Variations, and Troubleshooting
Tips for Perfect Chocolate Madelines
Cold batter plus a cold pan plus a hot oven equals a big hump. That temperature contrast is the whole game, so don’t skip the freezer step.
Watch the clock closely, too. These little cakes go from perfectly soft to dry fast, and a minute can make a difference.
Room temperature eggs matter more than you’d think. They blend more smoothly with the sugar and honey, which gives you a more even crumb.
Fun Variations
For a classic chocolate dipped madeleine, melt your favorite chocolate and dip one end of each cooled cake. Set them on parchment paper and let the chocolate firm up. Add sprinkles or chopped nuts if you’re feeling playful.
Want to gift them? Dipped and boxed up, these turn into adorable madelaine chocolates that look far fancier than the effort required.
You can also swap the orange for lemon zest and juice if that’s what you have on hand. The flavor shifts a bit brighter, but the method stays exactly the same.
Troubleshooting
No hump? Your batter or pan probably wasn’t cold enough. Make sure the batter chills for the full hour and the pan spends at least 10 minutes in the freezer.
Cakes sticking? Next time, butter the wells more generously and release them after the 5-minute rest. Waiting too long is the usual culprit.
Dry or crumbly? They likely baked a minute or two too long. Pull them as soon as the edges lift and the chocolate smell fills the kitchen.
How to Store, Reheat, and Use Up Chocolate Madelines
Madeleines are at their best the day they’re baked, but you can keep leftovers happy with a few simple tricks. Dust with the cocoa and sugar mixture only when you’re ready to serve.
| Method | How to Store | Best For |
|---|---|---|
| Room temperature | Airtight container, up to 2 days | Enjoying within a day or two |
| Refrigerator | Airtight container, up to 4 days | Warmer kitchens or dipped madeleines |
| Freezer | Freezer-safe bag, up to 2 months | Baking ahead for guests |
Reheating
Warm refrigerated or thawed madeleines in a 300°F oven for 3 to 5 minutes. They’ll soften up again and smell just-baked. A quick 10 seconds in the microwave also works if you’re in a hurry, though the edges won’t be as delicate.
No-Waste Kitchen Ideas
Got a few stale madeleines? Crumble them over yogurt or ice cream, layer them into a trifle, or dunk them in coffee. Nothing goes to waste around here.
Leftover orange? Squeeze the rest into a glass of juice and save any extra zest to brighten up your next batch of cookies.
Craving more sweet projects? Try this fun Milton Hershey historical caramel recipe for a dessert night with a story.
Baking for a friend who skips eggs? These eggless cookies are a handy alternative. And if you love a quirky bake, the 4-ingredient chickpea cookies are worth a try.
Frequently Asked Questions
Why didn’t my chocolate madelines get a hump?
The hump comes from a cold batter and a cold pan hitting a hot oven. Chill the batter for the full hour and freeze the buttered pan for at least 10 minutes before filling.
Can I make the batter ahead of time?
Yes, the batter needs to rest in the fridge for at least 1 hour anyway. A slightly longer chill is fine, as long as the bowl stays covered.
Do I need a madeleine pan?
A madeleine pan gives you the classic shell shape and the signature hump. A mini muffin tin will work in a pinch, but the cakes will look different and baking times may vary, so watch them closely.
How do I make a chocolate dipped madeleine?
Let the madeleines cool completely, then dip one end in melted chocolate. Place them on parchment paper and let the chocolate set before serving.
Can I freeze chocolate madelines?
Yes, freeze the cooled, undusted cakes in a freezer-safe bag for up to 2 months. Thaw them at room temperature, warm them briefly, and dust with cocoa and sugar right before serving.
Final Thoughts on Chocolate Madelines
These chocolate madelines prove that a little patience goes a long way. Chill the batter, freeze the pan, and you’ll be rewarded with soft, buttery, orange-kissed cakes that look as good as they taste.
Give them a try this weekend, and tell me how they turned out in the comments. If you loved them, save the recipe to your Pinterest board so you can find it next time the craving hits. Happy baking!
