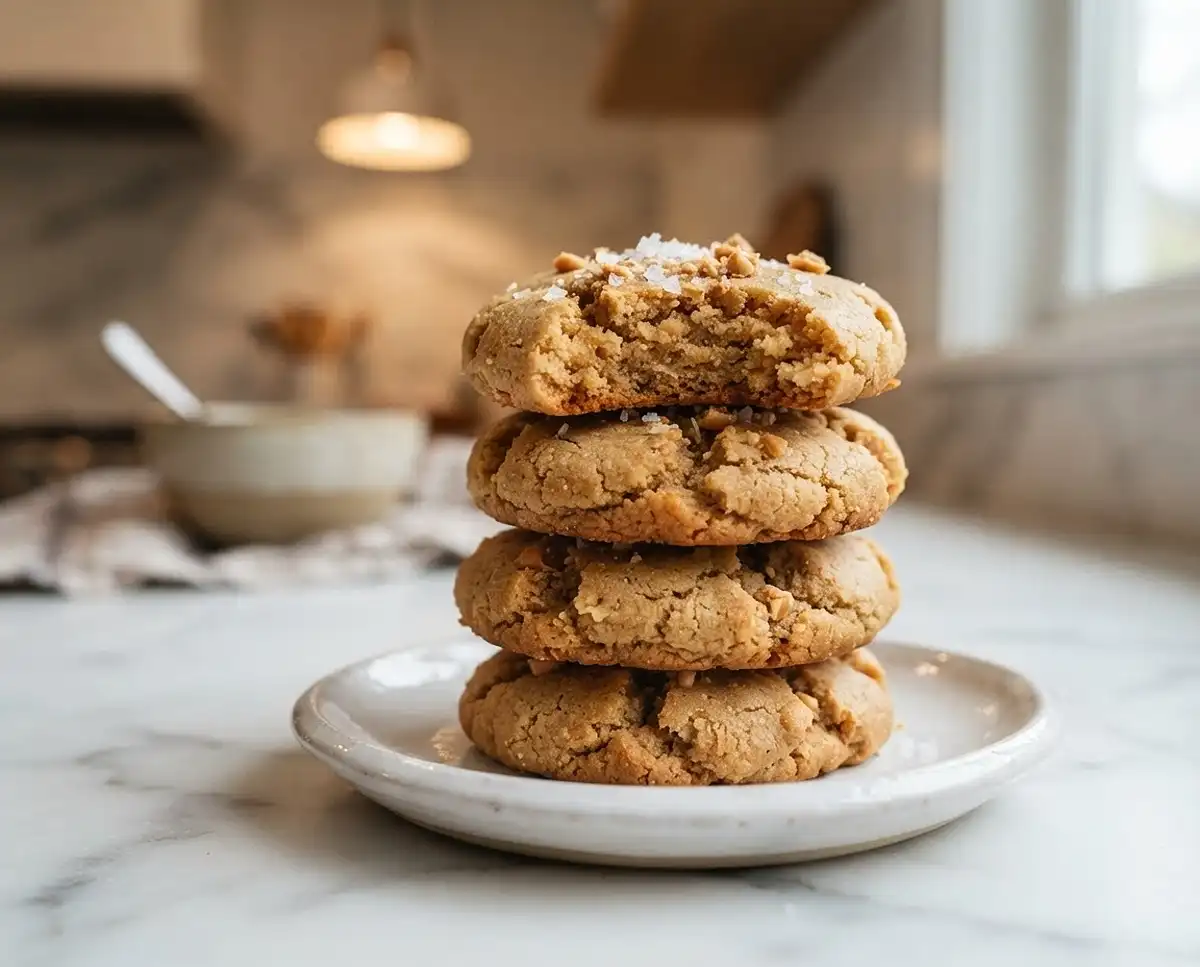
4 Ingredient Chickpea Cookies mix up in one bowl with pantry staples for a soft, sweet treat that tastes way better than it sounds—try them tonight!
I’ll be honest, the first time someone told me chickpeas belong in cookies, I laughed right out loud. Then I tried a batch of these 4 ingredient chickpea cookies on a random Tuesday night, and now they’re on repeat in my kitchen. They’re soft, a little nutty, and taste nothing like the can they came from—pinky promise.
Table of Contents
Why These Chickpea Cookies Are About to Be Your New Favorite
Okay, so here’s the deal with these chickpea cookies. You dump everything into a food processor, blend, bake, and boom—cookies. No flour, no butter, no refined sugar, and no fancy equipment beyond one bowl and one pan to wash.
- Just 4 pantry staples, no special grocery run required
- Naturally gluten-free and dairy-free (depending on your nut butter)
- Sweetened only with maple syrup—no white sugar involved
- Soft, chewy texture that’s closer to a peanut butter cookie recipe than you’d expect
- Sneaky protein and fiber boost from the chickpeas
Here’s the part I still find funny: these started as a “let’s see what happens” experiment, back when I had a lonely can of chickpeas and zero patience for a grocery run. I figured worst case, I’d toss the batch and order takeout instead.
Instead, I ended up with cookies my picky nephew asked for by name, with absolutely no idea what was inside them. That’s the real test, in my book—if a kid asks for seconds without asking questions, the recipe’s a keeper.
If you’re the kind of person who keeps a running list of easy cookie recipes, go ahead and bookmark this one. I’ve also got a batch of fruity pebbles cookies on the blog if you’re craving something a little more colorful and nostalgic.
4 Ingredient Chickpea Cookies
Equipment
- Food processor
- Baking sheet
- Parchment paper
- Clean kitchen towels or paper towels
- spatula
- Cookie scoop
- Wire cooling rack
- Airtight container
Ingredients
Cookie Dough
- 1 can (15 oz / 425 g) canned chickpeas drained, rinsed, and patted very dry
- ½ cup creamy peanut butter or almond butter
- ⅓ cup pure maple syrup
- 1 teaspoon vanilla extract
- 1-2 teaspoons cold water optional, only if the dough is too stiff to blend
Instructions
- Heat the oven to 350°F (175°C) and line a baking sheet with parchment paper.
- Drain and rinse the chickpeas. Press them firmly between clean kitchen towels or paper towels until very dry. If you have time, let them air-dry on a towel for a few more minutes while you measure everything else.
- Put the chickpeas, peanut butter or almond butter, maple syrup, and vanilla in a food processor. Blend until completely smooth and glossy, scraping down the sides as you go. It should look like very thick hummus, with no chunks or graininess.
- If the mixture is too stiff for the food processor to move, add cold water 1 teaspoon at a time. Don’t use more than about 2 teaspoons, or the cookies won’t hold their shape.
- Scoop the dough into 12 even portions on the baking sheet. This dough barely spreads, so gently press each one to about 1/2 inch (1.25 cm) thick.
- Bake for 12 to 15 minutes, until the edges look set and lightly golden and the centers feel firm, not squishy, when you press them gently.
- Leave the cookies on the baking sheet for 5 minutes. Then move them to a wire rack to cool completely. They’re delicate when hot and firm up as they cool.
Notes
What You’ll Need for Chickpea Cookies
This is genuinely the whole ingredient list. Four things, one bowl, zero drama. Here’s what’s going into your dough.
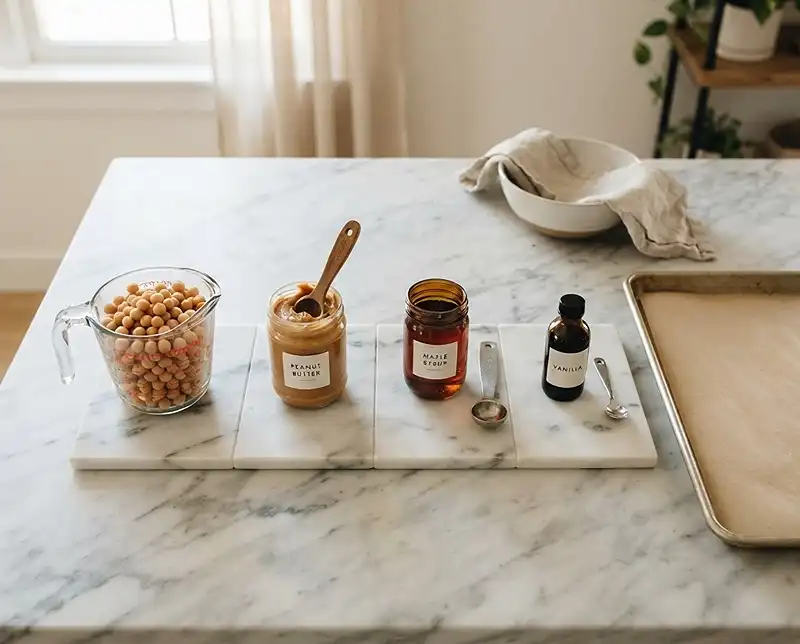
| Ingredient | Amount | Why It Matters |
|---|---|---|
| Canned chickpeas | 1 can, about 15 oz (425 g) | Drained, rinsed, and patted very dry—this is the base of the whole dough |
| Creamy peanut butter or almond butter | ½ cup | Adds richness and that familiar peanut butter cookie recipe flavor |
| Pure maple syrup | ⅓ cup | All the sweetness, no white sugar needed |
| Vanilla extract | 1 teaspoon | Rounds out the flavor and softens any “beany” edge |
Curious about the nutrition side of things? The USDA FoodData Central database is a great place to peek at exactly what chickpeas bring to the table, protein and fiber included.
How to Make 4 Ingredient Chickpea Cookies
This whole process takes maybe 10 minutes of hands-on time. Here’s exactly how I do it, step by step.
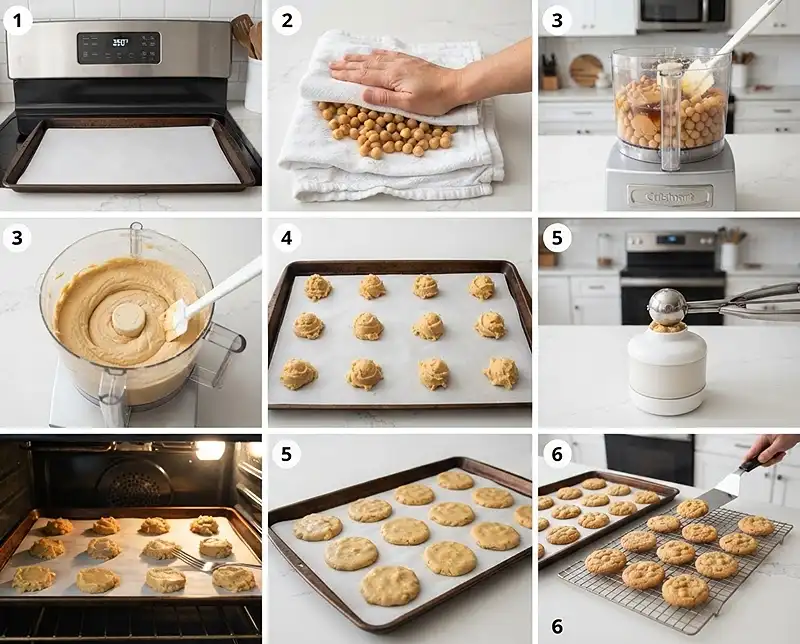
Preheat and Prep Your Pan
Heat your oven to 350°F (175°C) and line a baking sheet with parchment paper. Nothing fancy here—just get it ready so your dough isn’t sitting around waiting.
Dry Those Chickpeas Like You Mean It
Drain and rinse your chickpeas, then press them firmly between clean kitchen towels or paper towels. I know it feels excessive, but “just wet enough” is exactly how you end up with gummy cookies.
Quick tip: I like to let mine air-dry on a towel for a few extra minutes while I measure everything else. A little patience here pays off big time in the final texture.
Blend Until It’s Silky Smooth
Add the chickpeas, peanut butter or almond butter, maple syrup, and vanilla to a food processor. Blend until it’s completely smooth and glossy, scraping down the sides as you go.
You’re aiming for a texture like very thick hummus—no chunks, no graininess, nothing that screams “chickpea.” Honestly, at this stage it looks a lot like an edible cookie dough recipe, and I won’t judge you for sneaking a taste.
Adjust the Texture Only If You Need To
If the mixture is too stiff for your food processor to move, add cold water one teaspoon at a time. Cap it at about 2 teaspoons total—more than that and your cookies won’t hold their shape.
Shape and Bake Your Cookies
Scoop the dough into 12 even portions on your prepared baking sheet. Gently press each one to about ½ inch (1.25 cm) thick, because this dough barely spreads on its own.
Bake for 12 to 15 minutes, until the edges look set and lightly golden. The centers should feel firm, not squishy, when you press them gently.
Let Them Cool Before You Dig In
Leave the cookies on the baking sheet for 5 minutes, then move them to a wire rack to cool completely. They’re delicate straight out of the oven and firm up beautifully as they sit.
Tips, Variations, and Fixes
My Best Tips for Success
Dry chickpeas are non-negotiable—skip that step and you’ll end up with a mushy, sad cookie. Also, don’t skip the vanilla; it does a lot of heavy lifting to mask any chickpea flavor.
If you want a little crunch, press a few extra oats or chopped nuts on top before baking. It’s a small move that makes a big difference in the final bite.
One more thing—resist the urge to overbake these hoping for extra crispiness. Because there’s no flour or egg to set the structure the way traditional cookies do, they firm up mostly as they cool, not while they’re still in the oven.
Fun Variations to Try
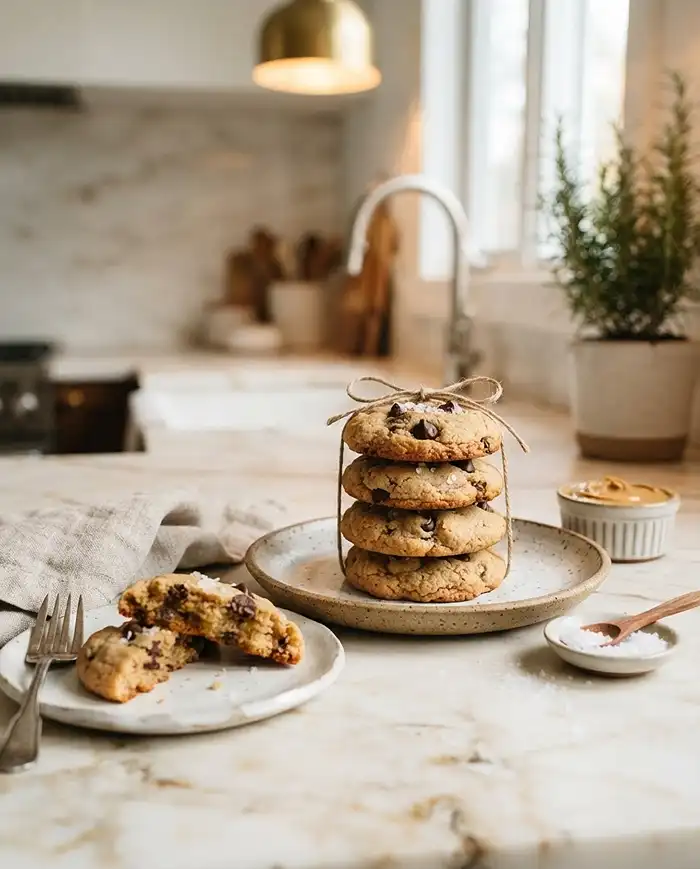
Want a chickpea chocolate chip cookie? Fold in ⅓ cup of mini chocolate chips right after blending for an easy chocolate chickpea upgrade. It’s genuinely one of my favorite ways to dress these up, and honestly might be the best chickpea chocolate chip cookie recipe swap you’ll make all year.
Swap almond butter for peanut butter (or vice versa) depending on what’s in your pantry—both work beautifully. If you’re specifically looking for chickpea flour cookies rather than this canned-chickpea version, that’s a different technique using dried, ground chickpeas instead.
For a warmer flavor, add a pinch of cinnamon or a tiny splash of almond extract along with the vanilla. It’s subtle, but it makes the whole kitchen smell amazing while these bake.
Troubleshooting Common Issues
Dough too wet? You probably didn’t dry the chickpeas enough—pat them again with a towel before blending next time. Dough too stiff to blend? Add water a teaspoon at a time until the processor moves freely.
Cookies taste a little “beany”? Add an extra half teaspoon of vanilla, or a small pinch of salt, to balance things out. Cookies falling apart? Let them cool completely on the rack before moving them—they firm up a lot as they sit.
How to Store, Reheat, and Use Every Last Bit
These chickpea cookies actually hold up really well, which makes them a solid make-ahead option for busy weeks.
| Storage Method | How Long | Notes |
|---|---|---|
| Room temperature, airtight container | Up to 2 days | Best texture window, especially in cooler weather |
| Refrigerator, airtight container | Up to 1 week | Great for meal-prepping snacks in advance |
| Freezer, layered with parchment | Up to 3 months | Thaw at room temperature for about 30 minutes |
To reheat, a quick 10 to 15 seconds in the microwave brings back that fresh-baked softness. No microwave? Just leave them out at room temperature for a bit and they’ll soften right up.
No-waste tip: don’t dump that leftover chickpea liquid down the drain. That liquid, called aquafaba, whips up beautifully into meringue—my easy meringue cookie recipe is a perfect next stop for it.
Frequently Asked Questions
Can you actually taste the chickpeas in these cookies?
Not really. Once they’re blended smooth with peanut butter, maple syrup, and vanilla, the chickpea flavor mostly disappears into a soft, slightly nutty cookie.
Can I use chickpea flour instead of canned chickpeas?
This specific recipe relies on canned chickpeas for moisture and texture. Chickpea flour cookies use a different ratio and method, so they aren’t a direct swap here.
Can I eat the dough raw, like an edible cookie dough recipe?
Since there’s no egg or raw flour involved, this dough is safe to taste as you go, much like an edible cookie dough recipe. Just remember raw dough is meant for snacking, not a full meal.
How do I keep the cookies from tasting eggy or beany?
Make sure your chickpeas are patted very dry before blending, and don’t skip the full teaspoon of vanilla extract. Both steps go a long way toward masking that raw chickpea taste.
Can I turn this into a chickpea chocolate chip cookie?
Absolutely. Stir in about a third of a cup of mini chocolate chips after blending for an easy chickpea chocolate chip cookie, which many readers consider the best chickpea chocolate chip cookie recipe swap.
Give These Cookies a Try
These 4 ingredient chickpea cookies are proof that “healthy-ish” doesn’t have to mean boring. One bowl, four staples, and a genuinely satisfying cookie at the end—what’s not to love?
If you liked this one, you’ll probably enjoy the chewy texture in my Dubai chocolate flavor Korean chewy cookie, or the delicate crunch of my jasmine sugar cookies.
For more on how legumes like chickpeas fit into a balanced diet, the Harvard T.H. Chan School of Public Health has some great background reading.
Go make a batch, snap a photo, and pin it for later—I’d love to see how yours turn out. Drop a comment below and let me know if you tried the chocolate chip version!