
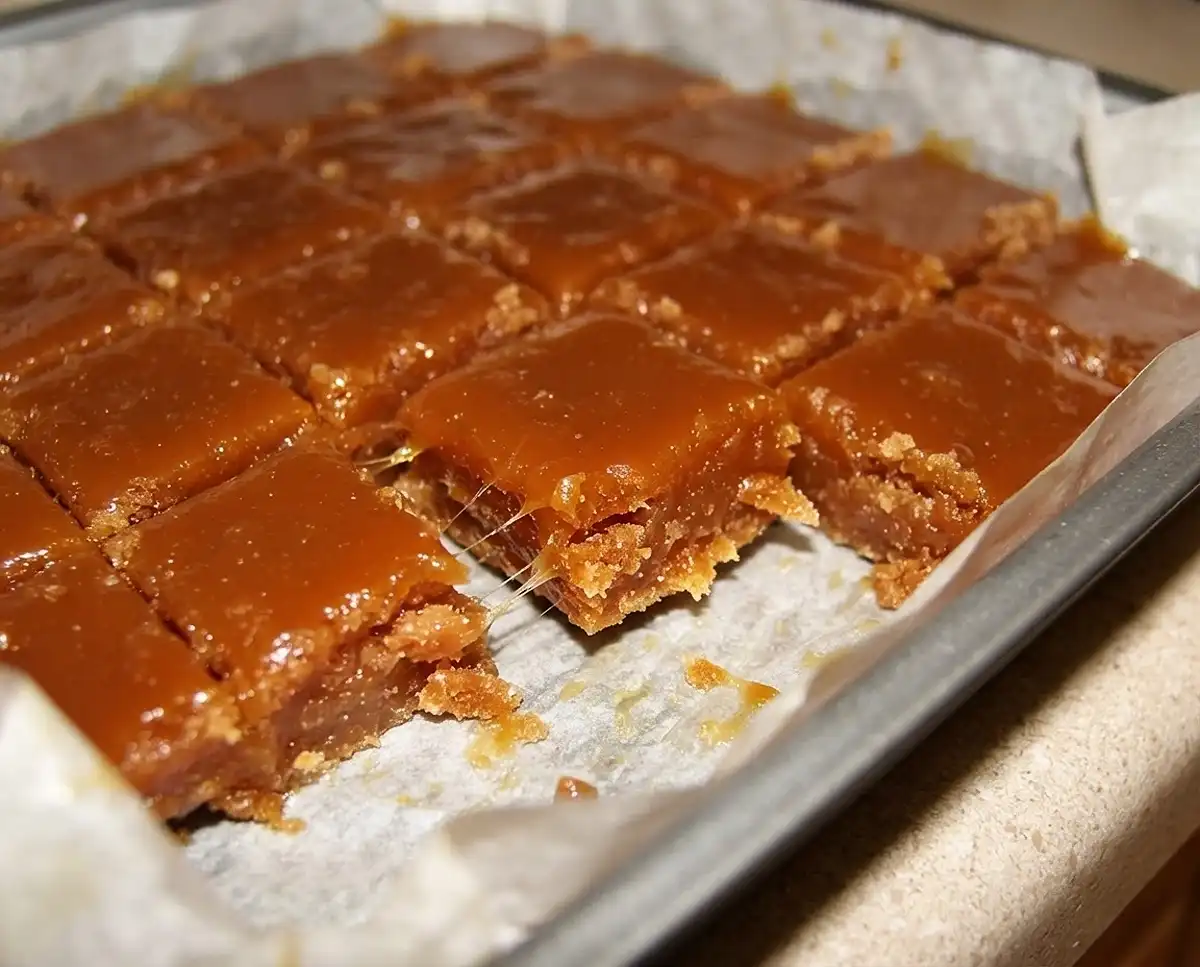
Craving chewy, buttery caramel? This Milton Hershey historical caramel recipe makes soft, melt-in-your-mouth pieces you’ll want to make again. Try it!
Confession time: I stood over this pot for ten minutes pretending I was “just checking on it” while sneaking spoonfuls of the cooled drips. This Milton Hershey historical caramel recipe is the kind of old-school candy that makes you feel like a very fancy grandparent. It’s chewy, buttery, and dangerously snackable.
Table of Contents
Milton Hershey Historical Caramel Recipe: Here’s the Deal
Let’s keep this simple. You dump sugars, corn syrup, condensed milk, cream, and butter into a pot, stir like your snacks depend on it, and watch the whole thing turn into glossy gold. That’s the whole magic trick.
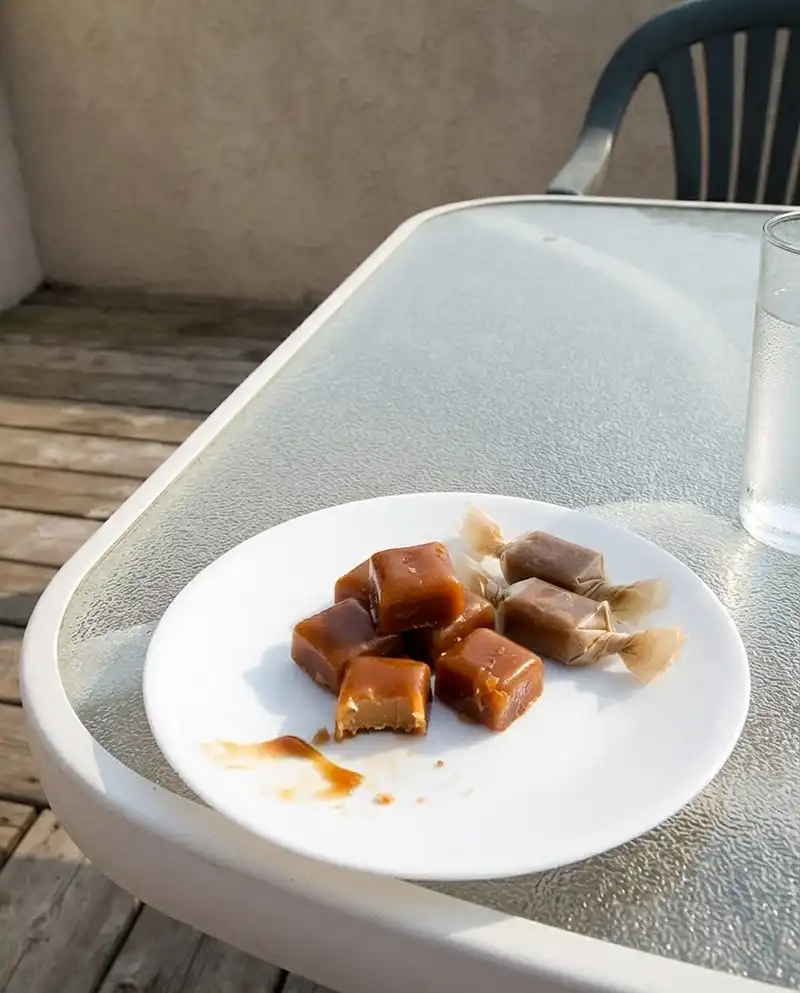
What makes it great? The texture. It’s soft enough to bite without a fight and firm enough to hold its shape in a wrapper. No jaw workout, no sticky mess on your fingers (okay, maybe a little).
A Little Candy History (Because I’m Nerdy Like That)
Before there was a chocolate empire, there was caramel. Milton Hershey made his first real candy success with caramels, and the Hershey Community Archives story of the Lancaster Caramel Company shows how that business set the stage for everything that came next.
The Lancaster caramel company grew fast, and Hershey eventually sold it in 1900 for $1 million. He kept the chocolate side of the business. The Lancaster History profile of Hershey is a fun read if you like your sugar with a side of backstory.
Why This Version Works
This recipe is inspired by that classic caramel candy spirit, not a secret vault formula. I’m not going to pretend otherwise. But the combo of brown sugar, corn syrup, and sweetened condensed milk gives you a deep, toasty flavor and a seriously chewy caramel.
Think of it as a love letter to early confectionery, written in butter. The kitchen smells like warm toffee and vanilla by the end. Fair warning: your neighbors might show up.
Milton Hershey Historical Caramel Recipe
Equipment
- 8-inch square baking pan
- Parchment paper
- Heavy-bottomed saucepan
- Heatproof spatula or wooden spoon
- Candy thermometer
- Sharp knife
- Wax paper or parchment for wrapping
Ingredients
Dairy
- 14 oz sweetened condensed milk keeps the caramel soft and chewy
- 1 cup heavy cream
- 6 tablespoons unsalted butter
Sweeteners
- 1 cup brown sugar packed
- ½ cup granulated sugar
- ½ cup light corn syrup prevents graininess; don’t skip
Liquid
- 2 tablespoons water
Flavor
- 1 teaspoon alcohol-free vanilla flavoring replaces vanilla extract
- ½ teaspoon fine salt
Instructions
- Line an 8-inch square baking pan with parchment paper, leaving an overhang on two sides, and grease it lightly.
- In a heavy-bottomed saucepan, combine the brown sugar, granulated sugar, corn syrup, and water. Add the sweetened condensed milk, heavy cream, and butter.
- Cook over medium heat, stirring the whole time and scraping the bottom and corners. Lower the heat if it bubbles too hard.
- Cook until the caramel is thick and glossy and reaches 245-248°F (118-120°C) on a candy thermometer. Use the lower end for softer caramels and the higher end for a firmer bite.
- Take the pan off the heat and carefully stir in the alcohol-free vanilla flavoring and salt. It will sputter. Pour the caramel into the prepared pan and spread it evenly.
- Let it cool completely until firm. Lift it out by the parchment and cut it into 24 pieces with a lightly oiled knife. Wrap each piece in parchment or wax paper.
Notes
Ingredients for the Milton Hershey Historical Caramel Recipe
Nothing weird here. Everything is a pantry staple or a quick grocery run away. I grouped them so you can line things up before you start, because caramel waits for no one.
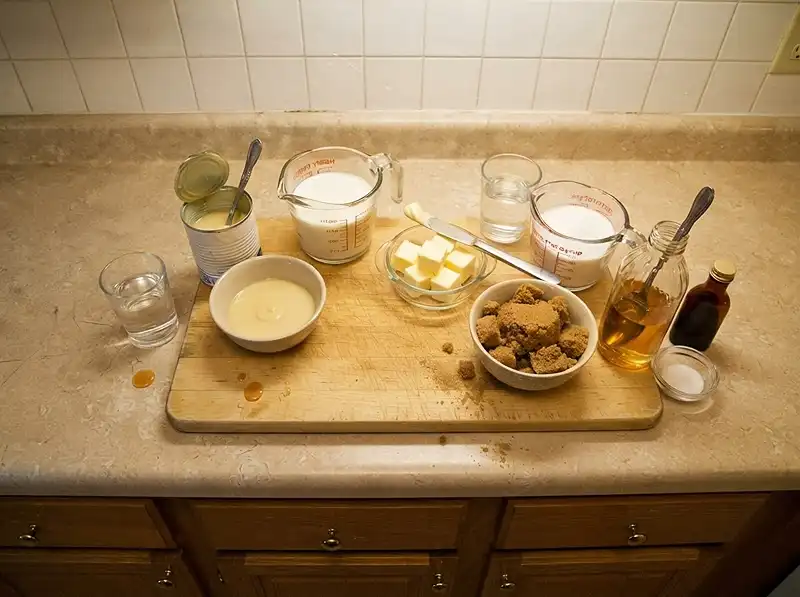
| Group | Ingredient | Amount |
|---|---|---|
| Dairy | Sweetened condensed milk | 14 oz |
| Dairy | Heavy cream | 1 cup |
| Dairy | Unsalted butter | 6 tablespoons |
| Sweeteners | Brown sugar, packed | 1 cup |
| Sweeteners | Granulated sugar | 1/2 cup |
| Sweeteners | Light corn syrup | 1/2 cup |
| Liquid | Water | 2 tablespoons |
| Flavor | Vanilla extract | 1 teaspoon |
| Flavor | Fine salt | 1/2 teaspoon |
Quick Notes on the Key Players
Sweetened condensed milk is the shortcut hero. It adds creaminess and helps the caramel stay soft and chewy instead of turning into a tooth-breaker.
Brown sugar and corn syrup do the heavy lifting on flavor and smoothness. The corn syrup keeps the sugar from getting grainy, so please don’t skip it.
Use real vanilla extract, not the fake stuff, if you can. It rounds out the sweetness like a warm hug. And that little bit of salt? It keeps this caramel candy from tasting flat.
How to Make Milton Hershey Historical Caramel Recipe Step by Step
Read through this once before you start. Caramel moves quickly at the end, and you don’t want to be hunting for a spatula while it bubbles at you.
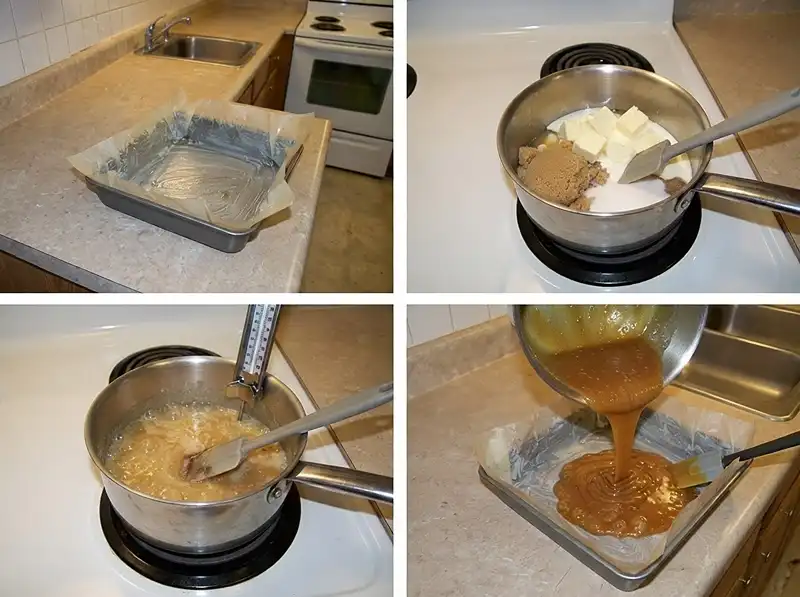
Stage 1: Prep the Pan
Line an 8-inch square baking pan with parchment paper and lightly grease it. Leave a little overhang on two sides.
That overhang is your lifting handle later. Trust me, don’t skip this part. Digging hot-cooled caramel out of a bare pan is a special kind of sad.
Stage 2: Build the Caramel Base
In a heavy-bottomed saucepan, combine the brown sugar, granulated sugar, corn syrup, and water. Add the sweetened condensed milk, heavy cream, and butter.
A heavy pot matters here. Thin pans make hot spots, and hot spots make burnt bits. Nobody wants burnt bits in their chewy caramel.
Stage 3: Cook, Stir, and Watch It Transform
Cook over medium heat while stirring continuously with a heatproof spatula or wooden spoon. Scrape the bottom and corners as you go.
If it bubbles too hard, lower the heat a notch. You’ll see the mixture go from pale and loose to thick, glossy, and the color of an old penny. The aroma gets deep and toasty. It’s honestly the best part.
Stage 4: Hit the Magic Temperature
Keep cooking until the caramel thickens and reaches about 245 to 248 degrees F (118 to 120 degrees C) on a candy thermometer. Keep the tip off the bottom of the pan so the reading is accurate.
Aim for the lower end if you like soft, pillowy caramels. Aim higher for a firmer bite. Either way, the thermometer is your best friend here, so don’t wing it.
Stage 5: Add Vanilla and Salt, Then Pour
Take the pan off the heat and carefully stir in the vanilla extract and salt. It will sputter and steam, so keep your face back.
Pour the hot caramel into your prepared pan and spread it evenly. Then walk away. Seriously. Hands off while it sets.
Stage 6: Cool, Cut, and Wrap
Let the caramel cool completely until firm. Lift it out using that parchment overhang and cut it into 24 bite-sized pieces.
Serve right away, or wrap each piece in parchment or wax paper. A lightly oiled knife makes the cutting way less sticky.
Pro Tips, Variations, and Troubleshooting
Pro Tips for Chewy Caramel Every Time
Measure everything before you turn on the burner. Once the pot is bubbling, you’re on caramel’s schedule.
Stir the whole time, especially in the corners. Pull the thermometer out of any cool spots by moving it gently through the pot. And never walk away to answer a text. I learned that one the hard way.
Fun Variations
Want a chocolate caramel treat? Let the pieces firm up, then dip them in melted Hershey’s chocolate and set them on parchment. It’s the move that turns a simple confectionery project into something that feels downright fancy.
Try a pinch of flaky sea salt on top for that sweet-salty snap. Or swirl a spoonful of the warm caramel into brownies. If you love that salty-sweet combo, the salted caramel chocolate cupcakes are right up your alley.
Troubleshooting
Too hard? You probably cooked it past the target range. Next time, pull it off the heat a few degrees sooner.
Too soft or runny? It likely didn’t reach temperature. Check your thermometer in a pot of boiling water to make sure it’s accurate.
Grainy? Sugar crystals sneaked in from the pot sides. Scrape gently as you stir, and keep that corn syrup in the mix.
Burnt smell? The heat was too high or the pan was too thin. Turn it down a notch and use a heavy-bottomed pot next time.
Storing Your Caramel Candy
Wrapped caramels keep surprisingly well. Here’s the quick cheat sheet.
| Method | How to Store | How Long |
|---|---|---|
| Room temperature | Individually wrapped, in an airtight container | About 2 weeks |
| Refrigerator | Wrapped, in an airtight container | About 1 month |
| Freezer | Wrapped, then sealed in a freezer bag | Up to 3 months |
Reheating Tips
If your caramels get too firm in the fridge, let them sit at room temperature for about 15 minutes. Need them soft for dipping? Microwave a piece for just 5 to 10 seconds.
Want a sauce? Warm a few pieces gently in a saucepan with a splash of cream, stirring until smooth. Pour it over ice cream and call it dessert.
No-Waste Ideas
Got the odd misshapen end piece? Chop it up and fold it into cookie dough. It melts into little pockets of gold, and it’s fantastic in these fruity pebbles cookies.
You can also drop chopped caramel into oatmeal, stir it into hot coffee, or tuck it inside baked apples. Even the crumbs have a purpose here.
Frequently Asked Questions
Is this the exact recipe Milton Hershey used?
No. This is a recipe inspired by the classic caramel candy that helped launch Milton Hershey’s career, not a recovered original formula. It uses simple ingredients to give you that old-fashioned chewy caramel flavor at home.
Do I really need a candy thermometer?
I strongly recommend one. The target of 245 to 248 degrees F is what gives you the right chew, and guessing can leave you with caramel that is too soft or too hard.
Can I use salted butter instead of unsalted?
You can, but cut back on the added salt so the caramel doesn’t taste too salty. Unsalted butter gives you more control, so it’s the better choice.
Why did my caramel turn out grainy?
Sugar crystals likely formed on the sides of the pan. Stir continuously, scrape the corners, and keep the corn syrup in the recipe since it helps prevent crystallization.
Can I turn these into chocolate caramel candies?
Absolutely. Once the caramel is firm and cut, dip the pieces in melted Hershey’s chocolate and let them set on parchment. They make great gifts.
Final Thoughts on This Milton Hershey Historical Caramel Recipe
So there you have it: a buttery, chewy, slightly addictive little piece of candy history you can make in your own kitchen. Go on, give this Milton Hershey historical caramel recipe a try. Your future self (and your snack drawer) will thank you.
Loved it? Save the recipe to your favorite Pinterest board so you can find it again. Then tell me how it turned out in the comments. If you’re still in a baking mood, these chickpea protein cookies are a fun next stop.
