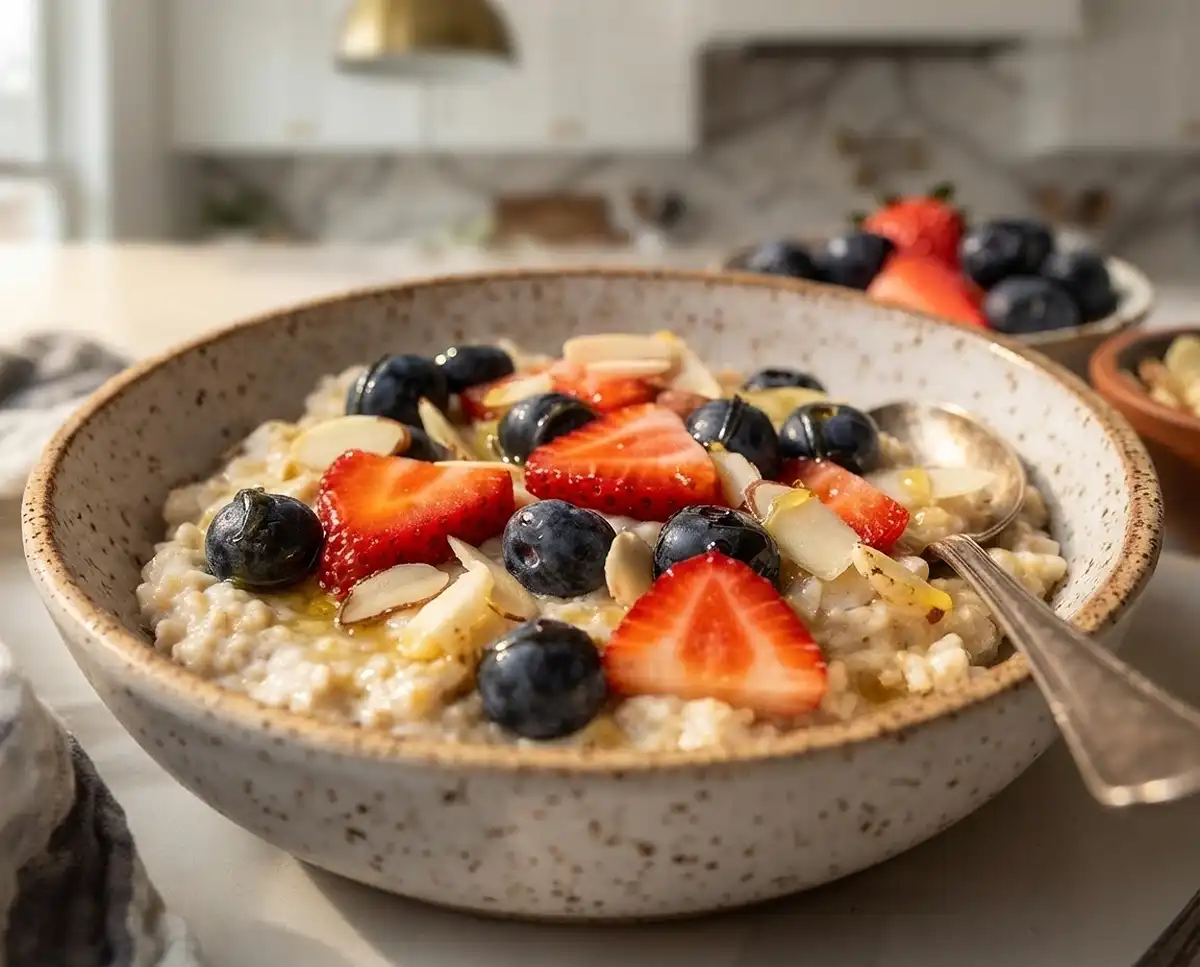
Learn easy steel cut oats preparation for creamy, chewy oatmeal every time. Simple ingredients, one pot, and zero fuss required for breakfast.
Okay, real talk: I used to think steel cut oats were some fancy, complicated breakfast only “real adults” made. Turns out I was wrong, and now this is basically my Sunday morning love language. Grab a mug of coffee and let’s get into it.
I remember the first time I tried making them, I basically stood over the stove the whole 20 minutes like I was defusing a bomb. Turns out, oats are way more forgiving than I gave them credit for. Now it’s become this weirdly meditative little ritual, stirring the pot while the kitchen smells all warm and toasty, and honestly, some of my best thinking happens standing at that stove.
Table of Contents
Why You’re Gonna Love This Steel Cut Oats Preparation
This isn’t your sad, mushy packet of instant oatmeal. We’re talking chewy, nutty, “wait, oats can taste like this?” kind of good. Once you get the hang of steel cut oats preparation, you’ll wonder why you ever bothered with the quick stuff.
Here’s the deal: it’s basically one pot, a handful of ingredients, and a little patience. No babysitting required (well, mostly). And the payoff is a big batch of cozy, filling oatmeal that keeps you full till lunch.
Bonus: it’s naturally gluten-free, packed with fiber, and way more nutritious than you’d think for something this comforting. Healthline breaks down the health perks if you’re into that kind of thing (I definitely was, mid-recipe-testing, googling “are oats actually good for me”).
Plus, there’s something about a big pot of oatmeal simmering away that just feels like a hug in food form. It’s the kind of breakfast that makes you slow down for five minutes before your day gets chaotic, and honestly, we could all use a little more of that.
And if you’ve ever wondered whether it’s worth the extra cooking time compared to instant packets, WebMD’s rundown on steel-cut oats makes a pretty compelling case for why the chewier texture and slower digestion are actually a win for staying full longer.
Steel Cut Oats Preparation
Equipment
- Medium or large saucepan
- wooden spoon
- Measuring cups and spoons
- Airtight storage containers
Ingredients
For the Oats
- 2 ½ cups water plus more as needed
- 1 cup milk any kind; unsweetened almond milk, oat milk, or whole milk all work
- 1 cup steel cut oats also sold as Irish oats or pinhead oats
- ¼ teaspoon kosher salt do not skip, it makes a huge difference
Toppings and Mix-Ins
- toppings and mix-ins of your choice berries, banana slices, chopped nuts, dried fruit, peanut butter, honey, maple syrup, brown sugar, or cinnamon and diced apples
Instructions
- Pour the water and milk into a medium or large saucepan. Turn the heat to high and bring it to a full, rolling boil — you want big, steady bubbles rolling across the surface, not just a few lazy ones around the edges. A true boil helps the oats cook evenly instead of clumping.
- As soon as the liquid is boiling, add the oats and salt. Stir well and bring it back up to a boil, then immediately reduce the heat to low so it’s just gently simmering. Don’t walk away at this stage — oats love to boil over. If it foams up, lift the pan off the burner for a minute to let it settle, then return it to the heat.
- Simmer gently for about 20 minutes, stirring occasionally and scraping the bottom of the pan so nothing sticks or burns. For chewier oats, you’re done at 20 minutes. For softer, creamier oats, keep cooking another 5 to 10 minutes, stirring every couple of minutes, until they reach the texture you like. If the oatmeal gets thicker than you’d like at any point, splash in a little extra water or milk and stir it back to your happy consistency.
- Pull the pot off the heat and let the oatmeal rest for a few minutes — it will thicken up a bit more as it cools slightly. Load it up with your favorite toppings and enjoy while warm.
Notes
What You’ll Need
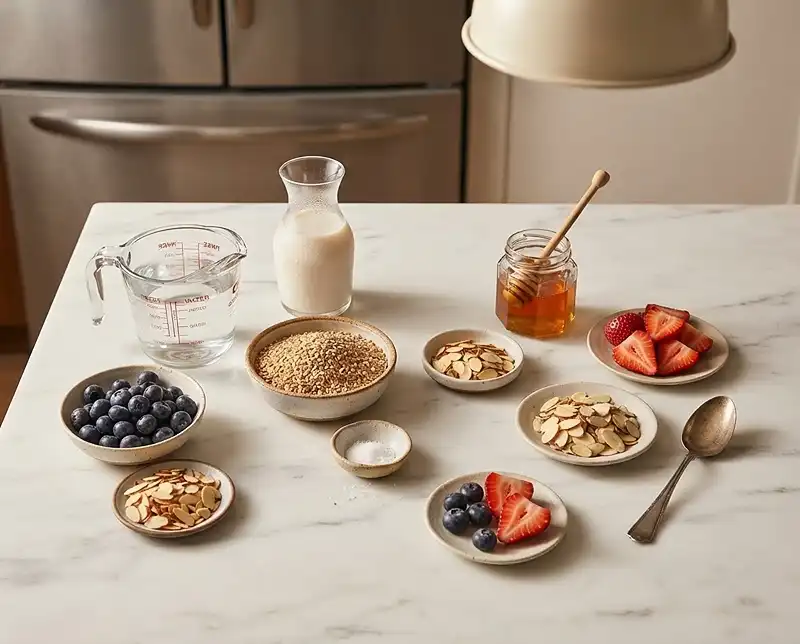
Nothing wild here. This is pantry-staple territory, which is exactly how I like my breakfasts.
| Ingredient | Amount | Notes |
|---|---|---|
| Water | 2 ½ cups, plus more as needed | The base of your oats |
| Milk (any kind) | 1 cup | I use unsweetened almond milk, but use whatever’s in your fridge |
| Steel cut oats | 1 cup | The real MVP here |
| Kosher salt | ¼ teaspoon | Do NOT skip this, it makes a huge difference |
| Toppings and mix-ins | Your choice | See ideas below, go wild |
Quick note on that milk: whole milk makes things extra creamy, oat milk keeps it plant-based, and almond milk (my go-to) keeps things light without sacrificing flavor. Whatever you’ve got works.
And a quick word on the star of the show, the oats themselves. Look for a bag labeled plain “steel cut oats” (sometimes called Irish oats or pinhead oats). They’re chunkier than rolled oats, kind of like little pieces of the whole grain, which is exactly what gives them that chewy bite we’re after.
Let’s Make Some Oatmeal
Step 1: Get That Liquid Bubbling
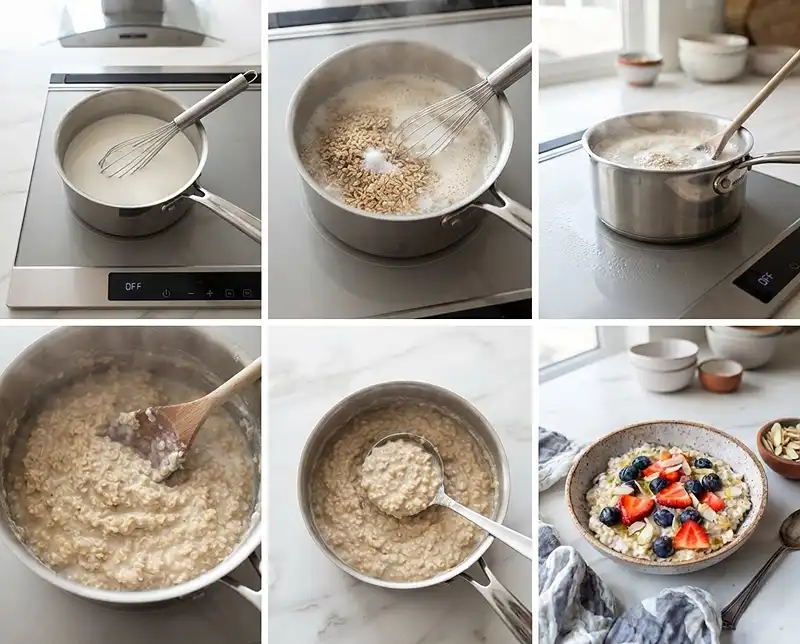
Pour your 2 ½ cups water and 1 cup milk into a medium or large saucepan. Crank the heat to high and bring it to a full, rolling boil. This part’s easy, just don’t wander off to check your phone.
You’ll know it’s ready when you see those big, steady bubbles rolling across the surface, not just a few lazy ones around the edges. Getting a true boil here matters more than you’d think, it sets the stage for the oats to cook evenly instead of clumping.
Step 2: Stir In The Oats
The second that liquid’s boiling, dump in your oats and salt. Give it a good stir and bring it back up to a boil, then immediately dial the heat down to low so it’s just gently simmering.
Here’s my one big warning: don’t walk away right now. Oats have a sneaky habit of boiling over the second you turn your back (ask me how I know, ask my stovetop). If things start foaming up and looking dramatic, just lift the pan off the burner for a minute to let it calm down, then pop it back on.
Step 3: Let It Simmer, Low And Slow
Let your oats simmer gently for about 20 minutes. Stir every so often, scraping the bottom of the pan so nothing sticks and burns (nobody wants a scorched-oat situation).
This is the fun part where you get to play chef and decide how you like your oats. Want them chewier? You’re basically done at 20 minutes. Want them softer and creamier? Keep cooking another 5 to 10 minutes, stirring every couple minutes, until they hit that perfect texture for you.
This is also when your kitchen starts smelling incredible, kind of toasty and warm and comforting, the smell that makes everyone wander in asking “wait, what are you making?” It’s a good sign things are going right.
“If the oatmeal gets thicker than you’d like at any point, just splash in a little extra water or milk and stir it back to your happy consistency.”
Step 4: Let It Rest, Then Dig In
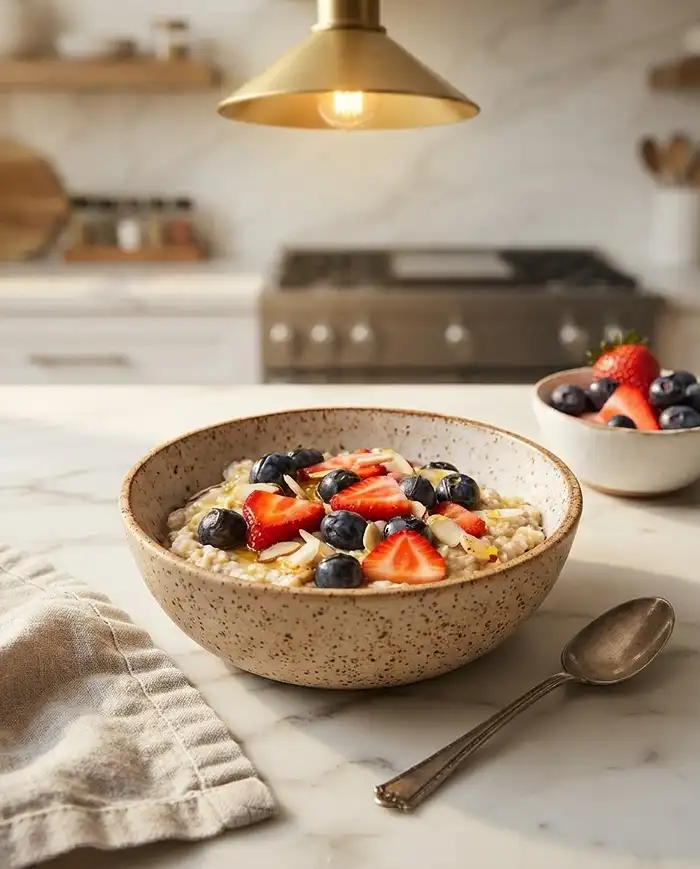
Pull the pot off the heat and let your oatmeal sit for a few minutes. It’ll thicken up a bit more as it cools slightly, which is exactly what you want. Then load it up with toppings and enjoy while it’s warm.
This is honestly my favorite part, standing over the bowl deciding what today’s toppings are going to be. Some days it’s simple, just a drizzle of honey. Other days I go all out with berries, nuts, and a swirl of nut butter. There’s really no wrong answer here.
Expert Tips, Variations, And Fixes
Tips For Perfect Steel Cut Oats Every Time
Always start with your liquid at a full boil before adding the oats. This helps them cook evenly instead of turning gluey. And seriously, don’t skip the salt. It sounds small, but it’s the difference between “meh” oats and “wow” oats.
Another tip that took me way too long to figure out: resist the urge to stir constantly while they simmer. A little occasional stirring keeps things from sticking, but stirring too much actually breaks down the oats and makes them gluier than you want. Set a timer, walk away for a few minutes, then come back and give it a stir.
If you want an even richer bowl, try toasting your dry oats in a little butter for a minute or two before adding the liquid. It brings out a nutty flavor that takes this from “good breakfast” to “why does this taste like a fancy cafe made it.”
Fun Variations To Try
Once you’ve nailed the basic steel cut oats recipe, get creative. Stir in cinnamon and diced apples while it simmers, or top with peanut butter and banana slices after cooking. Maple syrup, brown sugar, chopped nuts, dried fruit… the topping options are basically endless.
Craving something sweet but still want that classic oat texture? Check out these healthy overnight oats recipes for more breakfast inspo, or try swapping in steel cut quick oats when you’re short on time (more on that below).
Feeling savory instead? Skip the sweet toppings entirely and go with a fried egg, some sautéed greens, and a sprinkle of parmesan. It sounds unexpected, but trust me, savory oatmeal is an absolute game changer once you try it.
You can also cook your steel cut oats in vegetable or chicken broth instead of water for an even more savory base. It’s a fun way to switch things up when you want oatmeal that feels more like dinner than dessert.
Troubleshooting Common Oat Problems
Oats too thick? Splash in more water or milk while stirring over low heat. Oats too runny? Just let them simmer a few more minutes uncovered, they’ll thicken right up. Burnt bottom of the pan? Lower your heat next time and stir more often, that pan can get feisty.
Oats boiling over the second you look away? Yep, we’ve all been there. This usually happens when the heat’s a touch too high during the simmer. Just lift the pot off the burner for a minute, give it a stir to release some steam, then set it back down over slightly lower heat.
Steel Cut Oats Vs Steel Cut Quick Oats
If you’re always rushing in the morning, look for steel cut quick oats at the store. They’re par-cooked so they finish in about 5 to 7 minutes instead of 20. The texture’s slightly softer than traditional steel-cut oats, but honestly still delicious when you’re in a hurry.
Storage, Reheating, And No-Waste Ideas
This recipe makes enough to have leftovers, which honestly might be the best part. Meal-prep breakfast for the whole week? Yes please.
| Method | How Long It Lasts | Notes |
|---|---|---|
| Refrigerator | Up to 5 days | Store in an airtight container |
| Freezer | Up to 2 months | Freeze in individual portions for easy grab-and-go |
| Reheating (stovetop) | A few minutes | Add a splash of milk or water to loosen it back up |
| Reheating (microwave) | 1 to 2 minutes | Stir halfway through, add liquid as needed |
No-waste tip: got leftover oatmeal that’s a little too thick? Don’t toss it. Spread it into a pan, chill it, then slice and pan-fry it into oatmeal “cakes” for a fun twist the next day. Waste not, want not, right?
Another great use for extra cooked oats: fold them into muffin or bread batter for added texture. If you love sneaking oats into baked goods, you might enjoy this simple banana bread recipe for more cozy kitchen inspiration.
Frequently Asked Questions
Can I make steel cut oats ahead of time?
Absolutely. Cook a big batch, store it in the fridge for up to 5 days, and reheat with a splash of milk or water whenever you’re ready to eat. It’s a great way to save time on busy mornings.
What’s the difference between steel cut oats and steel cut quick oats?
Steel cut quick oats are par-cooked, so they cook in about 5 to 7 minutes instead of 20. Regular steel-cut oats take longer but have a slightly chewier, heartier texture.
Can I use only water instead of milk?
Yes, you can use all water if you prefer a lighter, dairy-free version. The oats will be a bit less creamy, but still delicious, especially with a good topping.
Why did my oats turn out gluey?
This usually happens when the oats are added before the liquid reaches a full boil, or when they’re stirred too much while cooking. Stick to occasional stirring and you’ll get a better texture.
Can I double this steel cut oats recipe?
Definitely. Just double all the ingredients and use a larger pot, since the mixture will bubble up more. Cooking time stays about the same.
Final Thoughts
And that’s it, that’s the whole secret to great steel cut oats preparation. One pot, a little patience, and a payoff that’s totally worth it. Once you’ve got this basic method down, you can riff on it forever.
If you’re building out a whole breakfast rotation, don’t stop here. This high protein overnight oats recipe is a great no-cook option for mornings when even 20 minutes feels like too much.
Give this recipe a try this week, and if you love it (I think you will), snap a pic and pin it to Pinterest so you can find it again. And hey, let me know in the comments how you topped yours, I’m always looking for new ideas!