
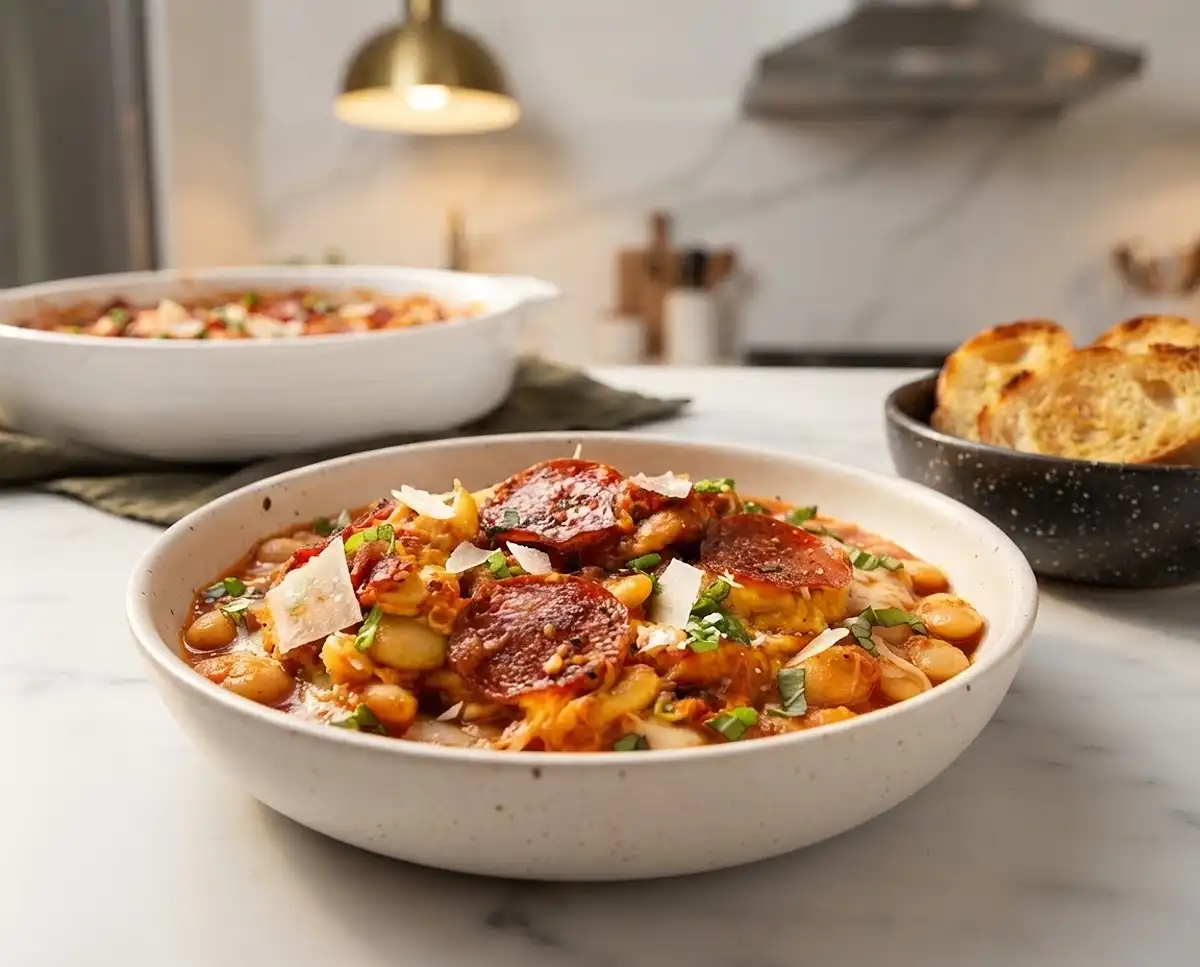
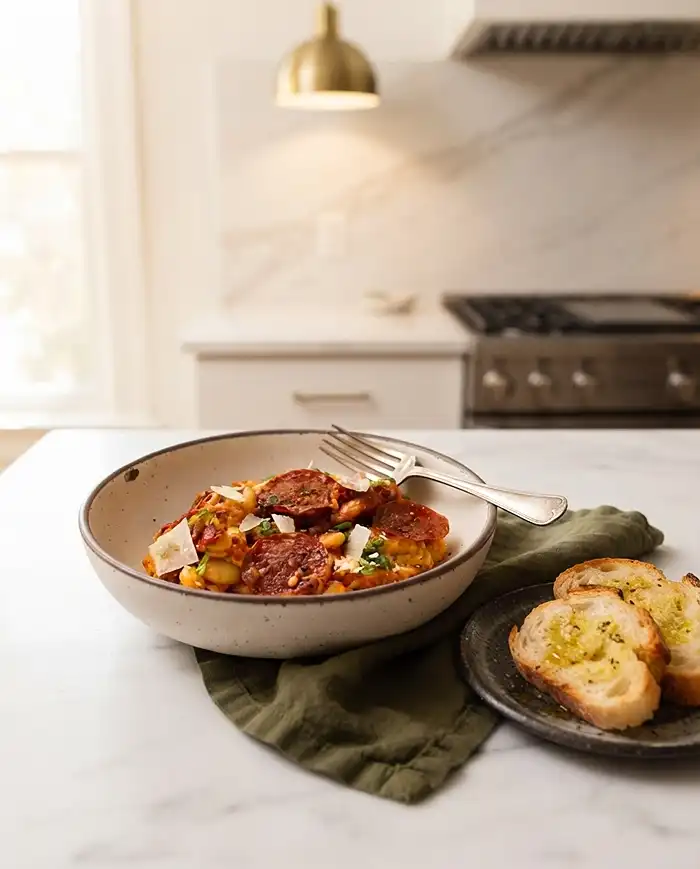
Pizza butter beans make a bubbly, cheesy one-pan dinner from pantry staples. This easy comfort food bakes up in about 30 minutes with almost zero cleanup.
Okay, friend, real talk: this pizza butter beans recipe is what happens when you’re too tired to “cook” but too hungry to order takeout again. I threw this together on a random Tuesday with cans I already had, and now it’s basically my love language.
It’s got all the cozy, cheesy, saucy vibes of pizza night, minus the dough-kneading drama. One dish, a handful of pantry staples, and you’re eating dinner before you’ve even decided what to watch.
Table of Contents
Why This Pizza Beans Recipe Works
This isn’t just “beans with sauce on top,” I promise. It’s a genuinely craveable pizza bean recipe that tastes like the best parts of a slice, minus the delivery wait.
Here’s the deal: canned butter beans go creamy and almost custardy in the oven, soaking up all that garlicky pizza sauce like little flavor sponges. Then a blanket of melty mozzarella and crispy pepperoni edges seals the deal.
- Made almost entirely from pantry and fridge staples
- One baking dish, minimal cleanup
- Naturally high in fiber and plant-based protein thanks to the beans
- Endlessly customizable (more on that below)
- Just as good for a lazy solo dinner as it is served family-style
Butter beans are a genuinely great pantry MVP here. The University of Maine Cooperative Extension notes that beans are naturally low in fat, cholesterol-free, and packed with fiber, which is a nice little bonus wrapped up in something that tastes this indulgent.
Pizza Butter Beans
Equipment
- Medium baking dish
- Oven
Ingredients
The Bean and Sauce Base
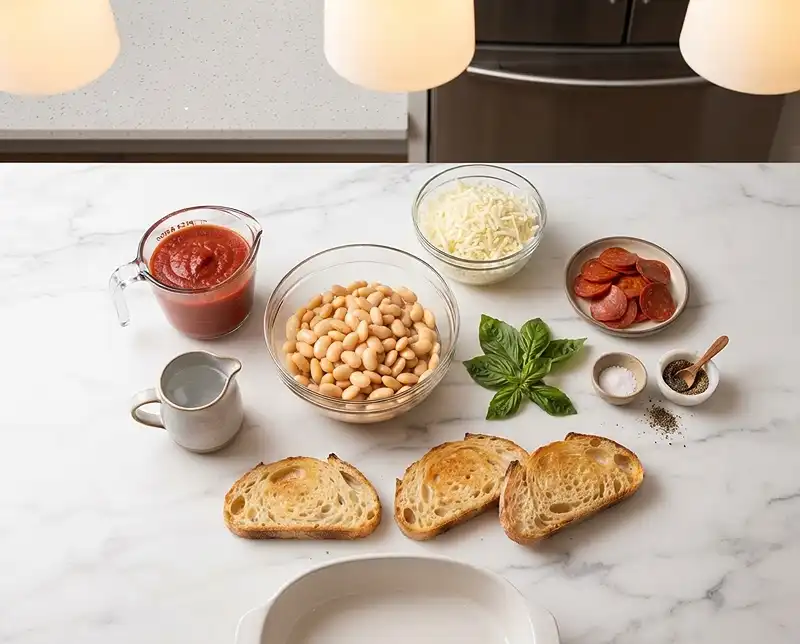
- 2 15-ounce cans Butter beans Rinsed and drained
- 1 cup Pizza sauce Use your favorite jarred or homemade sauce
- ¼ cup Water Optional, see recipe notes
- Salt and pepper To taste, season in layers as you build the dish
The Toppings
- 1 cup Mozzarella cheese Shredded, fresh-shredded melts best
- ¼ cup Pepperoni Mini pepperoni cups up nicely and gets crispy
- Fresh basil A few leaves, optional, for garnish
For Serving
- Crusty bread or sourdough As needed, toasted, for scooping and dunking
Instructions
- Preheat your oven to 450°F. You want it screaming hot so the cheese gets golden-brown spots and the sauce turns properly bubbly. Grab a medium-sized oven-safe baking dish that can hold all your beans and sauce without overflowing.
- In your baking dish, mix the butter beans, pizza sauce, and water together with a pinch of salt. The water is optional but loosens things up so the sauce doesn’t scorch or turn too thick in the oven. Stir well so every bean gets coated in sauce.
- Scatter the mozzarella evenly over the top, then layer on the pepperoni like you’re building the world’s coziest personal pizza. Finish with another pinch of salt and pepper, seasoning every layer.
- Slide the dish into your hot oven and bake for 20 to 30 minutes, until the sauce is bubbling around the edges and the cheese is melted, golden, and just starting to crisp in spots. If your oven runs hot or your dish is shallow, start checking around the 20-minute mark.
- Pull the pizza butter beans out and let them sit for a couple of minutes so the sauce settles. Scatter fresh basil on top if using, then serve straight from the dish with toasted crusty bread or sourdough for scooping up every saucy, cheesy bite.
Notes
What You’ll Need for Pizza Butter Beans
This pizza and beans recipe uses stuff you probably already have on hand, especially if pizza night is a regular thing at your place (no judgment, same). Here’s the full ingredient rundown.
| The Bean and Sauce Base | ||
|---|---|---|
| Ingredient | Amount | Notes |
| Butter beans | 2 (15-ounce) cans | Rinsed and drained |
| Pizza sauce | 1 cup | Use your favorite jarred or homemade sauce |
| Water | ¼ cup | Optional, see recipe notes below |
| Salt and pepper | To taste | Season in layers as you build the dish |
| The Toppings | ||
|---|---|---|
| Ingredient | Amount | Notes |
| Mozzarella cheese | 1 cup, shredded | Fresh-shredded melts best |
| Pepperoni | ¼ cup | Mini pepperoni cups up nicely and gets crispy |
| Fresh basil | A few leaves | Optional, for garnish |
| For Serving | ||
|---|---|---|
| Ingredient | Amount | Notes |
| Crusty bread or sourdough | As needed | Toasted, for scooping and dunking |
Quick note: rinsing canned butter beans isn’t just a texture thing. Researchers at Case Western Reserve University explain that rinsing canned beans can cut sodium by up to 40 percent, so don’t skip that step.
How to Make Pizza Butter Beans
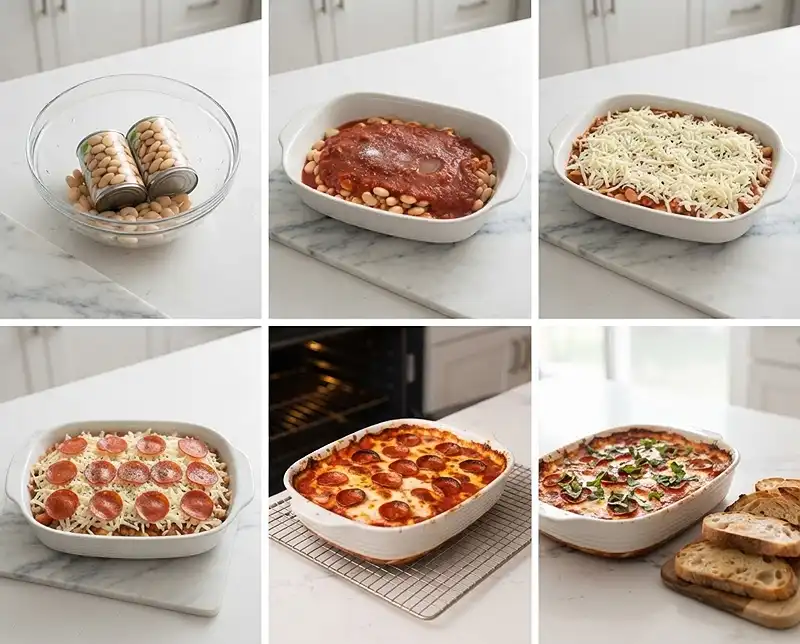
This whole pizza bean recipe comes together in one dish, which is honestly the best part. Let’s walk through it step by step.
Get Your Oven (and Pan) Ready
First things first: crank your oven to 450°F. You want it screaming hot so the cheese gets those gorgeous golden-brown spots and the sauce turns properly bubbly, not just lukewarm.
Grab a medium-sized baking dish. Nothing fancy needed here, just something oven-safe that can hold all your beans and sauce without overflowing everywhere (learned that one the hard way).
Build the Saucy Bean Base
In your baking dish, mix the butter beans, pizza sauce, and water together with a pinch of salt. The water is optional, but it loosens things up a bit so the sauce doesn’t scorch or turn too thick and jammy in the oven.
Give everything a good stir so every single bean gets coated in that garlicky, herby sauce. This is the moment those beans start soaking up all the pizza flavor, so don’t rush it.
Top It Like a Pizza
Now comes the fun part. Scatter the mozzarella evenly over the top, then layer on the pepperoni like you’re building the world’s coziest personal pizza.
Finish with another pinch of salt and pepper. “Season every layer, not just the top” is basically my kitchen mantra at this point, and it makes a real difference here.
Bake Until Bubbly and Golden
Slide the dish into your hot oven and bake for 20 to 30 minutes. You’re looking for a bubbling sauce around the edges and cheese that’s melted, golden, and just starting to crisp in spots.
If your oven runs hot or your dish is on the shallower side, start checking around the 20-minute mark so nothing over-browns. Every oven has its own personality, so trust your eyes here more than the clock.
Finish and Serve
Pull the pizza butter beans out and let them sit for a couple of minutes. That short rest lets the sauce settle instead of lava-flowing everywhere the second you dig in.
Scatter fresh basil on top if you’re using it, then serve straight from the dish with toasted crusty bread or sourdough for scooping up every last saucy, cheesy bite.
Tips, Variations, and Troubleshooting
Expert Tips for the Best Pizza Bean Recipe
Use a good pizza sauce you’d actually eat by the spoonful, since it’s doing a lot of the flavor heavy lifting here. If your sauce is thin and watery already, skip the extra ¼ cup water entirely.
Shred your own mozzarella if you have five extra minutes. Pre-shredded cheese has anti-caking coatings that keep it from melting quite as smoothly, and freshly shredded gives you that stretchy, gooey pull.
Let the dish rest before serving, seriously. It’s the difference between a photogenic, sliceable scoop and soupy beans sliding all over your plate.
Tasty Variations to Try
Swap the pepperoni for cooked Italian sausage, crispy bacon, or even shredded rotisserie chicken if you want to switch things up. This pizza and beans base is basically a blank canvas for whatever toppings you’re craving.
Go veggie by adding sliced mushrooms, roasted red peppers, or baby spinach right into the bean mixture before baking. A sprinkle of red pepper flakes is also a great move if you like a little heat.
If you’re into easy, cozy dinners like this one, you’ll probably also love our chicken a la king recipe or the ultra-comforting ya-ya chicken recipe, both built for busy weeknights.
Troubleshooting Common Issues
Sauce too thin after baking? Pop it back in the oven, uncovered, for another 5 minutes to let it reduce and thicken up a bit.
Cheese not browning? Move your dish up a rack closer to the heat, or give it a quick minute or two under the broiler while you watch closely so it doesn’t burn.
Beans falling apart or getting mushy? That usually means they got a rough ride during rinsing. Handle them gently and give them a gentle drain instead of an aggressive rinse under high pressure water.
How to Store and Reheat Pizza and Beans
This pizza bean recipe makes fantastic leftovers, if there’s anything left over at all. Here’s how to keep it tasting fresh.
| Method | How Long | How To |
|---|---|---|
| Refrigerator | Up to 4 days | Store in an airtight container once fully cooled |
| Freezer | Up to 2 months | Freeze in a freezer-safe container, thaw overnight in the fridge before reheating |
| Oven reheating | 10 to 15 minutes at 350°F | Best method for keeping the cheese and edges crispy |
| Microwave reheating | 1 to 2 minutes | Fastest option, though cheese won’t crisp back up |
For a fun no-waste move, turn leftover pizza butter beans into a next-day lunch by spooning them over toasted bread for an open-faced melt, or stirring them into cooked pasta for an instant weeknight pasta bake.
Got extra pizza sauce leftover from another recipe? Freeze it in small portions so it’s ready to go the next time this pizza beans recipe calls your name.
Frequently Asked Questions
Can I use a different bean instead of butter beans?
Yes! Cannellini beans or great northern beans work as a close substitute, since they share a similarly creamy texture. Just keep the rinsing and draining steps the same.
Can I make this pizza bean recipe ahead of time?
You can assemble the beans, sauce, and cheese up to a day ahead and store it covered in the fridge. Bake it straight from the fridge, adding a few extra minutes to the bake time.
Is this pizza butter beans recipe vegetarian?
It is easy to make vegetarian by simply leaving off the pepperoni or swapping in a plant-based version. Everything else in the recipe is already meat-free.
Can I freeze pizza butter beans?
Yes, this dish freezes well for up to 2 months in an airtight, freezer-safe container. Thaw it overnight in the fridge before reheating in the oven for the best texture.
What can I serve with pizza and beans besides bread?
A simple green salad with a light vinaigrette is a great, fresh contrast to the rich, cheesy beans. Roasted vegetables or a side of garlic knots also work well if you want to lean further into pizza night.
Conclusion
Pizza butter beans is one of those recipes that sounds a little unusual until you take that first bubbly, cheesy bite, and then it just makes sense. It’s cozy, it’s fast, and it turns pantry staples into something you’ll actually crave.
If your dinner rotation could use more easy, comforting options like this, our easy lemon herb salmon recipe is another weeknight favorite worth bookmarking.
Give this pizza beans recipe a try this week, snap a photo of that cheesy top, and pin it for later so you don’t lose it in the scroll. I’d love to hear how it turns out for you, so drop a comment and let me know your favorite topping twist.
