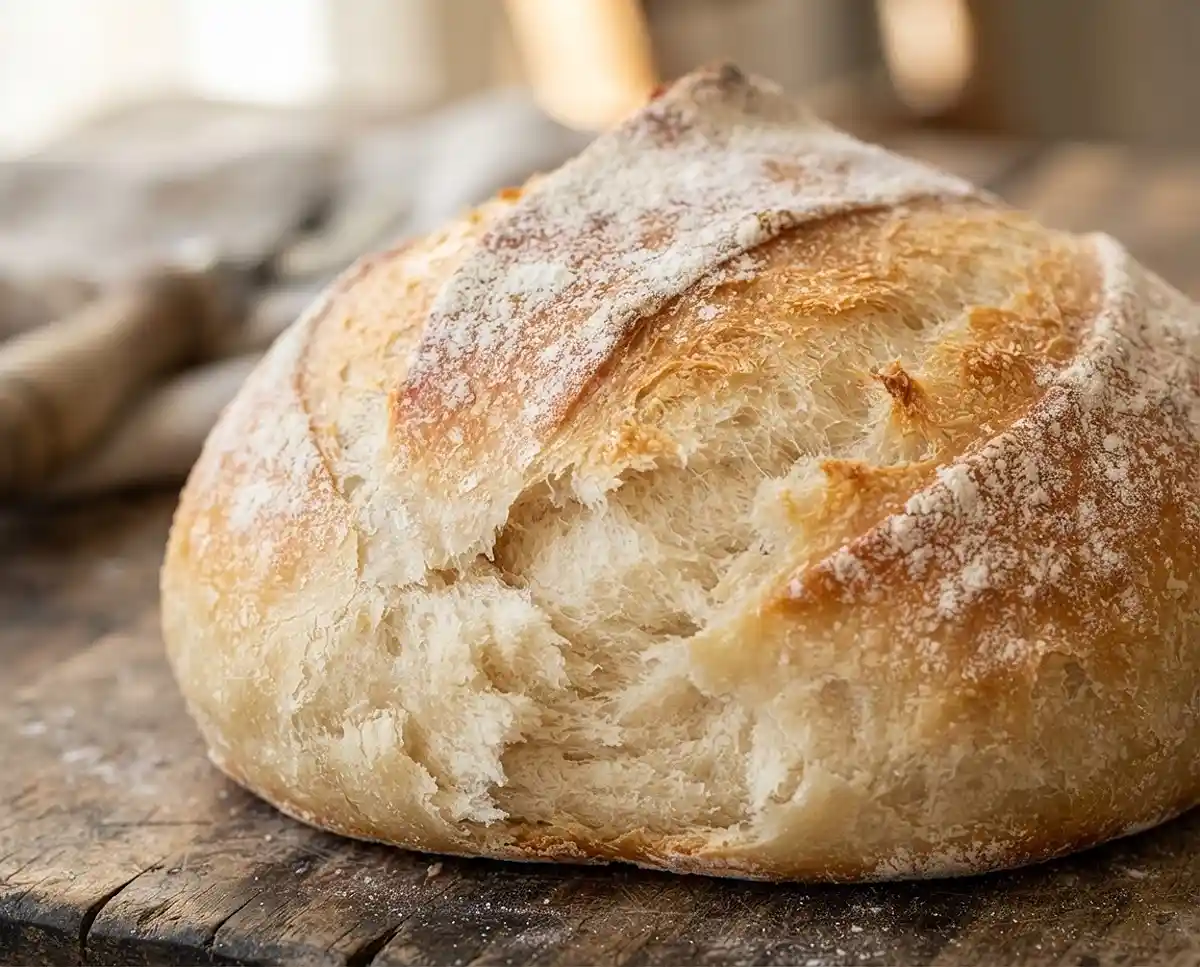
Craving that fluffy publix white mountain bread straight outta the bakery case? This copycat recipe turns five pantry staples into a golden, pillowy loaf that tastes just like the real deal, no bakery run required.
Okay, real talk: I used to build entire grocery trips around grabbing a warm loaf of white mountain bread from the Publix bakery. Then one day I ran the math on gas, time, and my own impatience, and decided I’d just bake it myself instead.
Turns out this bread is way easier than it looks. Five ingredients, one bowl, and a whole lot of “wow, I actually made this” energy. If you’ve ever wanted to recreate that soft, slightly tangy, impossibly fluffy publix bread at home, this is your sign to preheat the oven.
Table of Contents
Quick Overview: Why You’ll Love This Bread
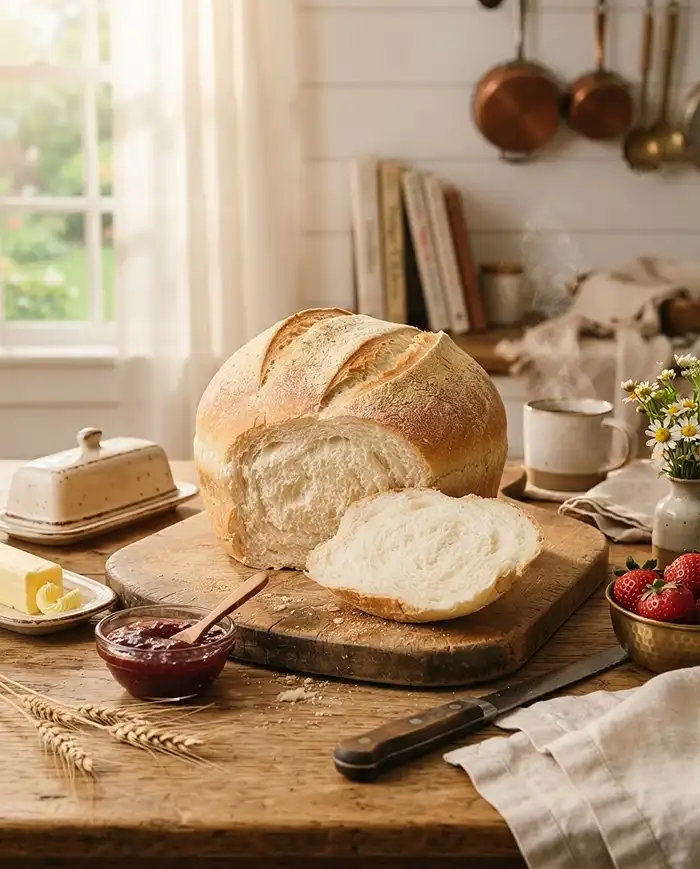
This mountain bread recipe gives you a crackly golden crust with a soft, airy inside that practically begs to be torn apart while it’s still warm. It’s the kind of bread that makes your kitchen smell like a bakery and makes you feel like you actually have your life together.
- Just 5 simple ingredients, most of which are already in your pantry
- No fancy equipment required, though a Dutch oven helps get that bakery-style crust
- Tastes remarkably close to the classic Publix bread everyone loves
- Great for sandwiches, toast, dipping in soup, or just eating plain with butter
It’s the kind of recipe that looks impressive but honestly just requires patience and a stand mixer doing most of the heavy lifting.
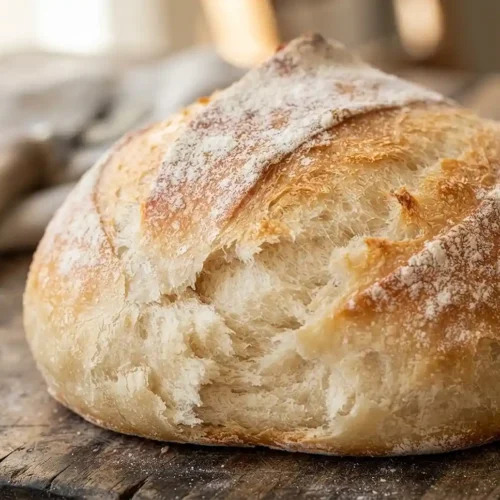
Publix White Mountain Bread Recipe
Equipment
- Stand mixer
- Dough hook attachment
- Medium bowl
- Banneton basket or medium bowl lined with a floured tea towel
- Dutch oven or bread oven
- Baking sheet
- Bread lame or kitchen shears
- wire rack
- Kitchen scale
- Kitchen thermometer
Ingredients
Yeast Mixture
- 1 teaspoon active dry yeast or instant yeast
- ½ teaspoon sugar
- 1 ⅔ cups warm water 391 grams; warm like a comfortable bath, about 110°F
Dough Base
- 4 ½ cups all-purpose flour 550 grams
- 2 teaspoons salt 12 grams
Optional Mix-Ins
- 1 tablespoon dried herbs optional, fold in before shaping
- shredded cheese optional, a handful, fold in before shaping
- garlic powder optional, to taste, fold in before shaping
Instructions
- In the bowl of a stand mixer, combine the warm water, sugar, and yeast. Let the mixture sit for about 5 minutes, until foamy on top. If it does not foam, the yeast may be inactive and should be replaced.
- Add the all-purpose flour and salt to the bowl.
- Using the dough hook attachment, knead on medium-low speed for 5 to 10 minutes, until the dough becomes smooth, slightly stretchy, and a little tacky.
- Transfer the dough to a medium bowl, cover it, and let it rise for 1 hour, or until doubled in size.
- Turn the risen dough out onto a lightly floured surface.
- Shape the dough into a round loaf, or boule. Stretch the edge of the dough closest to you and fold it about two-thirds over itself. Repeat with the sides, then the far edge.
- Flip the loaf over and gently pull it toward you to tighten the bottom and form a smooth ball.
- Flour a banneton basket well, or use a medium bowl lined with a floured tea towel. Place the shaped dough inside seam side up.
- Let the dough rise for another 1 hour.
- While the dough finishes its second rise, preheat the oven to 450°F. If using a Dutch oven or bread oven, place it in the oven while it preheats so it gets hot.
- Carefully transfer the risen loaf into the hot Dutch oven or onto a baking sheet.
- Score the top of the loaf with a bread lame or kitchen shears to allow steam to escape.
- If using a Dutch oven, bake covered for 18 minutes, then uncover and bake for another 18 minutes.
- If using a baking sheet, bake uncovered at 450°F, then reduce the oven temperature to 425°F for the final 15 minutes.
- The bread is done when the crust is deep golden brown and the internal temperature reaches 195°F.
- Transfer the bread to a wire rack and let it cool for a full 1 hour before slicing.
Notes
Ingredients for Publix White Mountain Bread
Here’s everything you need. Simple ingredients, big flavor payoff.
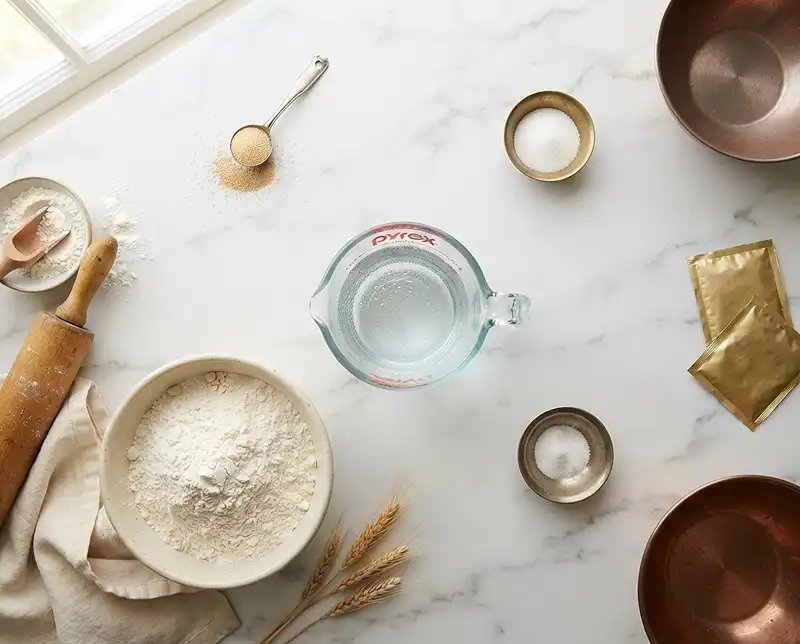
| Ingredient | Amount |
|---|---|
| Yeast Mixture | |
| Active dry yeast or instant yeast | 1 teaspoon |
| Sugar | 1/2 teaspoon |
| Warm water | 1 2/3 cups (391 grams) |
| Dough Base | |
| All-purpose flour | 4 1/2 cups (550 grams) |
| Salt | 2 teaspoons (12 grams) |
That’s it. No eggs, no butter, no oil. Just flour, water, salt, sugar, and yeast doing their magic together, which honestly feels like a little kitchen miracle every single time.
How to Make Publix White Mountain Bread
This recipe comes together in stages, but none of them are hard. Mostly you’re just waiting around while the dough does its thing, which honestly makes you feel very accomplished for very little effort.
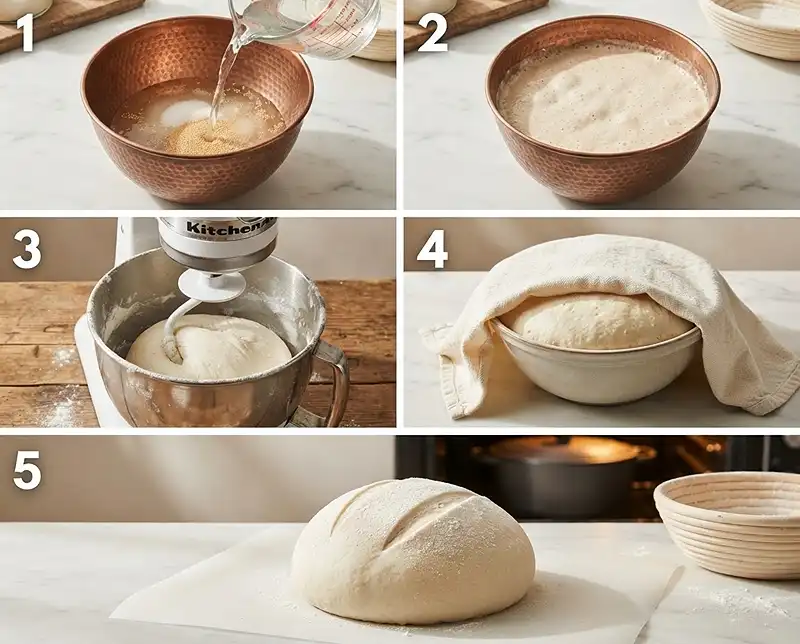
Step 1: Wake Up the Yeast
In your stand mixer bowl, combine the warm water, sugar, and yeast. Let it sit for about five minutes until it gets foamy on top. If it doesn’t foam up, your yeast might be dead, so don’t skip this step.
“That foamy layer is basically the yeast saying I’m alive and ready to work,” which is exactly what you want to see before moving forward.
Step 2: Knead the Dough
Add the flour and salt right into the bowl. Using the dough hook attachment, knead on medium-low speed for five to ten minutes until the dough turns smooth and a little stretchy.
Your kitchen mixer is doing the hard work here, so feel free to go tidy up or pour yourself a coffee while it kneads away.
Step 3: First Rise
Transfer the dough into a medium bowl, cover it, and let it rise for one hour or until it’s doubled in size. This is the part where patience really pays off, so try not to peek every five minutes.
Step 4: Shape the Loaf
Once the dough has doubled, place it on a lightly floured surface. You’re going to shape it into a round loaf, also called a boule, which sounds fancy but is really just some gentle stretching and folding.
Take the edge of the dough closest to you, stretch it, and fold it about two-thirds over itself. Repeat that stretch-and-fold with the sides, then the far edge. Flip the loaf over and gently pull it toward you to tighten the bottom into a smooth ball.
If this sounds confusing in words, don’t worry, there’s a video linked in the notes below that walks through the exact motion.
Step 5: Second Rise
Flour a banneton basket well so the dough doesn’t stick, or use a medium bowl lined with a floured tea towel if you don’t have one. Place your shaped dough inside, seam side up, and let it rise for another hour.
Step 6: Preheat the Oven
While the dough is finishing its second rise, preheat your oven to 450°F. If you’re using a Dutch oven or bread oven, pop it in while the oven heats so it gets nice and hot too.
Step 7: Score and Bake
Carefully transfer the risen loaf into your hot Dutch oven or onto a baking sheet. Slice the top with a bread lame or kitchen shears, this lets steam escape and gives you that classic rustic look.
Bake covered for 18 minutes, then uncovered for another 18 minutes. If you’re using a baking sheet instead, bake uncovered at 450°F, then drop to 425°F for the final 15 minutes.
Your mountain bread is done when the crust is deep golden brown and the internal temperature hits 195°F.
Step 8: Let It Rest
This is the hardest step, not because it’s difficult, but because your whole house now smells incredible and you have to wait. Let the bread cool on a wire rack for a full hour before slicing.
Cutting too early lets steam escape and can make the inside gummy, so as tempting as it is, let it cool properly first.
Expert Tips, Variations, and Troubleshooting
A few things I’ve learned from baking way more loaves of this than I probably should admit to.
Expert Tips
Use a kitchen scale if you have one. Measuring flour by weight instead of cups makes a huge difference in getting that same soft texture as the actual publix bread every time.
Water temperature matters more than people think. Aim for warm, like a comfortable bath, not hot enough to kill the yeast.
Fun Variations
Want to switch things up from classic white mountain bread? Try folding in a tablespoon of dried herbs, a handful of shredded cheese, or even some garlic powder before shaping.
If you love a different style of soft, pillowy loaf, this Japanese milk bread recipe is another one worth trying for its incredibly fluffy texture.
Troubleshooting
Dough not rising? Your kitchen might be too cold, or your yeast could be old. Try placing the covered bowl in a slightly warm oven with just the light on.
Bread came out dense? You likely needed a few more minutes of kneading to develop the gluten properly. It should feel smooth and slightly tacky, not sticky or rough.
Crust too pale? Give it a few extra minutes uncovered near the end of baking to deepen that golden color.
How to Store Publix White Mountain Bread
This bread is best fresh, but it holds up pretty well if you store it right.
| Storage Method | How Long It Lasts |
|---|---|
| Room temperature, wrapped in a towel or paper bag | Up to 3 days |
| Refrigerator, tightly wrapped | Up to 1 week, though texture softens |
| Freezer, sliced and wrapped well | Up to 3 months |
To reheat, pop slices in the toaster or warm the whole loaf wrapped in foil at 350°F for about 10 minutes to bring back that fresh-baked feel.
Got heels or stale ends left over? Turn them into croutons, breadcrumbs, or a quick French toast so nothing goes to waste. Day-old mountain bread also makes an amazing base for a simple cozy coffee cake style breakfast if you’re feeling creative.
Frequently Asked Questions
Can I use instant yeast instead of active dry yeast?
Yes, instant yeast works great here. You can skip the foaming step and mix it directly with the flour if you prefer, though letting it proof first never hurts.
Why didn’t my publix white mountain bread rise properly?
This usually means your yeast was expired or your water was too hot or too cold. Aim for warm water around 110°F and check your yeast’s expiration date before starting.
Can I make this bread without a Dutch oven?
Absolutely. Bake it uncovered on a baking sheet at 450°F, then reduce to 425°F for the final stretch. You just won’t get quite as crackly a crust.
How do I get an extra crispy crust like the bakery version?
Baking covered in a Dutch oven traps steam, which helps create that shatter-crisp crust. A quick spritz of water in the oven before baking on a sheet pan also helps.
Can I add mix-ins like cheese or herbs to this recipe?
Definitely. Fold in shredded cheese, dried herbs, or even garlic before shaping the loaf for a fun twist on the classic mountain bread flavor.
Conclusion
Homemade publix white mountain bread is proof that you don’t need fancy ingredients to make something that tastes bakery-worthy. Just five simple staples, a little patience, and a whole lot of good smells filling your kitchen.
If you loved this recipe, give it a try this weekend and let it become your new go-to loaf. For more inspiration on baking, check out the science-backed tips on King Arthur Baking’s blog or explore proper dough hydration ratios on Serious Eats’ bread guides for even more baking confidence.
Craving something sweet to go with your fresh bread? This berry chantilly cake recipe or this cinnamon roll poke cake pair perfectly with a cozy weekend of baking.
Now go bake this bread, snap a picture of that golden crust, and pin it to your Pinterest board so you can find it again. And if you give this recipe a try, drop a comment below and let me know how your loaf turned out!