
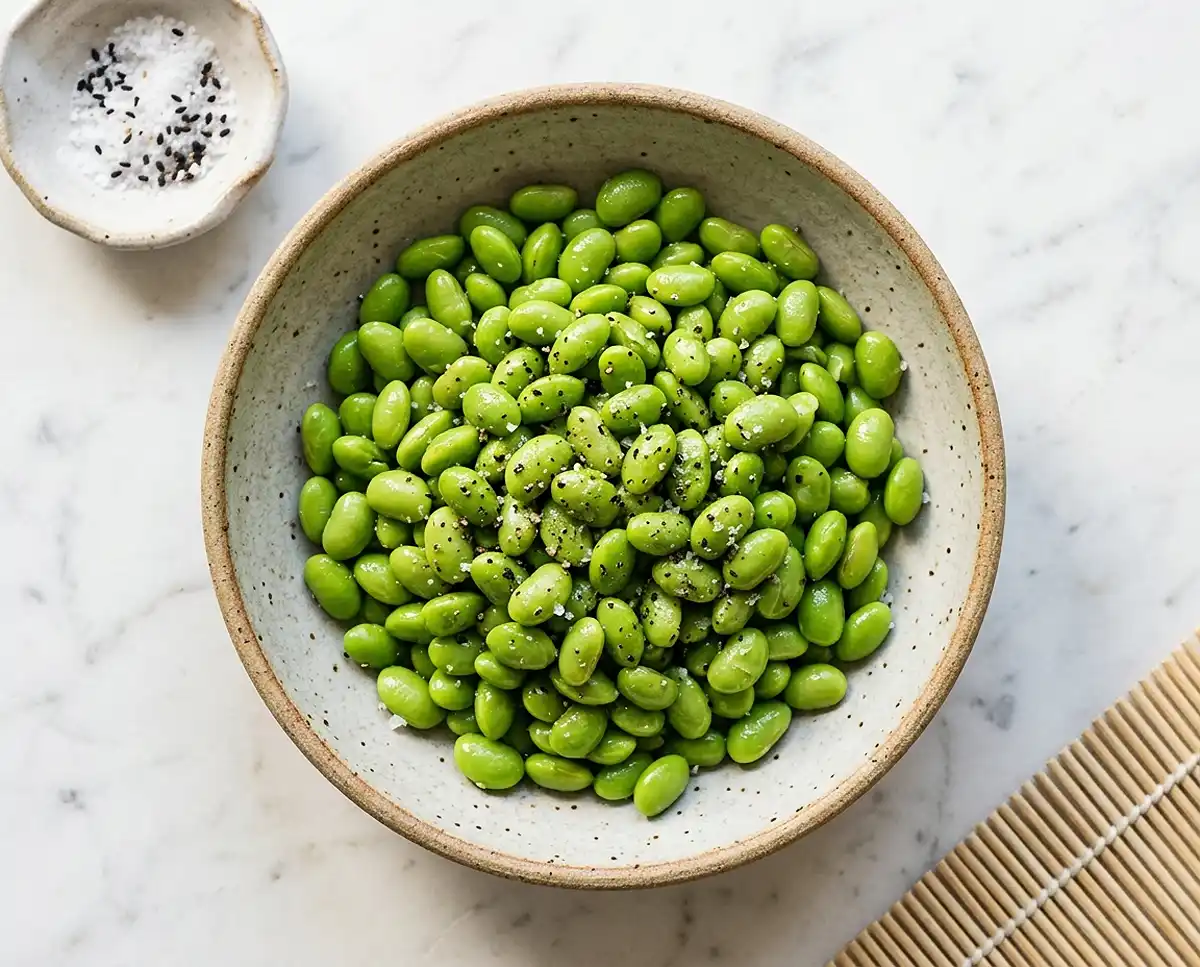
Discover the easiest mukimame recipe that turns a bag of shelled soybeans into a crave-worthy snack in under 10 minutes. Simple, wholesome, and wildly addictive.
Okay, real talk — I stumbled onto mukimame by accident. I grabbed the wrong bag at the grocery store, panicked a little, then made this recipe. Now I make it every single week.
Table of Contents
What Is Mukimame, Exactly?
If you’ve ever wondered what is mukimame, you’re not alone. Mukimame is simply edamame that has already been shelled — no pods, just the tender little soybeans ready to cook.
So is mukimame the same as edamame? Pretty much, yes. The difference is just presentation. Edamame is served in the pod; mukimame beans are already out of it.
When comparing mukimame vs edamame, the flavor is identical. Mukimame just saves you the fun (or frustration) of popping beans out yourself. It’s the lazy genius version, and I am here for it.
Why You’ll Love This Mukimame Recipe
This mukimame recipe is one of those rare wins that’s fast, healthy, and genuinely delicious. It comes together in about 10 minutes with a short ingredients list you probably already have.
It works as a snack, a side dish, or even tossed into a grain bowl. Think of it like a cousin to a great classic potato salad — simple ingredients, big flavor payoff.
The Texture Is Everything
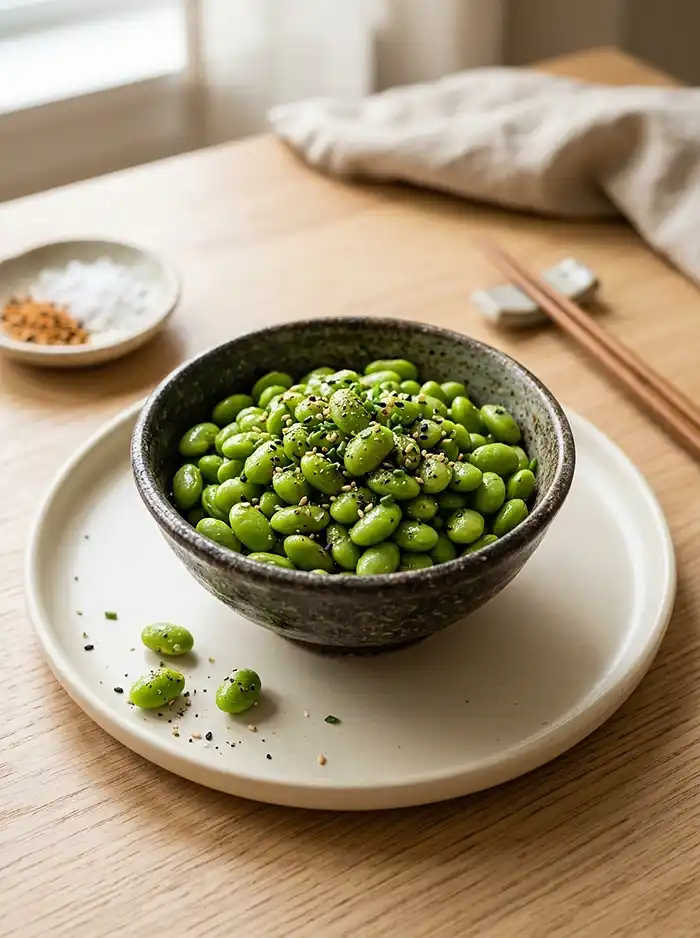
When you cook mukimame just right, you get this satisfying pop with every bite. The outside is tender, the inside stays slightly firm, and the seasoned salt clings to every bean.
It’s the kind of snack where you sit down with a bowl intending to have “just a few” and suddenly the bowl is empty. No regrets.
Mukimame Nutrition Perks
Mukimame nutrition is genuinely impressive. According to the USDA FoodData Central, a half-cup serving of cooked soybeans delivers around 9 grams of protein and 4 grams of fiber.
They’re also a good source of iron, calcium, and folate. So yes, this snack is basically doing your body a favor while tasting like a treat. That’s rare and beautiful.
Mukimame Recipe
Equipment
- Medium saucepan
- Colander
- Mixing spoon
Ingredients
Mukimame
- 10 oz Organic mukimame shelled soybeans
- 3 cups Water
- ½ tsp Salt
- 1 tbsp Homemade seasoned salt
Instructions
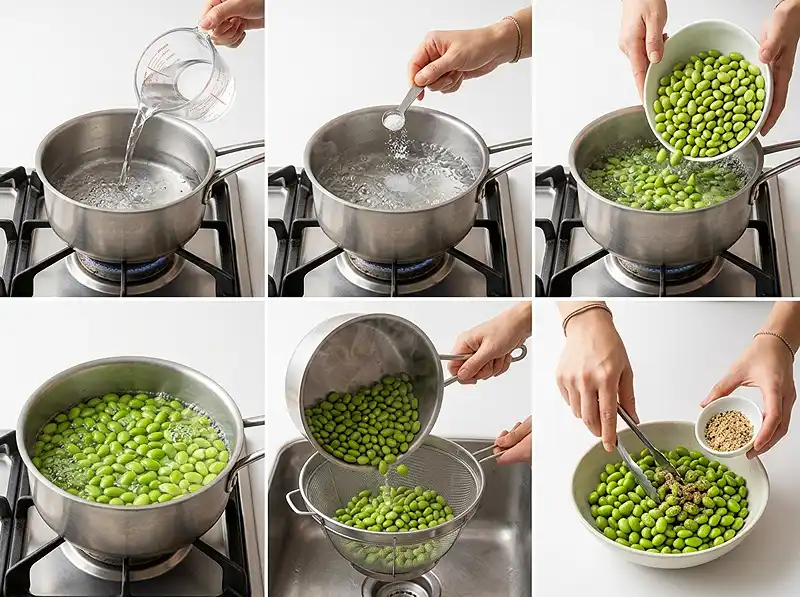
- Bring 3 cups of water to a full rolling boil in a medium saucepan over high heat.
- Once boiling, stir in 1/2 tsp of salt to season the water.
- Add the organic mukimame to the boiling salted water and cook for exactly 5 minutes until tender but still slightly firm.
- Drain the mukimame thoroughly in a colander and shake off excess water.
- While still hot, toss the mukimame with the homemade seasoned salt until evenly coated.
- Transfer to a serving bowl and enjoy immediately, or refrigerate leftovers in an airtight container.
Notes
Ingredients
You only need four things to pull this off. Here’s everything laid out cleanly:
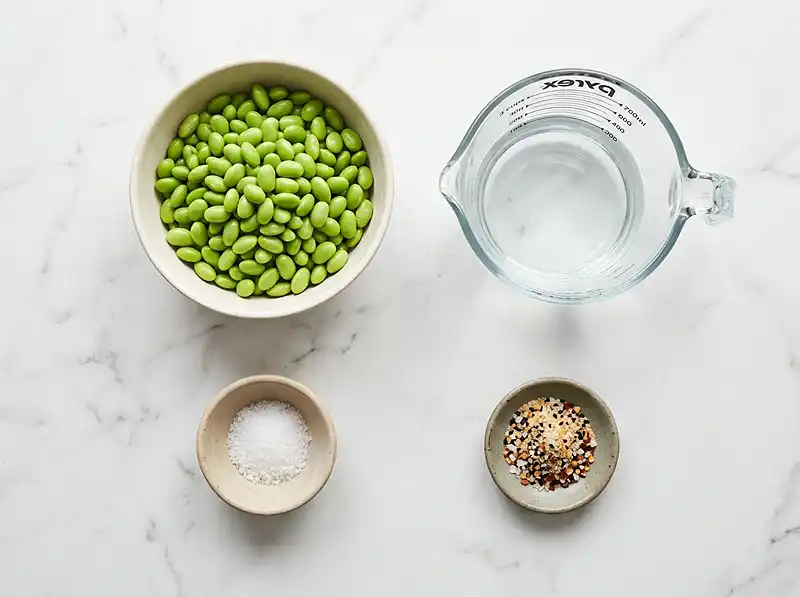
| Ingredient | Amount |
|---|---|
| Organic Mukimame Shelled Soybeans | 10 oz |
| Water | 3 cups |
| Salt | 1/2 tsp |
| Homemade Seasoned Salt | 1 tbsp |
I strongly recommend using organic mukimame if you can find it. The flavor is cleaner and the color tends to be a brighter, more vibrant green.
For the seasoned salt, you can use a store-bought blend or make your own. A simple mix of salt, garlic powder, onion powder, and a pinch of smoked paprika works beautifully here.
How to Make This Mukimame Recipe
This is genuinely one of the simplest recipes you’ll ever make. Four ingredients, one pot, done in minutes.
Step 1: Boil the Water
Bring 3 cups of water to a full rolling boil in a medium saucepan over high heat. Don’t rush this step — starting with truly boiling water keeps the cook time accurate.
Tip: Use a lid to speed up the boiling process. Every minute counts when you’re hungry.
Step 2: Salt the Water
Once boiling, stir in 1/2 tsp of salt. This seasons the mukimame beans from the inside out as they cook, just like salting pasta water does for noodles.
It’s a small step that makes a noticeable difference. Unsalted cooking water leaves the beans tasting a little flat, no matter how much seasoning you add after.
Step 3: Cook the Mukimame
Add the 10 oz of organic mukimame to the boiling salted water. Let them cook for exactly 5 minutes. You want them tender but not mushy.
They’ll turn a gorgeous bright green as they cook. That color is your visual cue that things are going well in the pot.
Step 4: Drain and Season
Drain the mukimame well in a colander. Give them a quick shake to remove as much water as possible — excess moisture dilutes the seasoning.
While they’re still hot, toss them with 1 tbsp of homemade seasoned salt. The heat helps the seasoning cling and melt slightly into each bean. This is the moment the magic happens.
Step 5: Serve and Enjoy
Transfer to a bowl and serve immediately. Hot mukimame with seasoned salt is honestly one of life’s small pleasures.
If you’re not eating them right away, pop them in an airtight container and refrigerate. They’re also fantastic cold, straight from the fridge as a protein-packed snack the next day
Expert Tips for the Best Mukimame
Don’t Overcook
Five minutes is the sweet spot. Going longer makes the beans soft and a little mealy. Set a timer — seriously, don’t wing it with this one.
Season While Hot
Always toss the seasoning onto hot, freshly drained mukimame beans. The warmth acts like a magnet for the seasoned salt, giving you maximum flavor in every single bite.
Make Your Own Seasoned Salt
Store-bought seasoned salt works in a pinch, but homemade is so much better. Combine 1 tsp salt, 1/2 tsp garlic powder, 1/4 tsp onion powder, and 1/4 tsp smoked paprika for a blend that’s perfectly balanced.
According to Serious Eats’ guide to seasoning, layering salt at different stages of cooking builds deeper flavor. This recipe does exactly that.
Variations to Try
This mukimame recipe is incredibly versatile. Once you’ve mastered the base, try these fun twists:
- Spicy: Add a pinch of cayenne or chili flakes to your seasoned salt blend.
- Umami: Toss with a splash of soy sauce and a drizzle of sesame oil right after draining.
- Cheesy: Finish with a light dusting of nutritional yeast for a savory, dairy-free kick.
- Citrusy: A squeeze of fresh lemon over the finished bowl brightens everything up beautifully.
Mukimame also plays well in other dishes. Try stirring a handful into a warm bowl of homemade baked beans for an extra protein boost.
Storage and Reheating
Leftover mukimame stores beautifully. Here’s a quick reference guide:
| Method | Duration | Notes |
|---|---|---|
| Refrigerator | Up to 4 days | Store in an airtight container |
| Freezer | Up to 3 months | Spread flat to freeze, then bag |
How to Reheat
The easiest reheating method is a quick 60-second blast in the microwave. Add a tiny splash of water before heating to keep them from drying out.
You can also warm them in a skillet over medium heat for about 2 minutes. This gives them a slightly firmer texture and a little extra color.
No-Waste Kitchen Ideas
Leftover cooked mukimame beans are a gift. Toss them into salads, grain bowls, or soups. They’re great stirred into fried rice or blended into a smooth, vibrant hummus-style dip.
They also make a great protein add-in alongside a dish like this honey banana bread for a balanced snack plate that covers both sweet and savory cravings.
Mukimame Recipe FAQs
Is mukimame the same as edamame?
Yes, mukimame and edamame come from the same plant — immature soybeans. The key difference is that mukimame beans are already shelled, while edamame is typically served in the pod. Same flavor, less work.
What does mukimame taste like?
Mukimame has a mild, slightly nutty, and subtly sweet flavor. It’s not overpowering at all, which makes it a perfect canvas for bold seasonings like the seasoned salt in this recipe.
Is mukimame healthy?
Absolutely. Mukimame nutrition is impressive — it’s high in plant-based protein, fiber, and essential minerals like iron and calcium. It’s a smart snack whether you’re eating plant-based or just trying to eat a little cleaner.
Can I cook mukimame from frozen?
Yes! Most mukimame you’ll find is sold frozen, and you cook it straight from frozen — no thawing needed. Just drop it into boiling salted water and cook for 5 minutes as directed. Easy and reliable every time.
Where can I find mukimame beans?
Most large grocery stores carry mukimame in the frozen vegetable section, often near the edamame. Warehouse stores like Costco frequently carry large bags of organic mukimame at a great price.
Final Thoughts
This mukimame recipe is proof that great food doesn’t have to be complicated. Four ingredients, one pot, ten minutes, and you’ve got a snack that’s healthy, satisfying, and seriously delicious.
Whether you’re new to mukimame or just looking for a reliable go-to recipe, this one delivers every single time. Bookmark it, make it tonight, and see if it doesn’t become a weekly staple in your kitchen.
If you tried this recipe, I’d love to hear how it turned out! Leave a comment below with your favorite seasoning twist, and if you loved it, please save it to your Pinterest boards so others can find it too.
