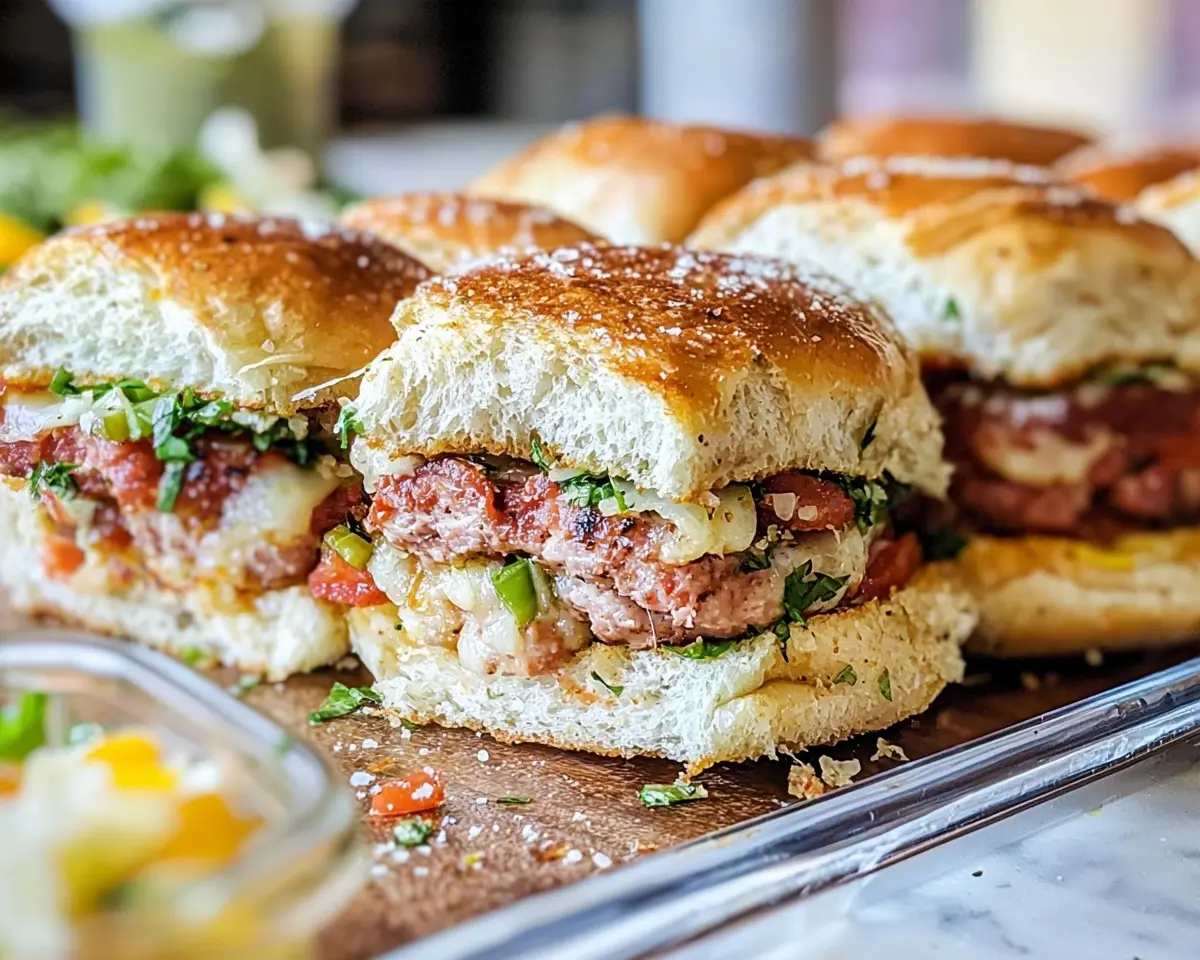
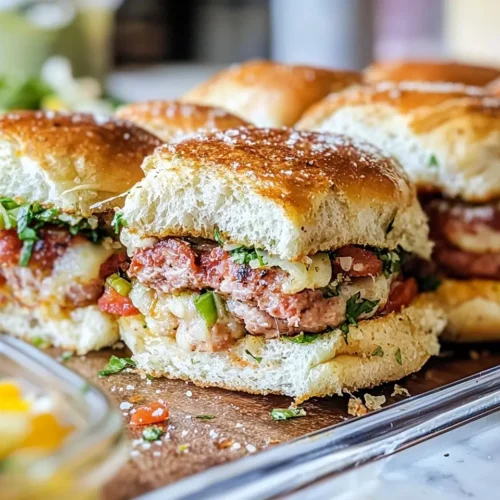
Italian Grinder Sliders recipe with crispy Hawaiian rolls, Italian meats, and fresh grinder salad. Perfect easy Italian sliders for any gathering.
Hi, I’m Linda, and welcome to Tasty at Home—where bold flavors meet everyday kitchens. Last Sunday, while prepping for my nephew’s playoff watch party, I discovered something magical.
Furthermore, it happened completely by accident when I ran out of regular sandwich bread. Instead, I grabbed Hawaiian rolls from the pantry and created what became the most requested recipe in my family’s history.
These Italian Grinder Sliders transformed my usual sandwich routine into something extraordinary. Moreover, after testing this recipe eight times—yes, eight!—I’ve perfected every detail so you don’t have to experience my early mistakes. Trust me, the first batch was a soggy disaster, but that failure led to the game-changing technique I’m sharing today.
Whether you’re hosting a Super Bowl party or need a quick weeknight dinner, these sliders deliver big flavor with minimal effort. Additionally, they’re perfect for feeding a crowd without breaking the bank or your sanity.
Tasty at Home – Where bold flavors meet everyday kitchens.
Table of Contents
What Makes These Italian Grinder Sliders Special
These aren’t your average slider meals. Instead, they combine the beloved flavors of a classic Italian grinder with the convenience of individual portions. Furthermore, the secret lies in the layering technique and that golden, buttery glaze that transforms simple Hawaiian rolls into restaurant-quality gameday food.
The magic happens when Italian meats meet creamy provolone, then get topped with a fresh, tangy grinder salad. Moreover, baking them all together creates crispy edges while keeping the centers perfectly tender. This technique comes from my years of catering experience, where I learned that proper cheese placement prevents sogginess—a lesson that revolutionized my sandwich game.
Ingredients Table for Italian Grinder Sliders
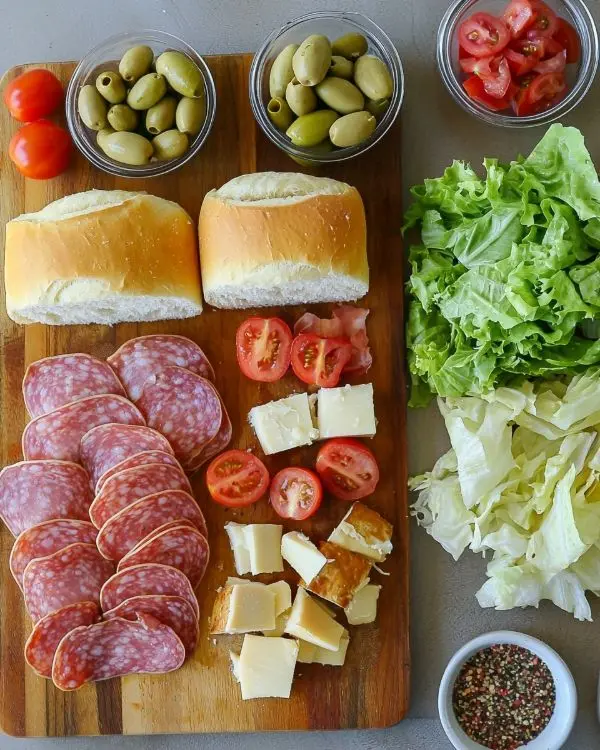
| For the Sliders | Amount | Metric |
|---|---|---|
| Hawaiian rolls | 12 rolls | 12 rolls |
| Ham, thinly sliced | 8 oz | 225g |
| Provolone cheese, sliced | 4 oz | 115g |
| Pepperoni, thinly sliced | 3 oz | 85g |
| Salami, thinly sliced | 3 oz | 85g |
| For the Glaze | Amount | Metric |
|---|---|---|
| Butter | 2 tbsp | 30g |
| Grated Parmesan | 2 tbsp | 15g |
| Garlic powder | 1/2 tsp | 2.5ml |
| Salt | 1/4 tsp | 1.25ml |
| Grinder Salad Topping | Amount | Metric |
|---|---|---|
| Shredded lettuce | 8 oz | 225g |
| Diced tomato | 1/2 cup | 75g |
| Sliced pepperoncini | 1/2 cup | 60g |
| Mayonnaise | 1/4 cup | 60ml |
| Red wine vinegar | 1 tbsp | 15ml |
| Italian seasoning | 1 tsp | 5ml |
| Salt | 1/2 tsp | 2.5ml |
| Black pepper | 1/2 tsp | 2.5ml |
| Garlic powder | 1/2 tsp | 2.5ml |
Shopping Tips for Perfect Results
When shopping for these easy Italian sliders, quality makes a tremendous difference. First, look for King’s Hawaiian rolls in the bakery section—they’re sweeter and more tender than generic brands. Additionally, visit the deli counter for freshly sliced meats rather than pre-packaged options.
Essential Ingredients:
- Choose provolone that’s sliced medium-thick for optimal melting
- Select deli ham with minimal water content
- Pick pepperoncini with firm texture, not mushy
Bold Add-ins for Creative Variations:
- Capicola for extra spice
- Fresh mozzarella for creamier texture
- Roasted red peppers for sweetness
- Banana peppers for mild heat
For international readers, Hawaiian rolls can be substituted with brioche or challah rolls. Furthermore, if pepperoncini aren’t available, use pickled jalapeños or giardiniera for similar tang.
Equipment and Preparation Steps
Essential Equipment
You’ll need a 9×13 inch baking dish, sharp serrated knife, and medium mixing bowl. Additionally, keep measuring spoons and a whisk handy. Don’t worry if you lack a pastry brush—a spoon works perfectly for spreading the glaze.
Pro tip: Line your baking dish with parchment paper for easy cleanup and perfect transfer to serving platters.
Step-by-Step Instructions
Step 1: Prepare Your Workspace
Preheat your oven to 350°F while gathering all ingredients. Meanwhile, line your baking dish with parchment paper, leaving overhang for easy lifting. This preparation step saves time and prevents the chaos I experienced during my first attempt.
Step 2: Slice and Layer the Foundation
Cut Hawaiian rolls horizontally using a sharp serrated knife. Next, place bottom halves in your prepared baking dish, cut-side up. The key here is keeping rolls connected as much as possible—this prevents them from shifting during baking.
Step 3: Build the Perfect Meat and Cheese Stack
Layer provolone cheese directly on the bread bottoms first. This creates a moisture barrier that prevents sogginess—my biggest early mistake was skipping this crucial step. Then, add ham, followed by pepperoni and salami in overlapping layers.
Chef’s secret: Slightly overlap each meat layer for even distribution and maximum flavor in every bite.
Step 4: Cap and Cut Individual Sliders
Place roll tops back on, then carefully cut through the entire assembly between each roll. Furthermore, make sure cuts go completely through to the bottom—incomplete cuts make serving difficult later.
Step 5: Create the Magic Glaze
Melt butter and mix with Parmesan, garlic powder, and salt. Then, brush or spread this mixture generously over slider tops. This glaze creates the golden, crispy exterior that makes these sliders irresistible.
Step 6: Bake to Golden Perfection
Bake for 15-20 minutes until cheese melts and tops turn golden brown. Meanwhile, the aroma will drive everyone crazy with anticipation. Watch carefully during the last 5 minutes to prevent over-browning.
Step 7: Prepare the Fresh Grinder Salad
While sliders bake, whisk together mayonnaise, red wine vinegar, Italian seasoning, salt, pepper, and garlic powder. Next, toss lettuce, tomatoes, and pepperoncini with this dressing. The salad should be bright, tangy, and well-coated.
Step 8: Assemble and Serve
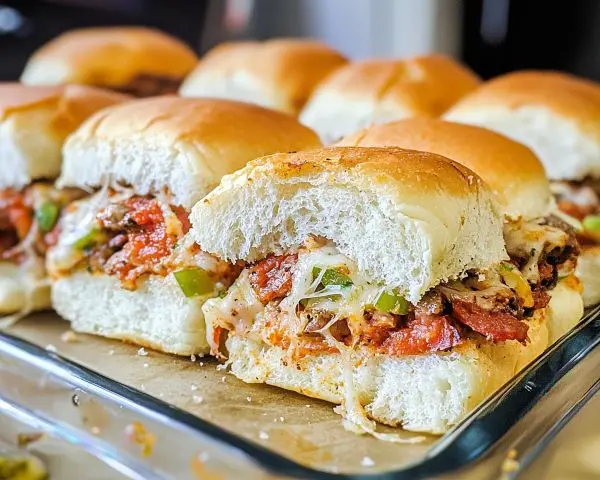
Remove slider tops, add generous portions of grinder salad, then replace tops. Serve immediately while the contrast between warm, crispy bread and cool, fresh salad is at its peak.
Expert Tips and Creative Variations
Professional Techniques for Success
Temperature control makes all the difference in these slider meals. Additionally, letting the assembled sliders rest for 5 minutes before baking allows flavors to meld beautifully. This technique comes from watching Italian-American chefs in Boston’s North End, where timing is everything.
Common mistake I made: Initially, I added the salad before baking, which created a soggy mess. Instead, always add fresh components after baking for optimal texture contrast.
Regional and Seasonal Variations
New England Style: Add roasted red peppers and substitute mortadella for salami California Twist: Include avocado slices and sprouts in the grinder salad Holiday Version: Use cranberry sauce instead of tomatoes for Thanksgiving gatherings Spicy Southwest: Add jalapeños and pepper jack cheese for heat lovers Vegetarian Option: Replace meats with grilled eggplant, zucchini, and extra cheese
These variations have become crowd favorites at different seasonal gatherings. Moreover, each brings unique flavors while maintaining the core appeal of easy Italian sliders.
Storage and Make-Ahead Instructions
| Storage Method | Duration | Instructions |
|---|---|---|
| Refrigerated (assembled, unbaked) | 24 hours | Cover tightly, bake when ready |
| Refrigerated (baked) | 3 days | Reheat in 300°F oven for 10 minutes |
| Frozen (assembled, unbaked) | 1 month | Thaw overnight, bake as directed |
| Grinder salad separate | 2 days | Store dressing and vegetables separately |
Italian Grinder Sliders Perfect Pairings and Serving Suggestions
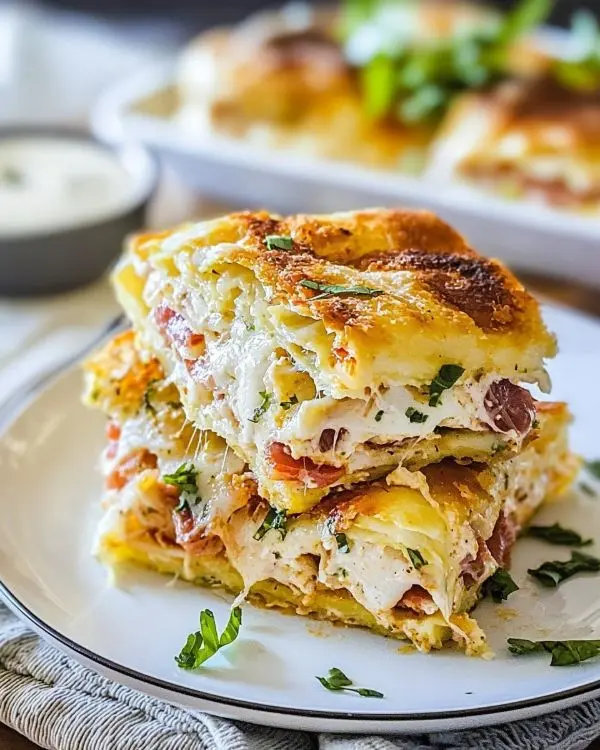
These Italian Grinder Sliders pair beautifully with homemade chips or creamy vegetable soup for a complete meal. Furthermore, they’re fantastic alongside classic chili during football season.
For beverages, consider Italian sodas, craft beer, or sparkling water with lemon. Additionally, these sliders work wonderfully as part of a larger spread with Mexican street tacos for diverse crowd-pleasing options.
According to Food Network’s Italian cooking experts, the key to authentic Italian flavors lies in balancing salty, tangy, and fresh elements—exactly what these sliders achieve through careful layering and that crucial grinder salad topping.
Italian Grinder Sliders FAQs
How to prevent sliders from getting soggy?
The secret lies in proper layering—always place cheese directly on the bread as a moisture barrier, and add fresh components only after baking.
What temperature do I set sliders on for?
Bake at 350°F for 15-20 minutes until the cheese melts completely and tops achieve golden brown color.
How far ahead can you prepare sliders?
You can assemble these easy Italian sliders up to 24 hours in advance, then bake fresh when ready to serve.
What goes with Italian sliders?
These pair perfectly with potato chips, pasta salad, or award-winning chili for hearty gameday food spreads.
What to serve with Italian grinders?
Complement these slider meals with pickles, olives, homemade salsa, and Italian sodas for an authentic experience.
The Perfect Gameday Solution
These Italian Grinder Sliders represent everything I love about home cooking—bold flavors, simple techniques, and guaranteed crowd appeal. Furthermore, they’ve become my go-to recipe whenever I need to feed a group without spending hours in the kitchen.
The beauty lies in their versatility and foolproof nature. Additionally, watching friends and family discover that perfect bite—crispy bread, melted cheese, savory meats, and fresh, tangy salad—never gets old. It’s the same joy I felt during that accidental discovery last Sunday.
Whether you’re planning a Super Bowl party, weeknight dinner, or casual gathering, these sliders deliver restaurant-quality results with homemade heart. Moreover, they’re budget-friendly enough for regular rotation yet special enough for important occasions.
Try making these with homemade chili seasoning mix sprinkled on the salad for extra depth, and don’t forget to share your creations—I love seeing how different families make these sliders their own.
Tasty at Home – Where bold flavors meet everyday kitchens.
Italian Grinder Sliders
Equipment
- 9×13 inch baking dish
- Sharp serrated knife
- Medium mixing bowl
- measuring spoons
- Whisk
Ingredients
For the sliders
- 12 Hawaiian rolls
- 8 ounces ham thinly sliced
- 4 ounces provolone cheese sliced
- 3 ounces pepperoni thinly sliced
- 3 ounces salami thinly sliced
For the glaze
- 2 tablespoons butter
- 2 tablespoons grated parmesan
- ½ teaspoon garlic powder
- ¼ teaspoon salt
Grinder Salad topping
- 8 ounces shredded lettuce
- ½ cup diced tomato
- ½ cup sliced pepperoncini peppers
- ¼ cup mayonnaise
- 1 tablespoon red wine vinegar
- 1 teaspoon Italian seasoning
- ½ teaspoon salt
- ½ teaspoon pepper
- ½ teaspoon garlic powder
Instructions
- Preheat the oven to 350°F.
- Cut the Hawaiian rolls horizontally. Lay the bottoms in a baking dish.
- Layer the provolone cheese on the bread. Then add the ham, pepperoni, and salami on top. Place the tops back on the rolls and cut through the sandwiches between each roll.
- Combine the butter, parmesan, garlic powder, and salt. Spread over the tops of the slider sandwiches. Bake for 15-20 minutes or until the cheese is melted and the tops are golden brown.
- While the sandwiches bake, make the grinder salad by whisking together the mayonnaise, red wine vinegar, Italian seasoning, salt, pepper, and garlic powder to form a dressing.
- Toss the lettuce, tomatoes, and pepperoncini peppers together with the dressing.
- Once the sandwiches are done, remove the tops, add the grinder salad and put the tops back on. Serve immediately.

