
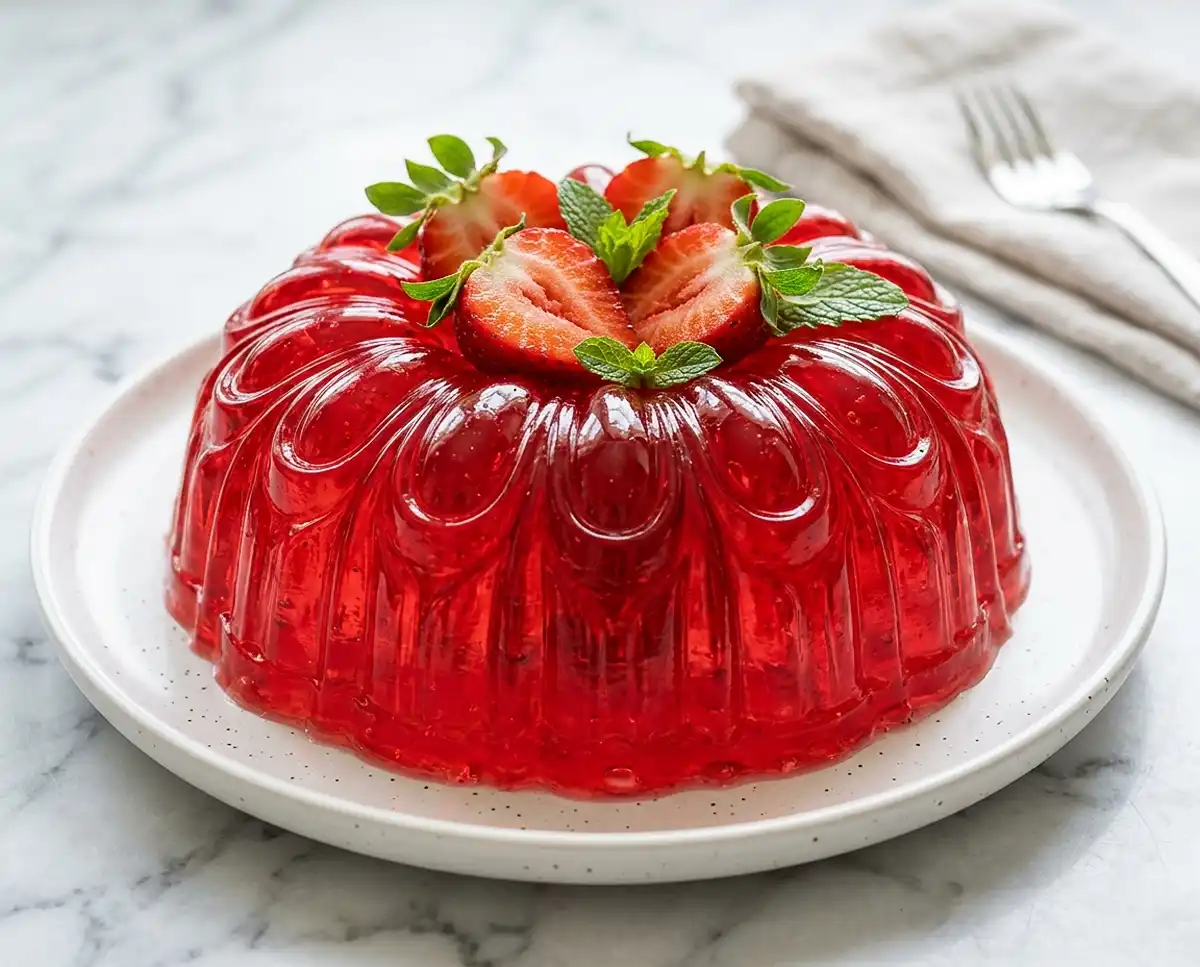
Learn how to make jello at home with just two ingredients: real fruit juice and gelatin. It’s healthier, tastier, and honestly kind of magic.
My grandma swore a Jello mold could fix any potluck disaster, and she was not wrong. I started making my own after realizing boxed Jello tastes like sugar and regret. Turns out learning how to make jello from real juice takes maybe five minutes of actual effort, and it jiggles like an absolute dream.
Table of Contents
Why You’ll Love This Homemade Jello
This isn’t the neon stuff from a packet. This homemade Jello uses real juice, so you already know what’s in it, and you get to pick exactly how sweet or tart it turns out.
- Only two ingredients: juice and gelatin, no mystery powder packs
- Naturally colored and flavored by whatever juice is in your fridge
- A fun way to sneak in a little extra protein from the gelatin itself
- Sets up overnight with zero stovetop skills required beyond warming juice
If you’re trying to eat a little cleaner, this is basically a blueprint for a jello recipe built with weight loss goals in mind, minus the artificial dyes.
It’s also just genuinely fun to make. There’s something satisfying about watching a liquid turn into a wobbly, sliceable dessert overnight, and kids especially get a kick out of helping pour it into the mold.
Whether you’re packing lunches, prepping a light dessert for the week, or just craving something nostalgic, this recipe covers it. It’s the kind of thing you make once and then find yourself making on repeat.
How to Make Jello: Perfect Homemade Jell-O
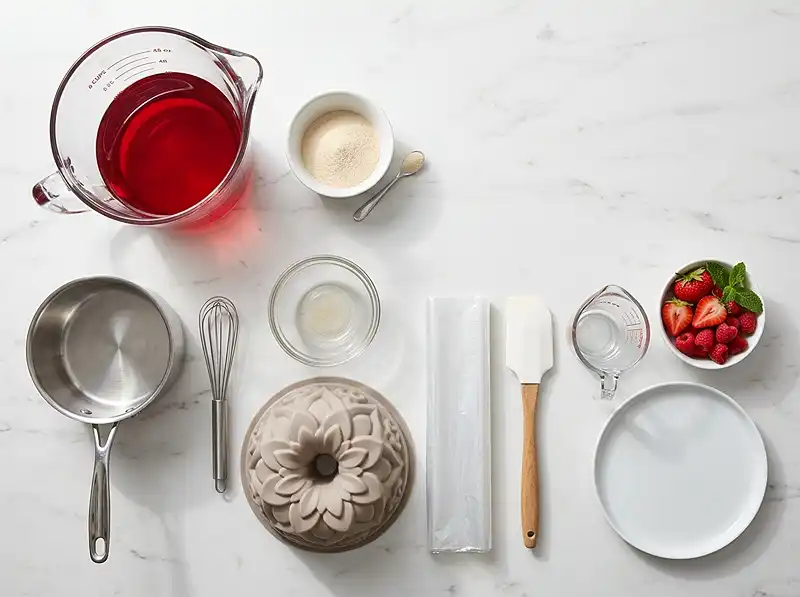
Equipment
- Small saucepan
- small bowl
- Whisk
- Jello mold or dish
- measuring cups
- measuring spoons
- Refrigerator
Ingredients
Homemade Jello
- 6 cups Juice 48 ounces; cranberry, grape, pomegranate, apple, or white grape work well
- 3 tablespoons Unflavored gelatin Add 2 extra teaspoons for firmer, sliceable jello
Optional Add-Ins
- Fresh or cooked fruit Optional; diced peaches or berries work well. Avoid fresh pineapple, kiwi, or papaya unless cooked or canned
Instructions
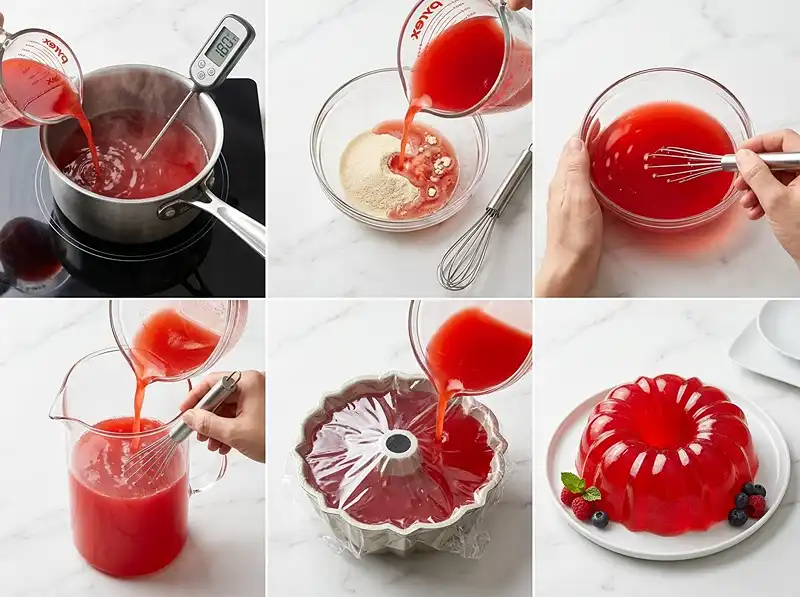
- Pour 1/2 cup of the juice into a small saucepan and warm it over medium heat until hot but not boiling.
- Add the unflavored gelatin to a small bowl.
- Pour the warm juice over the gelatin and whisk well.
- Let the mixture sit for about 1 minute, then continue stirring until the gelatin is fully dissolved with no visible grains or gritty bits.
- Pour in the remaining juice and whisk until completely combined.
- Pour the mixture into a jello mold or dish and cover.
- Refrigerate for at least 8 hours, or overnight, until fully firm and set.
- To unmold, briefly run the outside of the mold under hot water to loosen the edges.
- Slice or scoop the jello and serve cold, topped with matching fresh fruit if desired.
Notes
What You’ll Need for Homemade Jello
Here’s the whole ingredient list. Yes, really, that’s it. Simple homemade Jello doesn’t need a shopping cart full of stuff.
| Ingredient | Amount | Notes |
|---|---|---|
| Juice (your choice of flavor) | 6 cups (48 ounces) | See notes below on picking a juice |
| Unflavored gelatin | 3 tablespoons | Add 2 extra teaspoons for a firmer jello |
A quick note on juice: pick something with real fruit and not a ton of added sugar. Cranberry, grape, and pomegranate all set up beautifully and give you that classic Jello color without any dye.
Lighter juices like white grape or apple work too, they just come out a bit more translucent. Darker juices tend to look more like the Jello you grew up with, so start there if you’re testing this out for the first time.
How to Make Jello Step by Step
Making jello from scratch feels fancy, but it’s really just warming, whisking, and waiting. Here’s exactly how it goes down in my kitchen.
Warm the Juice
Pour half a cup of your juice into a small saucepan and heat it over medium until it’s hot but not boiling. You just want steam and warmth here, not a rolling bubble. Think “cozy bath water,” not “volcano.”
Bloom the Gelatin
Add your gelatin to a small bowl, then pour that warm juice right over the top. Whisk it together and let it sit for a minute. Keep stirring occasionally until every last grain of gelatin has fully dissolved, no gritty bits allowed.
My grandma always said, “if you can still see it, it’s not ready,” and honestly that’s the best gelatin tip I’ve ever gotten. Take your time here, this step is what makes or breaks your homemade Jell-O.
Combine and Pour
Pour in the rest of your juice and whisk until everything’s completely combined. Then pour the whole mixture into a jello mold, cover it, and pop it in the fridge.
Chill Until Firm
Let it refrigerate for 8 hours or, easier still, just leave it overnight. This is the hardest part of the whole recipe because you have to actually wait. Go watch a show, walk the dog, anything to distract yourself from opening that fridge every ten minutes.
Unmold and Serve
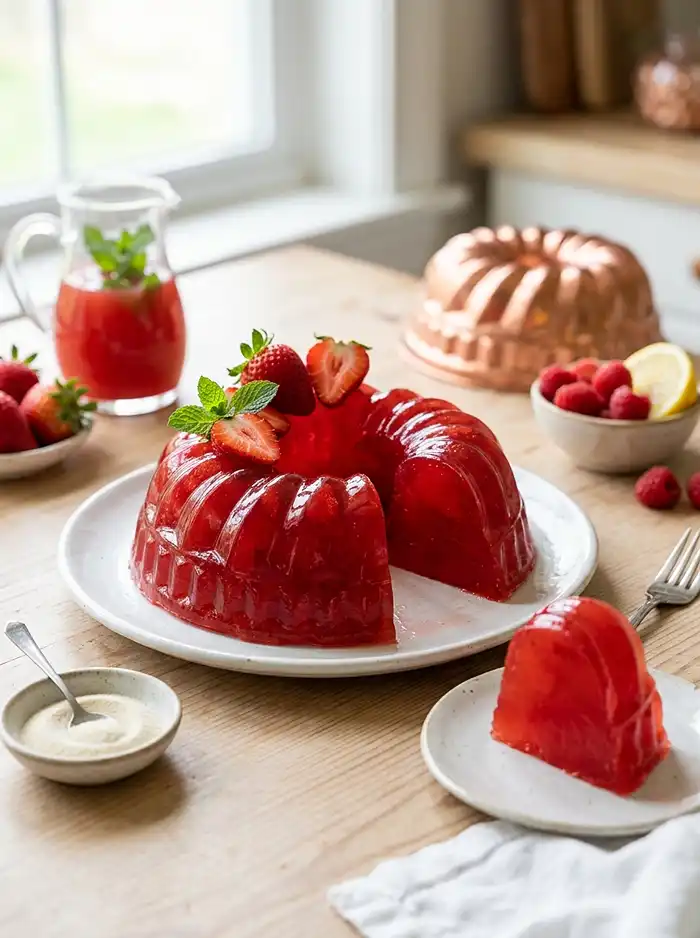
When you’re ready to serve your homemade Jello, run the mold briefly under hot water in the sink. This loosens the edges so it slides right out instead of fighting you. Slice it up or top it with fresh fruit that matches whatever flavor juice you used.
Tips, Variations, and Troubleshooting
A few things I’ve picked up from making this dozens of times, including a few mistakes so you don’t have to make them yourself.
Pro Tips for Perfect Texture
Want a firmer, sliceable jello you can cut into cubes? Use that extra 2 teaspoons of gelatin mentioned in the ingredients. This is exactly the trick behind those high-protein gelatin power cubes that are perfect for snacking straight from the fridge.
Also, never let your gelatin mixture boil. Boiling can actually weaken gelatin’s setting power, leaving you with jello soup instead of jiggly squares.
Flavor Variations to Try
Swap juices to change the whole vibe of this recipe. Tart cherry juice makes a gorgeous deep red jello, while pineapple juice gives you a tropical, sunny version.
You can also layer two different juice flavors in the same mold for a striped effect. Just let the first layer set for about an hour before adding the second on top.
For a fun twist, try folding in small pieces of fresh, cooked fruit right before pouring the mixture into the mold. Diced peaches or berries suspended in the jello make for a really pretty presentation, especially if you’re serving this at a party or potluck.
Common Problems and Fixes
Jello not setting? It’s almost always one of two things: not enough gelatin, or a juice with natural enzymes that break down gelatin, like fresh pineapple or kiwi. Cooked or canned versions of those fruits work fine since heat deactivates the enzyme.
Cloudy or grainy texture usually means the gelatin didn’t fully dissolve in step two. Next time, give it an extra minute or two of stirring before moving on.
Jello that’s too soft to hold its shape once unmolded almost always just needs more chill time. Give it the full 8 hours before giving up on it, since gelatin keeps firming up the longer it sits in the cold.
And if your mold won’t release cleanly even after the warm water trick, try dipping it a second time for just a few extra seconds. A thin metal mold usually releases faster than a thick plastic one.
If you’re curious about the health angle here, gelatin actually has some genuinely science-backed benefits worth knowing about, including its unique amino acid profile.
It’s also part of the reason people talk about Dr. Jennifer Ashton’s gelatin trick for adding protein to everyday meals without much effort.
Storing, Reheating, and Using Every Last Drop
Homemade Jello holds up nicely in the fridge, so it’s a great make-ahead snack or dessert for the week.
| Storage Method | How Long It Lasts | Notes |
|---|---|---|
| Refrigerator, covered | Up to 5 days | Keep it covered so it doesn’t absorb fridge odors |
| Freezer | Not recommended | Freezing changes the texture and makes it watery once thawed |
| Room temperature | Under 1 hour | Jello softens and melts quickly outside the fridge |
There’s no reheating involved here since jello is served cold, but if it softens too much on a hot day, just pop it back in the fridge for 20 to 30 minutes to firm back up.
For a no-waste move, save any leftover juice pulp or extra fruit scraps to blend into a smoothie the next morning. Leftover jello cubes also make a fun mix-in for yogurt bowls instead of tossing them out.
You can also chop leftover jello into small cubes and freeze them briefly for a slushy, half-frozen snack on a hot afternoon. It’s a simple way to stretch a batch of homemade Jell-O across a few different snacks instead of one dessert.
Frequently Asked Questions
Can I make healthy homemade jello without added sugar?
Yes. Pick a 100 percent juice with no added sugar and you’ll get naturally sweetened homemade jello without any refined sugar in the mix.
Why didn’t my jello set properly?
This usually means not enough gelatin was used or the juice contained fresh pineapple, kiwi, or papaya, which have enzymes that break down gelatin. Stick to cooked or canned versions of those fruits instead.
Can I make this jello recipe ahead of time?
Absolutely, this recipe is meant to be made ahead. It needs at least 8 hours to set, so making it the night before serving works perfectly.
How long does homemade jello last in the fridge?
Covered and refrigerated, homemade jello stays fresh for up to 5 days. Freezing is not recommended since it changes the texture once thawed.
What’s the best juice for beginners learning how to make jello?
Grape, cranberry, or pomegranate juice are great starting points because they set up reliably and give a rich, classic jello color without any dye.
Final Thoughts
And that’s really it, now you know exactly how to make jello that tastes better than anything from a box. Two ingredients, one saucepan, and a little patience is all it takes.
Give this homemade Jell-O a try this week and let me know how it turns out in the comments. If you loved it, please pin the recipe on Pinterest so more people can find it, and share your results, I always love seeing your jiggly creations.
