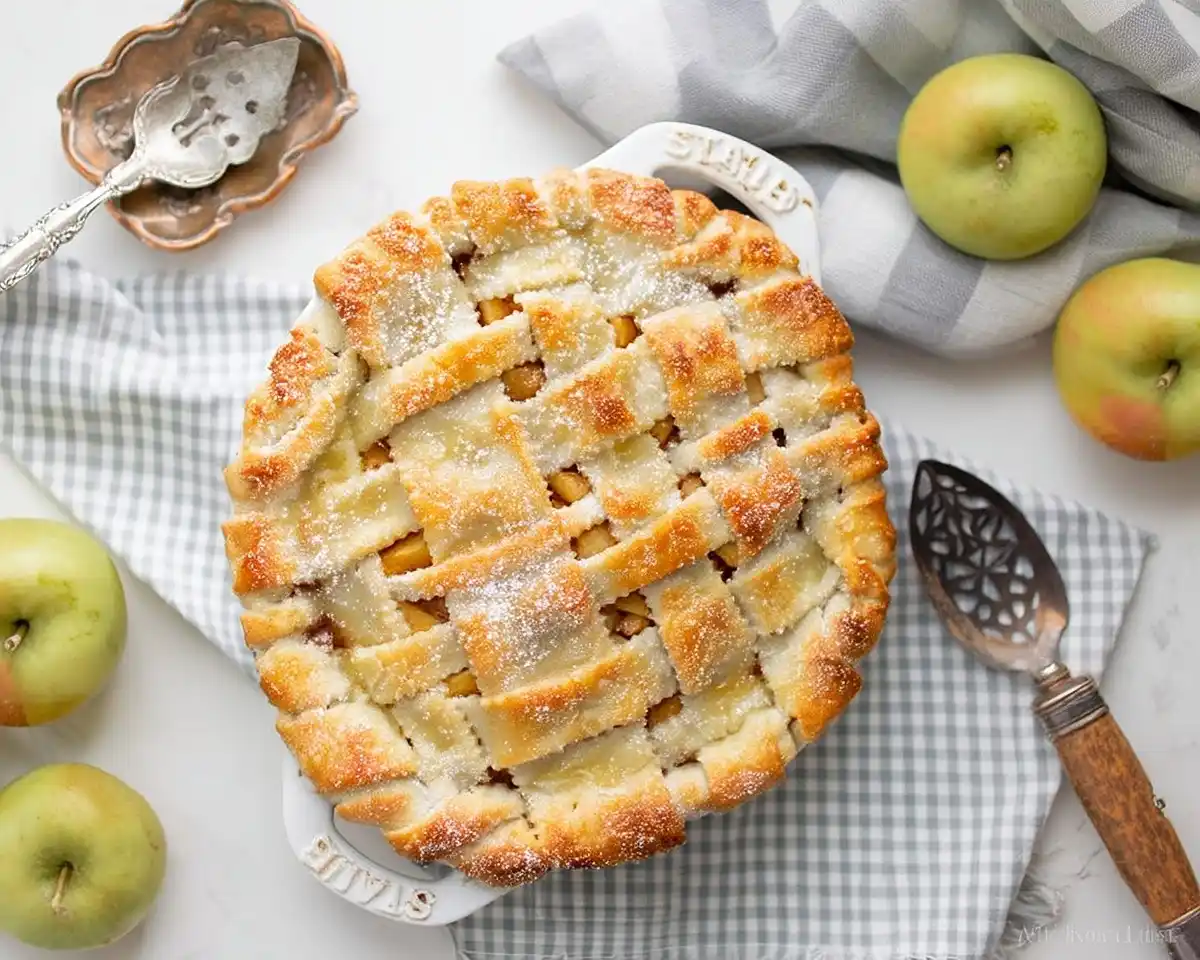
Homemade Apple Pie with tender apples, buttery crust, and warm cinnamon. Learn expert tips for creating the perfect sweet apple pie recipe every time.
My grandmother’s kitchen smelled like heaven every October. Cinnamon and butter mingled in the air while golden apples bubbled under a latticed crust. I’d press my nose against the oven door, watching that homemade apple pie transform into something magical.
Fast-forward twenty years, and I’m standing in my own kitchen with burnt edges and a soggy bottom crust. Oops! My first attempt was a disaster, but I refused to give up on mastering this iconic American dessert.
After testing this recipe seventeen times—yes, seventeen—I finally cracked the code. This sweet apple pie recipe delivers tender, perfectly spiced apples nestled in a flaky, golden crust that’ll make your whole house smell like a New England bakery. The secret? Pre-cooking your apples and getting the temperature just right.
Table of Contents
What Makes This Apple Pie Absolutely Unbeatable
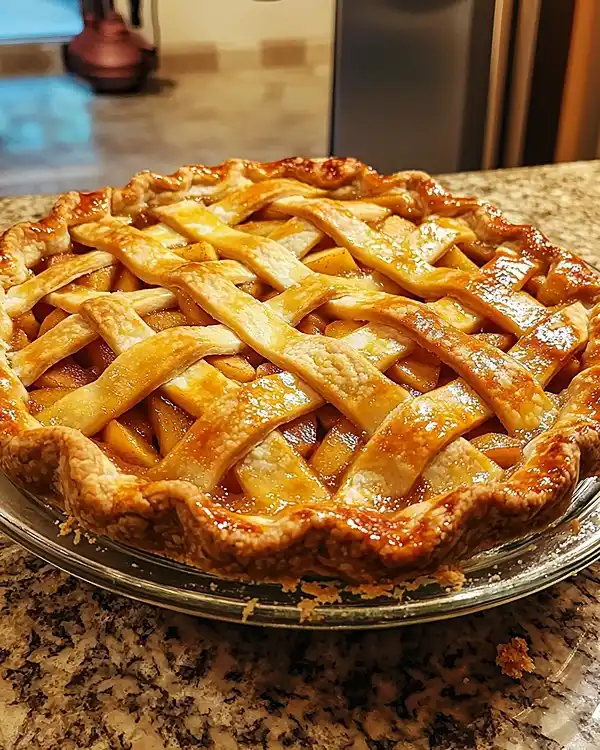
This isn’t your average pie. Pre-cooking the apples prevents that dreaded gap between filling and crust while intensifying their natural sweetness. You’ll skip the raw apple roulette and nail consistent results every single time.
I’ve tested Granny Smith, Honeycrisp, and Golden Delicious apples. The winning combination? A mix of tart and sweet varieties creates complex flavor that elevates this from good to extraordinary. Professional bakers like Thomas Keller emphasize the importance of proper apple selection for structural integrity and taste.
The ingredients work in perfect harmony. Brown sugar adds molasses depth while cinnamon provides warmth without overwhelming the fruit. A touch of lemon juice brightens everything and prevents oxidation.

Homemade Apple Pie
Equipment
- 9-inch pie plate
- Rolling Pin
- Large pot
- Pastry brush
- Pizza Cutter
- aluminum foil
- Measuring cups and spoons
- Parchment paper
Ingredients
Pie Crust
- 1 recipe Perfect Pie Crust Recipe Homemade or quality store-bought
Filling
- 0.25 cup Butter Unsalted preferred
- 8 cups Apples 1.2kg peeled and cored
- 0.67 cup Brown Sugar Lightly packed
- 1 tbsp All-Purpose Flour For thickening
- 2 tsp Cinnamon Freshly ground best
- 1 tsp Lemon Juice Fresh squeezed
- 0.25 tsp Salt Enhances sweetness
Egg Wash
- 1 large Egg
- 1 tsp Water
- Coarse Sugar Optional for sparkly finish
Instructions
- Preheat oven to 425°F (220°C). Prepare a 9-inch pie plate and clear your workspace. Lightly flour the counter and have all ingredients measured and ready.
- Melt butter in a large pot over medium-low heat. Add apples, brown sugar, flour, cinnamon, lemon juice, and salt. Stir until apples are coated and cook 8–10 minutes until slightly softened. Cool completely before using.
- Roll out the bottom crust to ⅛-inch thickness and fit it into the pie plate. Trim excess dough hanging more than an inch over the edge.
- Whisk together egg and water to make an egg wash. Set aside with a pastry brush ready.
- Fill the cooled apple mixture into the bottom crust. Roll out the top crust or cut into lattice strips. Seal and crimp edges firmly to prevent leaks.
- Brush top with egg wash and sprinkle with coarse sugar for a sparkly finish.
- Bake at 425°F for 15 minutes, then reduce to 350°F and bake for 40 minutes more until golden brown and bubbling. Cover edges with foil if browning too fast.
- Cool for at least 2 hours before slicing for clean cuts and perfect texture.
Notes
Ingredient Selection Guide
Choose firm apples with no soft spots or bruises. Freshly ground cinnamon delivers more aromatic punch than pre-ground versions sitting in your pantry for months. High-quality butter makes all the difference in both crust and filling—European-style butter with higher fat content creates exceptional richness.
Ingredients Table
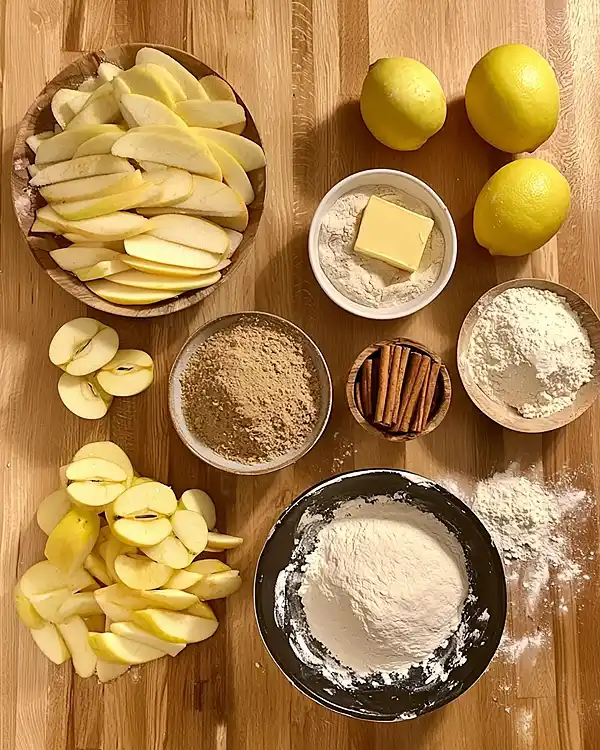
| Ingredient | US Measurement | Metric | Notes |
|---|---|---|---|
| Perfect Pie Crust Recipe | 1 recipe | 1 recipe | Homemade or quality store-bought |
| Butter | ¼ cup | 57g | Unsalted preferred |
| Apples | 8 cups sliced | 1.2kg | Peeled and cored |
| Brown Sugar | ⅔ cup | 145g | Lightly packed |
| All-Purpose Flour | 1 tablespoon | 8g | For thickening |
| Cinnamon | 2 teaspoons | 5g | Freshly ground best |
| Lemon Juice | 1 teaspoon | 5ml | Fresh squeezed |
| Salt | ¼ teaspoon | 1.5g | Enhances sweetness |
| Egg | 1 large | 1 large | For egg wash |
| Water | 1 teaspoon | 5ml | For egg wash |
| Coarse Sugar | Optional | Optional | For sparkly finish |
Smart Shopping Tips for US Grocery Stores
Head to your local supermarket’s produce section during fall for peak apple season. Look for Granny Smith apples in the green section and Honeycrisp near the premium varieties. Trader Joe’s carries excellent pre-made pie crust if you’re short on time.
Essential Ingredients
The foundation starts with quality apples and butter. Don’t skimp on these core components. Your local farmers market offers superior apples during September through November with varieties you won’t find at chain stores.
Bold Add-Ins & Creative Variations
Consider adding ½ cup of dried cranberries for tartness or a tablespoon of bourbon for depth. Cardamom lovers can substitute half the cinnamon for an unexpected twist. A handful of chopped walnuts adds delightful crunch.
International Substitutions
Use caster sugar instead of coarse sugar for the topping. Replace brown sugar with coconut sugar for a deeper molasses flavor. Vegan butter works perfectly for dairy-free versions.
Equipment You’ll Need
Gather a 9-inch pie plate, large pot, rolling pin, and pastry brush. A pizza cutter makes lattice work effortless. No rolling pin? A wine bottle works in a pinch.
You’ll also want a small bowl for egg wash, measuring cups and spoons, and aluminum foil. Parchment paper prevents sticking when rolling dough. A kitchen timer ensures perfect baking every time.
How To Make Homemade Apple Pie
Prep Your Workspace
Set aside a 9-inch pie plate and preheat your oven to 425°F. This high initial temperature creates that coveted flaky crust. Julia Child always emphasized proper oven temperature for pastry success.
Clear your counter and lightly flour the surface. Have all ingredients measured and ready. This French cooking technique called mise en place saves time and prevents mistakes.
Cook the Apple Filling
Melt the butter in a large pot over medium-low heat. Add the apples, brown sugar, flour, cinnamon, lemon juice, and salt. Stir everything together until the apples glisten with butter.
Cook the mixture for 8 to 10 minutes, stirring occasionally. You’ll know it’s ready when the apples soften slightly but still hold their shape. They should release their juices and create a light syrup.
Remove from heat immediately and set aside to cool completely. Hot filling will melt your crust and create a soggy mess—trust me, I learned this the hard way. Let me tell you, patience here pays off tremendously.
Roll Out the Bottom Crust
Divide your prepared pie dough in half if not already portioned. Lightly flour your work surface and place one disc in the center. Roll from the center outward, rotating the dough quarter-turns to maintain a circular shape.
Aim for ⅛-inch thickness, slightly larger than your pie plate. The dough should look smooth and even. Transfer it carefully into the pie plate, gently pressing it into the bottom and up the sides. Don’t stretch it or it’ll shrink during baking.
Trim any excess hanging more than an inch over the edge. Keep those scraps for patching if needed.
Prepare the Egg Wash
Whisk together the egg and water in a small bowl until completely combined. This golden mixture creates that bakery-worthy shine. Set it aside with your pastry brush ready.
The egg wash also helps seal the top and bottom crusts together. Professional bakers never skip this crucial step.
Assemble Your Masterpiece
Transfer the cooled apple filling into your prepared bottom crust. Spread it evenly, making sure apples reach the edges. Mound them slightly higher in the center—they’ll settle as they bake.
Roll out your second disc of pie dough on a lightly floured surface. You can transfer it whole on top or get creative with a lattice design. For lattice, cut the dough into ¾-inch strips using a pizza cutter or sharp knife.
Weave the strips over and under each other, starting from the center and working outward. It looks impressive and allows steam to escape. Alternately, simply lay the full crust on top and cut decorative vents with a knife.
Trim excess dough and crimp the edges with your fingers or a fork. Press firmly to seal the layers together. This prevents filling from bubbling out during baking.
Apply Finishing Touches
Lightly brush the entire top surface with egg wash using gentle strokes. Don’t let it pool in any areas. Sprinkle coarse sugar evenly across the top for a sparkly, crunchy finish.
The sugar catches light beautifully and adds textural contrast. It’s optional but highly recommended for that professional bakery appearance.
Master the Baking Process
Bake at 425°F for exactly 15 minutes. This high heat sets the crust structure. After 15 minutes, reduce temperature to 350°F without opening the oven door.
Continue baking for approximately 40 minutes until the crust turns deep golden brown. Watch for filling bubbling through the vents—that’s your signal it’s ready. The whole process takes about 55 minutes total.
Place aluminum foil loosely over the pie if the crust browns too quickly. Check around the 30-minute mark. The foil shields the top while the filling finishes cooking.
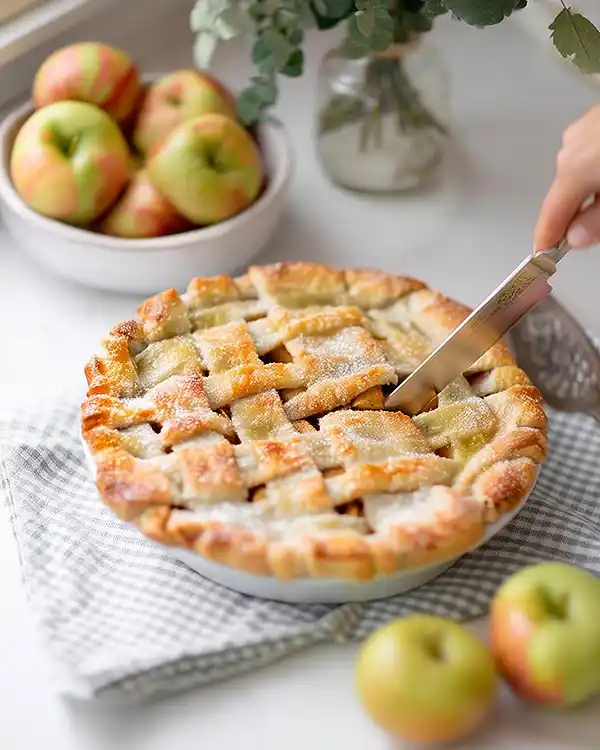
Set aside to cool for at least 2 hours before slicing. I know waiting feels impossible, but cutting too early releases all those delicious juices. Room temperature pie slices cleanly and tastes phenomenal.
Expert Tips for Apple Pie Perfection
Use a mix of apple varieties for complex flavor. Combine three Granny Smith apples with three Honeycrisp for the ideal sweet-tart balance. Single-variety pies taste one-dimensional.
Keep your butter and pie dough cold until the moment you need them. Warm dough creates tough, greasy crust instead of flaky layers. Pop everything in the fridge if your kitchen runs hot.
Don’t skip cooling the filling completely. Hot apples will melt the bottom crust before it has a chance to bake properly. This causes that dreaded soggy bottom that ruins otherwise perfect pies.
Brush egg wash only on the top crust, never the crimped edges. Egg wash on edges makes them brown too fast and potentially burn. You know what? I burned my first three pies learning this lesson.
Regional & Seasonal Variations
New England Style: Add ½ cup sharp cheddar cheese to your crust dough for a savory-sweet twist. Vermont natives swear by this combination.
Southern Comfort: Drizzle ¼ cup bourbon over apples before adding to crust. Sprinkle chopped pecans on top for extra crunch.
Holiday Spice: Mix in ½ teaspoon nutmeg and ¼ teaspoon allspice for Thanksgiving depth. These warm spices complement turkey dinner perfectly.
Gluten-Free Adaptation: Substitute your favorite gluten-free pie crust recipe and add an extra tablespoon of cornstarch to the filling. The texture stays just as delightful.
Dutch Apple Version: Skip the top crust entirely. Instead, make a crumb topping with ½ cup flour, ⅓ cup brown sugar, and ¼ cup cold butter. This creates a streusel-covered masterpiece.
Storage & Make-Ahead Strategy
Store baked pie covered at room temperature for up to 2 days. Refrigerate for up to 5 days, though the crust loses some crispness. Bring to room temperature or warm in a 300°F oven for 10 minutes before serving.
You can freeze unbaked assembled pie for up to 3 months. Wrap tightly in plastic wrap, then aluminum foil. Bake directly from frozen, adding 15-20 extra minutes to the cooking time.
Freeze baked pie for up to 4 months using the same wrapping method. Thaw overnight in the refrigerator and reheat at 350°F for 15 minutes.
Storage Times Reference
| Storage Method | Duration | Best Practice |
|---|---|---|
| Room Temperature | 2 days | Cover loosely with foil |
| Refrigerated | 5 days | Wrap tightly in plastic |
| Frozen (Unbaked) | 3 months | Double wrap, bake frozen |
| Frozen (Baked) | 4 months | Thaw in fridge overnight |
Perfect Pairings
Serve warm slices with vanilla ice cream melting into the crevices. The temperature contrast creates pure magic. Sharp cheddar cheese offers a sophisticated savory note that complements sweet apples beautifully.
Try pairing with homemade whipped cream infused with maple syrup. Hot apple cider or strong black coffee cuts through the richness perfectly. For dessert spreads, add chocolate chip cookie brownies to the table.
Homemade Apple Pie FAQs
What is apple pie made of?
Apple pie is made of sliced apples seasoned with cinnamon, sugar, and butter, encased in a flaky pastry crust. The filling typically includes lemon juice for brightness and flour or cornstarch as a thickener. Quality ingredients create the foundation for this beloved American dessert.
Is apple pie good or bad for you?
Apple pie contains nutritious apples rich in fiber and vitamins, but also includes butter, sugar, and refined flour. Enjoying a moderate slice as an occasional treat fits into a balanced diet. The homemade version lets you control sugar content and use quality ingredients compared to store-bought alternatives.
What is the secret to a good apple pie?
The secret to a good apple pie lies in pre-cooking your apples to prevent gaps and using a mix of tart and sweet varieties. Keep your pie dough cold, ensure filling cools completely before assembly, and bake at high heat initially for flaky crust. These techniques guarantee consistent, professional results every time.
Why is apple pie famous?
Apple pie is famous as an iconic American dessert symbolizing home, comfort, and tradition. The phrase “as American as apple pie” reflects its cultural significance dating back to colonial times. Its perfect balance of sweet fruit and buttery pastry makes it universally beloved across generations and regions.
Final Thoughts & Your Next Steps
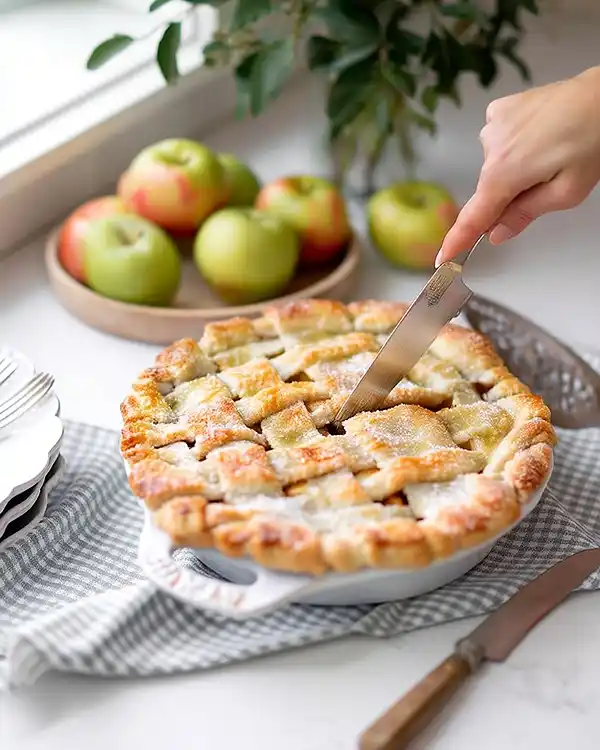
This homemade apple pie brings generations together around one beautiful dessert. The aroma alone transports you to cozy autumn afternoons and holiday gatherings filled with laughter. Each bite delivers tender apples wrapped in impossibly flaky crust.
Remember that first disaster in my kitchen? Now this recipe is my most-requested dish every fall. My grandmother would be proud.
Pair your pie with a pitcher of cold apple cider or hot mulled wine for the ultimate autumn experience. The flavors complement each other like old friends reuniting. Consider adding festive Christmas chocolate bark to your dessert spread for variety.
What’s your favorite apple pie memory? Share your baking adventures and any creative variations you try in the comments below. I’d love to hear how this sweet apple pie recipe becomes part of your family traditions.
Now grab those apples and get baking—your kitchen is about to smell absolutely amazing.

