
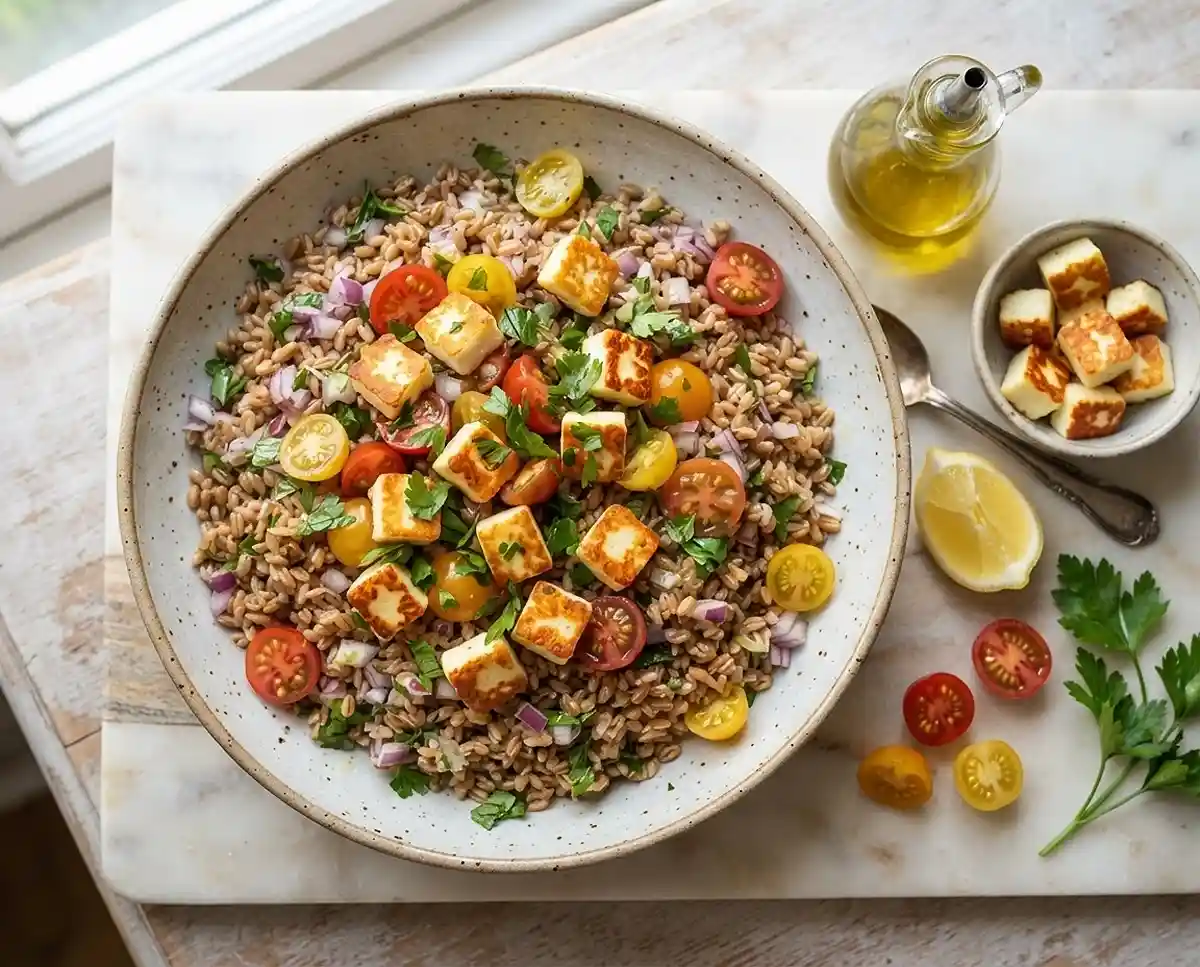
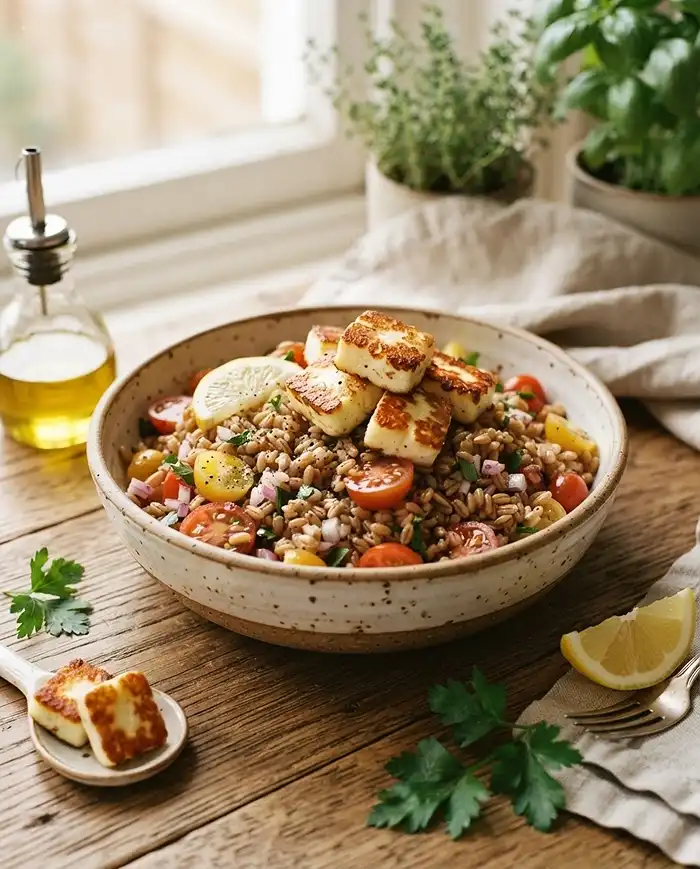
This farro halloumi salad is a chewy, salty, tangy little masterpiece that comes together in under 30 minutes and tastes way fancier than it actually is.
Okay, so real talk: I used to think farro was one of those “healthy person” grains I’d never actually enjoy, like the quinoa I bought once and never touched again. Then a friend made me this farro halloumi salad on a random Tuesday and I basically demanded the recipe before I’d even finished my plate.
Table of Contents
Why This Farro Halloumi Salad Deserves a Spot in Your Rotation
Here’s the deal with this one. You’ve got nutty, chewy farro doing all the heavy lifting texture-wise, and then golden, squeaky-fried halloumi coming in clutch with that salty punch that makes this whole bowl feel indulgent.
Toss in some juicy cherry tomatoes, sharp red onion, and a big handful of parsley, and you’ve basically built the perfect lunch that also happens to look great in photos. This halloumi farro salad is bright, satisfying, and somehow works as a side dish or a full meal on its own.
If you’re into easy grain bowls, you might also love this crunchy shrimp roll for another quick lunch idea that doesn’t skimp on flavor.
Golden Farro Halloumi Salad
Equipment
- Medium saucepan
- nonstick pan
- Colander
- Knife
- Cutting board
- measuring cups
- measuring spoons
- Wooden spoon or spatula
Ingredients
For the Salad
- ½ cup farro cook until chewy and al dente
- 8 oz halloumi cut into 1-inch cubes
- ¾ cup cherry tomatoes halved
- ¼ cup red onion diced; shallot may be substituted for a milder flavor
- ½ cup fresh parsley roughly chopped; fresh mint or basil may be substituted
- ¼ cup olive oil plus a splash for frying the halloumi
- 1 tbsp lemon juice fresh preferred
- ¼ tsp salt plus more for salting the farro cooking water
- ⅛ tsp black pepper freshly ground if possible
Optional Add-Ins
- toasted pine nuts optional, for crunch
- slivered almonds optional, for crunch
- baby spinach optional, to bulk up the salad
- arugula optional, to bulk up the salad with peppery flavor
Instructions
- Bring a medium saucepan of salted water to a boil, as you would for pasta.
- While the water heats, prep the halloumi, cherry tomatoes, red onion, and parsley so everything is ready to toss together.
- Add the farro to the boiling water and cook for 15 to 20 minutes, depending on the type of farro, until chewy but still slightly firm.
- Drain the farro, then rinse with cold water to stop the cooking. Set aside.
- Heat a nonstick pan over medium heat with a splash of olive oil.
- Add the halloumi cubes and fry until golden brown on both sides, about 1 to 2 minutes per side. Work in batches if needed so the pan is not overcrowded.
- Add the cooked farro back to the saucepan or transfer it to a mixing bowl.
- Add the cherry tomatoes, diced red onion, chopped parsley, fried halloumi, olive oil, lemon juice, salt, and pepper.
- Toss well until everything is evenly coated and combined.
- Serve warm, at room temperature, or chilled as a lunch, side dish, or light vegetarian meal.
Notes
What You’ll Need for This Farro and Halloumi Salad
Nothing wild here, just simple ingredients that all pull their weight. Grab these and you’re basically halfway to lunch nirvana.
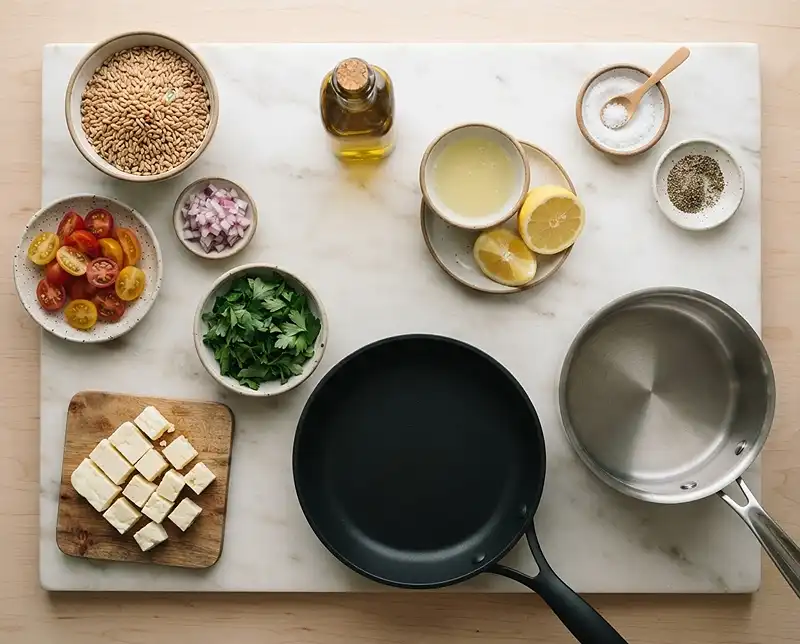
| Ingredient | Amount |
|---|---|
| Farro | 1/2 cup |
| Halloumi, cut into 1-inch cubes | 8 ounces |
| Cherry tomatoes, halved | 3/4 cup |
| Red onion, diced | 1/4 cup |
| Parsley, roughly chopped | 1/2 cup |
| Olive oil | 1/4 cup |
| Lemon juice | 1 tablespoon |
| Salt | 1/4 teaspoon |
| Pepper | 1/8 teaspoon |
A quick note on the star player here: halloumi is a semi-hard cheese with a high melting point, which is exactly why it fries up golden instead of turning into a puddle. It’s the whole reason this salad works.
How to Make Farro Halloumi Salad
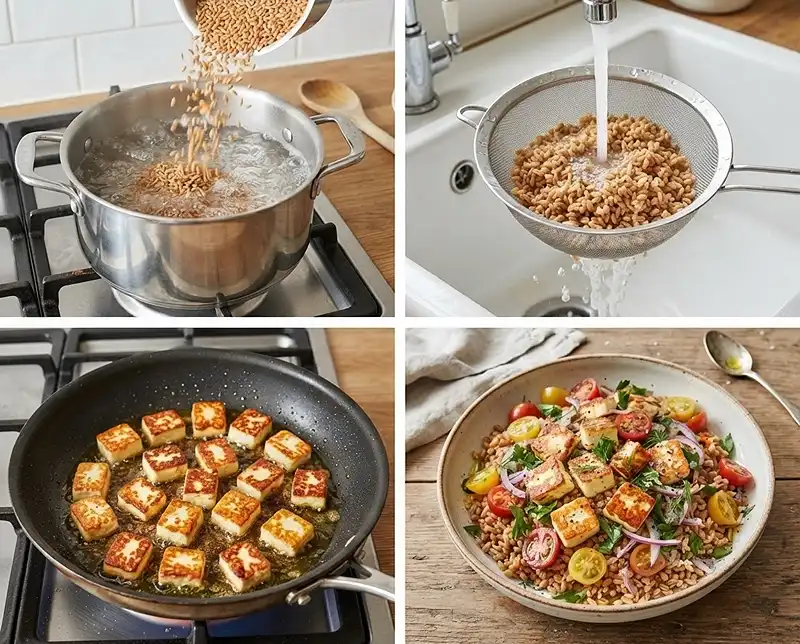
Step 1: Get Your Water Going
In a medium saucepan, bring salted water to a boil, just like you would for pasta. While that’s heating up, go ahead and prep the rest of your ingredients so everything’s ready to roll.
Step 2: Cook the Farro
Once the water’s boiling, add the farro and let it cook for 15 to 20 minutes. Cook time really depends on the type of farro you’re using, so keep an eye on it.
You want it chewy but still a little firm, basically the al dente of grains. Once it’s there, drain it and rinse with cold water to stop the cooking.
Step 3: Fry the Halloumi Until It’s Golden
Heat a nonstick pan over medium heat with a splash of olive oil. Add the halloumi cubes and fry until golden brown on both sides, about 1 to 2 minutes per side.
You might need to do this in two batches depending on your pan size. Fair warning: you’re going to want to eat every single cube straight out of the pan, but try to save some for the actual salad.
Step 4: Toss Everything Together
Add the farro back to the saucepan, then add the cherry tomatoes, red onion, parsley, halloumi, olive oil, lemon juice, salt, and pepper. Give it all a good toss and that’s it, you’re done.
Serve this farro salad with halloumi alongside your favorite lunch or dinner, or just eat the whole bowl solo. No judgment here.
Expert Tips, Variations, and Troubleshooting
Getting That Perfect Golden Halloumi
The biggest mistake people make is flipping the halloumi too early. Let it sit undisturbed until it releases easily from the pan, that’s how you know it’s actually golden and not just pale and sad.
Easy Swaps and Variations
No parsley on hand? Fresh mint or basil works beautifully in this halloumi farro salad. You can also swap red onion for shallot if you want something a bit milder.
Want more crunch? Toss in some toasted pine nuts or slivered almonds right before serving. A handful of baby spinach or arugula also bulks this up nicely if you’re feeding a hungrier crowd.
Troubleshooting Common Issues
If your farro turns out mushy, it just needed less cook time or your water wasn’t at a rolling boil. If your halloumi isn’t browning, your pan probably wasn’t hot enough before you added it, so give it another minute next time.
How to Store Farro Salad with Halloumi
This salad actually holds up really well, which makes it a great meal prep option for busy weeks.
| Storage Method | How Long It Lasts |
|---|---|
| Refrigerator, airtight container | 3 to 4 days |
| Freezer | Not recommended, texture suffers |
To reheat, just warm the halloumi and farro gently in a skillet for a couple minutes, or eat it cold straight from the fridge since it’s genuinely delicious either way.
Got leftover parsley stems or a wilting bit of red onion? Toss them into your next batch of homemade broth instead of tossing them in the trash. Small move, zero waste.
Frequently Asked Questions
Can I make this farro halloumi salad ahead of time?
Yes, this salad actually tastes great the next day. Store it covered in the fridge and give it a quick toss before serving.
Can I use a different grain instead of farro?
Absolutely, quinoa, barley, or bulgur all work well as substitutes in this farro and halloumi salad if that’s what you have on hand.
Why is my halloumi rubbery instead of golden?
This usually means the pan wasn’t hot enough or the halloumi was flipped too soon. Give it a full minute or two per side undisturbed for that perfect golden crust.
Is this halloumi farro salad served warm or cold?
It’s delicious both ways. Many people love the halloumi warm right after frying, while the rest of the salad can be served room temperature or chilled.
Can I double this recipe for a crowd?
Definitely, this recipe scales up easily. Just cook the halloumi in batches so it still gets that golden sear instead of steaming in an overcrowded pan.
Final Thoughts
This farro halloumi salad is proof that a handful of simple ingredients can turn into something you actually crave. It’s chewy, salty, bright, and honestly kind of addictive once that halloumi hits your fork.
Give it a try this week and let me know how it turns out in the comments. If you loved it, do me a favor and pin it to Pinterest so more people can find their new favorite lunch too.
Craving something else easy and cozy? Check out this cold frothy coffee to pair with your salad, or read up on this baking soda kitchen trick while you’re at it.
