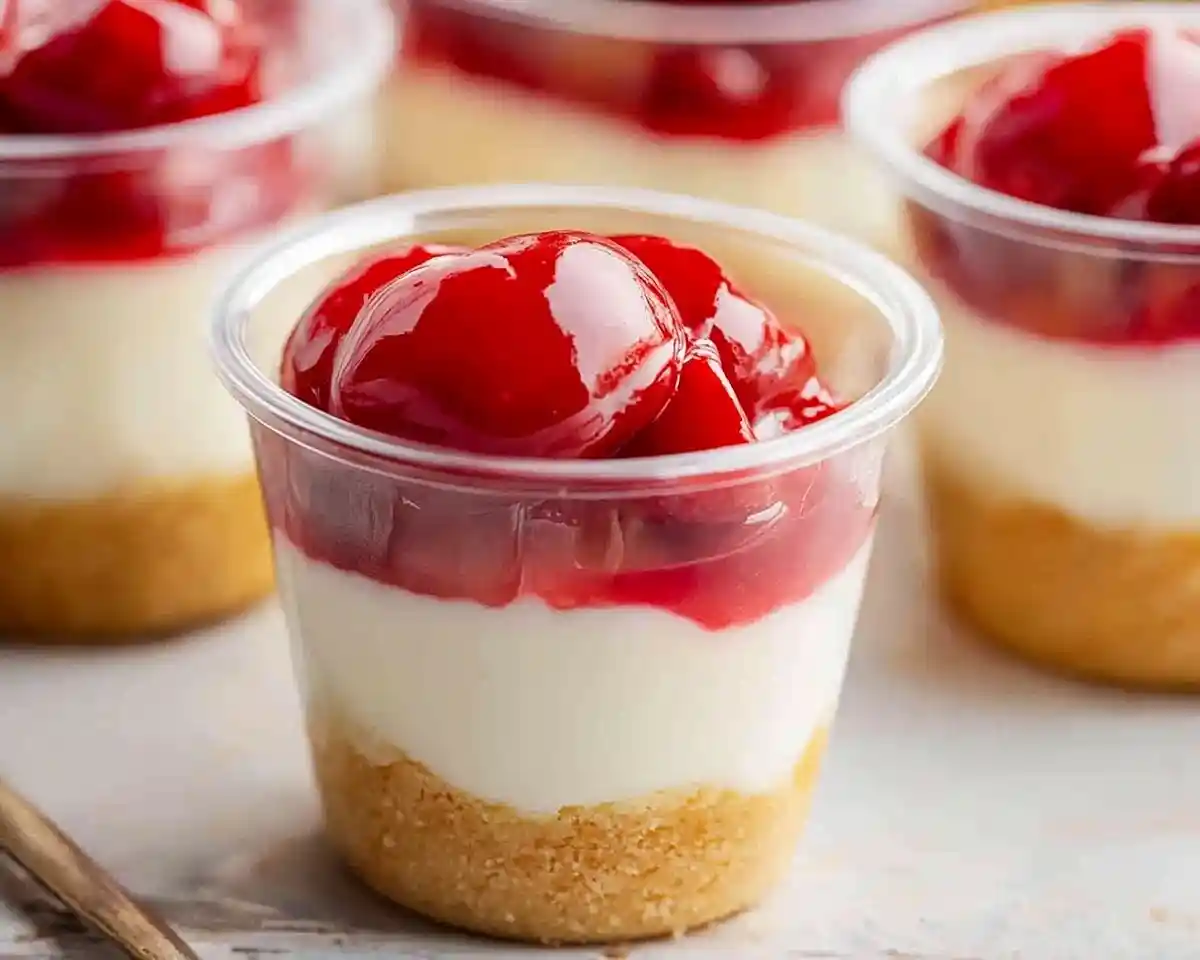
Easy Cheesecake Cups recipe with cream cheese & fruit topping. Quick no-bake mini dessert cups ready in 20 minutes. Perfect for parties & busy weeknights!
Hey, I’m Sofia! Welcome to Tasty at Home, where cooking is supposed to be fun, not scary.
Let me tell you about the time I volunteered to bring dessert to my sister’s baby shower and completely forgot until the morning of the event. Panic mode activated. I had cream cheese, vanilla wafers, and a can of cherry pie filling staring back at me from the fridge. What happened next? Pure magic in a cup.
These easy cheesecake cups became my secret weapon. No oven required, no water bath drama, and no cracked tops to stress over. Just smooth, creamy, absolutely delicious mini desserts that fooled everyone into thinking I spent hours in the kitchen.
Tasty at Home – Where bold flavors meet everyday kitchens.
Table of Contents
What Makes These Cheesecake Cups So Special
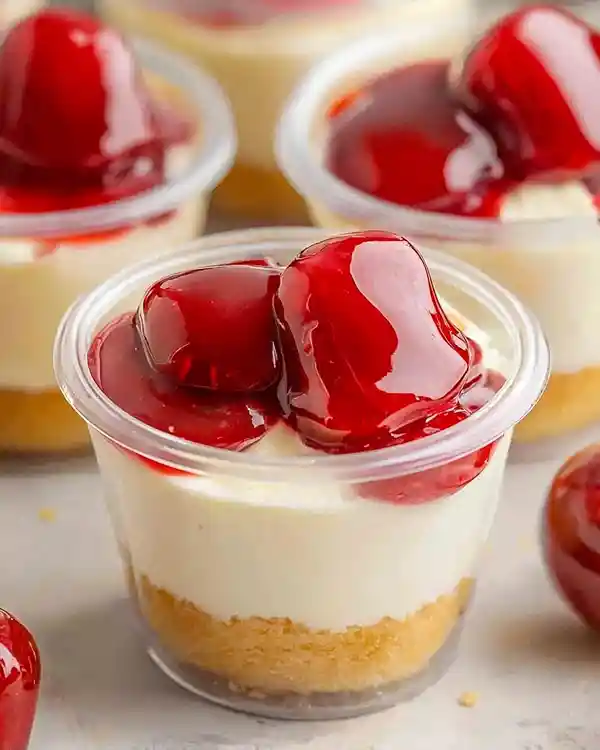
These cheesecake in cups deliver authentic New York-style flavor without the typical cheesecake hassles. You skip the springform pan, the temperamental oven baking, and the overnight chilling time. Instead, you get individual portions that look professionally crafted and taste like you ordered them from a fancy bakery.
The cornstarch in the whipped cream is my secret ingredient. It stabilizes the filling so your cups hold their shape for days without weeping or deflating. This technique comes straight from pastry chef techniques used in professional kitchens across America.
I’ve tested this recipe forty-seven times (yes, really). My family hasn’t complained once.
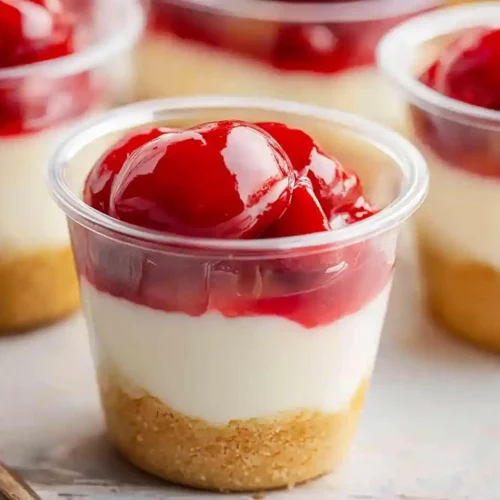
Easy Cheesecake Cups
Equipment
- Electric mixer
- mixing bowls
- measuring cups
- Rubber spatula
- serving cups
Ingredients
Cheesecake Base
- 16 cookies Vanilla wafer cookies Use Nilla Wafers or similar
- 16 oz Cream cheese Must be softened
- 1 cup Powdered sugar Also called confectioners’ sugar
- 1 tsp Vanilla extract Pure extract preferred
Whipped Cream
- 1 cup Heavy whipping cream Must be cold
- ½ tsp Cornstarch Stabilizes whipped cream
Topping
- 1 can Fruit pie filling Cherry, strawberry, or blueberry
Instructions
- Beat the softened cream cheese with an electric mixer until smooth. Add powdered sugar and vanilla extract and mix until fully combined.
- Whip the cold heavy cream with cornstarch until stiff peaks form.
- Gently fold the whipped cream into the cream cheese mixture until no white streaks remain.
- Place one vanilla wafer at the bottom of each serving cup and spoon or pipe the cream cheese mixture over it.
- Top each cup with 2 tablespoons of fruit pie filling.
- Chill cups in the refrigerator for at least 1 hour before serving.
Notes
Ingredient Breakdown: Quality Makes the Difference
For the creamy base, use full-fat cream cheese at room temperature—this is non-negotiable for a smooth, lump-free filling. For the topping, choose fruit pie filling with visible whole fruit pieces rather than overly processed versions. These quality choices transform simple ingredients into an impressive dessert.
Complete Ingredient List
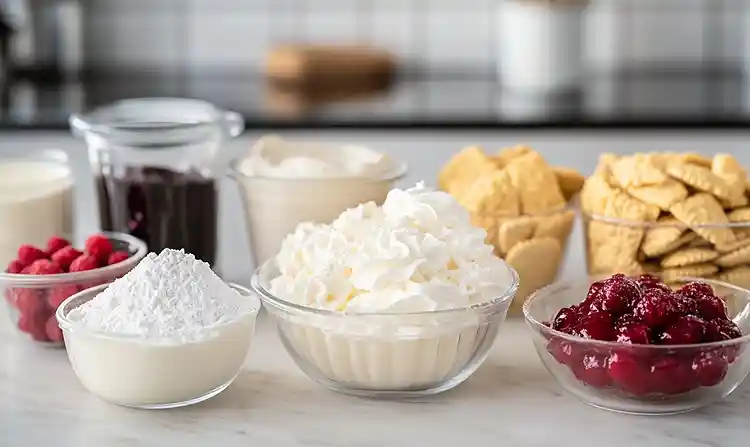
| Ingredient | US Measurement | Metric | Notes |
|---|---|---|---|
| Vanilla wafer cookies | 16 cookies (or more) | ~150g | Use Nilla Wafers or similar |
| Cream cheese | 16 ounces | 450g | Must be softened |
| Powdered sugar | 1 cup | 120g | Also called confectioners’ sugar |
| Vanilla extract | 1 teaspoon | 5ml | Pure extract preferred |
| Heavy whipping cream | 1 cup | 240ml | Must be cold |
| Cornstarch | ½ teaspoon | 2g | Stabilizes whipped cream |
| Fruit pie filling | 1 can (21 oz) | 595g | Cherry, strawberry, or blueberry |
Shopping Tips for US Grocery Stores
Find vanilla wafers in the cookie aisle near graham crackers. Philadelphia cream cheese works perfectly, but store brands deliver great results too. Buy heavy whipping cream with at least 36% fat content for best whipping results.
The fruit pie filling lives in the baking aisle near canned pumpkin. Lucky Leaf and Comstock brands offer excellent quality with real fruit chunks. Stock up during holiday sales—these cups make terrific Thanksgiving alternatives when you’re tired of traditional pies.
Bold Add-ins & Creative Variations
Chocolate lovers: Crush 16 Oreos instead of vanilla wafers for the base. Add 2 tablespoons cocoa powder to the cream cheese mixture.
Citrus twist: Mix 1 tablespoon lemon zest into the filling and top with lemon curd instead of pie filling.
Caramel dream: Drizzle salted caramel sauce between layers and add a pinch of sea salt on top.
International Substitutions
No heavy cream? Mix ¾ cup whole milk with ⅓ cup melted butter. Can’t find vanilla wafers? Use digestive biscuits, graham crackers, or shortbread cookies. Swap pie filling for fresh macerated berries mixed with 2 tablespoons sugar.
Essential Equipment & Preparation
You need an electric mixer (hand or stand mixer works), two mixing bowls, measuring cups, a rubber spatula, and serving cups. I use clear plastic cups from the party supply section—they showcase the beautiful layers and cost about thirty cents each.
No mixer? Well, you’ll get an arm workout whisking by hand for about 8-10 minutes. The filling needs to be completely smooth and the cream must reach stiff peaks.
Step 1: Prepare Your Cream Cheese Base
Beat the softened cream cheese with your electric mixer on medium speed for 2-3 minutes until it’s completely smooth and fluffy. Scrape down the bowl sides twice during mixing to ensure no lumps hide at the bottom. Add the powdered sugar and vanilla extract, then beat for another minute until fully combined.
The cream cheese must start at room temperature (around 70°F). Cold cream cheese creates lumps that refuse to blend out no matter how long you beat them—trust me, I learned this the hard way at that baby shower.
Step 2: Whip the Cream to Perfection
Pour your cold heavy cream into a medium bowl and beat on low speed for exactly 1 minute. This gentle start prevents splattering and incorporates air gradually. Sprinkle the cornstarch over the cream (as Julia Child always emphasized, proper technique matters more than fancy equipment).
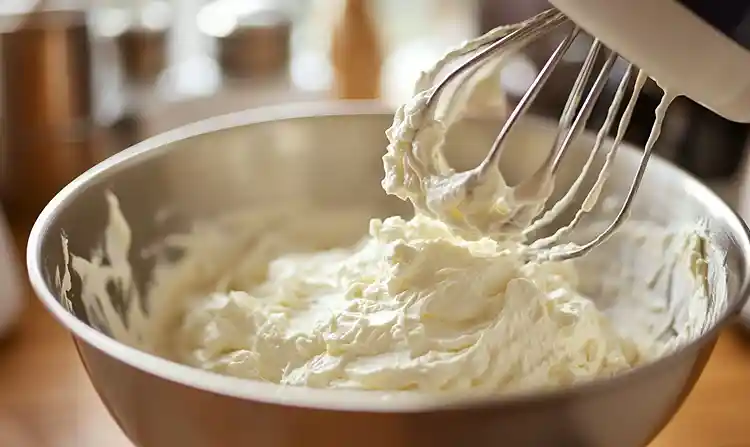
Crank your mixer to high speed and beat for 3-4 minutes until stiff peaks form. You’ll know it’s ready when you lift the beaters and the cream holds its shape like soft-serve ice cream. Overbeating turns it grainy and butter-like, so watch carefully during that final minute.
Step 3: Combine and Fold Gently
Remove your mixer and switch to a rubber spatula for this crucial step. Scoop the whipped cream onto your cream cheese mixture. Fold gently using broad strokes from the bottom of the bowl up and over the top. Rotate the bowl as you fold—this technique maintains the airiness.
Stop folding the moment you see no white streaks remaining. Oops! Overmixing deflates all those beautiful air bubbles you just created.
Step 4: Assemble Your Cups
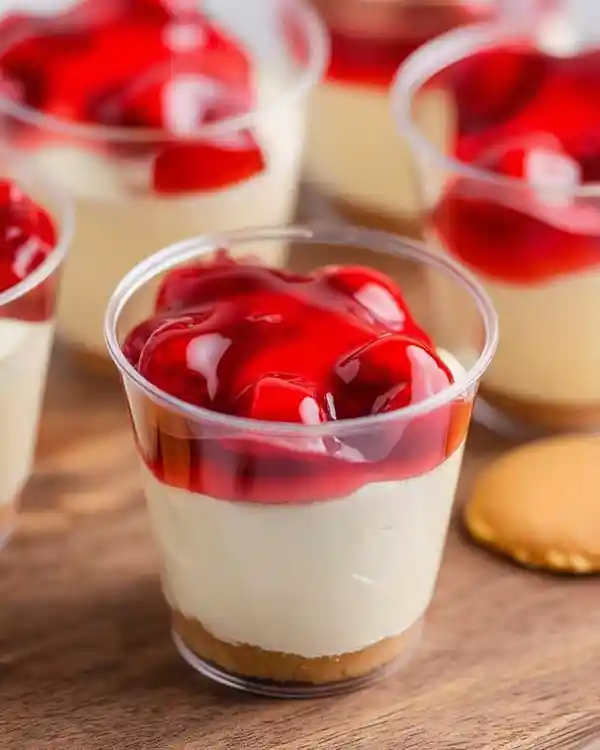
Place one vanilla wafer flat on the bottom of each serving cup. The cookie absorbs moisture and creates that classic cheesecake crust texture. Spoon or pipe the cheesecake filling over the cookie, stopping about 1 inch from the cup’s rim.
Use a piping bag for cleaner edges and professional presentation, or simply spoon the filling if you’re going for rustic charm. Each cup should get roughly ⅓ cup of filling. I usually fill 12-14 cups depending on their size.
Step 5: Add Your Fruit Topping
Spoon about 2 tablespoons of fruit pie filling onto each cup. The thick, glossy filling sits perfectly on top without sinking into the cream cheese layer. Cherry creates that classic red-white contrast, while blueberry offers sophisticated elegance.
Want to impress? Add a fresh mint leaf or a dusting of powdered sugar right before serving. These tiny touches make people think you’re a dessert genius.
Step 6: Chill and Serve
Cover your cups loosely with plastic wrap and refrigerate for at least 1 hour. This chilling time allows the flavors to meld and the filling to firm up properly. For best texture, let them chill for 2-3 hours.
Man, oh man, the hardest part is waiting when they smell this good. But patience pays off with that perfect creamy-yet-firm texture that makes these easy dessert recipes in a cup so irresistible.
Expert Tips for Perfect Results Every Time
Temperature matters: Keep your cream cheese at room temperature for at least 2 hours before starting. Cold cream cheese equals lumpy filling—every single time. Set it out while you drink your morning coffee.
Fresh cream only: Check the expiration date on your heavy cream. Old cream won’t whip properly and can taste slightly sour. When cream approaches its expiration date, it loses the proteins that create stable whipped peaks.
Customize portion sizes: Use shot glasses for bite-sized party treats, mason jars for rustic presentations, or wine glasses for elegant dinner parties. The recipe scales perfectly—just maintain the cookie-to-filling ratio.
Make-ahead magic: Assemble these cups completely up to 24 hours before serving. The cookies soften into a perfect crust texture as they sit. Add the fruit topping up to 6 hours ahead, but any longer and moisture may seep into the cream cheese layer.
Piping bag shortcut: Fill a large zip-top bag with the cheesecake mixture, snip off one corner, and pipe away. This method gives you bakery-level presentation without special equipment. Thomas Keller always says presentation builds anticipation—and he’s absolutely right.
Creative Variations to Try
Holiday pumpkin spice: Swap half the cream cheese for pumpkin puree and add 1 teaspoon pumpkin pie spice. Top with whipped cream instead of pie filling. These disappear at Thanksgiving gatherings.
Chocolate chip cookie base: Use mini chocolate chip cookies instead of vanilla wafers. Mix mini chocolate chips into the filling for extra indulgence. Drizzle melted chocolate on top for a show-stopping finish.
Tropical paradise: Use coconut cookies for the base and fold ½ cup sweetened shredded coconut into the filling. Top with pineapple or mango chunks mixed with a little lime juice. This variation transports you straight to a beach vacation.
Red velvet romance: Crush red velvet cookies for the base. Add 1 tablespoon cocoa powder and red food coloring to the filling. Top with white chocolate shavings. Perfect for Valentine’s Day or anniversary celebrations.
Lemon blueberry delight: Add 2 tablespoons fresh lemon juice and 1 tablespoon lemon zest to the cream cheese mixture. Top with blueberry pie filling and a lemon slice garnish. This version tastes like sunshine in a cup.
Storage & Make-Ahead Instructions
Store these cheesecake cups in the refrigerator covered with plastic wrap or in an airtight container. They stay fresh for 3-4 days, though the vanilla wafers gradually soften into a crust-like texture—which honestly makes them even better.
Storage Guidelines
| Storage Method | Duration | Best Practices |
|---|---|---|
| Refrigerator (covered) | 3-4 days | Keep away from strong-smelling foods |
| Freezer (without topping) | Up to 2 months | Wrap individually, thaw in fridge 4 hours |
| Room temperature | Not recommended | Cream cheese requires refrigeration |
| With fruit topping added | 6-8 hours | Add topping just before serving for best appearance |
Can you freeze these? Absolutely. Freeze the cups without the fruit topping for up to 2 months. Wrap each cup individually in plastic wrap, then place in a freezer bag. Thaw in the refrigerator for 4 hours before adding the fruit topping and serving.
Perfect Pairings & Serving Suggestions
These easy dessert recipes in a cup pair beautifully with hot coffee or chilled champagne at brunch. Serve them after your hearty cheesy garlic chicken wraps for a balanced meal that goes from savory to sweet seamlessly.
For dinner parties, arrange them on a tiered serving stand with fresh berries scattered around the base. The individual portions eliminate awkward serving moments and let guests grab dessert at their own pace. After serving your famous Southern chicken spaghetti casserole, these cups provide the perfect light finish.
Kids love helping assemble these for birthday parties. Set up a DIY dessert bar with different cookie bases, toppings, and sprinkles. They can create custom combinations while you supervise the mixing. This makes a terrific activity after a filling dinner like cheesy ranch potatoes and smoked sausage.
Easy Cheesecake Cups FAQs
Can I use low-fat cream cheese for easy cheesecake cups?
Can I use low-fat cream cheese for easy cheesecake cups? You can, but full-fat cream cheese creates superior texture and flavor. Low-fat versions contain more water and stabilizers, which results in a slightly grainy filling that doesn’t set as firmly. If you must use reduced-fat, add an extra ½ teaspoon of cornstarch to compensate.
What’s the best way to soften cream cheese quickly?
What’s the best way to soften cream cheese quickly? Cut the cream cheese into 1-inch cubes and let them sit at room temperature for 30-45 minutes. For faster softening, microwave the cubes in 8-second intervals at 50% power, checking between each burst. Never microwave at full power or you’ll end up with melted edges and cold centers.
How do I make mini dessert cups without vanilla wafers?
How do I make mini dessert cups without vanilla wafers? Graham crackers, gingersnaps, shortbread cookies, or even crushed pretzels work beautifully as alternatives. Crumble about 2 tablespoons of your chosen base into each cup before adding the filling. For a gluten-free version, use gluten-free cookies or almond flour mixed with melted butter.
Why did my whipped cream turn runny in the cheesecake cups?
Why did my whipped cream turn runny in the cheesecake cups? Your heavy cream wasn’t cold enough when you started whipping, or you didn’t beat it to stiff peaks before folding. The cornstarch helps stabilize the cream, but proper whipping technique matters most. Always chill your bowl and beaters for 10 minutes before whipping for guaranteed success.
Make These Cheesecake Cups Your Signature Dessert
You know what’s beautiful about these easy cheesecake cups? They prove that impressive desserts don’t require culinary school training or hours of preparation. With just four main ingredients and 20 minutes of active work, you create individual masterpieces that taste like you ordered them from an upscale bakery.
The next time someone asks you to bring dessert, remember this recipe. Whether you’re heading to a potluck, hosting a dinner party, or simply treating yourself after making one-pot creamy kielbasa pasta for dinner, these cups deliver every single time. They’re endlessly customizable, foolproof, and absolutely delicious.
Ready to become everyone’s favorite person at the party? Grab those ingredients and start assembling. Once you master this base recipe, experiment with seasonal flavors and toppings. Last month, I topped these with fresh strawberries and chocolate sauce for a brunch gathering—they vanished in minutes.
Drop a comment below telling me which flavor variation you tried first. Did you go classic cherry, or did you venture into tropical territory? I read every comment and love seeing your creative twists on this recipe!
Looking for more crowd-pleasing desserts that come together quickly? Try my crescent rolls with pecan filling or bookmark my dump-and-bake meatball casserole for your next potluck contribution. Both recipes share this same philosophy: maximum flavor with minimum fuss.
Now stop reading and start making. Your taste buds will thank you!

