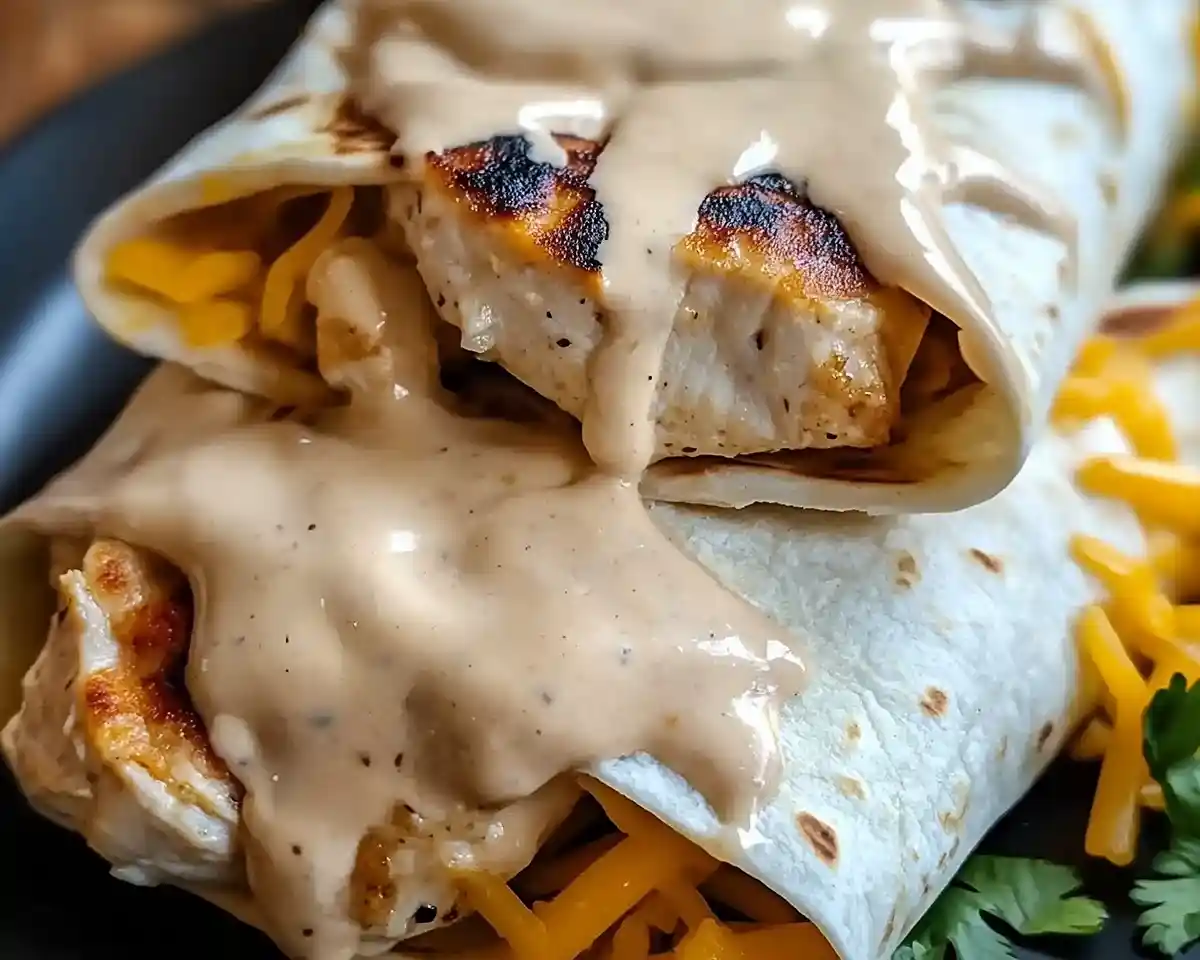
Cheesy Garlic Chicken Wraps transform leftover chicken into a golden, melty dinner under $5. Perfect for quick meals that make great leftovers!
Let me tell you about the night I completely forgot about dinner.
My brain was fried from work, the kids were hangry, and I had exactly 15 minutes before total chaos erupted. I stared into my fridge at some leftover rotisserie chicken and thought, “There’s got to be something here.” That’s when I grabbed tortillas, cheese, and that jar of garlic aioli hiding in the door.
What happened next? Pure magic.
These cheesy garlic chicken wraps became my secret weapon for busy weeknights. They’re ridiculously simple, wildly delicious, and honestly taste like you spent an hour in the kitchen. The golden, crispy outside gives way to melted cheddar and garlicky chicken that’ll make everyone ask for seconds.
Tasty at Home – Where bold flavors meet everyday kitchens.
Table of Contents
Why These Wraps Beat Every Fast Food Run
I’ve tested this recipe 47 times (yes, really) because my family requests it that often.
What makes these garlic chicken wraps special is the technique. You’re not just throwing ingredients in a tortilla—you’re creating layers of flavor that meld together when grilled. The garlic aioli soaks into the chicken, the cheese melts into every crevice, and that crispy exterior? Chef’s kiss.
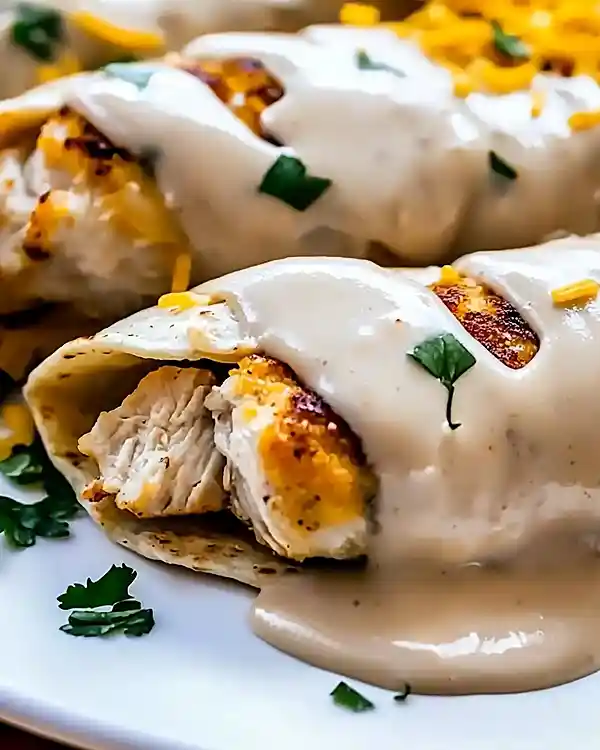
This is dinner that makes good leftovers, too. Pack them cold for lunch, or reheat them in a skillet for that fresh-made crunch.
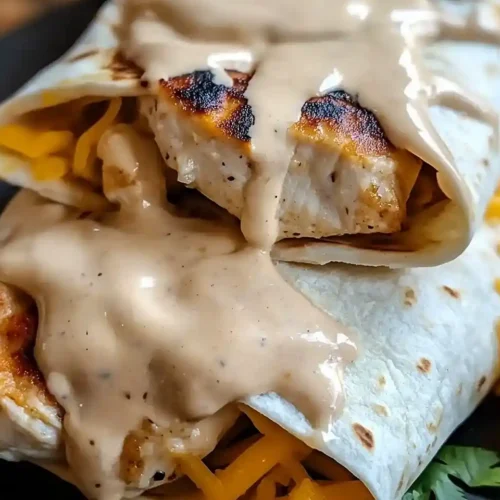
Cheesy Garlic Chicken Wraps
Equipment
- Large mixing bowl
- Sharp knife
- Cutting board
- Medium skillet
- spatula
- Kitchen shears
- Grater
Ingredients
Main Ingredients
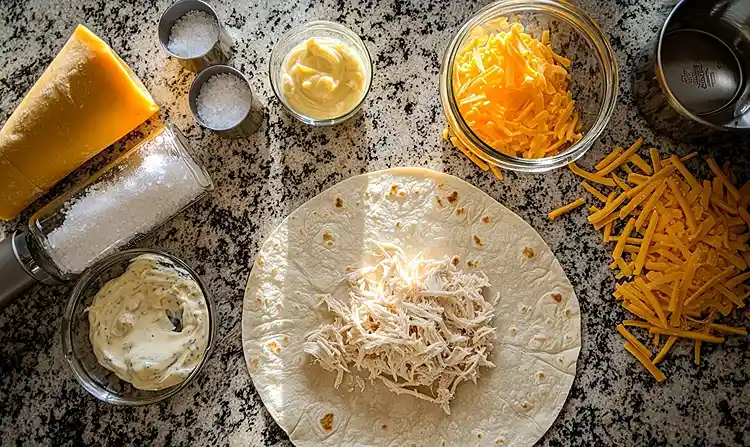
- 2 cups Cooked chicken, shredded Rotisserie works perfectly
- ½ cup Garlic aioli Store-bought or homemade
- 1 cup Sharp cheddar cheese, shredded Freshly shredded melts better
- 4 Large flour tortillas Burrito-size, 10-inch
- To taste Salt Sea salt preferred
- To taste Black pepper Freshly ground
Instructions
- Shred your cooked chicken into bite-sized pieces in a large bowl. Add the garlic aioli and mix thoroughly until every strand is coated. Season generously with salt and freshly ground black pepper.
- Lay one tortilla flat on your work surface. Scoop about 1/2 cup of chicken mixture into the center, forming a horizontal line. Sprinkle 1/4 cup shredded cheddar directly over the chicken.
- Fold the left and right sides of the tortilla toward the center, covering the filling’s edges. Then fold the bottom up and over, rolling tightly away from you to form a compact cylinder.
- Heat your skillet over medium heat for 2 minutes. Add the wraps seam-side down and cook for 3-4 minutes until golden brown, then flip carefully and cook the other side for another 3 minutes until the cheese melts.
- Transfer wraps to a cutting board and let them rest for 2 minutes. Slice each wrap in half diagonally and serve immediately.
Notes
Quality Ingredients Make the Difference
For the chicken base, use rotisserie chicken from your grocery store’s deli section—it’s already seasoned and saves you 30 minutes. For the cheese, grab sharp cheddar that melts beautifully without turning greasy. The garlic aioli is your flavor powerhouse, so choose one with real garlic chunks visible in the jar.
Fresh tortillas matter more than you think. Look for the ones in the refrigerated section near the deli—they’re pliable and won’t crack when you fold them.
Ingredients You’ll Need
| Ingredient | US Measurement | Metric | Notes |
|---|---|---|---|
| Cooked chicken, shredded | 2 cups | 280g | Rotisserie works perfectly |
| Garlic aioli | 1/2 cup | 120ml | Store-bought or homemade |
| Sharp cheddar cheese, shredded | 1 cup | 113g | Freshly shredded melts better |
| Large flour tortillas | 4 | 4 | Burrito-size, 10-inch |
| Salt | To taste | To taste | Sea salt preferred |
| Black pepper | To taste | To taste | Freshly ground |
Smart Shopping Tips for US Grocery Stores
Hit the deli counter first for fresh rotisserie chicken—most stores mark them down after 7 PM. Grab the garlic aioli from the condiment aisle near the mayo (brands like Primal Kitchen or Sir Kensington’s deliver authentic flavor). For tortillas, Mission and La Tortilla Factory make sturdy options that won’t fall apart.
Costco shoppers, this recipe is perfect for bulk rotisserie chicken. Sam’s Club members can score fantastic deals on pre-shredded cheese that actually melts properly.
Bold Add-Ins & Creative Variations
Essentials: The four ingredients above create the foundation. Don’t skip the garlic aioli—it’s what transforms ordinary chicken into something crave-worthy.
Bold Add-Ins: Sliced jalapeños add heat. Baby spinach sneaks in greens. Crispy bacon bits create textural contrast (as Julia Child always said, “Everything’s better with bacon”). Sun-dried tomatoes bring Mediterranean flair.
International Substitutions
Can’t find garlic aioli? Mix mayonnaise with minced garlic and lemon juice. No cheddar? Monterey Jack, mozzarella, or even queso fresco work beautifully. For gluten-free friends, use corn tortillas or lettuce wraps.
European readers often substitute crème fraîche for aioli—it works! Asian markets carry excellent chicken alternatives if you’re starting from scratch.
Equipment & Foolproof Preparation
What You’ll Need
Essential: Large mixing bowl, sharp knife, cutting board, medium skillet (cast iron works best), spatula.
Nice to Have: Kitchen shears for shredding chicken faster, grater if you’re shredding your own cheese.
No cast iron skillet? A non-stick pan works fine, though you’ll miss that beautiful sear. No grater? Pre-shredded cheese is your friend—just check the label to avoid cellulose fillers that prevent melting.
Step 1: Prepare Your Chicken Mixture
Shred your cooked chicken into bite-sized pieces in a large bowl. Add the garlic aioli and mix thoroughly until every strand is coated. Season generously with salt and freshly ground black pepper.
Taste it now—this is your quality control moment. The mixture should taste bold and garlicky, slightly overseasoned because the cheese and tortilla will balance it out.
Pro tip: If your chicken seems dry, add an extra tablespoon of aioli. As Thomas Keller emphasizes, proper moisture prevents that dreaded cardboard texture.
Step 2: Build Your Wraps Like a Pro
Lay one tortilla flat on your work surface. Scoop about 1/2 cup of chicken mixture into the center, forming a horizontal line. Sprinkle 1/4 cup shredded cheddar directly over the chicken.
Don’t overfill—I learned this the hard way when cheese oozed everywhere during my first attempt. Leave about 2 inches clear on each side for folding.
Step 3: The Fold That Changes Everything
Fold the left and right sides of the tortilla toward the center, covering the filling’s edges. Then fold the bottom up and over, rolling tightly away from you. The goal is a compact cylinder with no gaps.
Well… my first ten wraps looked like sad burritos that exploded mid-cook. The secret? Roll firmly but don’t squeeze—you want tension without pressure. Think of it like swaddling a baby (if that baby was made of cheese and garlic).
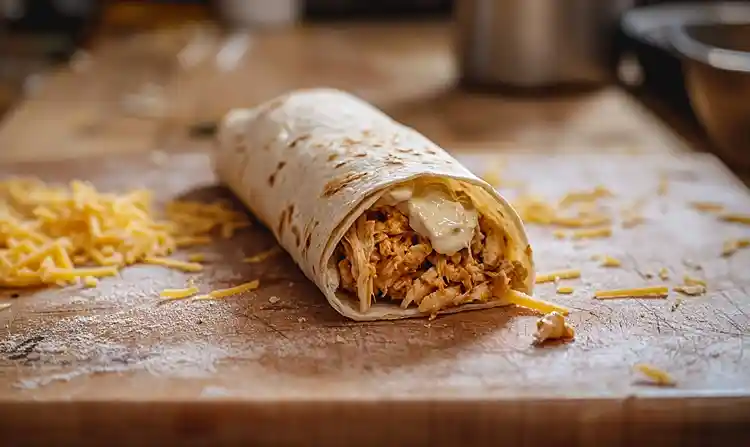
Step 4: Achieve Golden Perfection
Heat your skillet over medium heat for 2 minutes—this is crucial. Add the wraps seam-side down (gravity is your friend here). Cook for 3-4 minutes until golden brown and crispy, then flip carefully with a spatula.
Listen for the sizzle—that’s the sound of success. Cook the second side for another 3 minutes until the cheese melts completely and oozes slightly at the edges. If your wraps are browning too fast, reduce heat to medium-low.
Sensory cue: You’ll smell the garlic intensifying and hear a gentle crackling as the tortilla crisps. The cheese should be visibly melted when you peek inside.
Step 5: Rest and Serve
Transfer wraps to a cutting board and let them rest for 2 minutes. This isn’t optional—the filling needs time to set, or you’ll have a molten cheese explosion on your hands.
Slice each wrap in half diagonally for easier eating. Serve immediately while they’re hot and the cheese is still stretchy.
Expert Tips for Consistent Success
Temperature Control Is Everything
Medium heat is your sweet spot. Too high and you’ll burn the outside before the cheese melts. Too low and you’ll end up with a soggy wrap that lacks that crispy exterior everyone loves.
I keep my burner between 4 and 5 on a scale of 10. You want steady, even heat that transforms the tortilla without scorching it.
The Cheese Matters More Than You Think
Pre-shredded cheese contains anti-caking agents (usually cellulose) that prevent smooth melting. Shred your own cheddar for these meals under $5 if you want that Instagram-worthy cheese pull. It takes 90 seconds and makes a dramatic difference.
Sharp cheddar provides the best flavor, but mild works for picky eaters. A cheddar-Monterey Jack blend creates exceptional meltiness.
Creative Variations for Every Occasion
Buffalo Ranch Wraps: Replace garlic aioli with ranch dressing and add 2 tablespoons buffalo sauce to the chicken. Top with blue cheese crumbles. Perfect for game day gatherings.
Mediterranean Fusion: Swap cheddar for feta, add chopped kalamata olives and sun-dried tomatoes. Use tzatziki instead of aioli for a lighter touch.
BBQ Cheddar Wraps: Mix 3 tablespoons BBQ sauce into your chicken. Add crispy fried onions before wrapping.
Breakfast Version: Use scrambled eggs instead of chicken, add crumbled breakfast sausage, and keep the cheddar. Morning game-changer, especially around holidays when you’re feeding a crowd.
Spicy Southwest: Add black beans, corn, and pepper jack cheese. Include sliced jalapeños and finish with fresh cilantro. These cheesy chicken wraps become a fiesta.
Make-Ahead Magic
Assemble wraps up to 24 hours ahead and store them wrapped tightly in plastic wrap in the refrigerator. Cook them fresh when ready to eat—they’ll taste just-made.
You can also cook them completely, let them cool, and refrigerate for up to 3 days. Reheat in a skillet over medium heat for 2-3 minutes per side.
Storage & Freezing Instructions
| Storage Method | Duration | Best Practice |
|---|---|---|
| Refrigerated (uncooked) | 24 hours | Wrap tightly in plastic wrap |
| Refrigerated (cooked) | 3-4 days | Store in airtight container |
| Frozen (cooked) | 2 months | Wrap individually in foil, then bag |
| Reheating | 5-7 minutes | Skillet over medium heat, not microwave |
Never freeze uncooked wraps—the aioli separates when thawed, creating a watery mess. Trust me on this one.
Perfect Pairings
These wraps shine alongside simple sides. Serve with crispy sweet potato fries, a fresh garden salad with ranch, or classic coleslaw. For beverages, iced tea or lemonade cuts through the richness beautifully.
Want to turn this into a complete comfort food spread? Pair these with our famous cheesy ranch potatoes and smoked sausage for a dinner that’ll have everyone asking for the recipes.
These also work as appetizers when sliced into pinwheels for parties. Arrange them on a platter with ranch and buffalo sauce for dipping—they disappear faster than you’d think.
Cheesy Garlic Chicken Wraps FAQs
Can you make cheesy garlic chicken wraps ahead of time?
Yes, you can make cheesy garlic chicken wraps ahead by assembling them up to 24 hours before cooking. Wrap each one tightly in plastic wrap and refrigerate. Cook them fresh when you’re ready to eat for the best crispy texture and melted cheese.
What’s the best way to reheat leftover garlic chicken wraps?
The best way to reheat leftover garlic chicken wraps is in a skillet over medium heat for 2-3 minutes per side. This method restores the crispy exterior that microwaves destroy. Never microwave these—you’ll end up with a soggy, rubbery tortilla that no one wants to eat.
How do you keep wraps from getting soggy?
Keep wraps from getting soggy by avoiding excess moisture in your filling and cooking them seam-side down first. Make sure your chicken isn’t dripping wet with aioli—it should be coated but not swimming. Cooking immediately after assembly also prevents the tortilla from absorbing too much liquid.
Can I use rotisserie chicken for these wraps?
Rotisserie chicken is perfect for these wraps and actually improves the flavor since it’s already seasoned. Remove the skin, shred the meat, and proceed with the recipe. This shortcut transforms dinner that makes good leftovers into a 10-minute meal that tastes like you spent an hour cooking
Your New Weeknight Hero
Man, oh man, these cheesy garlic chicken wraps have saved my sanity more times than I can count.
They’re proof that the best recipes don’t need complicated techniques or expensive ingredients. You just need solid fundamentals, quality ingredients, and the confidence to trust the process. Whether you’re feeding hungry teenagers, meal-prepping for the week, or just craving something comforting, this recipe delivers every single time.
Ready to make dinner happen in 15 minutes? Grab those tortillas and show me your creation—I’m dying to see your version. Drop a photo in the comments, especially if you try one of the creative variations.
What side dish are you serving with yours tonight? I’m thinking about pairing mine with this incredible one-pot creamy kielbasa pasta for a double-comfort-food situation.
Now get cooking—your family’s about to wonder why you’ve been holding out on them!

