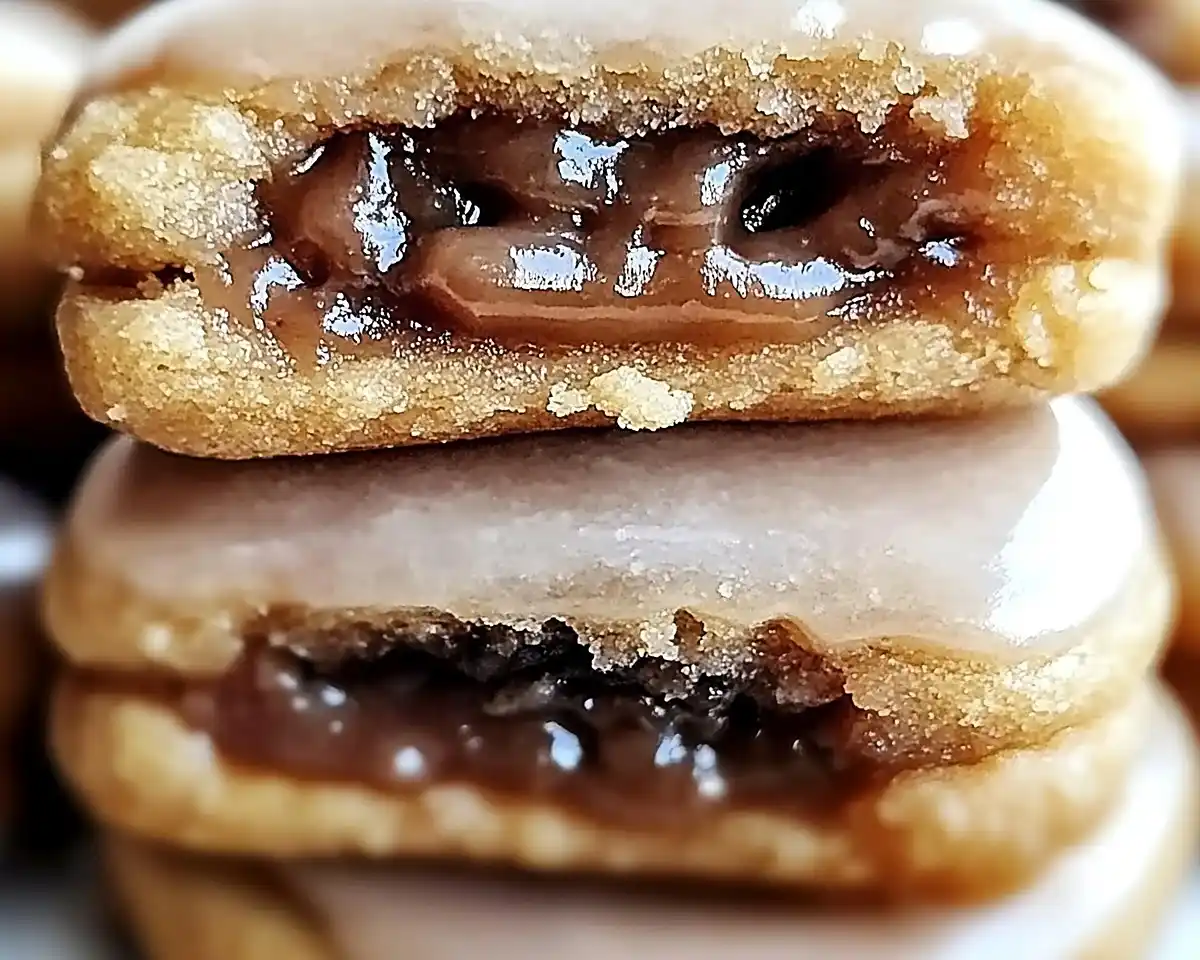
Brown Sugar Pop Tart Cookies recipe with cinnamon filling and sweet glaze. Easy homemade desserts ready in 30 minutes. Perfect for any occasion!
Hey, I’m Sofia! Welcome to Tasty at Home, where cooking is supposed to be fun, not scary.
Last winter, I was staring at a box of store-bought Pop Tarts, thinking about my childhood breakfasts. Something clicked. What if I could turn that nostalgic flavor into actual cookies? Well… let me tell you, that experiment changed everything.
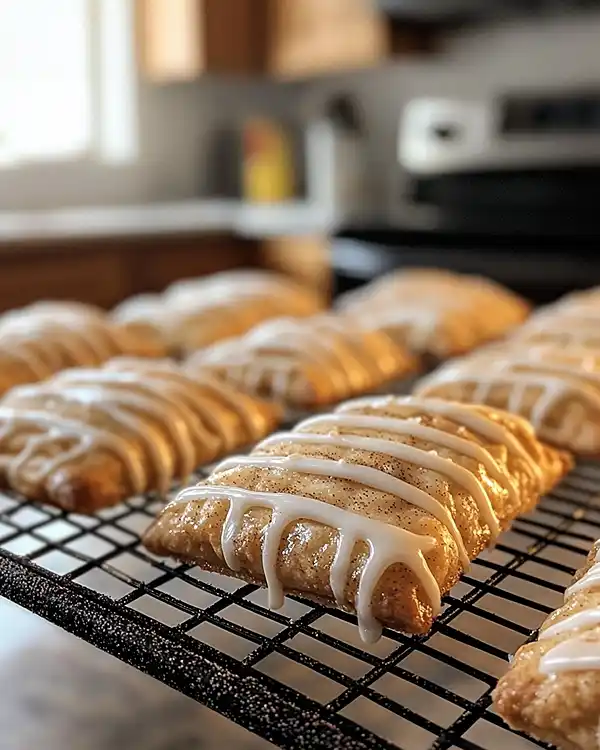
These Brown Sugar Pop Tart Cookies hit different. They’re crispy on the outside, with a warm cinnamon-sugar center that tastes like Saturday morning cartoons and pure comfort. The sweet glaze on top? Chef’s kiss.
I tested this recipe seventeen times (yes, really) until I got the texture just right. Now my family requests them for every gathering. They’re somewhere between a cookie and a handheld pastry—like biting into a buttery, spiced dream wrapped in nostalgia.
Table of Contents
What Makes This Brown Sugar Pop Tart Cookies Recipe Unique
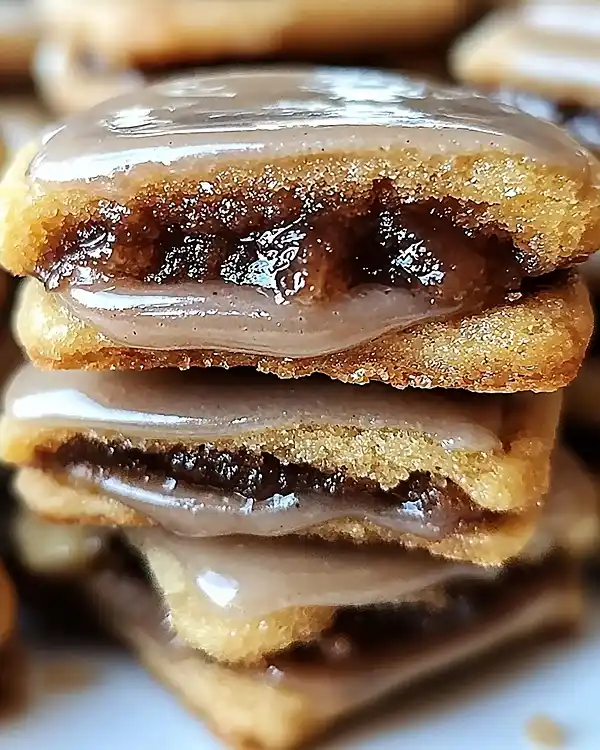
These aren’t your average cookies. The brown sugar creates a deep, caramel-like sweetness that regular white sugar just can’t match. I’ve borrowed techniques from classic pastry-making but simplified them for home bakers.
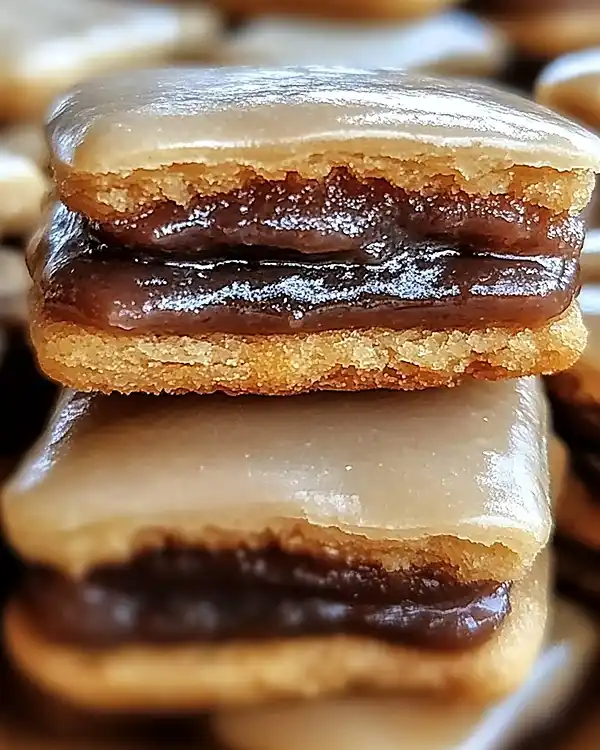
The double-decker structure gives you that authentic Pop Tart experience. Each cookie is essentially two tender butter cookies sandwiched around a cinnamon-brown sugar filling, then finished with a smooth vanilla glaze.
For the base, quality butter is non-negotiable. Use unsalted butter so you control the salt level. Fresh baking powder and baking soda ensure the perfect rise and texture.
The filling combines brown sugar with cinnamon for warmth and depth. According to food science experts at King Arthur Baking Company, brown sugar’s molasses content adds moisture and creates a softer crumb—exactly what we want here.
Brown Sugar Pop Tart Cookies
Equipment
- mixing bowls
- Hand or stand mixer
- Rolling Pin
- Knife or pastry cutter
- Baking sheets
- Parchment paper
- Wire cooling rack
Ingredients
Cookie Dough
- 1 cup Unsalted butter, softened Room temperature
- 1 cup Brown sugar, packed Light or dark
- ½ cup Granulated sugar
- 2 Large eggs Room temperature
- 1 teaspoon Vanilla extract Pure extract
- 3 cups All-purpose flour Spoon and level
- 1 teaspoon Baking powder
- ½ teaspoon Baking soda
- ½ teaspoon Salt Fine sea salt
Filling
- 1 cup Brown sugar, packed Light or dark
- 1 tablespoon Ground cinnamon
Glaze
- 1 cup Powdered sugar
- 1-2 tablespoons Milk Whole milk preferred
- Sprinkles Optional, for decoration
Instructions
- In a large bowl, cream together softened butter, 1 cup brown sugar, and granulated sugar until light and fluffy, about 3 minutes.
- Add eggs one at a time, beating well after each addition, then stir in vanilla extract until smooth and glossy.
- In a separate bowl, whisk together flour, baking powder, baking soda, and salt. Gradually add dry ingredients to wet mixture until just combined.
- In a small bowl, mix remaining cup of brown sugar with cinnamon to make the filling.
- Divide dough in half. Roll one portion to 1/4 inch thickness and cut into 3×4 inch rectangles. Repeat with second portion.
- Preheat oven to 350°F (175°C). Place 1 tablespoon of filling in the center of each rectangle, leaving a 1/4 inch border. Top with another rectangle and press edges with a fork to seal.
- Bake 12–15 minutes until lightly golden on the edges. Cool on the baking sheet for 5 minutes, then transfer to a wire rack.
- Whisk powdered sugar with 1–2 tablespoons milk to form a glaze. Drizzle over cooled cookies and top with sprinkles if desired.
Notes
Ingredients Table
| Ingredient | US Measurement | Metric | Notes |
|---|---|---|---|
| Unsalted butter, softened | 1 cup | 227g | Room temperature |
| Brown sugar, packed | 1 cup + 1 cup (filling) | 220g + 220g | Light or dark |
| Granulated sugar | 1/2 cup | 100g | White sugar |
| Large eggs | 2 | 2 | Room temperature |
| Vanilla extract | 1 teaspoon | 5ml | Pure extract |
| All-purpose flour | 3 cups | 360g | Spoon and level |
| Baking powder | 1 teaspoon | 5g | Fresh |
| Baking soda | 1/2 teaspoon | 2.5g | Fresh |
| Salt | 1/2 teaspoon | 3g | Fine sea salt |
| Ground cinnamon | 1 tablespoon | 8g | For filling |
| Milk | 1/4 cup + 1-2 tablespoons | 60ml + 15-30ml | Whole milk preferred |
| Powdered sugar | 1 cup | 120g | For icing |
| Sprinkles | Optional | – | For decoration |
Shopping Tips
Head to your local grocery store and grab these staples from the baking aisle. Look for butter with at least 80% butterfat—brands like Land O’Lakes or Kerrygold work beautifully.
For brown sugar, light and dark both work. Dark creates a more intense molasses flavor. Make sure it’s soft and packable, not dried out.
Choose pure vanilla extract over imitation. The real stuff makes a noticeable difference in these simple cookies.
Bold Add-ins & Variations
Want to switch things up? Try adding a tablespoon of maple syrup to the filling for depth. Swap half the cinnamon for pumpkin pie spice during fall.
For chocolate lovers, add mini chocolate chips to the filling. You could also use Nutella instead of the brown sugar mixture for a completely different experience.
International readers can substitute caster sugar for granulated sugar. If you can’t find brown sugar, mix white sugar with a tablespoon of molasses.
Equipment & Preparation Steps
You’ll need two large mixing bowls, a hand mixer or stand mixer, rolling pin, sharp knife or pastry cutter, and two baking sheets. Parchment paper prevents sticking and makes cleanup easier.
No rolling pin? Use a clean wine bottle. No mixer? A wooden spoon and some elbow grease work fine.
Step 1: Cream the Butter and Sugars
In a large bowl, beat the softened butter, one cup of brown sugar, and granulated sugar until light and fluffy. This takes about 3 minutes on medium speed.
The mixture should look pale and creamy, almost like frosting. As Julia Child always said, proper creaming incorporates air and creates a tender crumb.
Oops! I once used cold butter straight from the fridge. The cookies turned out dense and flat. Always use room-temperature butter—it should leave a slight indent when pressed.
Step 2: Add Eggs and Vanilla
Add the eggs one at a time, beating well after each addition. This ensures proper emulsification. Scrape down the bowl sides between additions.
Stir in the vanilla extract until fully incorporated. The batter should look smooth and slightly glossy now.
Step 3: Combine Dry Ingredients
In a separate bowl, whisk together the flour, baking powder, baking soda, and salt. This distributes the leavening agents evenly.
Gradually add the dry mixture to the wet ingredients. Mix on low speed until just combined—don’t overmix or the cookies will be tough.
The dough should be soft but not sticky. If it feels too wet, add a tablespoon of flour at a time.
Step 4: Prepare the Filling
In a small bowl, combine the remaining cup of brown sugar with the cinnamon. Mix thoroughly with a fork.
This simple filling packs serious flavor. The cinnamon cuts through the sweetness perfectly. Set this aside while you work with the dough.
Step 5: Roll and Cut the Dough
Divide the dough into two equal portions. Lightly flour your work surface and rolling pin.
Roll one portion to about 1/4 inch thickness. Too thin and they’ll crack, too thick and they’ll be cakey. Cut into rectangles approximately 3 by 4 inches—you should get about 8-10 rectangles per portion.
Thomas Keller emphasizes precision in pastry work, and it matters here. Try to keep the rectangles uniform so they bake evenly.
Transfer the rectangles to a parchment-lined baking sheet as you cut them. Repeat with the second portion of dough.
Step 6: Assemble the Cookies
Preheat your oven to 350°F (175°C). This is crucial—don’t skip preheating.
Place one tablespoon of the cinnamon-sugar filling in the center of one rectangle. Leave about 1/4 inch border around the edges.
Place another rectangle on top. Press the edges together firmly with a fork to seal—this prevents the filling from leaking out during baking.
You know that satisfying crimped edge on real Pop Tarts? That’s what you’re creating. Repeat until all cookies are assembled.
Step 7: Bake to Golden Perfection
Bake for 12-15 minutes until the edges turn lightly golden brown. The centers might look slightly underdone—that’s perfect.
Watch them carefully after the 10-minute mark. Overbaking makes them hard instead of tender. They’ll firm up as they cool.
Let the cookies cool on the baking sheet for 5 minutes. This prevents them from breaking when you transfer them. Then move to a wire cooling rack.
Step 8: Make the Glaze
While the cookies cool completely, whisk together the powdered sugar and 1-2 tablespoons of milk. Start with one tablespoon and add more if needed.
The glaze should be thick enough to coat the back of a spoon but thin enough to drizzle. It should ribbon off the whisk smoothly.
Drizzle the glaze over the cooled cookies using a spoon or piping bag. Add sprinkles immediately if you’re using them—the glaze sets quickly.
Expert Tips for Perfect Cookies
Chill your dough for 15 minutes if it’s too soft to roll. This makes cutting shapes much easier. I learned this the hard way after a frustrating rolling session.
Don’t overfill the cookies. One tablespoon is plenty—more will leak out and burn. Less is genuinely more here.
For crispier edges, bake an extra 2-3 minutes. For softer cookies, pull them at 12 minutes. Everyone’s oven runs differently.
Want that professional bakery look? Use a ruler to measure your rectangles. Consistent sizing means even baking.
Creative Variations
Holiday Version: Add red and green sprinkles for Christmas. Use pumpkin pie spice in fall for a seasonal twist that pairs beautifully with traditional apple pie flavors.
Chocolate Dream: Replace the cinnamon filling with Nutella or cookie butter. Top with chocolate glaze instead of vanilla.
Maple Pecan: Add chopped pecans to the filling and use maple extract in the glaze. This version tastes like autumn in cookie form.
S’mores Style: Add mini marshmallows and chocolate chips to the filling. Perfect for summer gatherings or camping-themed parties.
Breakfast Cookie: Reduce the sugar slightly and add a pinch of espresso powder. Serve warm with coffee—they’re absolutely incredible.
These variations work beautifully alongside savory snacks like pretzel bites for party spreads.
Storage & Make-Ahead Instructions
Store baked cookies in an airtight container at room temperature for up to 5 days. Layer them between parchment paper to prevent sticking.
You can freeze unbaked assembled cookies for up to 3 months. Place them on a baking sheet until frozen solid, then transfer to a freezer bag. Bake from frozen, adding 2-3 minutes to the baking time.
The dough itself freezes beautifully for up to 2 months. Wrap it tightly in plastic wrap, then aluminum foil.
Storage Times Table
| Storage Method | Duration | Notes |
|---|---|---|
| Room temperature (baked) | 5 days | Airtight container |
| Refrigerated (baked) | 1 week | May lose some crispness |
| Frozen (baked) | 2 months | Thaw at room temp |
| Frozen (unbaked dough) | 2 months | Defrost in fridge overnight |
| Frozen (assembled, unbaked) | 3 months | Bake from frozen |
Perfect Pairings
Serve these cookies with cold milk, hot coffee, or even a scoop of vanilla ice cream. They’re fantastic at birthday parties, potlucks, or just because it’s Tuesday.
Pack them in lunch boxes—they travel well and stay fresh. They also make thoughtful homemade gifts during the holidays.
Try them with cinnamon sugar pretzels for a sweet and salty combination that’ll blow your mind.
Brown Sugar Pop Tart Cookies FAQs
Can I use salted butter instead of unsalted?
Can I use salted butter instead of unsalted? Yes, but reduce the added salt to 1/4 teaspoon. Salted butter contains about 1/4 teaspoon of salt per stick, so you’ll need to adjust accordingly. The cookies will still turn out delicious, just slightly saltier overall.
What’s the best way to prevent the filling from leaking?
What’s the best way to prevent the filling from leaking? Make sure to seal the edges thoroughly with a fork and don’t overfill the cookies. Leave a 1/4 inch border around the edges when adding filling. Press firmly to create a tight seal—this is the most important step for leak-free Brown Sugar Pop Tarts.
How do I know when the cookies are done baking?
How do I know when the cookies are done baking? Look for lightly golden edges and a slightly puffed appearance. The centers might look underdone, but they’ll continue cooking as they cool. They should feel firm around the edges but slightly soft in the middle when you remove them.
Can I make these cookies dairy-free?
Can I make these cookies dairy-free? Absolutely! Substitute vegan butter and non-dairy milk like almond or oat milk. The texture changes slightly but they’re still delicious. Just make sure your vegan butter is softened to room temperature before starting.
Conclusion
Man, oh man, these Brown Sugar Pop Tart Cookies never disappoint. They’re nostalgic, delicious, and surprisingly easy once you get the hang of assembling them.
Whether you’re making them for a special occasion or just craving something sweet, they deliver every single time. The combination of buttery cookie, spiced filling, and sweet glaze hits all the right notes.
Ready to make these for yourself? Grab your ingredients and let’s get baking. Your kitchen is about to smell absolutely amazing.
Don’t these sound perfect alongside no-bake desserts for your next party? Or maybe with festive chocolate treats during the holidays?
What’s your favorite childhood breakfast treat? Share your memories and cookie variations in the comments below. I’d love to hear how yours turn out!

