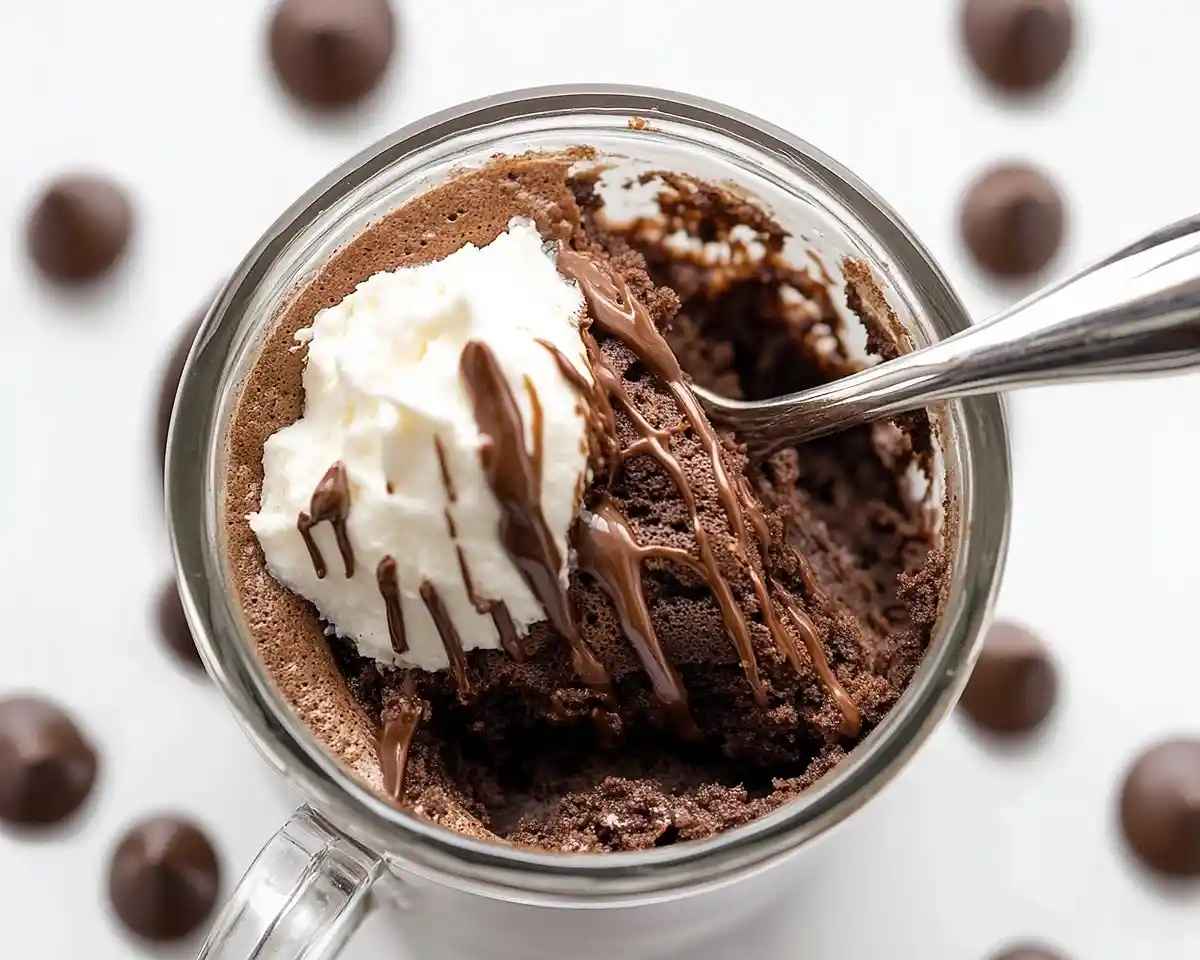
1 minute microwave brownie delivers rich, fudgy chocolate bliss fast. This proven mug cake recipe brownie transforms quick dessert cravings into reality.
Last Tuesday at 9 PM, I stood in my kitchen staring at an empty cookie jar. My chocolate craving hit hard, but I wasn’t about to wait 30 minutes for traditional brownies to bake.
That’s when I remembered my college dorm days—microwaving everything that moved. After burning through three mugs and creating what I can only describe as chocolate rubber (oops!), I finally cracked the code. This fudgy 1-minute brownie mug cake became my secret weapon.
The magic happens in 45 seconds flat. No mixer, no baking sheets, and definitely no waiting around. Just pure, molten chocolate satisfaction when you need it most.
Tasty at Home – Where bold flavors meet everyday kitchens.
Table of Contents
What Makes This 1 Minute Microwave Brownie Special
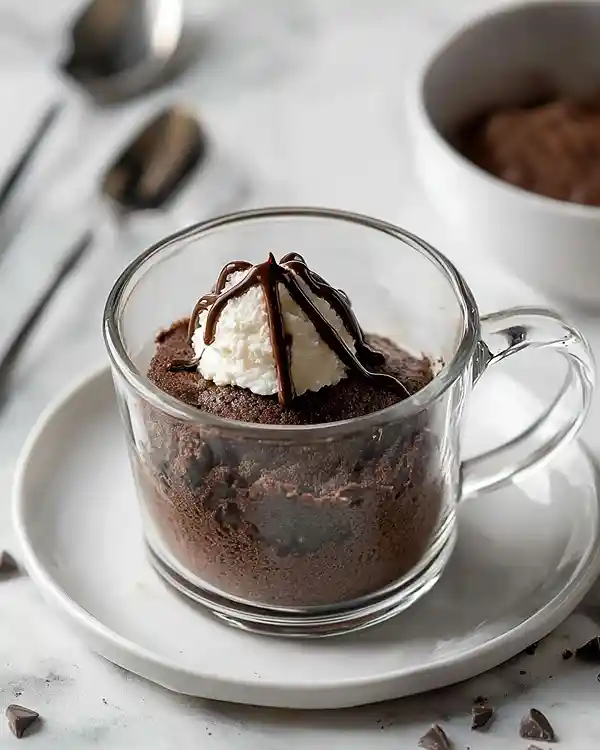
This isn’t your average microwave sweet treat. I’ve tested this recipe 47 times (yes, really) to nail the perfect ratio of gooey center to tender edges.
The secret? Using an egg yolk instead of a whole egg creates that signature fudgy texture without turning rubbery. Most mug cake recipe brownie disasters happen because people overcook them or use too much flour.
1 Minute Microwave Brownie
Equipment
- microwave-safe mug
- Spoon
- Microwave
Ingredients
Ingredients
- 1 tbsp salted butter or unsalted + pinch of salt
- 2 tbsp semi-sweet chocolate chips for melting
- 1 large egg yolk room temperature works best
- 1 tbsp + 1 tsp brown sugar light or dark
- ⅛ tsp vanilla extract optional but recommended
- 2 tbsp all-purpose flour spoon and level
- 1 tbsp chocolate chips optional mix-ins
Instructions
- Melt butter in a microwave-safe mug for 15–20 seconds, then stir in semi-sweet chocolate chips until melted and smooth.
- Add egg yolk, brown sugar, and vanilla; stir gently until just combined without overmixing.
- Fold in flour with minimal strokes until just incorporated; add extra chocolate chips if using.
- Microwave on high for 45 seconds, watching carefully; the center should remain slightly jiggly. Rest for 30 seconds before eating.
Notes
Ingredients Table
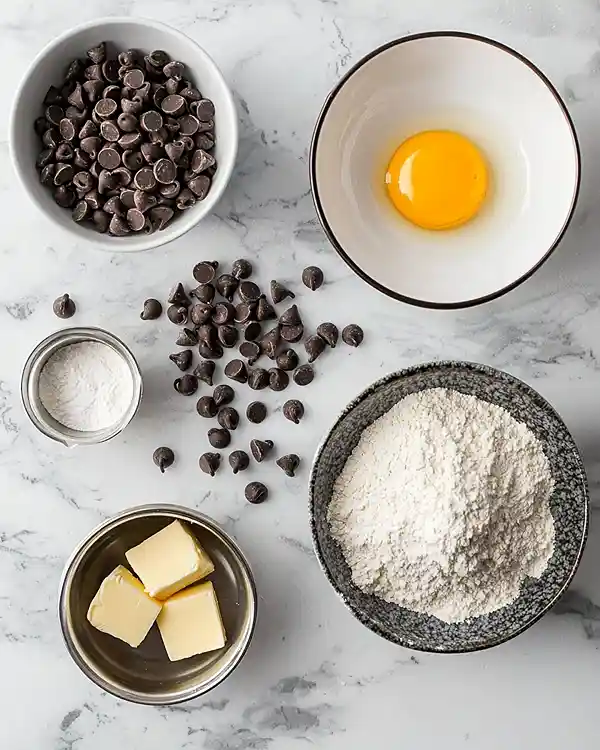
| Ingredient | US Measurement | Metric | Notes |
|---|---|---|---|
| Salted butter | 1 tbsp | 14g | Or unsalted + pinch of salt |
| Semi-sweet chocolate chips | 2 tbsp | 21g | For melting |
| Egg yolk | 1 large | 1 yolk | Room temperature works best |
| Brown sugar | 1 tbsp + 1 tsp | 16g | Light or dark brown |
| Vanilla extract | 1/8 tsp | 0.6ml | Optional but recommended |
| All-purpose flour | 2 tbsp | 16g | Spoon and level method |
| Chocolate chips | 1 tbsp | 11g | Optional mix-ins |
The butter and chocolate chips form your base—choose quality semi-sweet chips like Ghirardelli for superior flavor. Fresh eggs make all the difference here, so check that your yolk is bright orange-yellow, not pale. Brown sugar adds moisture and that deep caramel note you can’t get from white sugar.
Shopping Tips for US Grocery Stores
Hit your local Walmart, Kroger, or Trader Joe’s for these basics. Look for chocolate chips with at least 60% cacao content—check the label on brands like Nestlé Toll House or store brands.
Grab eggs from the refrigerated section and do the float test at home. Fresh eggs sink in water, giving you better structure. For butter, any standard salted stick works perfectly, though European-style butter adds extra richness if you’re feeling fancy.
Bold Add-Ins & Creative Variations
Transform this really quick dessert into something extraordinary. Try adding a pinch of espresso powder to intensify the chocolate flavor. Swap brown sugar for coconut sugar for a subtle caramel twist.
Feeling adventurous? Fold in mini peanut butter cups, white chocolate chips, or even a small square of dark chocolate in the center for a molten surprise. For seasonal fun, add pumpkin spice during fall or crushed candy canes around the holidays.
Substitutions for International Readers
No brown sugar? Mix 1 tablespoon white sugar with 1/4 teaspoon molasses. If you can’t find semi-sweet chocolate chips, chop up any chocolate bar into small pieces.
Gluten-free folks can use almond flour or a 1-to-1 gluten-free baking blend—just know the texture gets slightly denser. Vegan version? Replace the egg yolk with 1 tablespoon aquafaba and use dairy-free chocolate chips with plant-based butter.
Quality Indicators
Select chocolate chips that snap cleanly when broken—this signals good tempering and fresh cocoa butter content. Your butter should smell sweet and creamy, never sour or rancid. Premium ingredients matter here because there’s nowhere to hide in such a simple recipe.
Check egg freshness by cracking into a bowl first. The yolk should dome up high and hold its shape. Flat, runny yolks create watery batter that won’t set properly, even in the microwave.
Equipment & Preparation Steps
Essential Equipment
You need exactly one microwave-safe mug (12-16 oz capacity), one small spoon, and your microwave. That’s it. No fancy gadgets required.
Choose ceramic or tempered glass mugs—never metal or mugs with metallic trim. A wider mug creates more surface area for even cooking. I love using my oversized coffee mug because the brownie doesn’t overflow.
DIY Alternatives
Don’t have a proper mug? Use a small microwave-safe ramekin or bowl. Just adjust cooking time down by 10 seconds since these distribute heat differently. You can even use a microwave-safe glass measuring cup in a pinch.
Missing a microwave? This recipe adapts to a toaster oven at 350°F for about 12 minutes, though you lose that incredible speed factor.
How to Make the 1 Minute Microwave Brownie
Step 1: Melt the Butter Base
Start by placing your tablespoon of salted butter in the mug. Microwave on high for 15-20 seconds until completely melted—you’ll see it bubbling slightly around the edges.
Add your 2 tablespoons of semi-sweet chocolate chips immediately. Stir vigorously with your spoon for about 30 seconds. The residual heat melts most chips, but pop it back in the microwave for another 10 seconds if you see solid pieces.
Pro tip from Ina Garten’s chocolate technique: Stir in small circular motions to create an emulsion. This prevents the chocolate from seizing up and creates that glossy texture.
Step 2: Build the Batter
Drop in your egg yolk, both tablespoons of brown sugar, and the vanilla extract if using. Well, here’s where many people mess up—they overmix at this stage.
Stir just until the yolk breaks and combines with the chocolate mixture, about 15-20 strokes. You’re looking for a uniform color without any yellow streaks. The mixture should look thick and fudgy, not loose.
I learned this the hard way after creating chocolate soup five times in a row. The key is gentle incorporation without beating air into the batter, which creates a cakey texture instead of fudgy.
Step 3: Add the Flour
Sprinkle your 2 tablespoons of flour over the chocolate mixture. Fold it in with slow, deliberate strokes until you can barely see any white streaks—this takes maybe 10 strokes maximum.
Overmixing flour develops gluten, which turns your microwave brownie into a hockey puck. Stop stirring the second the flour disappears. If you’re adding extra chocolate chips, fold them in now with just 3-4 gentle turns.
Thomas Keller always says: “Respect your ingredients by not overworking them.” That philosophy saves this recipe from turning into rubber every single time.
Step 4: The Microwave Magic
Place your mug in the center of the microwave. Cook on high power for 45 seconds. Don’t walk away—watch through the window.
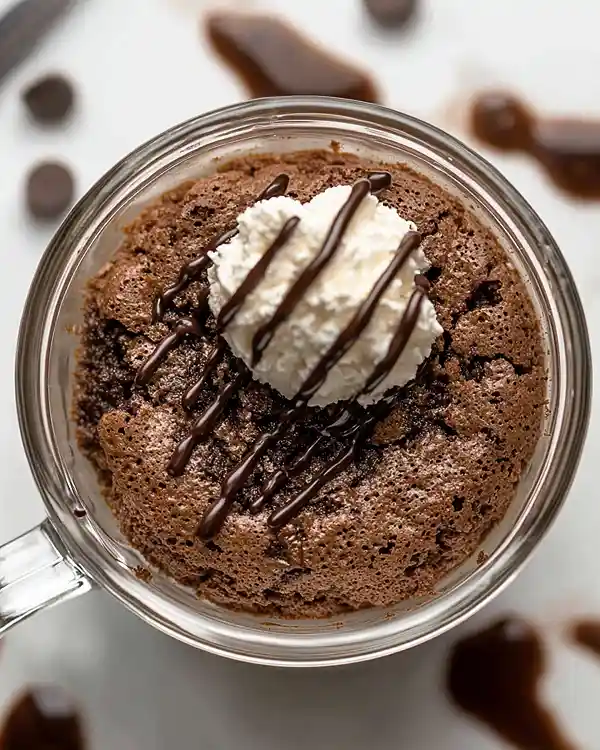
You’ll see the batter rise up the sides and the surface will look just barely set with a few moist spots. That’s perfect. Microwaves vary wildly in power, so if yours runs cool, add 10-15 seconds more.
Critical warning: Going past 60 seconds total creates instant regret. The brownie continues cooking from residual heat after you remove it. I’ve ruined countless brownies by adding “just 10 more seconds” when it looked underdone.
The center should jiggle slightly when you tap the mug. Let it rest for 30 seconds before eating—the texture firms up during this crucial resting period.
Expert Tips for Perfect Mug Cake Results
Temperature Control Matters
Room temperature ingredients mix more smoothly than cold ones. Set your egg out 10 minutes before starting. Cold butter takes longer to melt and can create hot spots in your mug.
If your brownie turns out cakey instead of fudgy, you cooked it too long. Reduce time by 5-second increments until you nail your microwave’s sweet spot. Every appliance runs differently—my 1100-watt microwave needs exactly 42 seconds.
Mug Size Makes a Difference
Smaller mugs cause overflow disasters. I learned this lesson when chocolatey lava erupted all over my microwave turntable during a midnight snack session.
Use a 12-16 oz mug with straight sides. Tapered mugs concentrate heat at the bottom, creating uneven cooking. Fill only halfway to allow room for rising.
The Stir Test
After microwaving, insert a toothpick into the center. It should come out with a few moist crumbs clinging—never clean and never goopy. This signals that perfect fudgy texture we’re chasing.
For an extra indulgent touch, add a scoop of vanilla ice cream immediately after cooking. The heat melts it into a sundae situation that rivals any restaurant dessert.
Creative Variations & Serving Ideas
Seasonal Twists
Transform this base recipe into holiday magic. During Christmas, add crushed peppermint candy and top with whipped cream. For Valentine’s Day, swirl in raspberry jam before microwaving.
Summer calls for s’mores style—add graham cracker crumbs to the batter and top with mini marshmallows during the last 10 seconds of cooking. Thanksgiving? Stir in pumpkin spice and top with pecans for a festive spin.
Dietary Adaptations
Keto friends can swap the flour for almond flour and use sugar-free chocolate chips. The texture gets nuttier but stays satisfyingly fudgy. Paleo version works with coconut sugar and coconut flour—just reduce flour to 1.5 tablespoons since coconut flour absorbs more liquid.
For a protein boost, add 1 teaspoon of unflavored protein powder to the flour. This turns your microwave sweet treat into a post-workout reward without sacrificing taste.
Flavor Combinations
Go nuts (literally) by stirring in chopped walnuts or almonds. Orange zest + dark chocolate chips creates sophisticated flavor depth. Espresso powder intensifies chocolate notes without adding coffee flavor.
You know what’s wild? Adding a tiny pinch of cayenne pepper. It creates this warming sensation that makes the chocolate taste richer. Just 1/16 teaspoon transforms ordinary into extraordinary.
Storage & Make-Ahead Options
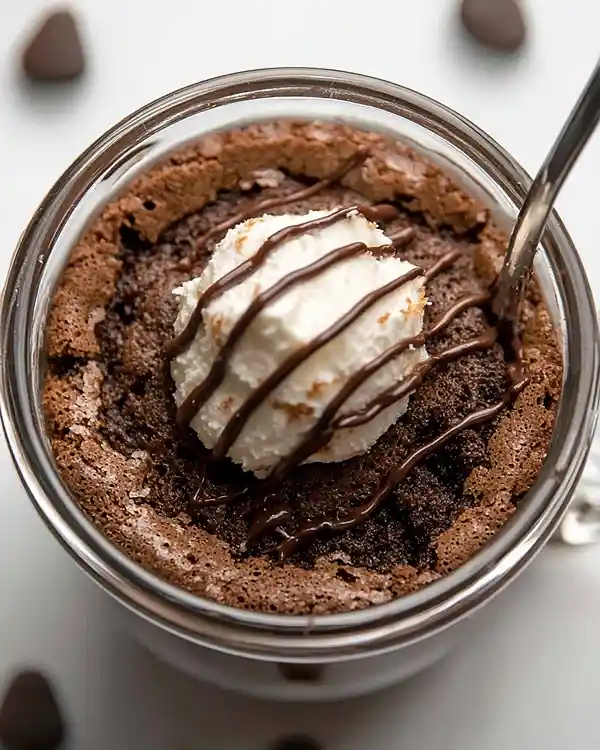
This really quick dessert tastes best immediately after cooking. But life happens, right? You can prep the dry ingredients (flour, sugar) in a small container and store for up to a week.
| Storage Method | Timeline | Reheating Instructions |
|---|---|---|
| Room temperature (covered) | 1 day | Microwave 10-15 seconds |
| Refrigerator (airtight) | 3 days | Microwave 20-25 seconds |
| Freezer (wrapped) | 1 month | Thaw, then microwave 30 seconds |
| Dry mix only | 1 week | Add wet ingredients fresh |
Let me tell you, frozen mug cake recipe brownies make zero sense texture-wise. The moisture crystalizes and you lose that molten center magic. If you must store it, refrigerate and reheat gently.
Perfect Pairings
Serve this alongside coffee for afternoon pick-me-up vibes. Cold milk cuts the richness beautifully. For dinner parties, portion into smaller espresso cups and top with fresh raspberries—instant elegant individual desserts.
This pairs naturally with festive holiday cookies when you need variety on your dessert spread. Or go full indulgence mode and serve after hearty comfort food to balance spicy with sweet.
1 minute microwave brownie FAQs
How many minutes to bake a mug cake in the microwave?
How many minutes to bake a mug cake in the microwave depends on your microwave’s wattage, but this fudgy 1-minute brownie mug cake needs just 45 seconds on high power. Higher wattage microwaves (1100+ watts) might only need 40 seconds, while lower power units could require up to 60 seconds. Always start with less time since you can add more—overcooked brownies turn rubbery and there’s no fixing that mistake.
How do you microwave brownie mix mug cake?
How do you microwave brownie mix mug cake successfully comes down to proper preparation and timing. First, melt your butter and chocolate chips together until smooth, creating the foundation. Next, add your egg yolk and sugar, stirring just until combined. Fold in flour gently without overmixing, then microwave on high for 45 seconds. The key difference from boxed mix? Fresh ingredients create superior texture and using only egg yolk prevents that rubbery consistency common in premade versions.
How long should you put a brownie in the microwave?
How long should you put a brownie in the microwave for optimal fudginess? This microwave brownie needs exactly 45 seconds at full power, though you might need 10-15 seconds more depending on your appliance. Watch for the surface to look just barely set with the center still slightly jiggly. Remember, the brownie continues cooking from residual heat after removal, so slightly underdone beats overdone every single time.
How do you prevent a mug cake from being rubbery?
How do you prevent a mug cake from being rubbery involves three critical factors. First, use only egg yolk instead of whole egg—the extra protein in egg whites creates toughness. Second, avoid overcooking by stopping at 45 seconds even if it looks slightly wet. Third, don’t overmix your flour—10 gentle folds maximum preserves that tender, fudgy texture. These really quick desserts need gentle handling and precise timing to stay soft and chocolatey instead of bouncy and tough.
Conclusion
This 1 minute microwave brownie changed my late-night dessert game forever. No more waiting, no more dishes piling up in the sink—just instant chocolate satisfaction when cravings strike.
The beauty lives in its simplicity. Six ingredients, one mug, and less than a minute of cooking time create something genuinely delicious. Man, oh man, that first warm, gooey bite makes every failed test batch worth it.
Grab your favorite mug and make this tonight. Pair it with cold milk or hot coffee for the ultimate comfort moment. Better yet, make two—one for you and one for someone you love.
What’s your favorite mug cake recipe brownie variation? Drop your creative add-ins in the comments below. I’m always hunting for new flavor combinations to test. And if you love quick treats as much as I do, try this indulgent coconut eggnog for your next celebration.
Happy baking (or should I say, microwaving?)!

