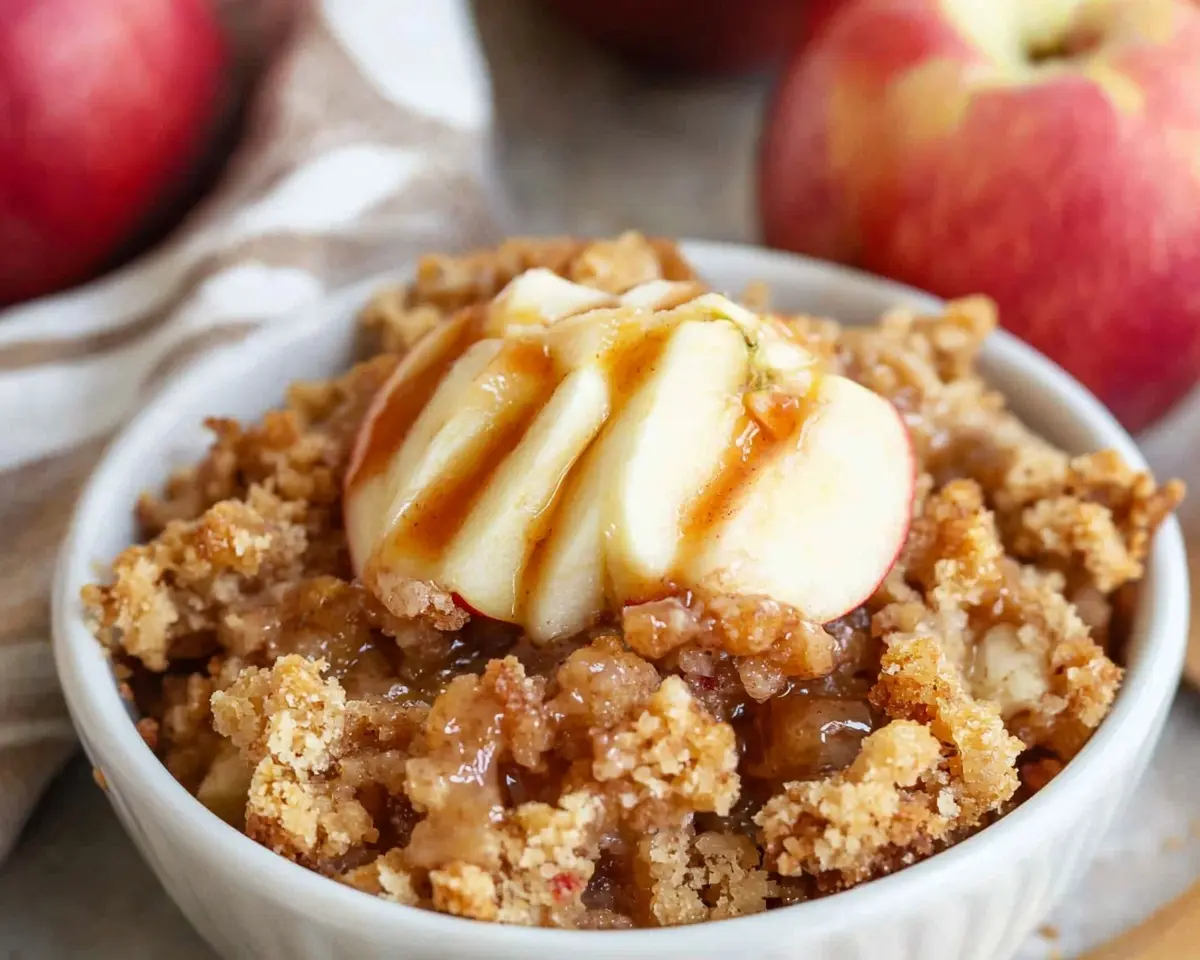
The BEST Apple Crisp recipe with proven techniques. Perfect apple cobbler recipe with oats creates golden, bubbling perfection every time.
Hi, I’m Linda, and welcome to Tasty at Home—where bold flavors meet everyday kitchens. Last October, I was frantically testing apple crisp recipes for my sister’s harvest party. After three disappointing attempts that turned into mushy disasters, I finally cracked the code.
The secret? Well, it involved a few tears, countless Honeycrisp apples, and one game-changing technique my grandmother never shared.
You know what happened next? The entire dish vanished within minutes. Guests were literally scraping the bottom of the pan with their spoons, begging for the recipe. That’s when I realized I’d stumbled upon something truly special—the BEST apple crisp recipe that transforms simple ingredients into pure autumn bliss.
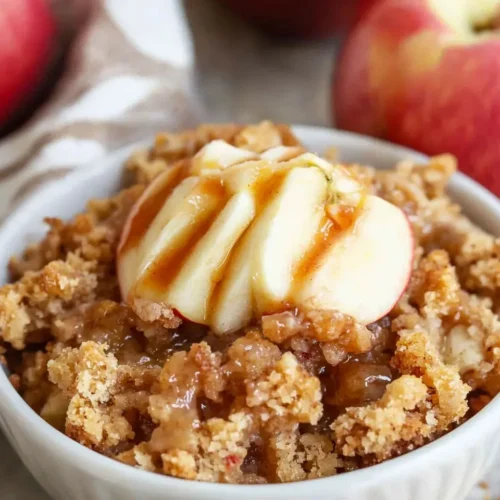
This isn’t just another apple cobbler recipe with oats thrown on top. Instead, this recipe delivers perfectly tender apples beneath a gloriously golden, crunchy topping that crumbles like sweet, buttery sand between your teeth.
Moreover, every single bite captures the essence of fall in America—warm cinnamon, tart apples, and that irresistible contrast between crisp and soft textures.
Whether you’re hosting Thanksgiving dinner or simply craving comfort food on a chilly evening, this grandmas apple crisp recipe will become your go-to dessert. Let’s dive into the secrets that make this recipe absolutely foolproof.
Table of Contents
What Makes This Apple Crisp Recipe Extraordinary
After testing dozens of variations, this recipe stands apart for several crucial reasons. First, the precise balance between fruit and topping creates textural perfection in every spoonful. Additionally, the strategic use of both granulated and brown sugars develops complex caramelized flavors that elevate this dessert beyond ordinary.
Furthermore, this apple crisp recipe incorporates professional techniques I learned from studying Julia Child’s approach to French fruit desserts. Specifically, she emphasized the importance of properly preparing fruit to prevent excess moisture—a principle that transforms this humble dessert into restaurant-quality excellence.
Premium Ingredients for Maximum Impact
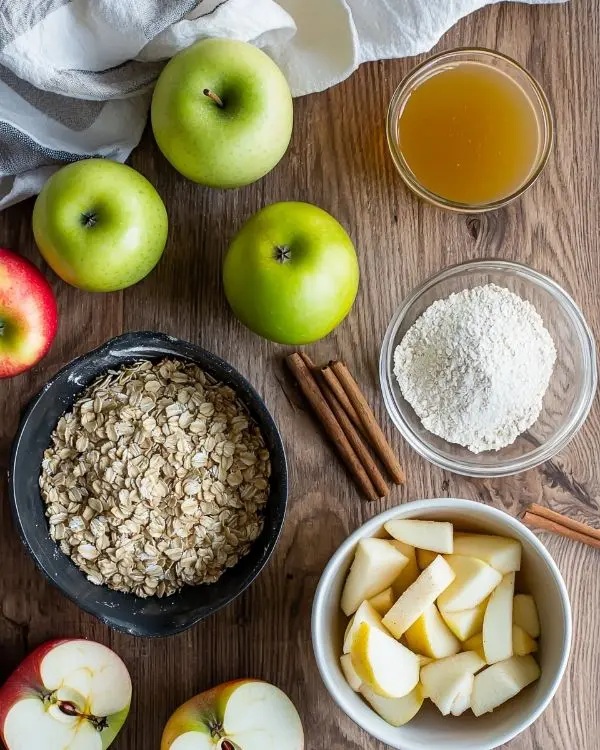
| Topping Ingredients | US Measure | Metric | Notes |
|---|---|---|---|
| All-purpose flour | ⅔ cup | 85g | Creates structure |
| Old-fashioned oats | ⅔ cup | 65g | Essential for texture |
| Light brown sugar | ⅔ cup | 135g | Adds caramel notes |
| Salt | ½ teaspoon | 3g | Enhances all flavors |
| Ground cinnamon | ½ teaspoon | 1.5g | Warm spice foundation |
| Unsalted butter, melted | ½ cup | 115g | Binds everything together |
| Apple Filling | US Measure | Metric | Essential Details |
|---|---|---|---|
| Apples, peeled & sliced | 6 cups | 900g | See variety guide below |
| Apple juice (preferred) | 3 tablespoons | 45ml | Orange juice works too |
| Granulated sugar | ¼ cup | 50g | Balances tartness |
| All-purpose flour | 2 tablespoons | 20g | Thickens fruit juices |
| Ground cinnamon | ¾ teaspoon | 2g | Complements apples perfectly |
| Pure vanilla extract | 1 teaspoon | 5ml | Adds depth and warmth |
Selecting Perfect Apples: The Foundation of Excellence
Choosing the right apples determines whether your crisp achieves greatness or falls flat. Therefore, I recommend combining two varieties for optimal results. Honeycrisp apples provide sweetness and maintain their shape beautifully, while Granny Smith apples contribute tartness and structural integrity during baking.
For US grocery shopping, look for apples that feel firm when gently squeezed. Additionally, avoid any with soft spots or wrinkled skin, as these indicators suggest the fruit has lost moisture and won’t deliver peak flavor. Most importantly, select apples of similar sizes to ensure even cooking throughout your dessert.
Quality Indicators for Premium Results:
- Firm texture with no give when pressed
- Bright, consistent skin color
- Sweet, fresh aroma at the stem end
- Heavy feel relative to size (indicates good moisture content)
Essential Equipment and Preparation Mastery
Required Tools for Success
Success begins with proper equipment, though you don’t need expensive gadgets to achieve perfection. A 9-inch deep dish pie plate works beautifully, but a 9×9 square baking dish delivers equally impressive results. Furthermore, having the right tools streamlines the process and ensures consistent outcomes.
Essential Equipment:
- 9-inch deep dish pie plate or 9×9 baking dish
- Large mixing bowl for combining ingredients
- Sharp peeler and knife for apple preparation
- Measuring cups and spoons for accuracy
- Aluminum foil for covering during initial baking
DIY Alternatives: Can’t find a deep dish pie plate? No problem! An 8×8 square pan works perfectly, though you might have slightly thicker layers. Similarly, if you lack a proper peeler, a sharp paring knife handles apple preparation beautifully with a bit more patience.
Step-by-Step Preparation: From Start to Finish
Step 1: Creating the Perfect Foundation
Preheat your oven to 350°F while you prepare your ingredients. This temperature provides the ideal balance for cooking apples thoroughly while achieving golden-brown topping perfection. Meanwhile, grease your chosen baking dish thoroughly to prevent sticking and ensure easy serving later.
Step 2: Crafting the Golden Topping
Combine flour, oats, brown sugar, salt, and cinnamon in a medium bowl. Next, pour in the melted butter and stir until the mixture resembles coarse, wet sand. This texture creates those coveted crispy clusters that make apple crisp irresistible.
Here’s a pro tip I learned the hard way: don’t overmix the topping! Last Christmas, I got carried away stirring and ended up with a paste-like consistency instead of the desired crumbly texture. Consequently, the topping became dense rather than light and crispy.
Place your prepared topping in the refrigerator while working on the filling. This chilling step helps maintain texture separation and prevents the topping from sinking into the fruit during baking.
Step 3: Preparing the Apple Filling Like a Pro
Peel and slice your apples into uniform pieces, roughly ¼-inch thick. Consistency matters here because even slices cook at the same rate, preventing some pieces from becoming mushy while others remain undercooked.
In your large bowl, combine the sliced apples with apple juice, granulated sugar, flour, cinnamon, and vanilla extract. Stir gently until every piece is coated evenly. The flour performs double duty—it thickens the natural fruit juices and prevents a watery final result.
Critical Technique Alert: Don’t skip the apple juice! This ingredient jump-starts the cooking process and helps distribute flavors uniformly. Additionally, it provides just enough moisture to prevent the top layer of apples from drying out during baking.
Step 4: Assembly and Baking Perfection
Transfer your seasoned apple mixture into the prepared baking dish, including any accumulated juices. Spread everything into an even layer, then retrieve your chilled topping from the refrigerator.
Crumble the topping over the fruit surface, pressing some portions together to form irregular clumps. These clusters create textural variety—some areas will be crispy and light, while others develop into satisfying, chewy morsels.
Cover the dish loosely with foil sprayed with nonstick cooking spray. This prevents the foil from sticking to your beautiful topping while allowing proper steam circulation.
Step 5: The Two-Stage Baking Method
Bake covered for exactly 20 minutes. This initial covered period allows the apples to steam gently and begin softening without browning the topping prematurely.
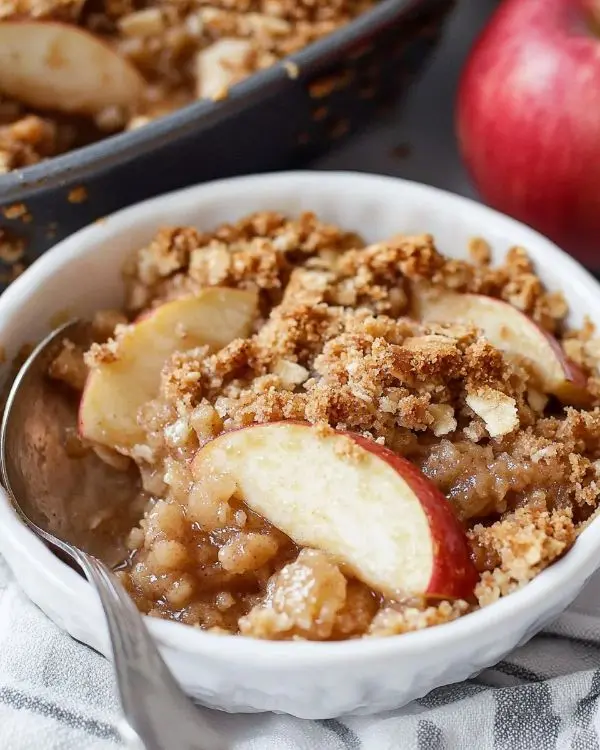
After 20 minutes, remove the foil and continue baking for 25-30 additional minutes. Watch for these doneness indicators: golden-brown topping, tender apples when pierced with a fork, and bubbling juices around the edges.
The bubbling is crucial—it signals that the natural fruit pectin has activated and will create a luscious, syrupy consistency as the dessert cools slightly.
Expert Tips and Creative Variations
Professional Secrets for Ultimate Results
Temperature control makes all the difference between good and extraordinary apple crisp. Thomas Keller, renowned for his precision, emphasizes that fruit desserts require patience—rushing the process with higher heat creates uneven cooking and bitter flavors.
Allow your finished crisp to cool for at least 15 minutes before serving. This resting period lets the juices thicken naturally and prevents a messy, runny presentation. However, serve it while still warm to maximize the contrast between the crispy topping and tender fruit beneath.
Storage and Make-Ahead Wisdom:
| Storage Method | Duration | Instructions |
|---|---|---|
| Room temperature | 2 days | Cover loosely, reheat portions |
| Refrigerator | 5 days | Cover tightly, warm before serving |
| Freezer | 3 months | Wrap well, thaw overnight |
Seasonal Variations to Explore
Harvest Spice Apple Crisp: Add ¼ teaspoon nutmeg and ⅛ teaspoon cardamom to both the filling and topping for complex warmth that captures the essence of autumn.
Cranberry Apple Celebration: Fold in ½ cup dried cranberries with the apples for tart-sweet contrast perfect for Thanksgiving gatherings.
Caramel Pecan Paradise: Drizzle 2 tablespoons caramel sauce over the apples before adding topping, then sprinkle ⅓ cup chopped pecans on top for Southern-inspired decadence.
Healthier Whole Grain Version: Substitute half the all-purpose flour with whole wheat pastry flour and use coconut oil instead of butter for a nutritious twist that doesn’t sacrifice flavor.
Perfect Pairings and Serving Suggestions
Nothing complements warm apple crisp like premium vanilla ice cream slowly melting alongside each spoonful. Moreover, a drizzle of homemade caramel sauce elevates this dessert to restaurant-quality presentation.
For beverage pairings, consider hot apple cider, rich coffee, or even a glass of dessert wine for adult gatherings. Additionally, this apple crisp recipe pairs beautifully with seasonal comfort foods for complete autumn menu planning.
Man, oh man, the combination of textures and temperatures creates pure magic in every bite! The contrast between the warm, soft apples and cold, creamy ice cream delivers sensory satisfaction that keeps guests coming back for seconds.
The BEST Apple Crisp Recipe FAQs
What is the difference between apple crisp and apple crumble?
Apple crisp contains oats in the topping, creating more texture and visual appeal, while apple crumble typically uses only flour, butter, and sugar for a smoother, more uniform topping consistency.
What is the secret to a good apple crisp?
The secret lies in using the right apple varieties, maintaining proper moisture balance with flour, and achieving the perfect topping texture through careful mixing and temperature control during baking.
What is apple crisp made of?
Apple crisp consists of sliced seasoned apples topped with a mixture of flour, oats, sugar, butter, and warm spices like cinnamon, then baked until golden and bubbling.
How to make an easy apple crumble?
Making easy apple crumble follows the same basic process as apple crisp but omits the oats from the topping mixture, creating a simpler preparation with equally delicious results.
The Sweet Ending to Your Perfect Dessert
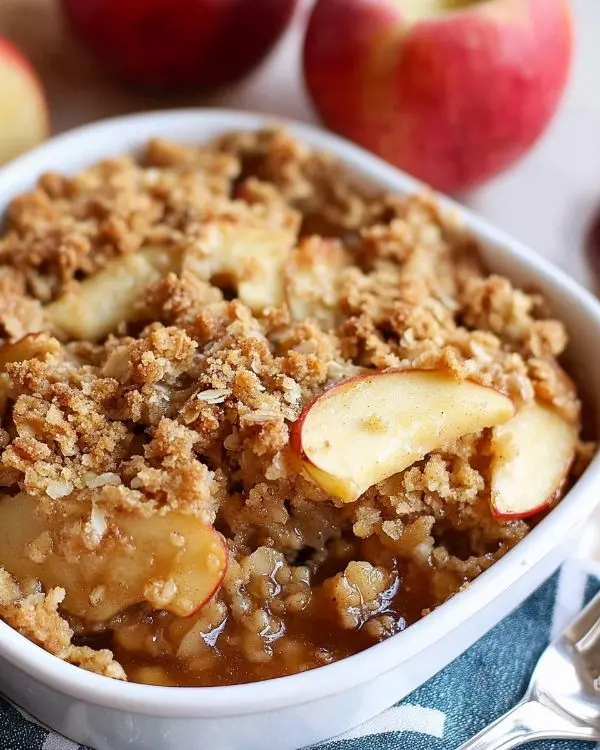
This grandmas apple crisp recipe represents everything wonderful about American comfort food—simple ingredients transformed through technique and love into something truly memorable. From that first bite of perfectly spiced apples to the last crumb of golden topping, every element works in harmony to create dessert perfection.
Oops! I almost forgot to mention the most important part—sharing this creation with people you care about multiplies the joy exponentially. Whether you’re serving it at a backyard barbecue or elegant dinner party, this versatile dessert adapts beautifully to any occasion.
Try pairing this apple crisp with our Japanese cotton candy Swiss cake roll for an international dessert spread, or keep it classic alongside our quick lasagna soup for the ultimate comfort food meal.
Let me tell you, there’s nothing quite like the satisfaction of watching empty plates and hearing contented sighs around your dinner table. This recipe has never failed to deliver those precious moments of pure happiness.
Have you tried this recipe yet? Share your results and creative variations—I’d love to hear how this apple crisp recipe becomes part of your family’s treasured traditions.
The BEST Apple Crisp Recipe
Equipment
- 9-inch deep dish pie plate or 9×9 baking dish
- Large mixing bowl
- Sharp peeler and knife
- Measuring cups and spoons
- aluminum foil
Ingredients
Topping Ingredients
- ⅔ cup All-purpose flour Creates structure
- ⅔ cup Old-fashioned oats Essential for texture
- ⅔ cup Light brown sugar Adds caramel notes
- ½ teaspoon Salt Enhances all flavors
- ½ teaspoon Ground cinnamon Warm spice foundation
- ½ cup Unsalted butter, melted Binds everything together
Apple Filling
- 6 cups Apples, peeled & sliced Use Honeycrisp + Granny Smith mix
- 3 tablespoons Apple juice Orange juice works too
- ¼ cup Granulated sugar Balances tartness
- 2 tablespoons All-purpose flour Thickens fruit juices
- ¾ teaspoon Ground cinnamon Complements apples perfectly
- 1 teaspoon Pure vanilla extract Adds depth and warmth
Instructions
- Preheat oven to 350°F and grease baking dish.
- Mix flour, oats, brown sugar, salt, and cinnamon. Stir in melted butter until crumbly. Chill topping.
- Peel and slice apples. Toss with apple juice, sugar, flour, cinnamon, and vanilla until coated.
- Spread apple mixture into prepared dish. Sprinkle chilled topping evenly over fruit.
- Cover with foil and bake 20 minutes. Remove foil, bake another 25–30 minutes until golden and bubbling.
- Cool 15 minutes before serving warm with ice cream or caramel sauce.

