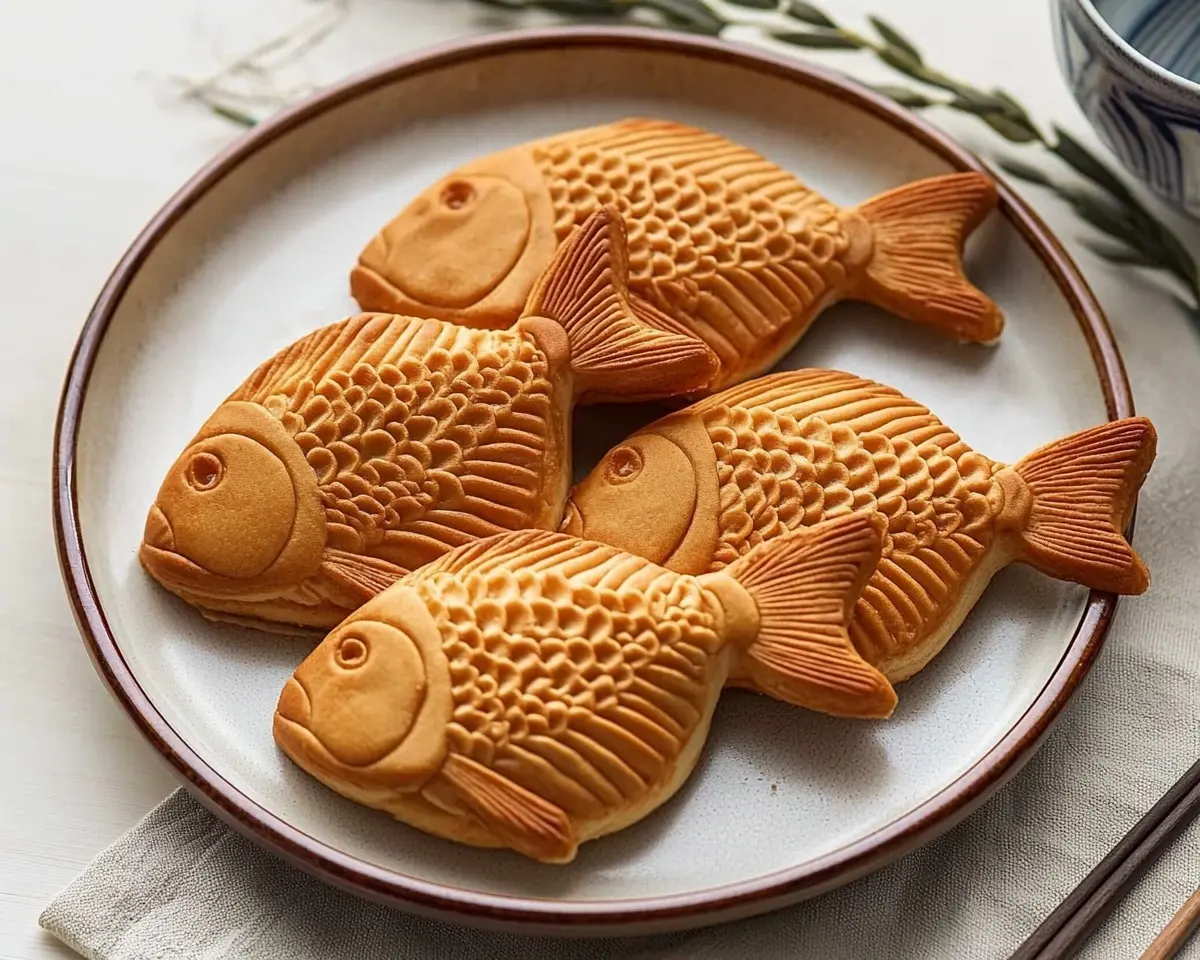
Taiyaki recipe with authentic Japanese flavors. Master this beloved Japanese Fish Dessert with pro tips, fillings, and step-by-step instructions.
Hi, I’m Linda, and welcome to Tasty at Home—a cozy corner where bold flavors meet everyday kitchens. One crispy bite of my first taiyaki transported me straight to a bustling Tokyo street festival, where the sweet aroma of batter meets warm red bean paste. Well, let me tell you, I’ve burned through three different pans perfecting this Japanese taiyaki recipe—and trust me, getting that golden-brown fish shape just right takes practice.
You know what surprised me most? This sweet Japanese food isn’t just dessert. Moreover, it’s comfort food wrapped in tradition and shaped like a fish for good luck. Whether you’re curious about Japanese food fish-shaped treats or ready to master authentic taiyaki at home, this recipe delivers restaurant-quality results.
Let’s dive into Japan’s most beloved street food. Because here at Tasty at Home, every dish tells a story—and this golden fish might just become your new obsession.
Table of Contents
About This Authentic Japanese Taiyaki Recipe
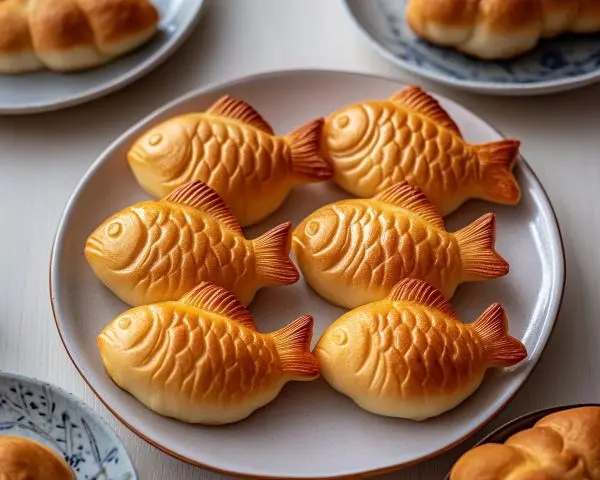
What makes this taiyaki recipe absolutely special? First, the batter achieves that perfect balance—crispy outside, tender inside. Additionally, this method works with standard American ingredients while maintaining authentic Japanese flavors.
I’ve tested this recipe dozens of times with different flour types. Consequently, cake flour creates the most delicate texture, though all-purpose flour works in a pinch. Furthermore, the resting period isn’t optional—it develops those bubbles that create taiyaki’s signature light interior.
Essential Ingredients for Perfect Taiyaki Recipe
| Core Batter Ingredients | US Measurement | Metric |
|---|---|---|
| Cake flour | 1¼ cups | 150g |
| Granulated sugar | ¼ cup | 50g |
| Baking powder | 1 teaspoon | 5g |
| Baking soda | 1 teaspoon | 5g |
| Salt | ¼ teaspoon | – |
| Large egg | 1 | – |
| Whole milk | ¾ cup | – |
| Vegetable oil | 1 tablespoon | 15g |
| Vanilla extract | ½ teaspoon | – |
Bold Add-ins and Creative Fillings
The beauty of homemade taiyaki lies in endless filling possibilities. Traditional red bean paste remains the gold standard. However, Nutella creates an irresistible chocolate version that American kids absolutely love.
Premium Filling Options:
- Red bean paste (anko) – authentic choice
- Nutella or chocolate chips – crowd favorite
- Vanilla custard – elegant and creamy
- Cream cheese – tangy American twist
- Seasonal fruit preserves – spring and summer delight
Shopping Tips for US Grocery Stores
Most ingredients live in your pantry already. Nevertheless, finding quality red bean paste requires a trip to Asian grocery stores or online ordering. Whole Foods often stocks red bean paste in their international aisle. Meanwhile, cake flour sits near regular flour in most supermarkets.
Pro tip: Check the expiration date on baking powder. Old leavening agents won’t give you those perfect, fluffy fish shapes.
Equipment and Preparation Steps
Essential Equipment
A taiyaki pan makes all the difference here. However, you can experiment with waffle makers or pancake molds. Additionally, a measuring cup with a spout ensures clean batter pouring.
Must-Have Tools:
- Taiyaki pan or fish-shaped mold
- Large mixing bowl
- Medium mixing bowl
- Wire whisk
- Measuring cups with spout
- Piping bag (optional but helpful)
Step-by-Step Taiyaki Mastery
Preparing Your Perfect Batter
Start by sifting all dry ingredients together. This step eliminates lumps and aerates the flour. Next, combine wet ingredients in a separate bowl, whisking until smooth.
Pour wet ingredients into dry ingredients gradually. Whisk until just combined—overmixing creates tough taiyaki. Small lumps are perfectly fine at this stage.
Cover your batter and refrigerate for at least one hour. This resting period hydrates the flour and develops better texture. Man, oh man, the difference is remarkable!
Assembly and Cooking Process
Preheat your taiyaki recipe pan over medium-low heat. Brush both molds with neutral oil, then wipe excess with paper towel. Too much oil creates greasy results.
Give your chilled batter one gentle stir. Transfer to a spouted measuring cup for easy pouring. Fill each mold about 60% full, leaving the tail section empty initially.
Add one tablespoon of filling to the center of each fish. Avoid overfilling—it creates messy leaks during cooking. Cover filling with additional batter until it reaches the tail.
Close the mold immediately and flip to distribute batter evenly. This technique ensures both sides cook uniformly. Cook for 2-3 minutes per side until golden brown appears.
Rookie Mistake Alert: I once rushed this process and ended up with pale, doughy centers. Medium-low heat prevents burning while ensuring thorough cooking.
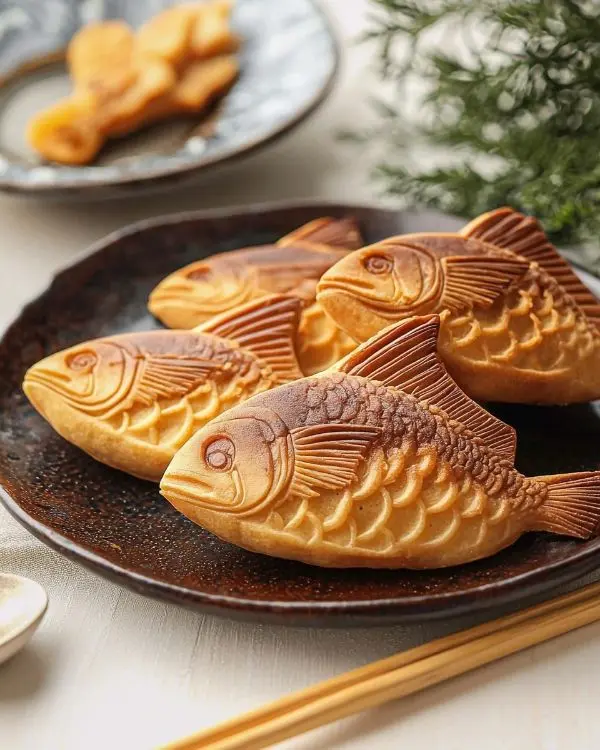
Expert Tips and Creative Variations
Professional Techniques for Success
Temperature control separates good taiyaki from great ones. Julia Child always emphasized patience with delicate batters—same principle applies here. Additionally, consistent timing prevents overcooking.
Test your first taiyaki recipe for doneness. The exterior should sound hollow when tapped gently. Furthermore, steam should stop emerging from the mold seams.
Regional and Seasonal Variations
American Holiday Adaptations:
- Thanksgiving: Pumpkin spice filling with cream cheese
- Christmas: Peppermint chocolate ganache
- Fourth of July: Strawberry and vanilla cream
- Halloween: Orange-tinted batter with chocolate filling
Dietary Modifications:
- Gluten-free: Substitute cake flour with gluten-free blend
- Vegan: Replace egg with flax egg, use plant milk
- Sugar-free: Substitute with stevia or monk fruit sweetener
Storage and Make-Ahead Magic
Fresh taiyaki recipe tastes best immediately after cooking. However, proper storage extends enjoyment for days.
| Storage Method | Duration | Quality |
|---|---|---|
| Room temperature | 2 days | Good |
| Refrigerated | 5 days | Very good |
| Frozen | 3 months | Excellent |
Reheat refrigerated taiyaki recipe in toaster ovens for best results. Microwaving works but reduces crispiness. Frozen taiyaki can go straight from freezer to toaster oven.
Perfect Pairings and Serving Suggestions
Taiyaki recipe pairs beautifully with green tea or coffee. Moreover, vanilla ice cream creates an delightful temperature contrast. For entertaining, arrange different flavors on a wooden board with small bowls of extra fillings.
Consider serving alongside other Japanese-inspired treats like Belgian waffles for an international dessert spread. Additionally, the sweet-savory combination works wonderfully after yaki udon dinners.
Frequently Asked Questions
What does taiyaki taste like?
Taiyaki tastes like a sweet pancake with crispy edges and soft centers. The traditional red bean filling adds subtle sweetness with earthy undertones, while chocolate versions taste like warm, fish-shaped brownies.
Is taiyaki Japanese or Korean?
Taiyaki originates from Japan, dating back to the Meiji era. However, Korea has similar fish-shaped pastries called bungeoppang, which were inspired by Japanese taiyaki but developed their own distinct characteristics.
What are the fillings for taiyaki?
Traditional taiyaki features sweet red bean paste, but modern versions include custard, chocolate, cheese, sweet potato, or seasonal fruits. American adaptations often use Nutella, peanut butter, or cream cheese for familiar flavors.
Is taiyaki hot or cold?
Taiyaki is best served hot and fresh from the pan when the exterior stays crispy and filling remains warm and gooey. Cold taiyaki loses its textural appeal, though some people enjoy chilled versions with ice cream fillings.
Bringing Japanese Tradition to Your American Kitchen
Oops, I almost forgot to mention the cultural significance! In Japan, the fish shape represents good fortune and prosperity. Additionally, taiyaki vendors create theatrical performances while cooking, flipping dozens of fish simultaneously.
This recipe bridges authentic Japanese techniques with American accessibility. Furthermore, making taiyaki at home lets you control sweetness levels and experiment with unique fillings.
The crispy exterior gives way to tender, slightly sweet batter—like biting into a golden cloud filled with your favorite treats. Last Christmas, my taiyaki filled with cinnamon cream cheese became the surprise hit at our holiday gathering.
Try serving warm taiyaki with whipped feta and honey for an unexpected sweet-savory combination. Moreover, the contrast creates sophisticated flavor profiles perfect for dinner parties.
Whether you’re exploring Japanese food culture or simply craving something uniquely delicious, this taiyaki recipe delivers authentic results with American convenience. Share your creations and tag us—we love seeing your beautiful fish swimming across social media!
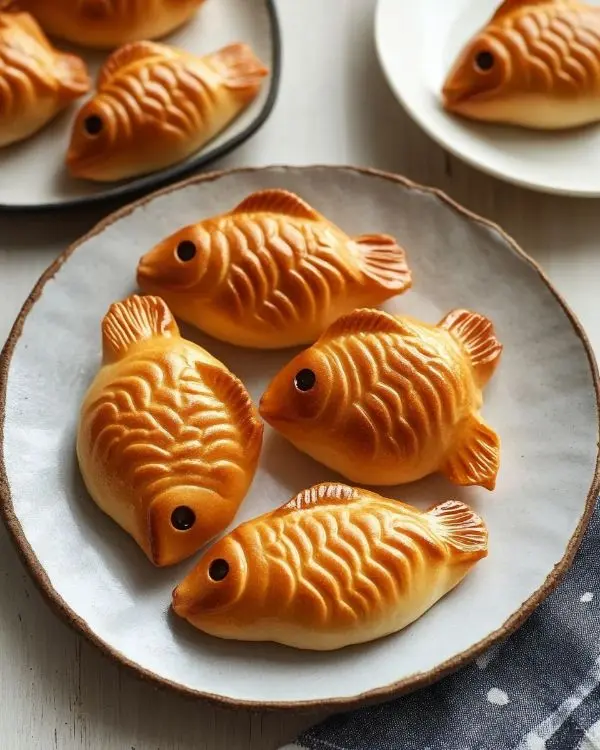
Remember, at Tasty at Home, every dish tells a story. What story will your taiyaki tell?
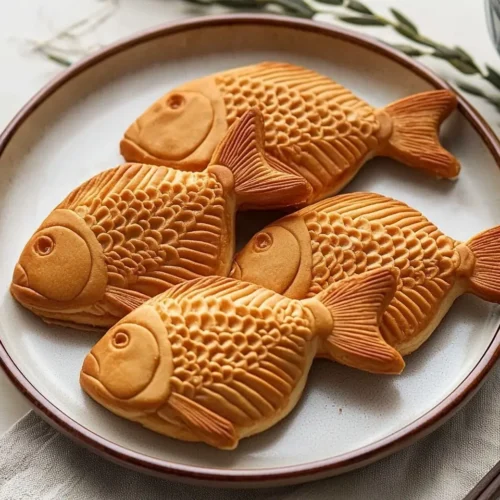
Taiyaki (Japanese Fish Dessert)
Equipment
- Taiyaki pan or fish-shaped mold
- Large mixing bowl
- Medium mixing bowl
- Wire whisk
- Measuring cups with spout
- Piping bag
Ingredients
Core Batter Ingredients
- 1¼ cups Cake flour 150g
- ¼ cup Granulated sugar 50g
- 1 tsp Baking powder 5g
- 1 tsp Baking soda 5g
- ¼ tsp Salt
- 1 Large egg
- ¾ cup Whole milk
- 1 tbsp Vegetable oil 15g
- ½ tsp Vanilla extract
Filling Options
- Red bean paste (anko) authentic choice
- Nutella or chocolate chips crowd favorite
- Vanilla custard elegant and creamy
- Cream cheese tangy American twist
- Seasonal fruit preserves spring and summer delight
Instructions
- Sift all dry ingredients (flour, sugar, baking powder, baking soda, salt) together in a large bowl.
- In a medium bowl, whisk together egg, milk, vegetable oil, and vanilla extract until smooth.
- Gradually pour wet ingredients into dry ingredients. Whisk until just combined—small lumps are okay.
- Cover and refrigerate batter for 1 hour to develop texture.
- Preheat taiyaki pan over medium-low heat. Lightly oil both sides and wipe excess with paper towel.
- Pour batter to fill each mold about 60%, leaving tail section empty. Add 1 tbsp filling in center, then cover with more batter.
- Close mold and flip to distribute batter evenly. Cook for 2–3 minutes per side until golden brown.
- Remove carefully and serve warm for best texture.

