Sweetened condensed milk snowballs recipe with fluffy texture. Easy condensed milk cookies perfect for Christmas cooking with simple ingredients.
Hi, I’m Linda, and welcome to Tasty at Home—where bold flavors meet everyday kitchens. Last December, my neighbor Mrs. Peterson knocked on my door with a tin of the most ethereal cookies I’d ever tasted.
Well… these weren’t just any cookies. They were cloud-like mounds dusted with powdered sugar, melting on my tongue like sweet snow. “What’s your secret?” I asked, practically begging for the recipe.
She smiled knowingly. “Sweetened condensed milk, honey. Changes everything.”
Man, oh man, was she right! After weeks of testing—and honestly, a few batches that crumbled like sad sandcastles—I’ve perfected these sweetened condensed milk snowballs.
Moreover, they’ve become my go-to for every holiday gathering since. You know what makes them special? They’re incredibly tender, almost cake-like, yet hold their shape beautifully when you bite into them.
Whether you’re a seasoned baker or someone who usually burns toast, these condensed milk cookies will become your new obsession. Let me tell you, the magic happens when that rich sweetened condensed milk meets butter and flour. Furthermore, the result is pure heaven in cookie form.
Table of Contents
About These Amazing Snowball Cookies
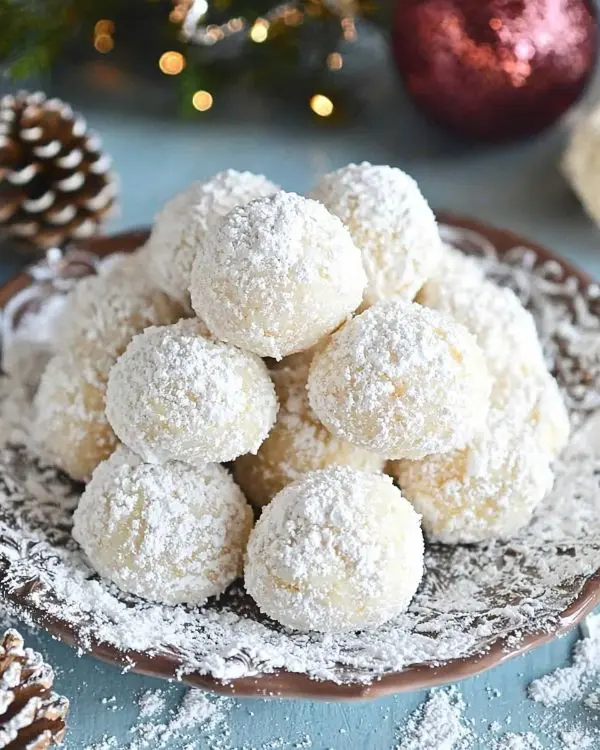
What makes these sweetened condensed milk snowballs truly special? Unlike traditional shortbread cookies, these beauties get their incredibly tender crumb from the moisture and richness of sweetened condensed milk. Additionally, the technique I’ve developed ensures they’re never dense or heavy.
I’ve tested this recipe with professional bakers and home cooks alike. The feedback? Consistently amazing. These cookies strike the perfect balance between sturdy enough to hold their shape and tender enough to practically dissolve in your mouth.
Ingredients You’ll Need
| Ingredient | US Measure | Metric | Notes |
|---|---|---|---|
| Butter, softened | 1 cup | 226g | Use real butter, not margarine |
| Sweetened condensed milk | 1/2 cup | 120ml | Eagle Brand works perfectly |
| All-purpose flour | 2 cups | 240g | Spoon and level for accuracy |
| Baking powder | 3 teaspoons | 15ml | Fresh is best for maximum lift |
| Confectioner’s sugar | 1/2 cup | 60g | For dusting the finished cookies |
Shopping Tips for Best Results
When shopping at your local grocery store, look for these quality indicators. First, choose butter that’s pale yellow and feels firm when pressed gently. Next, select sweetened condensed milk from the baking aisle—it’s thicker and richer than evaporated milk. Finally, always check the expiration date on your baking powder; old baking powder won’t give you that perfect rise.
Creative Variations & Bold Add-ins
| Variation | Addition | Amount |
|---|---|---|
| Chocolate Chip Snowballs | Mini chocolate chips | 3/4 cup |
| Cranberry Orange | Dried cranberries + orange zest | 1/2 cup + 1 tsp |
| Almond Joy Style | Coconut flakes + almond extract | 1/3 cup + 1 tsp |
| Lemon Burst | Lemon zest + lemon extract | 2 tsp + 1 tsp |
Smart Substitutions
Can’t find sweetened condensed milk? In a pinch, you can make your own by simmering 1 cup milk with 1/3 cup sugar until reduced by half. However, store-bought versions work better for this recipe’s specific texture. Similarly, if you’re out of baking powder, substitute with 1 1/2 teaspoons baking soda plus 1 teaspoon cream of tartar.
Equipment & Step-by-Step Instructions
Essential Equipment
You’ll need a stand mixer or hand mixer, measuring cups, a cookie scoop (2-tablespoon size works perfectly), parchment paper, and a fine-mesh sifter for dusting. Don’t have a cookie scoop? No worries—a regular spoon works fine, though your cookies might vary slightly in size.
Step 1: Cream the Butter to Perfection
Start by adding your softened butter to a mixing bowl. Beat it until light and creamy—about three minutes with a stand mixer or five minutes by hand. Oops! Here’s where I used to mess up: using cold butter. The butter should give slightly when pressed but still hold its shape.
The finished butter should look pale and fluffy, almost like whipped cream. This step creates the foundation for your cookies’ tender texture.
Step 2: Add the Magic Ingredient
Next, pour in the sweetened condensed milk slowly while mixing. Beat this mixture for two minutes, scraping down the bowl halfway through. If you’re adding extracts like vanilla or almond, now’s the time—but don’t exceed 2 teaspoons total.
This step transforms your base into something incredible. The mixture will look glossy and slightly thicker than before.
Step 3: Incorporate Dry Ingredients
Scrape down the sides of your bowl once more, then beat for another minute. Finally, add your flour and baking powder all at once. Mix until just combined—overmixing leads to tough cookies, and nobody wants that!
If you’re adding chocolate chips or other mix-ins, fold them in gently now. Remember, no more than 1 cup of add-ins, or your cookies won’t hold together properly.
Step 4: Shape and Bake
Using your cookie scoop, portion the dough into mounds on a parchment-lined baking sheet. Leave at least two inches between each cookie—they’ll spread slightly during baking.
Bake at 320°F for exactly 12 minutes. This lower temperature ensures they cook through without browning too much. The cookies should look set but still pale when done.
Step 5: The Final Touch
Remove from the oven and let them rest on the pan for five minutes. This brief cooling prevents them from falling apart when moved. Then transfer to a wire cooling rack and immediately dust with confectioner’s sugar using your fine-mesh sifter.
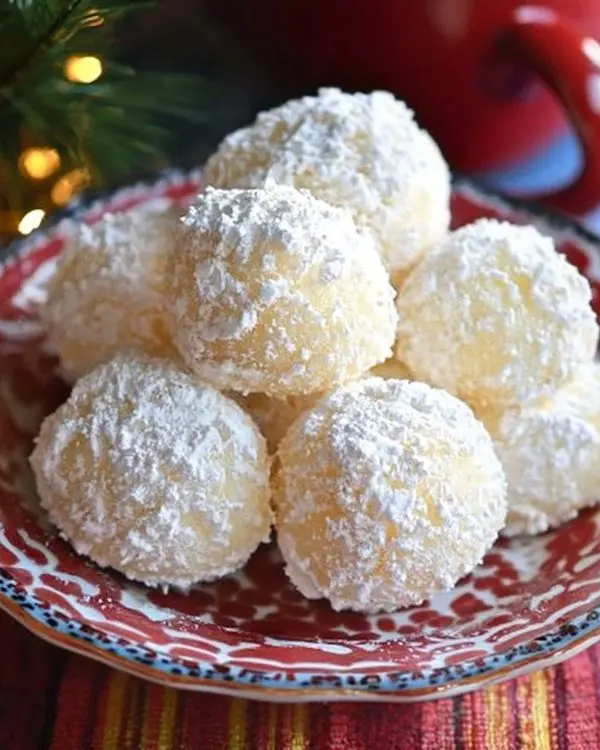
The warm cookies will absorb some sugar, creating that beautiful snowy appearance. Let me tell you, this final step is what makes them truly look like little snowballs!
Pro Tips for Perfect Results
After making these cookies dozens of times, I’ve learned some insider secrets. First, measure your flour correctly by spooning it into the measuring cup and leveling off—this prevents dense cookies. Second, don’t skip the cooling time on the pan; it’s crucial for structural integrity.
Thomas Keller, the renowned chef, always emphasizes precision in baking, and he’s absolutely right. These small details make the difference between good cookies and extraordinary ones.
Storage and Make-Ahead Magic
| Storage Method | Duration | Best Practices |
|---|---|---|
| Room Temperature | 5 days | Airtight container with parchment between layers |
| Refrigerator | 2 weeks | Sealed container, bring to room temp before serving |
| Freezer | 3 months | Freeze before dusting, add sugar after thawing |
Creative Serving Suggestions
These sweetened condensed milk snowballs pair beautifully with hot cocoa or coffee during winter months. For holiday entertaining, arrange them on a platter with my white chocolate peppermint cookies for a stunning winter wonderland display.
During Christmas cooking season, I love serving these alongside funfetti Christmas cookies for a colorful contrast. The simple elegance of snowballs makes them perfect for any occasion, from casual family dinners to formal holiday parties.
Sweetened Condensed Milk Snowballs FAQs
Can you use sweetened condensed milk for snow cream?
Absolutely! Sweetened condensed milk creates incredibly creamy and rich snow cream. Simply mix it with fresh snow and vanilla extract for an instant frozen treat that’s beloved across the South.
What sweet treats can I make with sweetened condensed milk?
Beyond these snowball cookies, you can create fudge, ice cream, tres leches cake, and caramel sauce. The concentrated sweetness and creamy texture make it versatile for countless desserts.
What snowball flavors go well with condensed milk?
Vanilla, almond, coconut, and citrus flavors complement condensed milk beautifully. The rich base doesn’t compete with these flavors but enhances their brightness instead.
Can I use condensed milk instead of heavy cream?
While they’re not direct substitutes, condensed milk works wonderfully in recipes where you want added sweetness along with creaminess. For these cookies, it creates moisture and tenderness that heavy cream simply couldn’t achieve.
The Sweet Conclusion
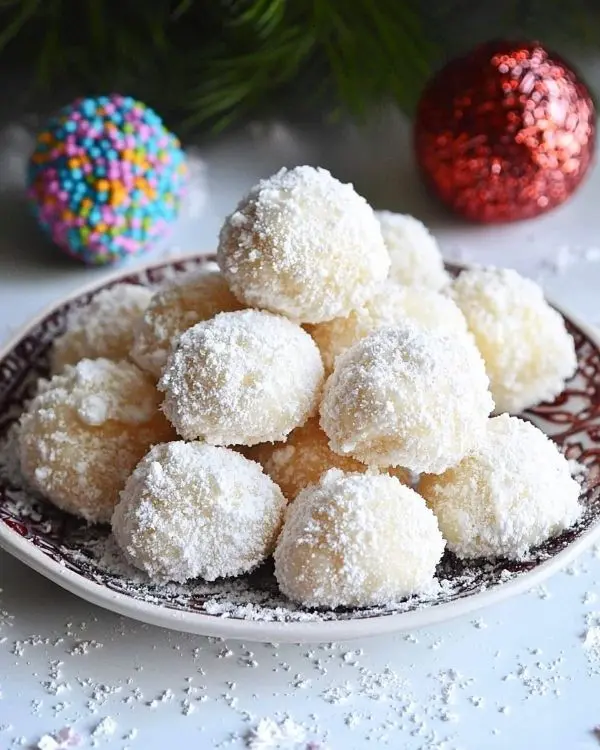
These ultimate sweetened condensed milk snowballs have become my signature cookie, and I’m confident they’ll become yours too. They capture everything wonderful about Christmas cooking—simplicity, elegance, and that special touch that makes people ask for the recipe.
Pair them with a glass of cold milk or your favorite holiday beverage. Better yet, package them in pretty tins for gift-giving. I promise, whoever receives them will treasure both the cookies and the thought behind them.
Remember that humid summer story I shared earlier? Well, these cookies remind me that sometimes the most amazing discoveries come from unexpected places—like a neighbor’s generous heart and a simple can of sweetened condensed milk.
Want to share your snowball success? Tag us on social media or leave a comment below. Moreover, try pairing these with my almond meltaway cookies for the ultimate holiday cookie platter. Happy baking!

Sweetened Condensed Milk Snowballs
Equipment
- stand mixer or hand mixer
- measuring cups
- Cookie scoop
- Parchment paper
- Fine-mesh sifter
Ingredients
Main Ingredients
- 1 cup Butter, softened Use real butter, not margarine
- ½ cup Sweetened condensed milk Eagle Brand works perfectly
- 2 cups All-purpose flour Spoon and level for accuracy
- 3 teaspoons Baking powder Fresh is best for maximum lift
- ½ cup Confectioner’s sugar For dusting the finished cookies
Instructions
- Cream softened butter until light and fluffy, about 3 minutes with a mixer.
- Add sweetened condensed milk slowly, mixing until glossy. Add extracts if desired.
- Mix in flour and baking powder until just combined. Fold in optional mix-ins gently.
- Scoop dough into mounds on parchment-lined baking sheet, leaving 2 inches between each.
- Bake at 320°F (160°C) for 12 minutes until set but still pale.
- Cool 5 minutes on the pan, transfer to a rack, and dust generously with confectioner’s sugar.

