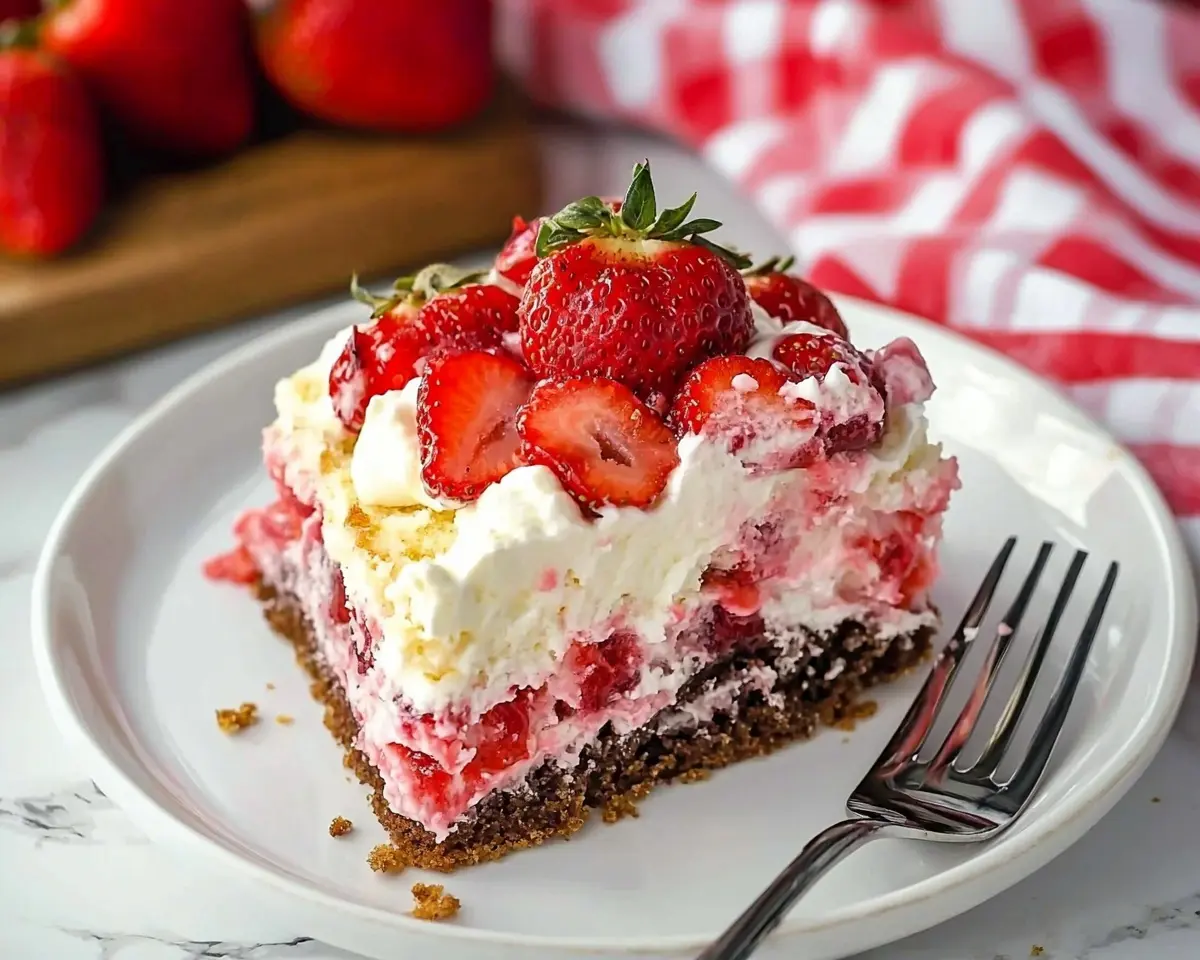
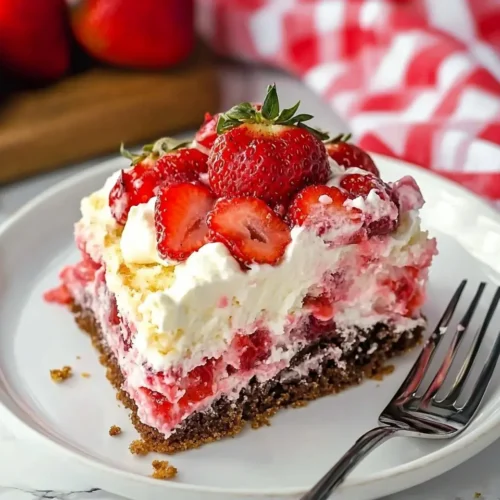
Strawberry Earthquake Cake recipe with cream cheese swirls and white chocolate. Easy dessert that creates beautiful marbled layers perfect for any celebration.
Hi, I’m Linda, and welcome to Tasty at Home—a cozy corner where bold flavors meet everyday kitchens. Last spring, my neighbor brought over this incredible Strawberry Earthquake Cake to our block party, and let me tell you, it stopped conversations mid-sentence. One bite sent me straight back to childhood birthday parties where the prettiest cake always disappeared first. Well, after three weeks of persistent asking and five test batches in my own kitchen, I finally cracked the code on this stunning dessert.
The magic happens when cream cheese swirls meet strawberry cake batter, creating those gorgeous marbled “earthquake” cracks that give this cake its dramatic name. I’ve burned exactly two pans perfecting the timing and learned that patience truly makes the difference between good and extraordinary. Whether you’re planning a summer barbecue or need a show-stopping dessert for unexpected guests, this recipe delivers every single time.
Moreover, this isn’t your typical box-mix cake transformation. The combination of fresh strawberries, creamy white chocolate, and that signature earthquake effect creates something restaurant-worthy from your home kitchen. Consequently, your friends will assume you spent hours on this masterpiece, but honestly, most of the work happens in the oven.
Table of Contents
What Makes This Strawberry Earthquake Cake Special
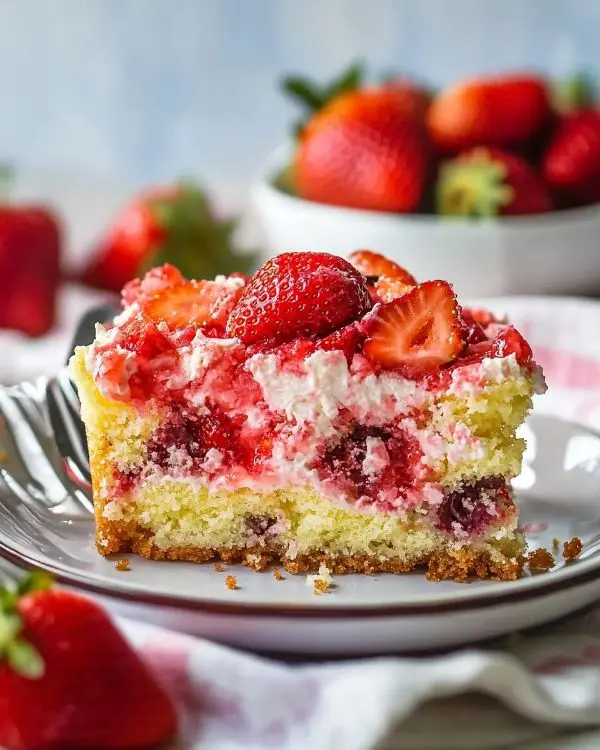
This Strawberry Earthquake Cake stands apart from ordinary desserts because of its unique layering technique. Furthermore, the cream cheese mixture creates natural fissures as it bakes, mimicking earthquake patterns across the surface. The visual drama matches the incredible taste perfectly.
Unlike traditional layer cakes, this recipe combines everything in one pan. Additionally, the swirling method ensures every slice contains cream cheese richness, strawberry sweetness, and white chocolate indulgence. The technique originated from Depression-era bakers who maximized flavor impact with minimal ingredients.
Essential Ingredients for the Best Strawberry Earthquake Cake
| Base Components | US Measurement | Metric | Notes |
|---|---|---|---|
| Strawberry cake mix | 1 box (15.25 oz) | 432g | Duncan Hines or Betty Crocker work best |
| Eggs | As box directs | Usually 3 large | Room temperature eggs mix easier |
| Vegetable oil | As box directs | Usually ½ cup | Canola oil substitutes perfectly |
| Water | As box directs | Usually 1 cup | Filtered water enhances flavor |
| Earthquake Layer | US Measurement | Metric | Quality Tips |
|---|---|---|---|
| Cream cheese | 8 oz | 226g | Philadelphia brand, fully softened |
| Butter | 4 tablespoons | 56g | Unsalted, melted completely |
| Powdered sugar | 2½ cups | 300g | Sift to prevent lumps |
| Finishing Touches | US Measurement | Metric | Selection Guide |
|---|---|---|---|
| White chocolate bars | 2 bars (4 oz each) | 226g total | Ghirardelli melts beautifully |
| Fresh strawberries | 2 cups chopped | 300g | Firm, bright red berries |
| Whipped topping | 8 oz container | 226g | Cool Whip or homemade |
Shopping Tips for Success
When selecting strawberries at your local grocery store, choose berries that smell sweet at the stem end. Oops! I learned this lesson after buying gorgeous-looking strawberries that tasted like cardboard. The fragrance indicates ripeness and sugar content, which directly impacts your cake’s final flavor.
For cream cheese, always check expiration dates and choose blocks over tubs. The consistency matters tremendously for achieving those perfect earthquake swirls. Similarly, white chocolate quality makes a noticeable difference—invest in real white chocolate rather than white coating chips.
Equipment and Preparation Steps
Essential Equipment
You’ll need a 9×13 inch baking dish, preferably glass or ceramic for even heat distribution. Additionally, an electric mixer ensures smooth cream cheese incorporation without lumps. A sharp knife helps create clean swirl patterns, while a vegetable peeler produces elegant white chocolate curls.
Don’t worry if you lack professional equipment. Honestly, I’ve made this cake with just a whisk and determination when my mixer broke mid-recipe. The key lies in technique rather than fancy tools.
Step-by-Step Instructions
Preparation Phase
Step 1: Oven Setup and Pan Preparation
Preheat your oven to 350°F and generously grease your 9×13 baking dish. Use butter or cooking spray, ensuring complete coverage to prevent sticking. This temperature creates the perfect environment for earthquake formation without burning the surface.
Step 2: Mixing the Base Batter
In a large mixing bowl, combine the strawberry cake mix with eggs, oil, and water according to package directions. Beat for two minutes until completely smooth. The batter should flow like thick cream when lifted with a spoon.
Pour this pink batter into your prepared baking dish, spreading evenly with a spatula. The layer should reach approximately halfway up the dish sides.
Creating the Earthquake Effect
Step 3: Cream Cheese Mixture Magic
Melt butter completely and set aside to cool slightly. In a medium bowl, beat softened cream cheese with an electric mixer until fluffy and lump-free. This takes about two minutes on medium speed.
Gradually add melted butter, beating continuously. Then, slowly incorporate powdered sugar, mixing until the consistency resembles thick frosting. The mixture should hold its shape when dropped from a spoon.
Step 4: The Earthquake Technique
Here’s where the magic happens! Drop spoonfuls of cream cheese mixture randomly across the cake batter surface. Don’t worry about perfect placement—natural randomness creates the best earthquake patterns.
Break one white chocolate bar into irregular chunks and sprinkle over the batter. Add one cup of chopped strawberries, distributing them evenly across the surface.
Step 5: Creating the Swirl
Using a sharp knife, gently swirl all ingredients together with smooth, flowing motions. Man, oh man, this step determines your final presentation! Create figure-eight patterns, but don’t overmix—you want distinct marbled sections, not a homogeneous blend.
Baking to Perfection
Step 6: The Baking Process
Bake for 40-45 minutes, rotating the pan once halfway through for even cooking. The cake is done when a toothpick inserted in the center comes out with just a few moist crumbs. The surface should look set with beautiful crack patterns.
During baking, resist opening the oven door frequently. Temperature fluctuations can prevent proper earthquake formation, as I learned during my second test batch.
Step 7: Cooling and Final Assembly
Allow the cake to cool completely before adding toppings. This prevents the whipped topping from melting and ensures clean slicing later.
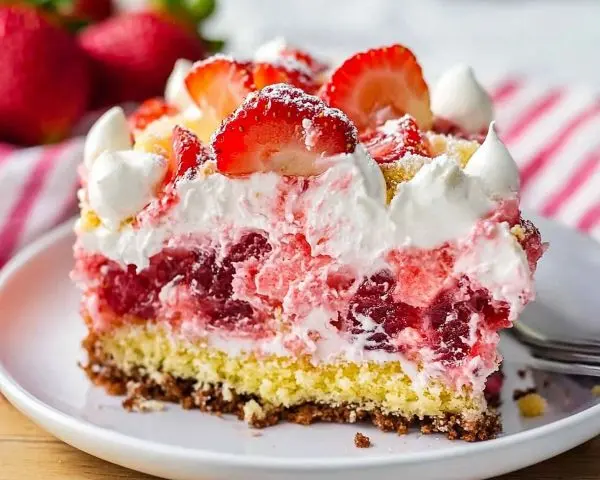
Spread whipped topping evenly across the cooled surface. Using a vegetable peeler, create elegant curls from the remaining white chocolate bar. Sprinkle these curls along with the remaining cup of chopped strawberries over the whipped topping.
Expert Tips and Creative Variations
Professional Secrets for Success
Temperature control makes the biggest difference in this recipe. Consequently, ensure your cream cheese reaches true room temperature—about 70°F. Cold cream cheese creates lumps that won’t disappear during mixing, ruining the smooth swirl effect.
Additionally, don’t skip the complete cooling phase. I once served this cake slightly warm, and while delicious, the presentation suffered as toppings melted into the cake surface.
The swirling technique requires a gentle touch. Think of it like marbling paper—confident strokes create better patterns than timid movements. However, excessive mixing eliminates the earthquake effect entirely.
Creative Variations to Try
Regional American Twists
For a Southern-inspired version, substitute strawberry cake mix with white cake mix and add fresh peach slices. The Georgia Peach Earthquake Cake captures summer perfectly and pairs beautifully with sweet tea.
Holiday Adaptations
Transform this into a patriotic dessert by using white cake mix, strawberries, and blueberries. The red, white, and blue combination works perfectly for July 4th celebrations or Memorial Day gatherings.
Dietary Modifications
Create a lighter version by substituting sugar-free cake mix and reduced-fat cream cheese. While the texture changes slightly, the earthquake effect remains intact. For our best strawberry shortcake lovers, this provides a delicious alternative.
Storage and Make-Ahead Options
| Storage Method | Timeline | Quality Notes |
|---|---|---|
| Refrigerated | 3-4 days | Cover tightly with plastic wrap |
| Room temperature | 2 days maximum | Keep in cool, dry location |
| Frozen (without toppings) | 2 months | Wrap in foil, then freezer bag |
| Individual slices | 1 week refrigerated | Store in airtight containers |
This cake actually improves overnight as flavors meld together. Therefore, making it a day ahead often produces superior results for special occasions.
For entertaining, prepare the cake base up to two days in advance. Add whipped topping and garnishes just before serving to maintain optimal presentation.
Perfect Pairings and Serving Suggestions
This Strawberry Earthquake Cake pairs wonderfully with hot coffee or cold milk. Furthermore, vanilla ice cream creates an indulgent à la mode experience that guests absolutely love. For summer entertaining, consider serving alongside fresh berry medleys or our signature strawberry sauce.
The rich cream cheese layer balances beautifully with lighter beverages. Champagne or prosecco creates an elegant combination for brunch settings, while fresh lemonade complements backyard barbecue presentations perfectly.
You know what really elevates this dessert? Serving it on vintage cake stands or colorful plates that highlight the marbled earthquake patterns. The visual presentation deserves as much attention as the incredible flavor.
Strawberry Earthquake Cake FAQs
Why is my Strawberry Earthquake Cake not forming cracks during baking?
The cream cheese mixture may be too thin or overmixed with the batter. Ensure your cream cheese mixture holds its shape when dropped, and swirl gently to maintain distinct layers that create natural separation during baking.
Can I make Strawberry Earthquake Cake ahead of time for parties?
Absolutely! This cake tastes even better after overnight refrigeration as flavors develop. Prepare the base cake up to two days ahead, then add whipped topping and fresh garnishes just before serving for optimal presentation.
What causes the earthquake effect in this cake recipe?
The earthquake effect occurs when cream cheese mixture and cake batter have different densities and baking rates. As they heat, they expand differently, creating natural fissures and marbled patterns that resemble earthquake cracks across the surface.
How do I prevent my white chocolate from seizing when melting?
Keep white chocolate away from water and melt slowly over low heat or in 30-second microwave intervals. For this recipe, you’re breaking the chocolate into chunks rather than melting, which eliminates seizing concerns entirely.
The Sweet Conclusion
This Strawberry Earthquake Cake represents everything I love about baking—impressive results from simple techniques, gorgeous presentation that sparks conversation, and flavors that create lasting memories. Moreover, the forgiving nature of this recipe makes it perfect for both novice bakers and experienced home cooks looking for reliable crowd-pleasers.
The combination of strawberry sweetness, cream cheese richness, and white chocolate elegance creates a dessert worthy of your most special celebrations. Furthermore, the earthquake effect ensures every slice looks unique and beautiful on the plate.
Whether you’re hosting summer gatherings, celebrating birthdays, or simply treating your family to something extraordinary, this recipe delivers consistent success. The marbled patterns tell their own story, just like our favorite red velvet cinnamon rolls that bring families together around the kitchen table.
I encourage you to make this Strawberry Earthquake Cake your own by experimenting with seasonal fruit variations or different chocolate types. Share photos of your earthquake patterns on social media—I love seeing how each baker’s technique creates unique results.
After all, every great cake tells a story, and this one might just become the centerpiece of your next favorite memory.
Strawberry Earthquake Cake
Equipment
- 9×13 inch baking dish
- Electric mixer
- Sharp knife
- Vegetable peeler
- mixing bowls
- spatula
Ingredients
Base Components
- 1 box (15.25 oz / 432g) Strawberry cake mix Duncan Hines or Betty Crocker work best
- 3 large Eggs Room temperature
- ½ cup Vegetable oil Canola oil substitutes perfectly
- 1 cup Water Filtered water enhances flavor
Earthquake Layer
- 8 oz (226g) Cream cheese Softened, block style
- 4 tbsp (56g) Butter Unsalted, melted
- 2 ½ cups (300g) Powdered sugar Sift to prevent lumps
Finishing Touches
- 2 bars (4 oz each / 226g total) White chocolate bars Ghirardelli melts beautifully
- 2 cups (300g) Fresh strawberries Firm, bright red
- 8 oz (226g) Whipped topping Cool Whip or homemade
Instructions
- Preheat oven to 350°F (175°C). Grease a 9×13 inch baking dish generously with butter or cooking spray.
- Mix strawberry cake mix with eggs, oil, and water as directed. Beat until smooth and pour into baking dish.
- In a bowl, beat softened cream cheese until fluffy. Add melted butter and powdered sugar until thick and smooth.
- Drop spoonfuls of cream cheese mixture over the cake batter. Add chunks of white chocolate and half the chopped strawberries.
- Swirl gently with a knife to create marbled earthquake patterns without overmixing.
- Bake 40–45 minutes until a toothpick comes out with moist crumbs. Cool completely.
- Spread whipped topping over cooled cake. Garnish with shaved white chocolate curls and remaining strawberries.

