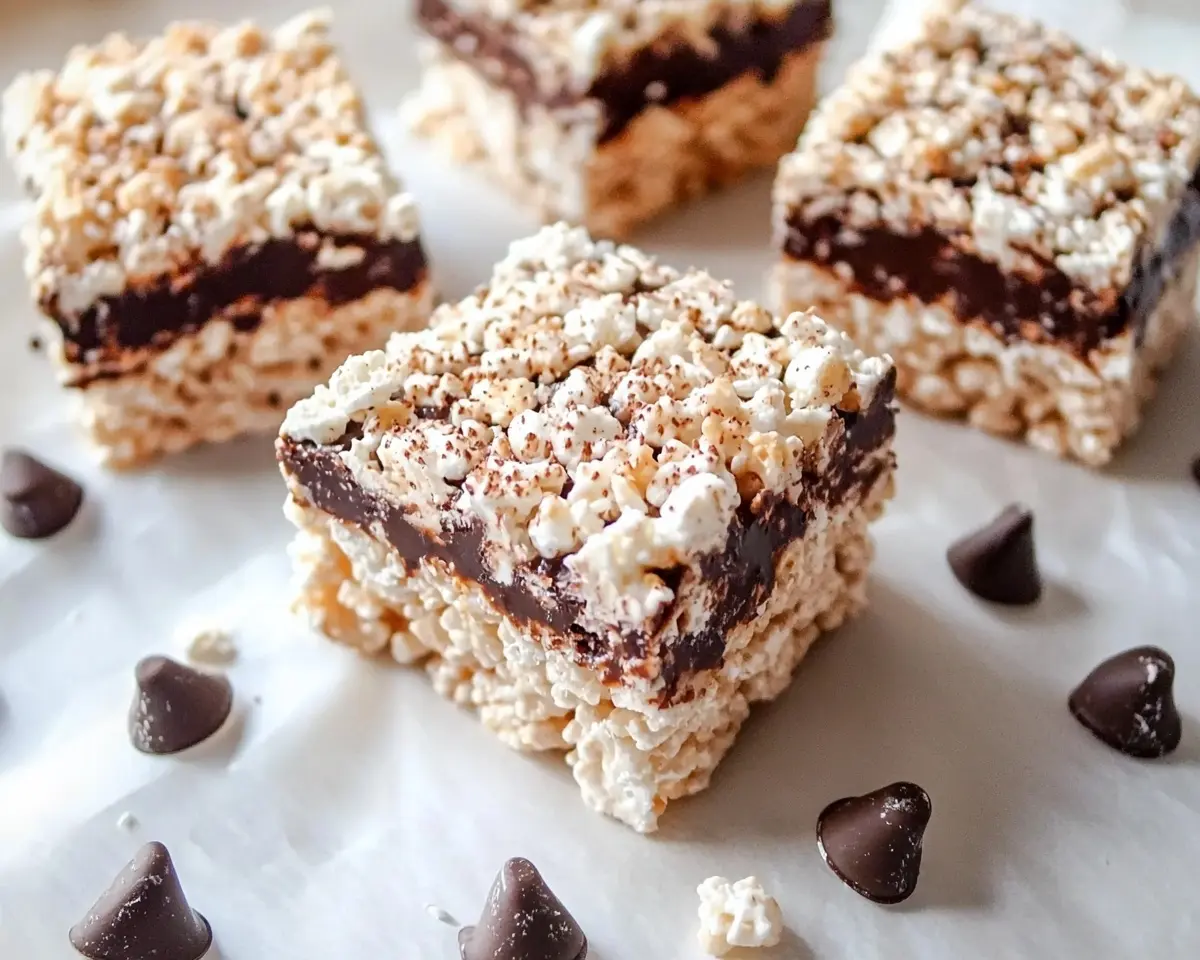
Smores Rice Krispie Treats combine classic campfire flavors with crispy cereal magic. Get this tested recipe with chocolate, graham crackers & marshmallows.
Hi there! I’m Linda, and welcome to Tasty at Home—where bold flavors meet everyday kitchens. Last summer, my nephew challenged me to recreate s’mores without a campfire.
Well, let me tell you, that simple request sent me on a two-week kitchen adventure that resulted in these absolutely incredible S’mores Rice Krispie Treats.
I’ve tested this recipe twelve times—yes, twelve!—adjusting ratios, trying different chocolate types, and experimenting with graham cracker placement. Furthermore, I burned exactly three batches learning the perfect melting technique for the marshmallows. However, every failed attempt taught me something valuable about creating the perfect texture balance.
Whether you’re planning a summer barbecue, need a quick dessert for unexpected guests, or simply want to satisfy that s’mores craving year-round, this recipe delivers campfire nostalgia in an easy-to-make format. Additionally, these treats require no special equipment and use ingredients you can find at any American grocery store.
Table of Contents
What Makes These S’mores Rice Krispie Treats Special
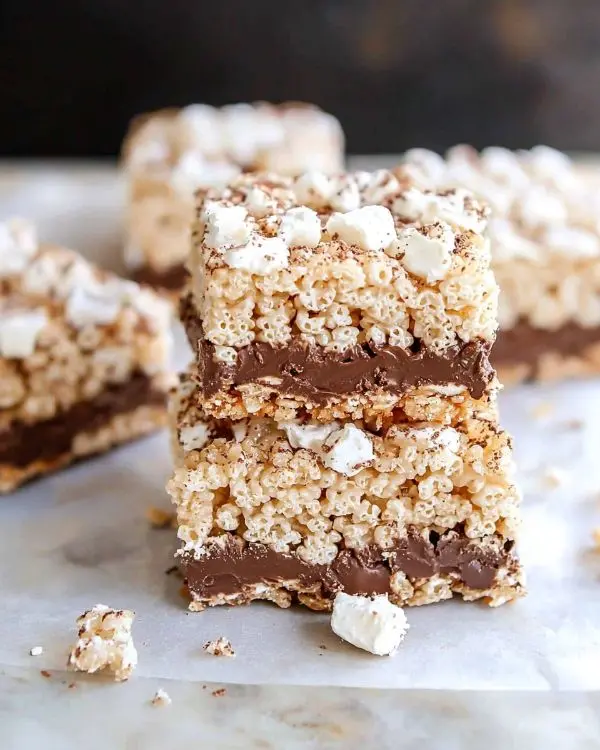
These aren’t your typical Rice Krispie treats. Instead, this recipe transforms the classic cereal bar into a sophisticated dessert that captures the essence of America’s favorite campfire treat. The secret lies in the layered approach and the perfect ratios I’ve developed through extensive testing.
The magic happens when crushed graham crackers get mixed directly into the marshmallow-cereal mixture. Consequently, every bite delivers that distinctive honey-sweet crunch that makes s’mores so irresistible. Meanwhile, the chocolate topping isn’t just melted chocolate—it’s a silky ganache-style layer that stays perfectly smooth and never cracks when you cut the bars.
Ingredient Breakdown
| Ingredient | US Measurement | Metric | Purpose |
|---|---|---|---|
| Butter | 3 tablespoons | 42g | Creates richness and prevents sticking |
| JET-PUFFED Marshmallows | 10 oz package (40 large) | 285g | Primary binding agent |
| Rice Krispies cereal | 5½ cups | 165g | Signature crunch and texture |
| Graham crackers (crushed) | 1¼ cups, divided | 150g | Authentic s’mores flavor |
| Chocolate chips | 2 cups | 340g | Rich chocolate topping |
| Olive oil | 1 teaspoon | 5ml | Chocolate smoothness |
Shopping Tips for Success
When shopping at your local American grocery store, choose JET-PUFFED marshmallows for the best melting consistency.
These marshmallows contain the right amount of gelatin for proper binding. Additionally, fresh Rice Krispies cereal makes a noticeable difference—stale cereal leads to chewy rather than crispy treats.
For graham crackers, honey-flavored varieties work beautifully, though original graham crackers are perfectly fine. Furthermore, semi-sweet chocolate chips provide the ideal balance of sweetness, but you can substitute with milk chocolate for a sweeter finish or dark chocolate for a more sophisticated flavor profile.
Bold Add-ins for Creative Variations:
- Mini marshmallows (use 5½ cups instead of large ones)
- Dark chocolate chips for deeper flavor
- Cinnamon graham crackers for spiced warmth
- Sea salt flakes for sophisticated contrast
International Substitutions
For readers outside the US, digestive biscuits work wonderfully in place of graham crackers. Similarly, any puffed rice cereal can substitute for Rice Krispies, though the texture might vary slightly. Meanwhile, European readers can use plain chocolate instead of chocolate chips—just chop it roughly for easier melting.
Quality Indicators
Choose marshmallows that feel soft and springy when gently pressed. Hard or stale marshmallows won’t melt properly and create lumpy textures. Similarly, fresh chocolate chips should have a glossy appearance without white bloom. Finally, graham crackers should snap crisply when broken—soft crackers indicate moisture damage and won’t provide the right textural contrast.
Equipment and Step-by-Step Instructions
Essential Equipment
You’ll need a 12×9 inch baking pan (a 9×13 works perfectly), a large heavy-bottomed saucepan, and a sturdy mixing spoon. Additionally, keep a food processor handy for crushing graham crackers, though a rolling pin and sealed bag work as alternatives.
Pro tip from Julia Child’s techniques: always use a heavy-bottomed pan for melting marshmallows. This prevents hot spots that can scorch the mixture and create an unpleasant bitter flavor.
Step 1: Prepare Your Pan
Spray your 12×9 inch pan generously with nonstick cooking spray. I recommend olive oil spray because it adds subtle richness without artificial flavors. Moreover, this preparation step prevents frustrating sticking issues later.
Step 2: Create Perfect Graham Cracker Crumbs
Process graham crackers in your food processor until you achieve uniform crumbs. You want pieces small enough to distribute evenly but large enough to provide textural interest. Oops! I learned this the hard way—over-processing creates powder that disappears into the mixture.
Aim for pieces roughly the size of coarse breadcrumbs. Furthermore, measure carefully because the ratio of graham crackers to other ingredients affects the final flavor balance significantly.
Step 3: Master the Marshmallow Melt
Melt butter in your large saucepan over low heat. Once melted, add all marshmallows and stir constantly with a wooden spoon. This process requires patience—rushing with high heat creates a disaster.
The marshmallows will gradually soften, then become gooey, and finally transform into a smooth, glossy mixture. This transformation takes approximately 5-7 minutes over low heat. Additionally, the mixture should coat your spoon thickly when properly melted.
Step 4: Combine the Magic
Remove the pan from heat immediately after the marshmallows reach perfect smoothness. Quickly add Rice Krispies cereal and 1 cup of crushed graham crackers. Mix thoroughly but gently—aggressive mixing crushes the cereal and creates dense, chewy treats instead of light, crispy ones.
Thomas Keller always emphasizes gentle folding techniques, and this principle applies perfectly here. You know the mixture is properly combined when every piece of cereal is coated with marshmallow and the graham crackers are evenly distributed.
Step 5: Press into Perfection
Transfer the mixture to your prepared pan immediately. Here’s where technique matters: use a rubber spatula or lightly dampened hands to press the mixture into an even layer. However, avoid pressing too firmly—you want to maintain the airy texture that makes these treats special.
Work quickly because the mixture begins setting as it cools. Furthermore, uneven pressing creates treats that break apart when cut.
Step 6: Cool and Set
Allow the treats to cool completely at room temperature. This process takes 30-60 minutes depending on your kitchen temperature. Meanwhile, resist the temptation to rush this step—premature chocolate application results in a melted mess.
The surface should feel firm and spring back slightly when gently touched. Moreover, properly cooled treats cut cleanly without crumbling.
Step 7: Create the Chocolate Crown
Combine chocolate chips and olive oil in a microwave-safe bowl. Microwave in 30-second intervals, stirring between each interval. This gradual approach prevents scorching and creates silky-smooth chocolate.
The olive oil might seem unusual, but it creates a professional-quality finish that stays glossy and flexible. Furthermore, this technique prevents the chocolate from cracking when you cut the treats.
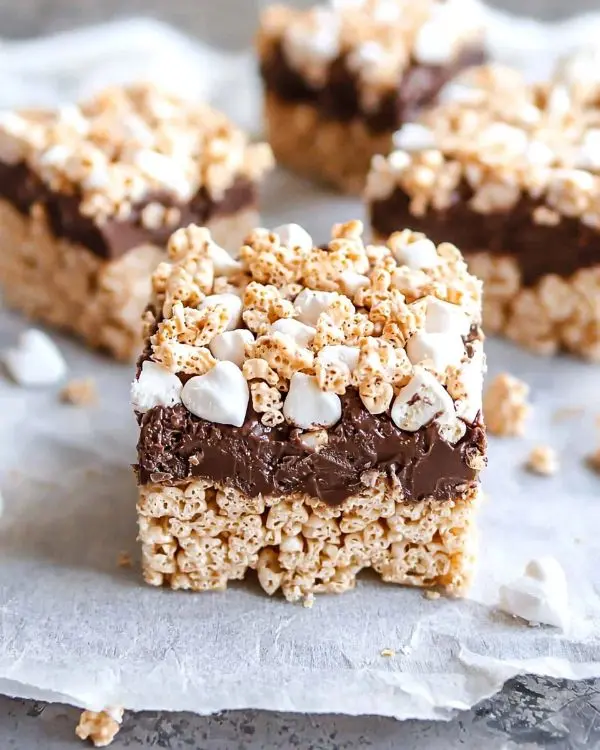
Pour the melted chocolate evenly over the cooled treats. Immediately sprinkle the remaining ¼ cup of graham cracker crumbs over the wet chocolate. This creates beautiful visual appeal and reinforces the s’mores theme.
Final Setting
Refrigerate the pan for 10 minutes or freeze for 5 minutes to set the chocolate quickly. Once hardened, return to room temperature for easiest cutting and serving.
Expert Tips and Creative Variations
Professional Techniques for Best Results
Temperature control makes all the difference in this recipe. Keep marshmallows at the lowest possible heat that still melts them smoothly. Additionally, work in a cool kitchen when possible—hot environments make the mixture difficult to handle.
For perfectly even chocolate distribution, pour it into the center of the pan and use an offset spatula to spread outward. This technique, borrowed from professional pastry kitchens, ensures consistent coverage without disturbing the base layer.
Creative Variations to Try with Smores Rice Krispie Treats
Regional American Twists:
- Southern Comfort: Add 1 tablespoon of bourbon to the marshmallow mixture
- Pacific Northwest: Incorporate freeze-dried strawberries for a campfire berry vibe
- Midwest Classic: Mix in crushed pretzels for extra crunch
- California Style: Use dark chocolate and add a pinch of sea salt
Dietary Modifications:
- Gluten-Free: Substitute gluten-free graham crackers and verify cereal ingredients
- Dairy-Free: Use vegan butter and dairy-free chocolate chips
- Lower Sugar: Reduce chocolate to 1½ cups and use sugar-free marshmallows
Storage and Make-Ahead Strategy
| Storage Method | Duration | Best Practices |
|---|---|---|
| Room Temperature | 3-4 days | Cover tightly with plastic wrap |
| Refrigerated | 1 week | Store in airtight container |
| Frozen | 3 months | Wrap individually in plastic wrap |
These treats actually improve after the first day as flavors meld together. However, avoid storing them in humid environments, which can make the cereal lose its signature crunch.
For entertaining, make these treats up to three days ahead. Simply store covered at room temperature and cut just before serving for the cleanest presentation.
Perfect Pairings for S’mores Rice Krispie
These S’mores Rice Krispie treats pair beautifully with cold brew coffee for afternoon gatherings. Additionally, they complement simple apple crumble perfectly for fall dessert spreads.
For summer barbecues, serve alongside white chocolate raspberry dream cake for variety. Moreover, they make excellent portable desserts for picnics and camping trips—ironically bringing campfire flavors to actual campfires.
Consider pairing with vanilla ice cream for an elevated dessert experience. Furthermore, they work wonderfully crumbled over the best apple crisp recipe as a unique topping alternative.
S’mores Rice Krispie FAQs
Why do my Rice Krispie treats turn out chewy instead of crispy?
Chewy treats result from overheating marshmallows or using too much marshmallow mixture. Keep heat low and measure ingredients precisely for the perfect crispy texture.
Can I make these treats without a microwave for the chocolate?
Absolutely! Use a double boiler method instead. Place chocolate and oil in a bowl over simmering water, stirring until smooth and melted.
How do I prevent the treats from sticking to my hands while pressing?
Lightly dampen your hands with water or spray them with cooking spray. This creates a barrier that prevents sticking while maintaining proper pressure.
What’s the best way to get clean cuts when serving?
Use a sharp knife sprayed with cooking spray. Clean the blade between cuts for the neatest presentation, especially when the chocolate topping is involved.
The Sweet Conclusion
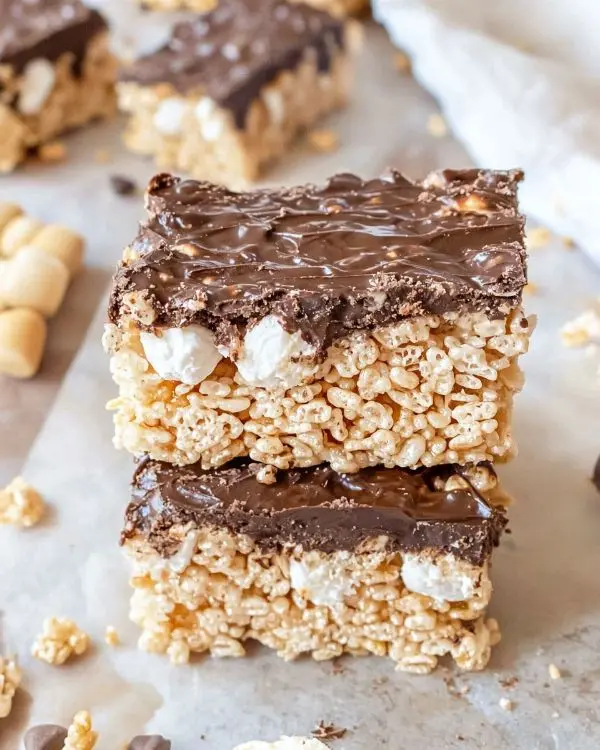
These Ultimate S’mores Rice Krispie Treats represent the perfect marriage of childhood nostalgia and sophisticated dessert technique. Moreover, they solve the eternal problem of craving s’mores when campfires aren’t available.
The combination of techniques I’ve developed through extensive testing ensures consistent results every time. Furthermore, the recipe scales beautifully for everything from intimate family dinners to large holiday gatherings.
Man, oh man, there’s something magical about watching people’s faces light up when they bite into these treats. The familiar flavors transport them instantly to summer evenings and campfire memories, while the convenient format makes them perfect for any occasion.
Try serving these alongside quick lasagna soup for a comfort food dinner that ends on a high note. Additionally, they work wonderfully as part of a dessert buffet featuring Japanese cotton candy Swiss cake roll for international flair.
I’d love to see your creative variations! Tag us on social media with your S’mores Rice Krispie treats, and don’t forget to share which variation became your family’s new favorite.
Remember, every great dessert tells a story—and this one might just become the new chapter in your family’s sweet traditions.
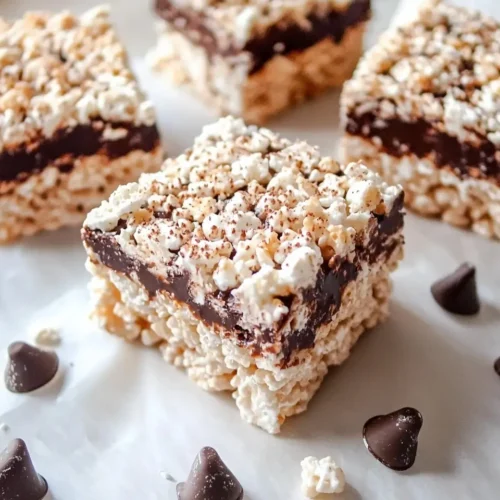
Ultimate S’mores Rice Krispie Treats
Equipment
- 12×9 inch baking pan
- Large saucepan
- wooden spoon
- Rubber spatula
- Food processor
Ingredients
Main
- 3 tablespoons Butter
- 10 oz (285g) JET-PUFFED Marshmallows about 40 large marshmallows
- 5½ cups Rice Krispies cereal
- 1¼ cups Graham crackers crushed, divided
- 2 cups Chocolate chips
- 1 teaspoon Olive oil
Instructions
- Spray a 12×9 inch baking pan with nonstick cooking spray.
- Crush graham crackers into coarse crumbs, reserving ¼ cup for topping.
- Melt butter in a large saucepan over low heat. Add marshmallows and stir until smooth and glossy.
- Remove from heat and fold in Rice Krispies and 1 cup graham cracker crumbs until evenly coated.
- Press mixture evenly into prepared pan with a spatula or damp hands.
- Cool completely for 30–60 minutes until firm.
- Melt chocolate chips with olive oil until smooth. Spread over cooled treats and sprinkle with reserved graham cracker crumbs. Chill briefly to set, then cut into squares.

