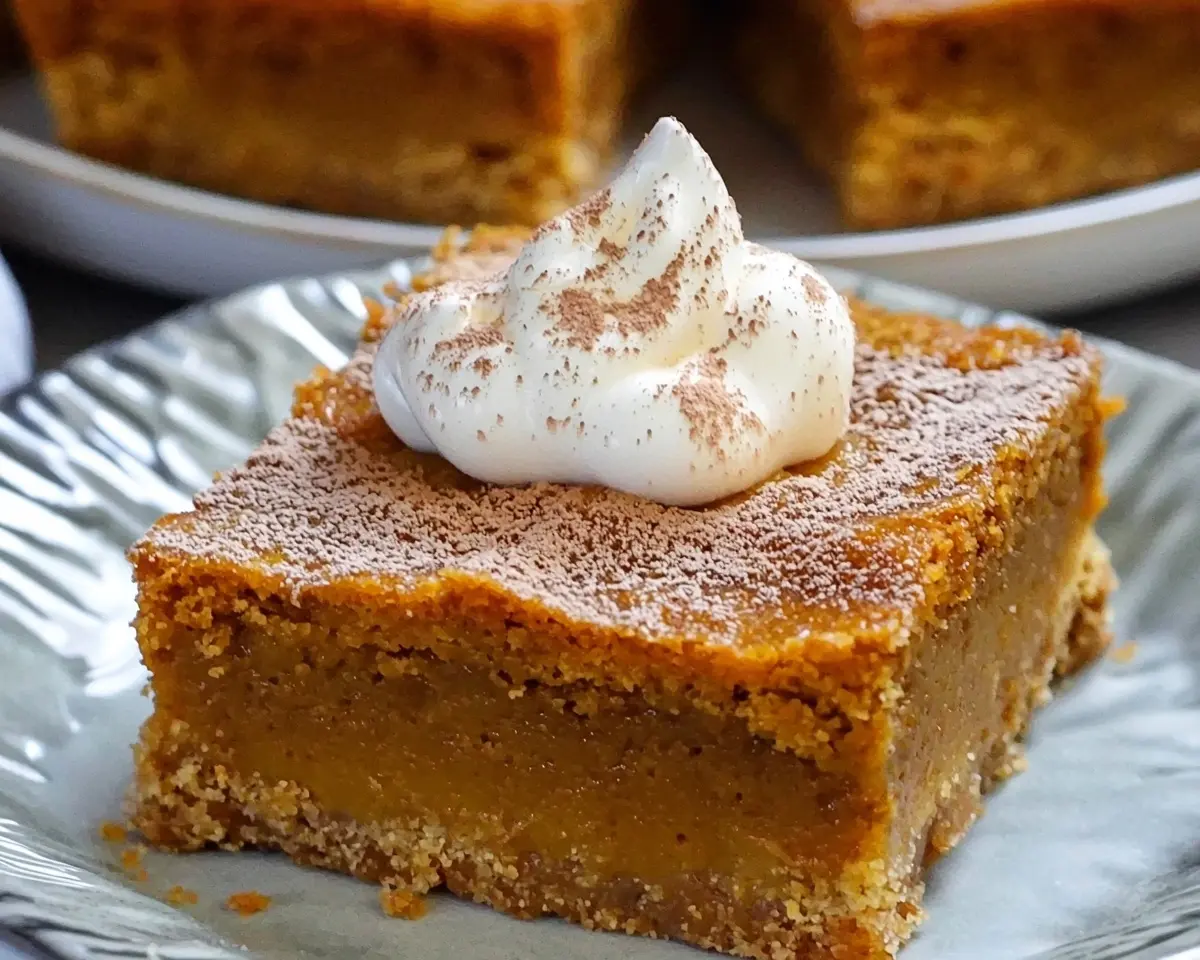
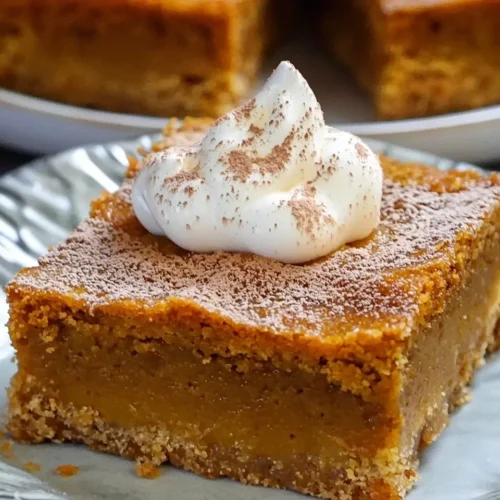
Small Batch Pumpkin Pie Bars recipe serves 4 perfectly. Easy pumpkin dessert for one with rich spices and creamy filling. Ready in 90 minutes! (150 characters)
Hi, I’m Linda, and welcome to Tasty at Home—where bold flavors meet everyday kitchens. Last October, I found myself staring at half a can of pumpkin puree, wondering what magic I could create for just my small family. Well, let me tell you, that’s when these small batch pumpkin pie bars were born!
The aroma of warm cinnamon and ginger filled my kitchen like a cozy autumn embrace. After testing this recipe six times—yes, I burned one batch completely—I finally nailed the perfect balance of spice and creaminess. Whether you’re cooking for a small household or simply craving a pumpkin dessert for one, this recipe delivers all the comfort of traditional pumpkin pie without the commitment of a full-sized dessert.
These bars capture everything magical about fall baking. Moreover, they’re incredibly forgiving for new bakers and absolutely perfect for experienced cooks seeking portion control. You know what I love most? They’re ready in just 90 minutes from start to finish.
Table of Contents
What Makes These Small Batch Pumpkin Bars Special
Small batch pumpkin pie bars solve the age-old problem of leftover dessert. Furthermore, they deliver the same rich, spiced flavor as traditional pumpkin pie in a perfectly portioned format. These bars combine the best elements of pumpkin cake and classic pie filling.
The secret lies in the cornstarch-enhanced crust. Additionally, the filling uses the ideal ratio of spices that Julia Child would absolutely approve of. The texture falls somewhere between silky pumpkin pie and tender pumpkin cake—creating something entirely unique.
Ingredients: Everything You Need
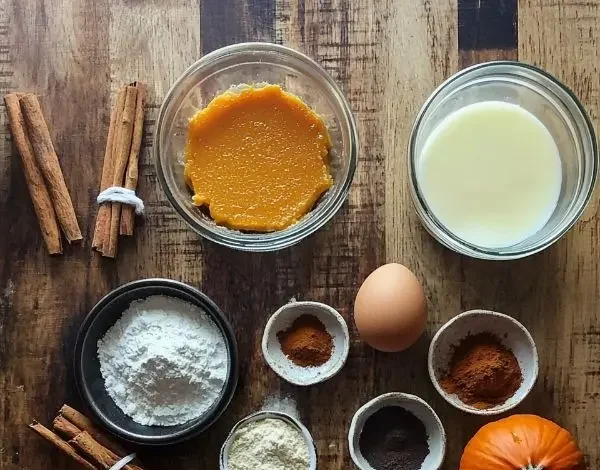
| For the Crust | US Measure | Metric |
|---|---|---|
| Butter (plus extra for greasing) | 2½ tablespoons | 35g |
| Granulated sugar | 2 tablespoons | 25g |
| All-purpose flour | ¼ cup | 30g |
| Cornstarch | 1 tablespoon | 8g |
| Salt | ⅛ teaspoon | 0.6g |
| For the Filling | US Measure | Metric |
|---|---|---|
| Granulated sugar | 6 tablespoons | 75g |
| Ground cinnamon | ½ teaspoon | 2g |
| Salt | ¼ teaspoon | 1.5g |
| Ground ginger | ¼ teaspoon | 1g |
| Ground cloves | ⅛ teaspoon | 0.5g |
| Large egg | 1 whole | 1 whole |
| Pure pumpkin puree | 7.5 ounces | 213g |
| Evaporated milk | 6 ounces | 170ml |
| Whipped cream (optional) | For serving | For serving |
Shopping Tips for Perfect Small Batch Pumpkin Pie Bars Results
Visit your local grocery store’s baking aisle for the best pumpkin puree selection. However, avoid pumpkin pie filling—you want pure pumpkin puree. Libby’s remains the gold standard, though store brands work beautifully too.
Fresh spices make an enormous difference in flavor. Consequently, check expiration dates on ground ginger and cloves. If your spices smell weak, replace them for the most vibrant taste.
Pro tip: Buy organic eggs for richer color and superior binding power. Similarly, choose evaporated milk over regular milk for the creamiest texture.
Essential vs. Bold Add-ins
Essentials: These ingredients create the foundation of authentic small batch pumpkin dessert flavor.
Bold Add-ins: Consider vanilla extract (½ teaspoon), maple syrup (1 tablespoon replacing sugar), or cream cheese (2 ounces) for creative variations. These additions transform basic pumpkin bars into gourmet small batch pumpkin cake territory.
International Substitutions
For readers outside the US, replace evaporated milk with heavy cream mixed with whole milk (1:1 ratio). Additionally, substitute pumpkin puree with roasted butternut squash puree for similar results.
Equipment and Step-by-Step Instructions
Essential Equipment
You’ll need a 5×5-inch baking dish—though a 6×6-inch works perfectly too. Moreover, parchment paper ensures easy removal. An electric mixer creates the smoothest filling, but a whisk works if you’re patient.
DIY Alternative: No small baking dish? Use a standard loaf pan and adjust baking time to 45-50 minutes instead.
Make the Perfect Crust
Step 1: Prepare Your Pan Preheat your oven to 350°F (177°C). Next, generously butter your 5×5-inch baking dish. Line with parchment paper, leaving overhang for easy removal. Finally, butter the parchment too—this prevents sticking completely.
Step 2: Create the Crust Base Beat butter and sugar with your electric mixer until completely smooth. The mixture should look pale and fluffy. Then, add flour, cornstarch, and salt gradually. Mix until a soft dough forms—don’t overmix!
Oops! I once overmixed my crust dough and ended up with tough, chewy bars. The solution? Mix just until ingredients combine, then stop immediately.
Step 3: Press and Prebake Press dough evenly into your prepared dish using clean fingers or a spoon back. Ensure even thickness for consistent baking. Bake for 15-18 minutes until edges turn lightly golden. Set aside to cool while preparing filling.
Craft the Silky Filling
Step 4: Mix Your Spice Blend Combine sugar, cinnamon, salt, ginger, and cloves in a small bowl. This technique, borrowed from Thomas Keller’s approach, ensures even spice distribution. Mix thoroughly with a fork.
Step 5: Create the Base Beat egg, pumpkin puree, and spice mixture until completely smooth. The mixture should look like silk—no lumps allowed! Take your time here for the creamiest results.
Step 6: Add Liquid Gold Slowly pour evaporated milk while mixing continuously. This prevents curdling and creates that signature creamy texture. The filling should pour like thick cream.
Bake to Perfection
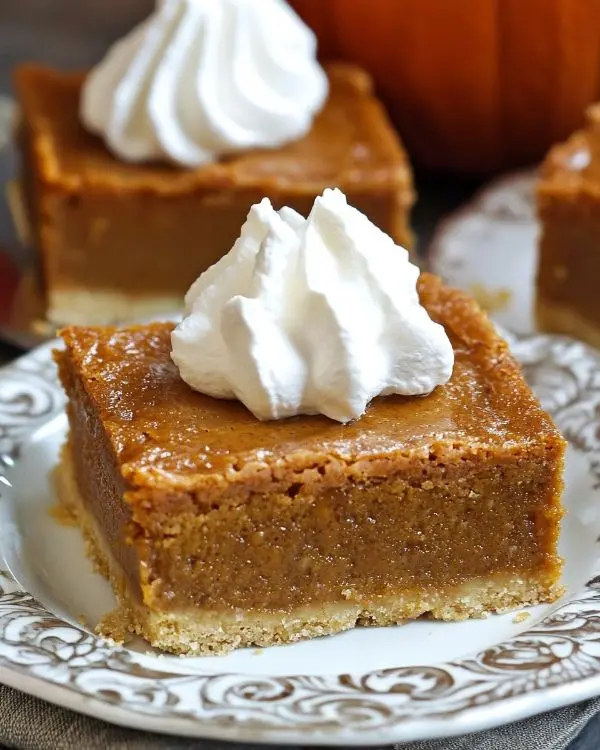
Step 7: Assemble and Bake Pour filling over cooled crust. Place baking dish on a rimmed sheet pan to catch potential spills. Bake at 350°F for 55-60 minutes until center sets with just a slight jiggle.
Visual cue: The surface should look set but still have a gentle wobble in the very center when you shake the pan.
Step 8: Cool Completely Let bars cool in the dish for exactly 2 hours on a wire rack. Patience pays off here—rushing leads to messy cuts. The filling continues setting as it cools.
Expert Tips and Creative Variations
Small Batch Pumpkin Pie Bars Professional Secrets
Temperature control determines success with small batch pumpkin dessert recipes. Therefore, use an oven thermometer for accuracy. Additionally, room temperature ingredients blend more easily than cold ones.
Texture tip: For extra richness, substitute 2 tablespoons of evaporated milk with heavy cream. This creates an almost custard-like consistency.
Five Creative Variations
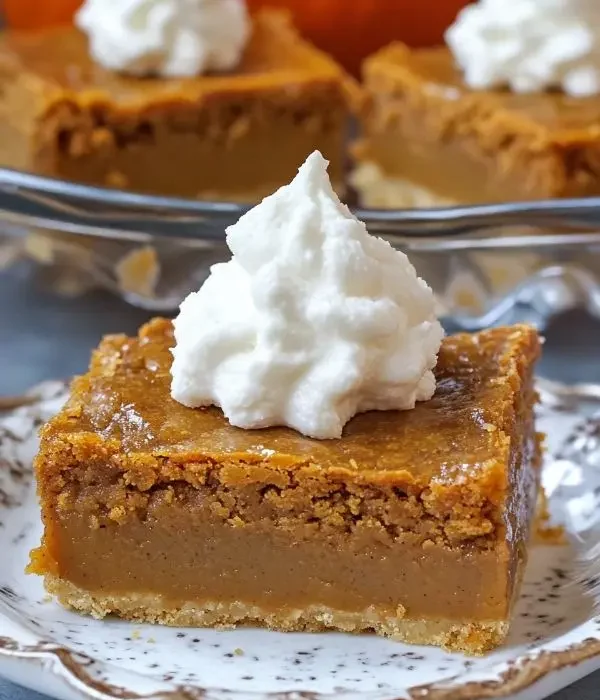
1. Maple Pecan Pumpkin Bars Replace 2 tablespoons sugar with pure maple syrup. Moreover, sprinkle chopped pecans over filling before baking. This variation screams Thanksgiving comfort!
2. Chocolate Chip Surprise Fold mini chocolate chips into filling for unexpected sweetness. Kids absolutely love this version.
3. Cream Cheese Swirl Drop dollops of softened cream cheese over filling. Use a knife to create beautiful swirls. Consequently, you get cheesecake-meets-pumpkin-pie flavor.
4. Gingerbread Spice Version Add ¼ teaspoon nutmeg and increase ginger to ½ teaspoon. This creates deeper, more complex flavor perfect for holiday gatherings.
5. Coconut Milk Dairy-Free Substitute evaporated milk with full-fat coconut milk. Similarly, use coconut oil instead of butter for completely dairy-free small batch pumpkin bars.
Storage and Make-Ahead Magic
| Storage Method | Duration | Notes |
|---|---|---|
| Refrigerator | 5 days | Cover tightly with plastic wrap |
| Freezer | 3 months | Wrap individually for easy serving |
| Room temperature | 2 days | In cool, dry conditions only |
| Make-ahead filling | 1 day | Prepare filling night before |
Make-ahead strategy: Prepare crust and filling separately the night before Thanksgiving. Assemble and bake fresh for best results.
Perfect Pairings for the Best Small Batch Pumpkin Pie Bars
Serve these bars with brown sugar pumpkin loaf for an impressive autumn dessert spread. Additionally, pair with pumpkin cupcakes for variety at fall gatherings.
Hot coffee or spiced cider complements the warm spices beautifully. Furthermore, vanilla ice cream transforms these bars into an elevated dessert experience.
Consider serving alongside sweet sourdough pumpkin bread for brunch occasions. The combination creates a memorable fall menu.
For holiday entertaining, present with Christmas cherry bars to offer both seasonal flavors and visual contrast.
Small Batch Pumpkin Pie Bars FAQs
Can you make pumpkin bars ahead of time?
Yes, you can make pumpkin bars up to 3 days ahead of time. Store them covered in the refrigerator and bring to room temperature before serving. The flavors actually improve after a day as the spices meld together.
Can I eat 7 day old pumpkin pie?
While these pumpkin pie bars stay fresh for 5 days refrigerated, 7-day-old pumpkin desserts may lose quality and develop off flavors. For food safety, consume within 5 days of baking.
What is the difference between pumpkin bars and pumpkin cake?
Pumpkin bars have a denser, more custard-like texture similar to pie filling, while pumpkin cake is lighter and more bread-like. These small batch pumpkin bars combine the best of both worlds with a firm crust and creamy filling.
How to make quick easy pumpkin pie?
This small batch recipe is actually quicker than traditional pumpkin pie since it bakes in a smaller pan and cools faster. The total time is about 90 minutes versus 3+ hours for full-sized pumpkin pie.
Is pumpkin pie healthy?
Pumpkin itself is nutritious, packed with vitamin A and fiber. However, these bars contain sugar and dairy, so enjoy them as an occasional treat. The small batch size naturally promotes portion control compared to a whole pie.
Your New Fall Baking Tradition
Man, oh man, these small batch pumpkin pie bars have revolutionized my autumn baking! They deliver all the cozy comfort of traditional pumpkin pie without the overwhelming quantity. Whether you’re entertaining two guests or treating your small family, this recipe scales perfectly to your needs.
The beauty lies in their versatility. Serve them warm with a dollop of whipped cream for dessert, or enjoy them cool with morning coffee. They’re sophisticated enough for dinner parties yet simple enough for weeknight treats.
Next time you find yourself with leftover pumpkin puree, remember this recipe. It transforms humble ingredients into something truly spectacular. Moreover, the 5×5-inch size means you can easily double the recipe for larger gatherings.
I’d love to see your version of these bars! Tag us on social media or share your creative variations in the comments below. After all, every recipe tells a story—and I can’t wait to hear yours.
Try pairing these with a warm apple crumble for the ultimate fall dessert duo. The combination of pumpkin spice and apple cinnamon creates pure autumn magic on your table.
Tasty at Home – Where bold flavors meet everyday kitchens.
Small Batch Pumpkin Pie Bars
Equipment
- 5×5-inch baking dish
- Parchment paper
- Electric mixer
- rimmed sheet pan
- wire rack
Ingredients
For the Crust
- 2.5 tablespoons butter plus extra for greasing
- 2 tablespoons granulated sugar
- 0.25 cup all-purpose flour
- 1 tablespoon cornstarch
- 0.125 teaspoon salt
For the Filling
- 6 tablespoons granulated sugar
- 0.5 teaspoon ground cinnamon
- 0.25 teaspoon salt
- 0.25 teaspoon ground ginger
- 0.125 teaspoon ground cloves
- 1 whole large egg
- 7.5 ounces pure pumpkin puree
- 6 ounces evaporated milk
- whipped cream optional, for serving
Instructions
- Preheat oven to 350°F (177°C). Butter a 5×5-inch baking dish, line with parchment paper leaving overhang, and butter the parchment.
- Beat butter and sugar until smooth and fluffy. Gradually add flour, cornstarch, and salt. Mix until a soft dough forms, avoiding overmixing.
- Press dough evenly into the prepared dish. Bake 15–18 minutes until edges are lightly golden. Cool while preparing filling.
- Mix sugar, cinnamon, salt, ginger, and cloves in a small bowl for even spice distribution.
- Beat egg, pumpkin puree, and spice mixture until smooth and lump-free.
- Slowly pour in evaporated milk while mixing continuously until well combined.
- Pour filling over cooled crust. Place dish on a rimmed sheet pan. Bake 55–60 minutes until center is set with a slight jiggle.
- Cool completely for 2 hours on a wire rack before cutting and serving.

