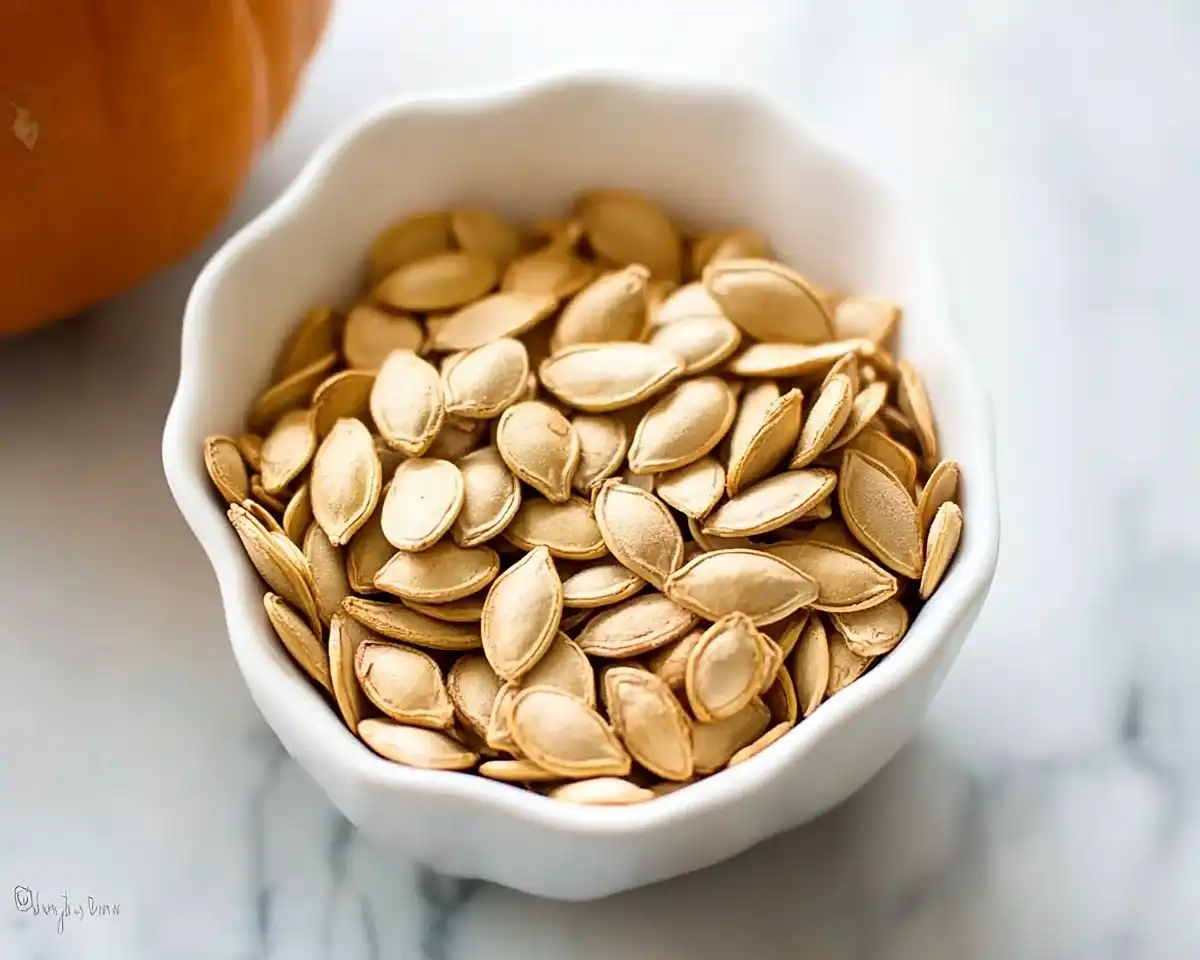
Pumpkin seeds roasted and salted with a sweet cinnamon-sugar twist! This easy, crunchy snack recipe delivers addictive fall flavors in just 30 minutes.
Hi, I’m Linda, and welcome to Tasty at Home—a cozy corner where bold flavors meet everyday kitchens.
Last October, I nearly threw away a pumpkin’s worth of seeds until my grandmother’s voice echoed in my head: “Waste not, want not, honey.” Well… I’m so glad I listened. That first batch of roasted pumpkin seeds—golden, crispy, and dangerously addictive—transformed my view of fall snacking forever.
I’ve tested this recipe seventeen times, tweaking salt ratios and oven temps until I cracked the code for perfectly crunchy seeds every single time. Whether you’re carving jack-o’-lanterns with the kids or simply want a nutritious alternative to store-bought chips, this straightforward method delivers every time.
Let’s turn those discarded seeds into your new favorite snack. Because here, every dish tells a story—and this one might just become yours.
Table of Contents
Why This Pumpkin Seeds Roasted and Salted Recipe Works
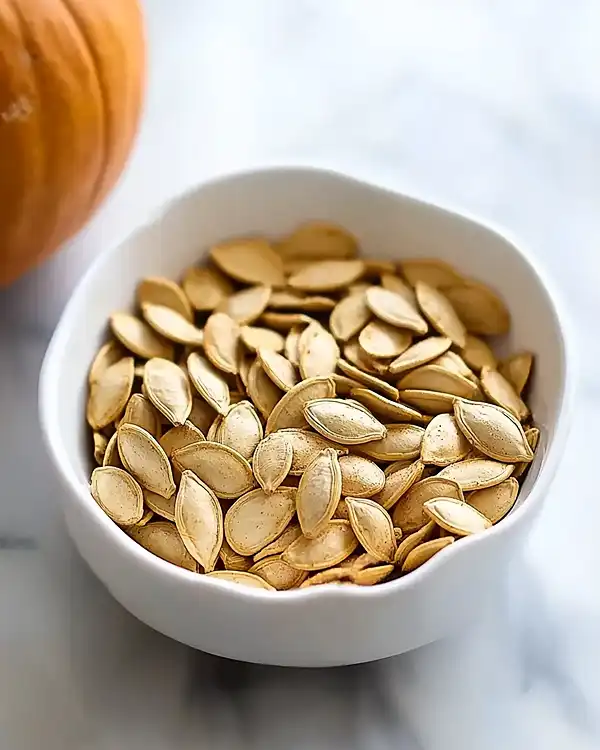
Most people toss pumpkin seeds straight into the compost bin. What a mistake! These little nutritional powerhouses pack protein, healthy fats, and a satisfying crunch that rivals any gourmet snack. Moreover, making roasted pumpkin seeds at home costs pennies compared to the overpriced bags at Whole Foods.
The secret lies in a simple boiling step that most recipes skip. By simmering the seeds in salted water first, you infuse flavor deep into each shell while simultaneously loosening any stubborn pulp. Consequently, you’ll achieve restaurant-quality results with minimal effort.
Thomas Keller always emphasizes the importance of proper seasoning at every stage of cooking. That philosophy applies perfectly here. Additionally, the quick boil creates a slightly softer interior that contrasts beautifully with the crispy exterior after roasting.
Ingredients for Perfect Salty Roasted Pumpkin Seeds
Here’s everything you need to create this terrific snack. Honestly, you probably have most items already.
| Ingredient | Amount | Metric | Notes |
|---|---|---|---|
| Medium pumpkin seeds | 1/2 cup | 120ml | From carving or cooking pumpkins |
| Water | 2 cups | 475ml | For boiling |
| Salt | 1 tablespoon | 15ml | Plus more for roasting |
| Extra virgin olive oil | 1-2 teaspoons | 5-10ml | Coat the baking sheet |
Shopping Tips for US Grocery Stores
You won’t find fresh pumpkin seeds in stores, naturally. Instead, grab a medium-sized pumpkin from your local farmers market or grocery chain between September and November. Sugar pumpkins (also called pie pumpkins) yield sweeter seeds than carving varieties, though both work beautifully.
Look for pumpkins with deep orange color and intact stems. The heavier the pumpkin, the more seeds you’ll harvest. A three-pound sugar pumpkin typically yields about one cup of seeds.
For olive oil, choose a mid-range extra virgin variety. You don’t need the expensive finishing oil here—save that for drizzling over salads. However, avoid the cheapest options, which can taste bitter when heated.
Bold Add-ins and Creative Variations
While classic salted seeds are incredible, consider these secondary keyword-rich variations:
Spicy Kick: Add 1/2 teaspoon cayenne pepper or smoked paprika before roasting Sweet and Salty: Toss seeds with 1 tablespoon brown sugar and cinnamon Ranch Style: Sprinkle with ranch seasoning powder after roasting Garlic Parmesan: Mix with garlic powder and grated Parmesan cheese Everything Bagel: Coat with everything bagel seasoning for a trendy twist
Ingredient Substitutions
Can’t find a fresh pumpkin? Use seeds from butternut squash or acorn squash instead. The process remains identical, though the flavor will be slightly nuttier.
If you’re avoiding olive oil, substitute with melted coconut oil, avocado oil, or even melted butter for a richer taste. Each option creates a different flavor profile worth exploring.
For low-sodium diets, reduce the salt to 1 teaspoon during boiling. You know what? You can always add more at the table.
Essential Equipment and Kitchen Tools
You don’t need fancy gadgets for this recipe. Just gather these basics:
Sharp chef’s knife: Essential for cutting through tough pumpkin skin Metal spoon: A sturdy spoon scrapes seeds more effectively than plastic Colander: For rinsing and draining seeds thoroughly Medium saucepan: To boil seeds before roasting Rimmed baking sheet: Prevents seeds from rolling off during roasting Cooling rack: Allows proper air circulation after baking
DIY Alternatives
No cooling rack? Simply leave the seeds on the baking sheet. They’ll cool fine, just slightly slower.
Missing a rimmed baking sheet? A cast-iron skillet works surprisingly well. Just reduce the oven temperature to 375°F and watch carefully to prevent scorching.
Step-by-Step Instructions for Easy Roasted Pumpkin Seeds
Step 1: Extract and Clean Your Pumpkin Seeds
Cut a circle around the pumpkin’s stem using a sharp knife, angling the blade inward. Pull off the top like removing a lid. Man, oh man—the smell of fresh pumpkin instantly signals fall has arrived.
Grab your metal spoon and scrape the inside walls aggressively. Scoop out all the seeds, strings, and pulpy bits into a large bowl. Don’t worry about separating anything yet.
Transfer everything to a colander. Run cold water over the mixture, using your fingers to separate seeds from the stringy pulp. This process takes about three minutes. The seeds will sink while the lighter strings wash away.
Pro tip: Some stubborn strings will cling to seeds. Let me tell you… they burn easily during roasting. Take an extra minute to remove them now rather than picking charred bits from your teeth later.
Step 2: Boil Seeds in Salted Water
Measure your cleaned seeds using a measuring cup. You’ll likely have between 1/2 to 1 full cup, depending on pumpkin size.
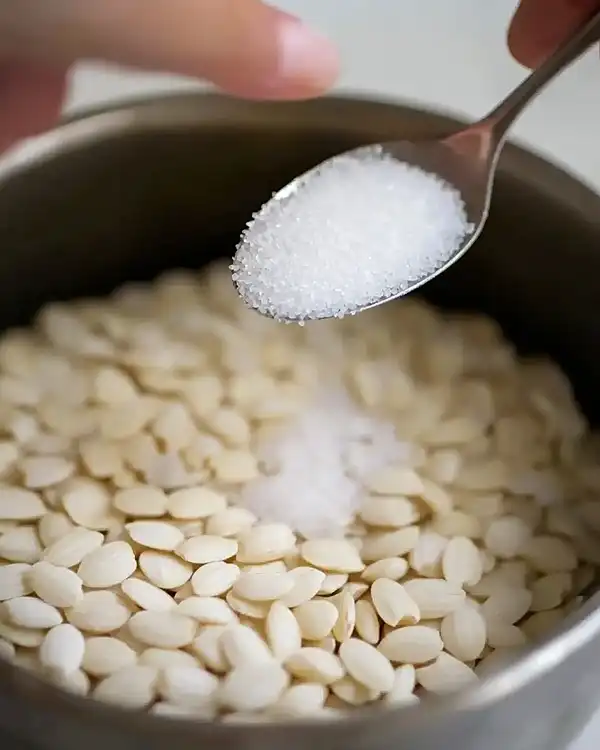
Place seeds in a medium saucepan. Add 2 cups water and 1 tablespoon salt for every 1/2 cup of seeds. If you prefer intensely salty roasted pumpkin seeds (like movie theater popcorn), increase to 1 1/2 tablespoons.
Bring the mixture to a rolling boil over high heat. Once boiling, reduce heat to maintain a gentle simmer. Set a timer for exactly 10 minutes.
This boiling technique comes straight from Julia Child’s philosophy of building flavor in layers. Furthermore, it softens the outer shell slightly, making the seeds easier to eat whole.
After 10 minutes, drain the seeds in your colander. Give them a good shake to remove excess water.
Common mistake I made: I once skipped the boiling step to save time. Oops! The seeds turned out bland and unevenly seasoned. This step genuinely makes the difference between good and outstanding.
Step 3: Prep Your Baking Sheet
Preheat your oven to 400°F. This high temperature creates the crispy exterior we’re after.
Drizzle 1 to 2 teaspoons of olive oil across the bottom of a rimmed baking sheet. Use a paper towel to spread it evenly, creating a thin coating. You want just enough to prevent sticking without creating puddles.
Step 4: Arrange and Season Seeds
Spread your boiled seeds across the oiled baking sheet in a single layer. Crowding causes steaming instead of roasting, so use two pans if necessary.
Toss the seeds gently with your hands, ensuring each one gets a light oil coating. Sprinkle with an additional pinch of salt if desired.
Expert insight: Even distribution is crucial. Seeds touching each other will stick together and won’t crisp properly. Leave a tiny gap between each seed whenever possible.
Step 5: Roast Until Golden and Crispy
Slide the baking sheet onto the top oven rack. This position exposes seeds to the most intense heat, promoting faster browning.
Small seeds toast in approximately 5 to 8 minutes. Large seeds from carving pumpkins need 15 to 20 minutes. Check them every 5 minutes regardless.
You’ll know they’re done when the seeds turn light golden brown and smell nutty. They should sound hollow when tapped with a spoon.
Remove from the oven immediately. Transfer seeds to a cooling rack or leave them on the pan. They’ll continue crisping as they cool—a transformation like magic.
Timing variation: Every oven runs differently. My old apartment oven took 22 minutes, while my new convection oven finishes in 12. Trust your eyes and nose over the timer.
Step 6: Cool Completely Before Eating
This step requires willpower. Resist eating hot seeds straight from the oven. They need at least 15 minutes to reach maximum crunchiness.
Once cooled, you can eat them whole—shell and all. The shell adds fiber and satisfying texture. Alternatively, crack each seed to extract the inner kernel, though honestly, that’s unnecessary work for most varieties.
Storage and Make-Ahead Tips
Store your roasted pumpkin seeds in an airtight container at room temperature. They’ll stay crispy for up to three weeks—if they last that long.
For longer storage, freeze seeds in a freezer-safe bag for up to three months. Thaw at room temperature for 10 minutes before eating. Surprisingly, they maintain their crunch beautifully.
| Storage Method | Duration | Best Practices |
|---|---|---|
| Room temperature | 2-3 weeks | Airtight container away from humidity |
| Refrigerator | 1 month | Not recommended—moisture makes them soggy |
| Freezer | 3 months | Vacuum-sealed or freezer bag |
Make-Ahead Strategy
Want seeds ready for your Halloween party? Roast them up to two weeks in advance. Similarly, this recipe scales beautifully. I’ve made quadruple batches using multiple baking sheets simultaneously.
You can complete steps 1-2 the night before. Simply store boiled seeds in the refrigerator overnight, then roast them fresh the next day. This approach works perfectly for busy schedules.
Creative Variations and Serving Ideas
Regional American Twists
Southwest Style: Toss with chili powder, cumin, and lime zest Nashville Hot: Coat with cayenne, brown sugar, and a touch of hot sauce New England Maple: Drizzle with pure maple syrup before roasting Cajun Spice: Season with Cajun seasoning blend after roasting
Dietary Modifications
For vegan diets, this recipe already fits perfectly. For keto enthusiasts, these seeds pack healthy fats with minimal carbs. If you’re following a paleo lifestyle, pumpkin seeds are completely compliant.
Need a gluten-free snack? You’ve found it. These seeds contain zero gluten naturally.
Holiday Applications
Thanksgiving calls for cinnamon-sugar pumpkin seeds served alongside creamy chicken bacon ranch pasta. Halloween parties demand spicy variations in decorative bowls.
Christmas gatherings benefit from rosemary-parmesan seeds that pair wonderfully with cheese boards. Even summer barbecues welcome these crunchy additions to salad toppings.
Perfect Pairings and Serving Suggestions
These roasted pumpkin seeds shine in multiple contexts. Sprinkle them over autumn soups for added texture. Toss them into salads for a nutritious crunch that beats croutons.
Mix them with dried cranberries and dark chocolate chips for an outstanding trail mix. Add them to yogurt parfaits or oatmeal bowls for breakfast protein.
They’re absolutely fantastic alongside melt-in-your-mouth chicken breast for weeknight dinners. Similarly, they complement easy homemade butter chicken as a crunchy garnish.
For beverages, pair salty roasted pumpkin seeds with craft beer, especially pumpkin ales. Hot apple cider creates another winning combination. Even red wine lovers appreciate these seeds with a bold Cabernet.
Looking for dessert connections? Serve them alongside caramel apple cheesecake dip for textural contrast.
Nutritional Benefits Worth Noting
According to the USDA FoodData Central, pumpkin seeds deliver impressive nutritional value. One ounce provides approximately 150 calories, 5 grams protein, and 5 grams fiber.
They’re rich in magnesium, zinc, and antioxidants. These nutrients support heart health, immune function, and blood sugar regulation. However, portion control matters—they’re calorie-dense despite being nutritious.
The healthy fats in pumpkin seeds come primarily from omega-6 fatty acids. While beneficial in moderation, balance them with omega-3 sources like salmon or walnuts throughout your diet.
Pumpkin Seeds Roasted and Salted FAQs
Are salted roasted pumpkin seeds healthy?
Yes, salted roasted pumpkin seeds offer substantial health benefits including protein, fiber, and essential minerals like magnesium and zinc. The seeds contain heart-healthy fats and antioxidants that support overall wellness. However, monitor sodium intake if you’re watching salt consumption, as homemade versions allow you to control seasoning levels perfectly.
How to make roasted pumpkin seeds salty?
To make roasted pumpkin seeds salty, boil them in salted water (1 tablespoon salt per 1/2 cup seeds) for 10 minutes before roasting. This infuses salt throughout the seeds rather than just coating the surface. Additionally, sprinkle extra salt immediately after removing them from the oven while they’re still warm and slightly oily.
What salt is best for pumpkin seeds?
Standard table salt or fine sea salt works best for pumpkin seeds because it adheres well and distributes evenly. Avoid coarse kosher salt or flaky sea salt, which don’t penetrate during boiling and fall off easily after roasting. For finishing touches, fine-ground flavored salts like smoked salt or garlic salt add interesting complexity.
Can pumpkin seeds be eaten roasted?
Absolutely—roasted pumpkin seeds can be eaten whole, shell included. The roasting process makes the shells crispy and completely edible, adding fiber and satisfying crunch. Some people prefer cracking each seed to extract the inner kernel, but eating them whole saves time and preserves all the nutritional benefits.
Final Thoughts and Call to Action
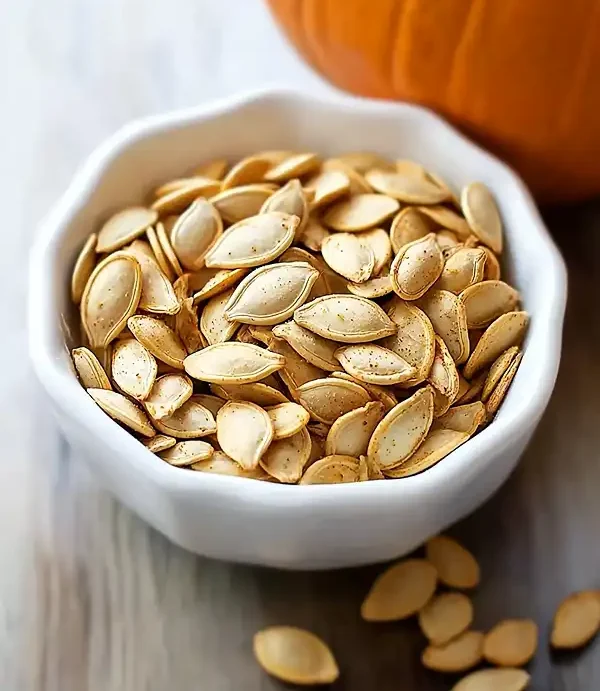
These pumpkin seeds roasted and salted represent more than just a snack. They’re a sustainable choice that reduces food waste while delivering nutrition and flavor. Furthermore, they remind us that the best ingredients sometimes hide in plain sight—or inside a pumpkin destined for the compost bin.
Next time you carve pumpkins or cook with fresh squash, remember this simple recipe. Your family will thank you when you serve these instead of grabbing another bag of processed chips.
Try pairing them with a cold glass of apple cider this weekend. Better yet, make a double batch and share them with neighbors or coworkers. They make thoughtful edible gifts when packaged in mason jars with festive ribbons.
Circle back to my original discovery moment: Sometimes the best recipes come from listening to grandmother’s wisdom and refusing to waste good ingredients. What started as near-trash became my October obsession.
Until next time, keep roasting, keep experimenting, and keep transforming simple ingredients into something special. Because at Tasty at Home, we believe every kitchen can create memorable flavors without fancy ingredients or complicated techniques.
Don’t forget to try these seeds chopped over creamy garlic parmesan chicken pasta or as a topping for fluffy air fryer churro bites for an unexpected texture surprise.
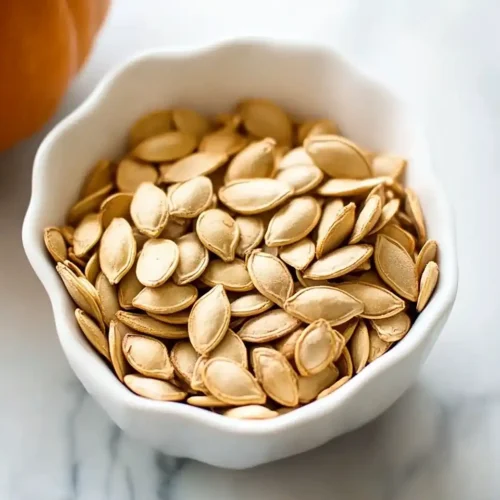
Pumpkin Seeds Roasted and Salted
Equipment
- Sharp chef’s knife
- Metal spoon
- Colander
- Medium saucepan
- Rimmed baking sheet
- Cooling rack
Ingredients
Main
- ½ cup Medium pumpkin seeds From carving or cooking pumpkins
- 2 cups Water For boiling
- 1 tablespoon Salt Plus more for roasting
- 1-2 teaspoons Extra virgin olive oil Coat the baking sheet
Instructions
- Cut a circle around the pumpkin’s stem, remove the top, and scoop out seeds with a metal spoon. Rinse thoroughly in a colander, removing all stringy pulp.
- Boil seeds in 2 cups of water with 1 tablespoon of salt for 10 minutes. Drain well and shake off excess water.
- Preheat oven to 400°F. Lightly oil a rimmed baking sheet with 1-2 teaspoons olive oil.
- Spread seeds in a single layer on the baking sheet. Lightly toss with oil and sprinkle with extra salt.
- Roast for 15-20 minutes, checking every 5 minutes, until golden brown and fragrant. Timing may vary by oven.
- Cool completely on a cooling rack for 15 minutes before serving to ensure maximum crunchiness.
- Store in an airtight container at room temperature for up to 3 weeks or freeze for up to 3 months.

