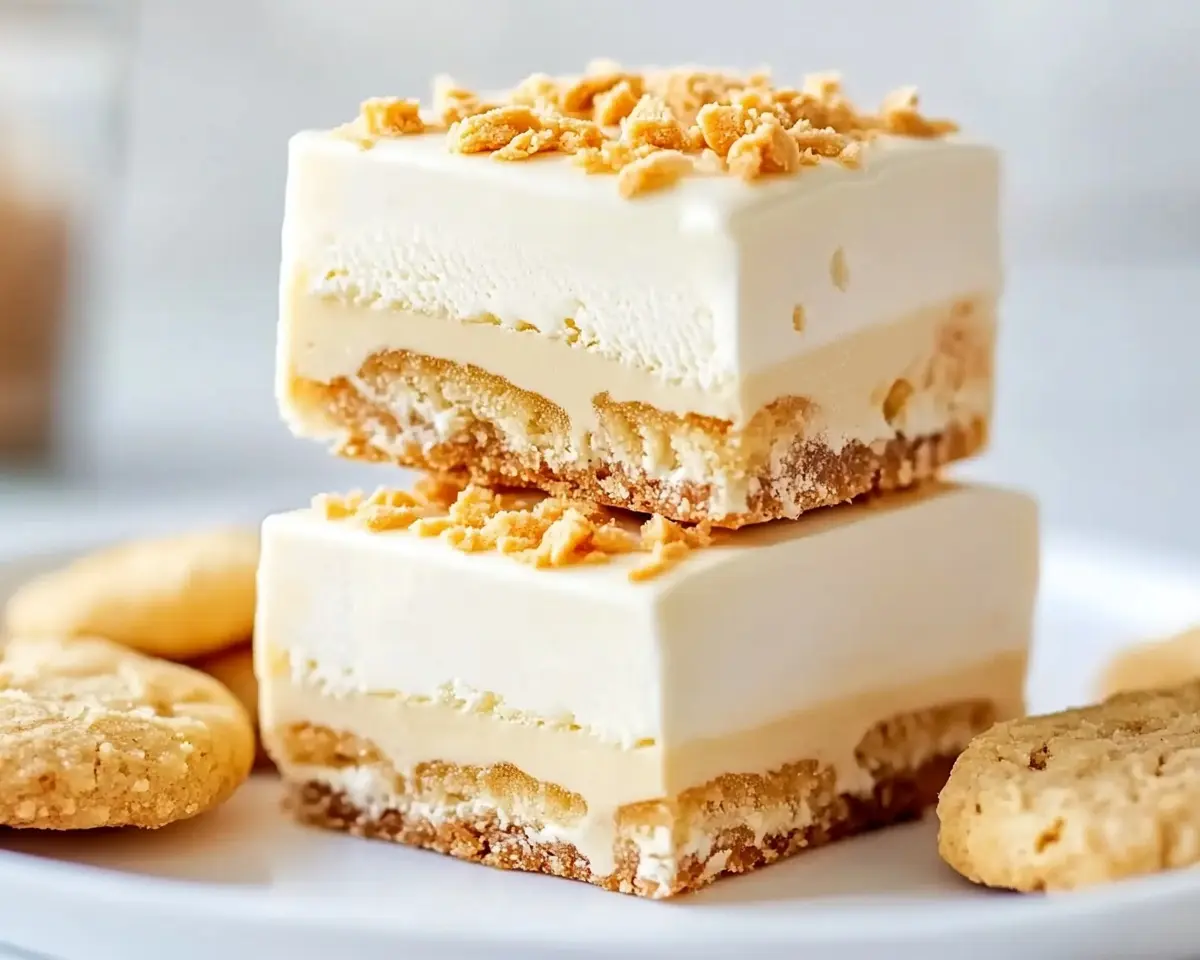
No bake cookie bars with white chocolate cheesecake layers. Quick prep, amazing results – perfect for busy weeknights and special occasions.
The Story Behind These Life-Changing Bars
Well… let me tell you about the day I accidentally created the most requested dessert in my household. Last summer, my oven decided to quit during a particularly brutal heat wave in Phoenix, Arizona. With my daughter’s bake sale fundraiser looming and temperatures soaring past 110°F, I faced a classic kitchen crisis.
You know that moment when disaster transforms into pure magic? That’s exactly what happened when I combined my grandmother’s no-bake cookie technique with a rich white chocolate cheesecake filling. The result was these incredible no bake cookie bars that taste like they require hours of work but come together in just twenty minutes of active prep time.
After testing this recipe fifteen times (and gaining five pounds in the process), I’ve perfected every detail. These bars deliver the satisfying crunch of graham crackers, the creamy indulgence of cheesecake, and the sweet finish of caramel – all without turning on your oven.
Whether you’re dealing with broken appliances, summer heat, or simply want an impressive dessert that won’t stress you out, these no bake cookie bars will become your secret weapon.
Tasty at Home – Where bold flavors meet everyday kitchens.
Table of Contents
What Makes These No Bake Cookie Bars Extraordinary
These aren’t your typical no bake cookies thrown together with oats and cocoa powder. Instead, we’re creating a sophisticated layered dessert that combines multiple textures and flavors into one show-stopping treat.
The magic lies in the three distinct layers that work together harmoniously. First, we build a sturdy foundation with a spiced graham cracker crust that provides the essential “cookie” element.
Next comes the star of the show – a silky white chocolate cheesecake layer that’s both rich and surprisingly light. Finally, we crown everything with swirls of golden caramel that add both visual appeal and that perfect sweet finish.
What sets this recipe apart from standard no bake desserts is the inclusion of actual baking for the crust base. This fifteen-minute oven time creates structural integrity that allows these bars to slice cleanly and hold their shape beautifully. However, the cheesecake layer remains completely no-bake, giving us the best of both techniques.
Moreover, these bars actually improve with time. The flavors meld overnight in the refrigerator, creating a more complex taste profile that rivals any bakery creation.
Essential Ingredients for Perfect No Bake Cookie Bars Results
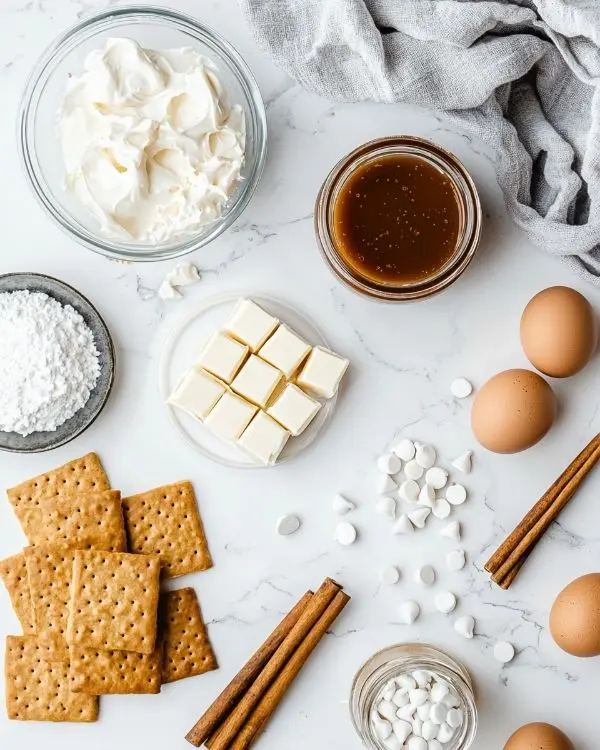
| Graham Cracker Crust | US Measurement | Metric |
|---|---|---|
| Graham cracker crumbs | 2 cups | 240g |
| Unsalted butter, melted | ½ cup | 115g |
| Brown sugar | ¼ cup | 50g |
| Ground cinnamon | ½ teaspoon | 2.5ml |
| White Chocolate Layer | US Measurement | Metric |
|---|---|---|
| Cream cheese, softened | 8 oz | 225g |
| Powdered sugar | ½ cup | 65g |
| Vanilla extract | 1 teaspoon | 5ml |
| White chocolate chips, melted | 1½ cups | 255g |
| Large eggs | 2 | 2 |
| Heavy cream | ¼ cup | 60ml |
| Caramel Topping | US Measurement | Metric |
|---|---|---|
| Caramel sauce | ⅓ cup | 80ml |
| Butterscotch chips (optional) | 2 tablespoons | 25g |
Smart Shopping Tips for US Grocery Stores
Finding quality ingredients doesn’t require specialty stores. Most major US supermarkets carry everything you need in their standard baking aisles. Look for Nabisco Honey Maid graham crackers, which crush to the perfect consistency and provide consistent results.
For the white chocolate component, choose high-quality chips like Ghirardelli or Guittard rather than generic brands. The difference in flavor and melting properties is remarkable. Oops! I learned this the hard way when my first batch seized up with cheap chocolate chips.
Philadelphia cream cheese remains the gold standard for cheesecake layers. Make sure it’s completely softened before beginning – this prevents lumps and ensures silky smooth texture. Additionally, Smucker’s caramel sauce offers excellent consistency for drizzling, though homemade works beautifully if you have extra time.
No Bake Cookie Bars Creative Substitutions and Variations
For Dietary Restrictions:
- Gluten-free: Replace graham crackers with gluten-free cookies like Kinnikinnick or Mary’s Gone Crackers
- Dairy-free: Substitute coconut cream and vegan cream cheese (brands like Kite Hill work excellently)
- Lower sugar: Use sugar-free white chocolate chips and sugar-free caramel sauce
Flavor Variations for the best No Bake Cookie Bars:
- Chocolate Lovers: Add 2 tablespoons cocoa powder to the crust and use dark chocolate instead of white
- Seasonal Twist: Include ½ teaspoon pumpkin pie spice in the crust for autumn gatherings
- Tropical Version: Add shredded coconut and macadamia nuts to the crust layer
Essential Equipment and Preparation Steps
Equipment You’ll Need for the Perfect No Bake Cookie Bars
The beauty of this recipe lies in its simplicity – you probably own everything required. A 9×9-inch square baking pan forms the foundation of our bars, while parchment paper ensures easy removal. An electric mixer (hand or stand) creates the smoothest cheesecake layer, though determined whisking can work in a pinch.
For melting white chocolate, a double boiler provides the gentlest heat control. However, thirty-second microwave intervals work perfectly for home kitchens. Just remember to stir between each heating period to prevent scorching.
A food processor makes quick work of crushing graham crackers, but a rolling pin and sealed plastic bag deliver the same results with a bit more elbow grease.
Step-by-Step Instructions
Creating the Perfect Crust Foundation
Preheat your oven to 350°F and line your 9×9-inch pan with parchment paper, leaving enough overhang for easy lifting later. This simple step transforms frustrating extraction into effortless removal.
In a medium mixing bowl, combine graham cracker crumbs, brown sugar, and cinnamon. The cinnamon adds unexpected warmth that complements both the white chocolate and caramel layers beautifully.
Pour in the melted butter and mix thoroughly until the mixture resembles wet sand. Every crumb should be coated with butter to ensure proper binding. Press this mixture firmly into your prepared pan using the bottom of a measuring cup for even distribution.
Bake the crust for exactly ten minutes until it’s lightly golden and fragrant. This brief baking time sets the foundation without over-browning. Remove from the oven and let cool while you prepare the cheesecake layer.
Mastering the White Chocolate Cheesecake Layer
Reduce your oven temperature to 325°F immediately after removing the crust. Temperature control is crucial for preventing cracks in the cheesecake layer.
In a large bowl, beat the softened cream cheese until completely smooth and fluffy. This process typically takes 2-3 minutes with an electric mixer. Scrape down the sides frequently to ensure no lumps remain.
Add powdered sugar and vanilla extract, beating until fully combined. The powdered sugar dissolves more easily than granulated sugar, creating a silkier texture.
Incorporate eggs one at a time, beating well after each addition. Man, oh man, this step makes all the difference in achieving that professional bakery texture. Adding eggs gradually prevents the mixture from breaking or becoming grainy.
Gradually fold in the melted and slightly cooled white chocolate along with the heavy cream. The mixture should be perfectly smooth and pourable. If you notice any lumps, strain the mixture through a fine-mesh sieve.
Pour this luscious mixture over the pre-baked crust, spreading evenly with an offset spatula.
Baking and Caramel Finishing
Bake the assembled bars for 28-35 minutes, until the edges are set but the center still has a slight jiggle. Overbaking creates a dense, rubbery texture, so err on the side of slightly underdone.
Remove from the oven and immediately drizzle with caramel sauce while the surface is still warm. This technique allows the caramel to settle into the cheesecake slightly, creating beautiful marbled patterns.
Use a knife tip to gently swirl the caramel across the surface, creating artistic patterns. Sprinkle with butterscotch chips if desired for added texture and visual appeal.
The Critical Cooling Process
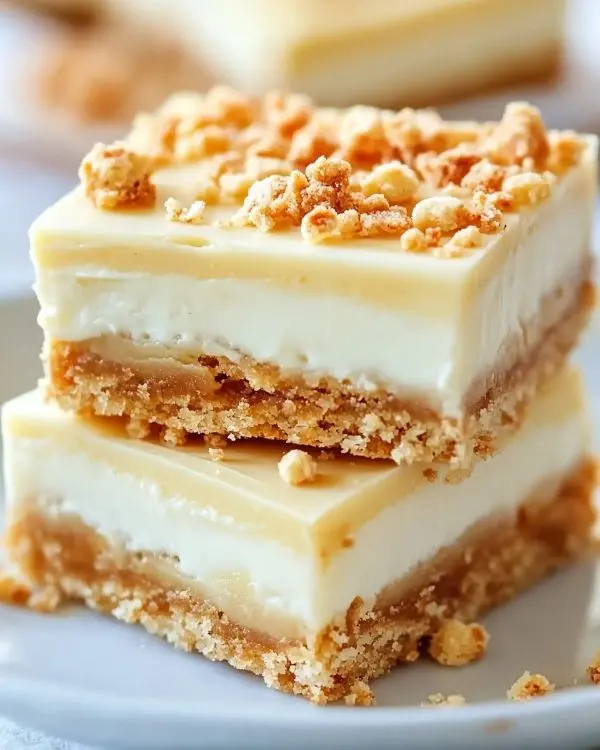
Allow the bars to cool completely at room temperature for at least one hour. This gradual cooling prevents cracking and ensures proper texture development.
Transfer to the refrigerator and chill for a minimum of four hours, though overnight produces the best results. The extended chilling time allows flavors to meld and the texture to become perfectly sliceable.
When ready to serve, use the parchment paper overhang to lift the entire block from the pan. Cut into squares with a sharp knife, wiping the blade clean between cuts for professional-looking portions.
Expert Tips for Guaranteed Success
Temperature Mastery
Room temperature ingredients mix more easily and create smoother textures. Remove cream cheese from the refrigerator 2-3 hours before beginning, or soften quickly by placing sealed packages in warm water for 15 minutes.
When melting white chocolate, patience prevents disaster. Low, gentle heat preserves the delicate chocolate structure. If using a microwave, start with 30-second intervals at 50% power.
Texture Perfection
The ideal cheesecake layer should be thick enough to coat a spoon but still pourable. If your mixture seems too thick, add an extra tablespoon of heavy cream. Conversely, if it’s too thin, refrigerate for 15 minutes before pouring.
For ultra-smooth results, pass the cheesecake mixture through a fine-mesh strainer before pouring over the crust. This eliminates any potential lumps and creates bakery-quality smoothness.
white chocolate cheesecake Storage and Make-Ahead Strategies
These no bake cookie bars actually improve with time, making them perfect for advance preparation. Store covered in the refrigerator for up to five days, though they rarely last that long in my household.
For longer storage, wrap individual portions in plastic wrap and freeze for up to three months. Thaw overnight in the refrigerator before serving.
| Storage Method | Duration | Best Practices |
|---|---|---|
| Refrigerated (covered) | 5 days | Use airtight container |
| Frozen (wrapped) | 3 months | Individual portions work best |
| Room temperature | 2 hours max | Only during serving |
No Bake Cookie Bars Creative Serving Suggestions
These bars shine as a standalone dessert, but pairing options abound. A steaming cup of pumpkin spice coffee creamer enhanced coffee creates a perfect autumn combination.
For elegant dinner parties, serve alongside fresh berries and a dollop of whipped cream. The tartness of raspberries provides a beautiful contrast to the sweet, rich bars.
During summer gatherings, pair with vanilla pudding pumpkin bread for a delightful dessert spread that requires minimal oven time.
Troubleshooting Common Issues
Why Did My No Bake Cookie Bars Turn Out Too Soft?
Insufficient chilling time is the most common culprit behind soft bars. The cheesecake layer requires at least four hours to firm properly, though overnight chilling produces optimal results.
Additionally, overbaking the cheesecake layer can paradoxically create a softer final texture. The residual heat continues cooking even after removal from the oven, so aim for that slight center jiggle.
How Can I Prevent Cracking?
Temperature shock causes most cracks in cheesecake layers. Ensure all ingredients are at room temperature before mixing, and avoid overbeating once eggs are incorporated.
Gradual cooling also prevents cracks. Let bars cool completely at room temperature before refrigerating.
What If My White Chocolate Seized?
Seized chocolate happens when moisture meets melting chocolate. If this occurs, whisk in a tablespoon of neutral oil (like vegetable oil) to restore smoothness.
Prevention works better than correction – ensure all utensils are completely dry before melting chocolate, and avoid getting any water near the melting process.
Can I Make These Bars Ahead for Special Occasions?
Absolutely! These bars actually taste better after 24 hours of chilling. The flavors meld beautifully, creating a more complex and satisfying dessert.
For holiday gatherings like Thanksgiving, prepare these bars two days in advance. They’ll be perfectly set and ready to impress your guests with minimal last-minute effort. Consider serving alongside Italian butter cookies with sprinkles for a complete dessert table.
Regional and Seasonal Variations
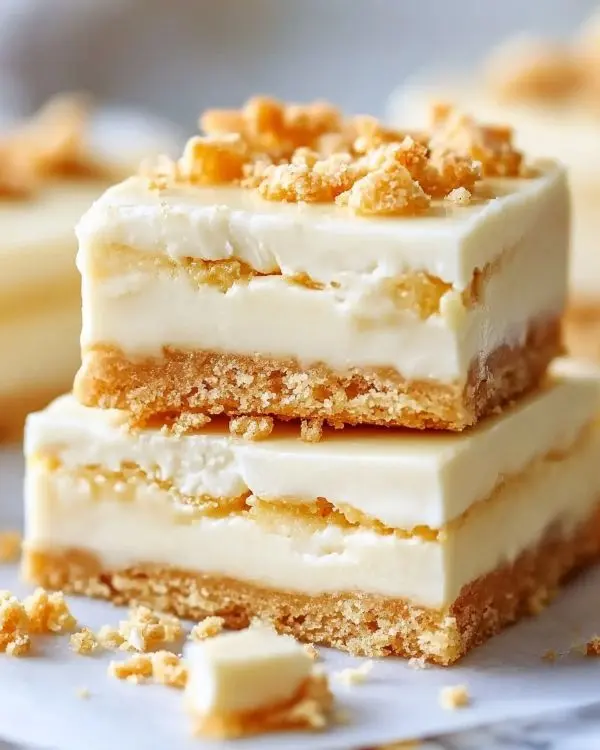
Southern-Inspired Version
Replace graham crackers with crushed vanilla wafers and add a pinch of bourbon extract to the cheesecake layer. Finish with praline pieces instead of butterscotch chips for authentic Southern flair.
Holiday Spice Edition
Incorporate warm spices like nutmeg and allspice into the crust mixture. Drizzle with spiced caramel and top with candied pecans for a festive presentation perfect for winter gatherings.
Summer Berry Twist
Swirl fresh strawberry puree into the cheesecake layer before baking. Top with fresh berries and a light dusting of powdered sugar for a refreshing warm-weather dessert.
Tropical Paradise
Add shredded coconut to the crust and fold chopped macadamia nuts into the cheesecake layer. Finish with coconut caramel sauce and toasted coconut flakes.
Advanced Techniques from Professional Bakers
Drawing inspiration from renowned pastry chef Thomas Keller’s precision-focused approach, temperature control becomes paramount in achieving professional results. Keller emphasizes that baking is essentially controlled chemistry, where small temperature variations create dramatically different outcomes.
Similarly, Julia Child’s philosophy of fearless experimentation applies perfectly to these bars. Don’t be afraid to adjust sweetness levels or experiment with different extracts based on your family’s preferences.
The key to bakery-quality texture lies in proper emulsification of the cheesecake layer. Beat cream cheese until completely smooth before adding any other ingredients. This foundational step prevents lumps and creates that luxurious mouthfeel we associate with high-end desserts.
Nutritional Considerations and Modifications
While these bars are undeniably indulgent, simple modifications can lighten them without sacrificing flavor. Substitute Greek yogurt for half the cream cheese to boost protein content and reduce calories.
For those monitoring sugar intake, sugar-free white chocolate chips and sugar-free caramel sauce work surprisingly well. The texture remains virtually identical while significantly reducing overall sugar content.
Adding chopped nuts to the crust increases healthy fats and protein while providing satisfying crunch. Pecans, walnuts, or almonds all complement the flavor profile beautifully.
No Bake Cookie Bars FAQs
Can I use regular chocolate instead of white chocolate in these no bake cookie bars?
Yes, dark or milk chocolate works wonderfully in place of white chocolate. The flavor profile becomes richer and more intense. Use the same melting technique and measurements for consistent results.
How long do these no bake cookies need to set before cutting?
These bars require a minimum of four hours in the refrigerator to set properly. However, overnight chilling produces the cleanest cuts and best texture. The patient approach yields superior results every time.
What’s the best way to store leftover bars?
Store covered in the refrigerator for up to five days. Individual wrapping in plastic wrap prevents them from absorbing other refrigerator odors and maintains optimal freshness.
Can I make these bars without eggs?
While eggs provide structure and richness, you can substitute with additional cream cheese and a tablespoon of cornstarch for binding. The texture will be slightly denser but still delicious.
Why did my caramel sauce harden on top?
Caramel hardens when it cools too quickly or when applied to a cold surface. Always drizzle caramel onto the warm cheesecake layer immediately after baking for the best swirling results.
The Sweet Conclusion
These no bake cookie bars represent the perfect marriage of convenience and sophistication. They satisfy that deep craving for something special without requiring advanced pastry skills or professional equipment.
From that sweltering Phoenix afternoon to countless family gatherings since, these bars have never failed to impress. The combination of textures – from the sturdy, spiced crust to the silky cheesecake layer crowned with golden caramel – creates a dessert that feels both familiar and extraordinary.
The beauty lies not just in their taste, but in their reliability. Whether you’re a nervous baker or a seasoned pro, this recipe delivers consistent, impressive results every single time. Moreover, they actually improve with time, making them perfect for stress-free entertaining.
Next time you need a show-stopping dessert that won’t heat up your kitchen, remember these bars. Pair them with a warm cup of pumpkin cold foam coffee for the ultimate comfort combination.
I’d love to hear about your variations and success stories. Tag us on social media with your creations – there’s nothing quite like seeing these bars bring joy to kitchens across the country.
After all, the best recipes aren’t just about ingredients and techniques. They’re about creating moments of connection, celebration, and pure delicious joy. These no bake cookie bars deliver all three in abundance.
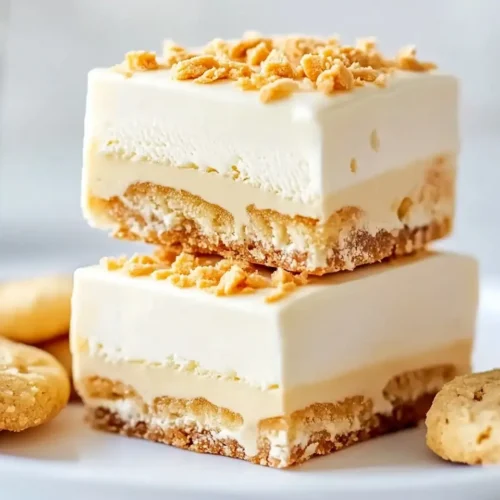
No Bake Cookie Bars
Equipment
- 9×9-inch baking pan
- Electric mixer
- Medium mixing bowl
- Large mixing bowl
- measuring cups
- measuring spoons
- Parchment paper
- Offset spatula
Ingredients
Graham Cracker Crust
- 2 cups graham cracker crumbs
- ½ cup unsalted butter melted
- ¼ cup brown sugar
- ½ teaspoon cinnamon
White Chocolate Cheesecake Layer
- 8 oz cream cheese softened
- ½ cup powdered sugar
- 1 teaspoon vanilla extract
- 1 ½ cups white chocolate chips melted and slightly cooled
- 2 large eggs
- ¼ cup heavy cream or sour cream
Caramel Topping
- ⅓ cup caramel sauce store-bought or homemade
- 2 tablespoons butterscotch chips optional
Instructions
- Preheat oven to 350°F (175°C). Line a 9×9-inch baking pan with parchment paper, leaving overhang for easy removal.
- In a medium bowl, combine graham cracker crumbs, brown sugar, and cinnamon. Stir in melted butter until mixture resembles wet sand.
- Press firmly into the bottom of prepared pan. Bake for 10 minutes. Remove and let cool while preparing filling.
- Reduce oven temperature to 325°F (165°C). In a large bowl, beat cream cheese until smooth and fluffy (2-3 minutes).
- Add powdered sugar and vanilla; beat until combined. Add eggs one at a time, beating well after each addition.
- Gradually fold in melted white chocolate and cream until smooth. Pour over baked crust and spread evenly.
- Bake for 28-35 minutes, until edges are set but center still jiggles slightly. Remove from oven and immediately drizzle with caramel sauce.
- Use a knife to gently swirl caramel into the surface. Sprinkle with butterscotch chips if using.
- Cool completely at room temperature (1 hour). Refrigerate for at least 4 hours or overnight.
- Using parchment overhang, lift bars from pan. Cut into squares with a sharp knife, wiping clean between cuts.

