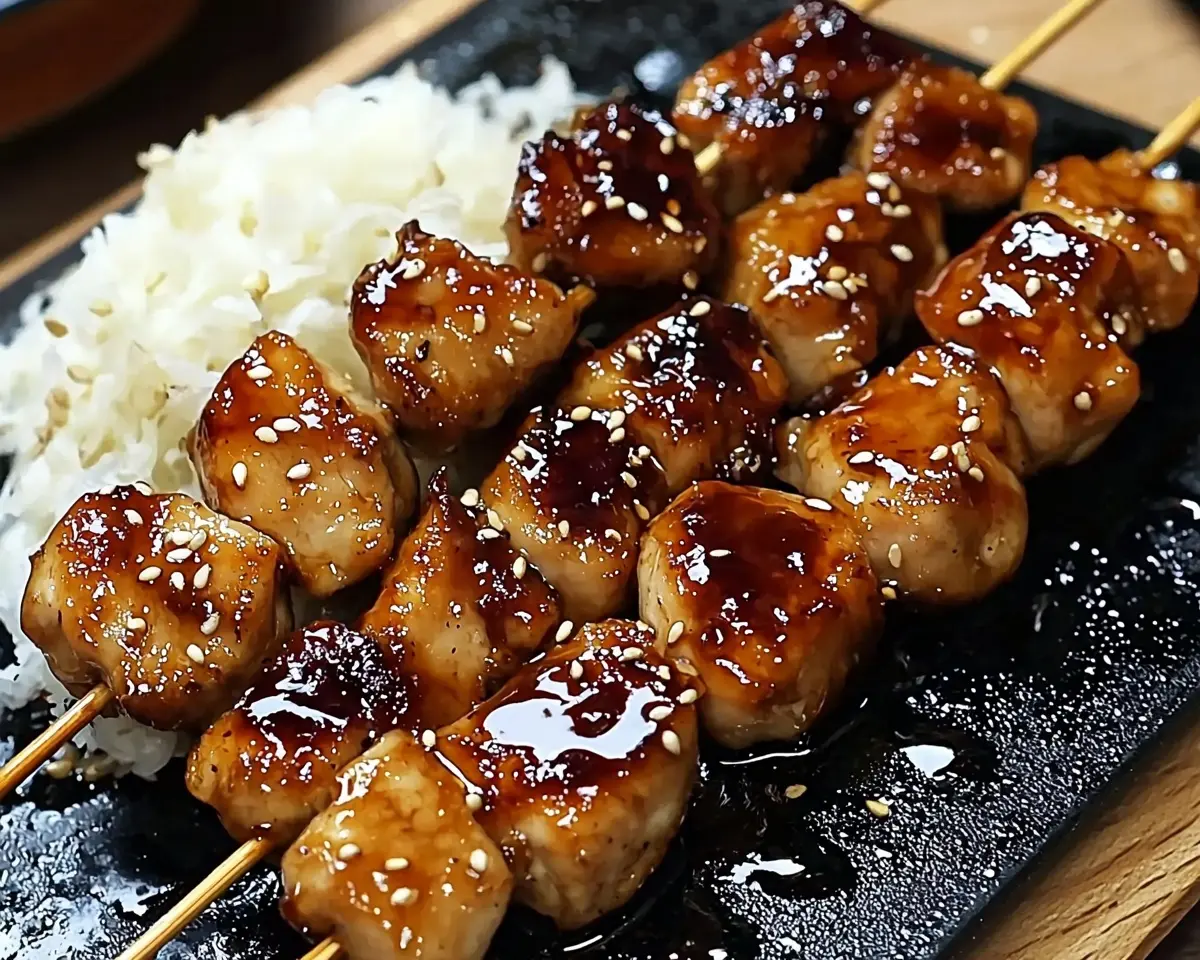
Japanese Chicken Yakitori Recipe delivers smoky, sweet glazed chicken skewers. Master authentic Japanese chicken marinade techniques for restaurant-quality results at home.
Hi, I’m Linda, and welcome to Tasty at Home—a cozy corner where bold flavors meet everyday kitchens. Last summer, while wandering through a bustling Seattle street fair, I caught a whiff of something magical. Well, it was the unmistakable aroma of yakitori sizzling over charcoal—smoky, sweet, and absolutely intoxicating. That moment sparked my obsession with perfecting this Japanese chicken yakitori recipe at home.
After countless kitchen experiments and more than a few charred disasters, I’ve cracked the code. Moreover, this isn’t just another grilling recipe; it’s your ticket to restaurant-quality Japanese flavors without leaving your backyard. You know what? The secret lies in the marinade balance and proper grilling technique, which I’ll share with you today.
Whether you’re a grilling novice or a seasoned pitmaster, this yakitori chicken recipe will transform your outdoor cooking game. Let me tell you, once you master these techniques, you’ll never look at plain grilled chicken the same way again.
Tasty at Home – Where bold flavors meet everyday kitchens.
Table of Contents
About This Japanese Chicken Recipe
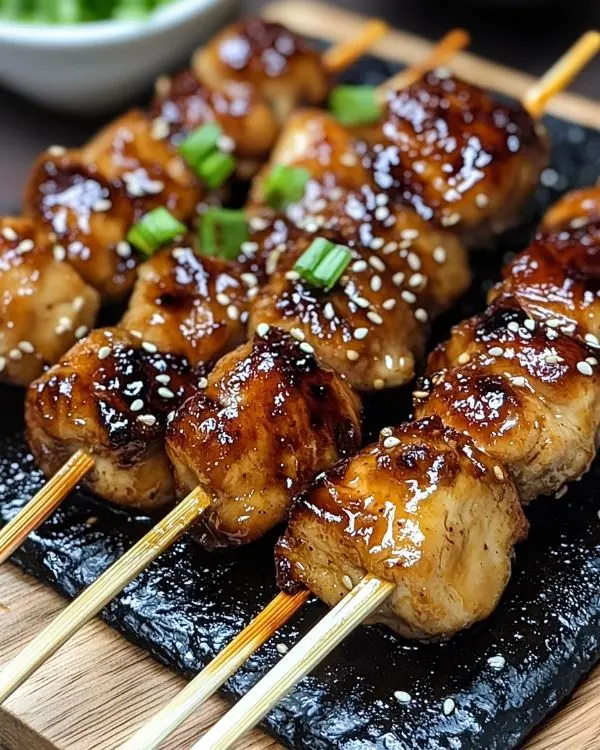
This yakitori recipe represents the heart of Japanese street food culture. Furthermore, what makes this version special is the perfect balance between traditional techniques and American accessibility. Instead of hunting for exotic ingredients, we’ll use readily available items from your local grocery store.
The magic happens in two stages: a flavorful marinade that penetrates the chicken, followed by a glossy glaze that caramelizes beautifully on the grill. Additionally, this Japanese chicken marinade combines umami-rich soy sauce with sweet brown sugar, creating layers of flavor that develop as the chicken cooks.
Chicken Yakitori Ingredient Breakdown
| Essential Ingredients | US Measure | Metric | Notes |
|---|---|---|---|
| Boneless chicken thighs | 6-8 pieces | 680g | Preferred for tenderness |
| Boneless chicken breast | 5-6 pieces | 450g | Leaner alternative |
| Soy sauce | 1/3 cup | 80ml | Use low-sodium if preferred |
| Brown sugar | 1/4 cup + 2 tbsp | 75g | Creates caramelization |
| Fresh garlic | 2 cloves | 6g | Minced fine |
| Fresh ginger | 1 tbsp | 15g | Minced or grated |
| Wooden skewers | 6-7 pieces | – | Soaked 20 minutes |
Shopping Tips for US Grocery Stores
When selecting chicken, look for pieces with consistent thickness. Similarly, chicken thighs offer more forgiveness during grilling due to their higher fat content. However, breast meat works wonderfully if you prefer leaner options.
For the soy sauce, regular grocery store brands work perfectly. Additionally, check the Asian foods aisle for mirin if you want to elevate the flavor profile, though it’s not essential for this recipe.
Bold Add-ins and Substitutions
International Adaptations:
- Replace brown sugar with maple syrup for a North American twist
- Add a splash of bourbon for smoky depth
- Substitute honey for a more floral sweetness
Dietary Modifications:
- Use tamari instead of soy sauce for gluten-free needs
- Try coconut sugar as a refined-sugar alternative
- Add sriracha for heat lovers
Equipment and Preparation Steps
Essential Equipment
You’ll need a reliable grill (gas or charcoal), long-handled tongs, and a basting brush. Moreover, if you don’t own a grill, a cast-iron grill pan works beautifully indoors. Additionally, keep a small saucepan nearby for reducing the glaze.
DIY Alternative: No grill brush? Furthermore, rolled aluminum foil works as an emergency grill cleaner.
Step-by-Step Preparation
Step 1: Prepare Your Workspace
Start by soaking wooden skewers in water for 10-20 minutes. This prevents them from burning during the grilling process. Additionally, this step is crucial for even cooking and prevents dangerous flare-ups.
Step 2: Create the Marinade Base
In a medium bowl, whisk together soy sauce, brown sugar, minced garlic, and fresh ginger. Consequently, whisk vigorously until the sugar completely dissolves. The mixture should look smooth and glossy.
Pro tip: I learned this the hard way after serving grainy yakitori to dinner guests. Oops! Always dissolve the sugar completely for the smoothest glaze.
Step 3: Prepare the Chicken
Trim any excess fat from the chicken pieces. Then, cut into 1-2 inch uniform chunks for even cooking. Subsequently, this ensures each piece cooks at the same rate, preventing some pieces from drying out while others remain undercooked.
Step 4: Marinate for Maximum Flavor
Place chicken pieces in a shallow dish and pour half the marinade over them. Furthermore, massage the marinade into the meat gently, ensuring every piece gets coated. Let this sit for at least 10 minutes, though 30 minutes produces even better results.
Step 5: Create the Glazing Sauce
Meanwhile, pour the remaining marinade into a small saucepan. Heat over medium flame until it begins to bubble. Then, reduce heat and simmer for 3-4 minutes until it thickens slightly. This concentrated sauce becomes your basting liquid.
Step 6: Thread the Skewers
Remove chicken from marinade and thread onto soaked skewers. Leave small gaps between pieces to ensure even heat circulation. Additionally, this spacing prevents steaming and promotes proper browning.
Step 7: Master the Grilling Technique
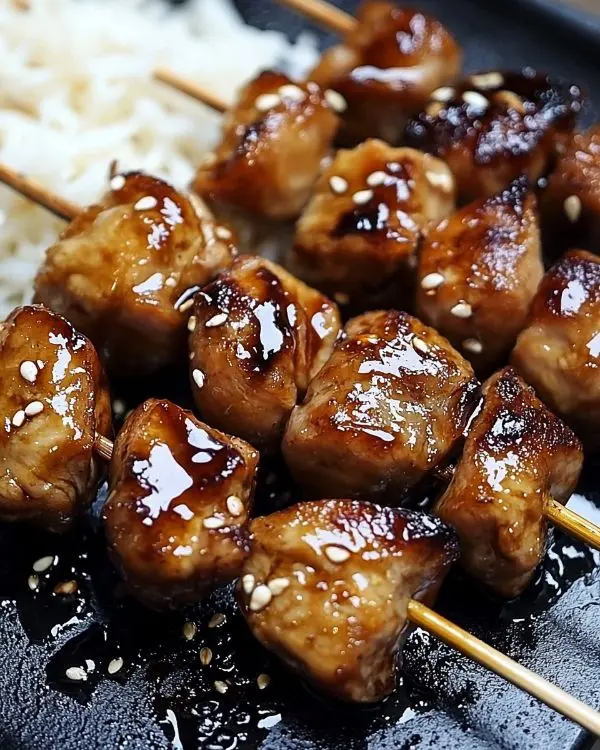
Preheat your grill to medium-high heat. Clean the grates thoroughly and oil them lightly. Place skewers on the grill and cook for 4-5 minutes per side. Most importantly, baste frequently with your reduced sauce during the last few minutes of cooking.
Julia Child always emphasized the importance of proper heat control, and she was absolutely right—medium-high heat creates the perfect balance of caramelization without burning.
Tips, Variations, and Serving Suggestions
Expert Tips for Perfect Japanese Chicken Yakitori Results
Temperature Control: Use a meat thermometer to ensure internal temperature reaches 165°F. However, don’t obsess over exact timing since visual cues work equally well.
Basting Technique: Apply the glaze during the final 2-3 minutes of cooking. This prevents burning while achieving that signature glossy finish.
Rest Period: Allow skewers to rest for 2-3 minutes after grilling. Consequently, this redistributes the juices throughout the meat.
Creative Variationsfor the Perfect Japanese Chicken Yakitori
Regional American Twists:
- Southern Style: Add a dash of liquid smoke and cayenne pepper
- Pacific Northwest: Incorporate a touch of local honey and apple cider vinegar
- Tex-Mex Fusion: Include chipotle powder and lime zest
- Holiday Special: Perfect for Fourth of July barbecues with red pepper flakes
Dietary Adaptations:
- Keto-Friendly: Replace brown sugar with erythritol
- Paleo Version: Use coconut aminos instead of soy sauce
- Vegetarian: Substitute firm tofu or tempeh for chicken
Storage and Make-Ahead Solutions
| Storage Method | Timeframe | Quality Notes |
|---|---|---|
| Refrigerator (cooked) | 3-4 days | Best reheated gently |
| Freezer (cooked) | 2-3 months | Thaw overnight before reheating |
| Marinated (raw) | 24 hours | Don’t exceed for food safety |
| Sauce (separate) | 1 week | Store covered in refrigerator |
Japanese Chicken Yakitori Perfect Pairings
These yakitori skewers shine alongside steamed jasmine rice and crisp cucumber salad. Moreover, they pair beautifully with our Japanese Katsu Bowls for a complete Japanese feast.
For beverages, consider serving with cold Japanese beer or our refreshing Autumn Gin Sour for a sophisticated twist.
Japanese Chicken Yakitori FAQs
Can I make yakitori without a grill?
Absolutely! Use a cast-iron skillet or grill pan over medium-high heat. The key is achieving good caramelization, which happens with proper heat control regardless of cooking method.
How long should I marinate the chicken?
Ten minutes minimum works well, but 30 minutes delivers optimal flavor penetration. Don’t exceed 24 hours as the acid in the marinade can break down the protein texture.
What’s the best chicken cut for yakitori?
Chicken thighs provide the most authentic texture and stay juicier during grilling. However, breast meat works perfectly if you prefer leaner options or monitor cooking time carefully.
Can I prepare the sauce in advance?
Yes, the yakitori sauce keeps well in the refrigerator for up to one week. Simply reheat gently before using, adding a splash of water if it becomes too thick.
Why do my skewers burn on the grill?
Burning usually results from excessive sugar in the marinade or too-high heat. Keep your grill at medium-high and apply the glaze only during the final minutes of cooking.
Troubleshooting Common Issues
Dry Chicken Solutions: Don’t overcook the meat. Furthermore, chicken thighs offer more forgiveness than breast meat due to higher fat content. Use a meat thermometer to avoid guesswork.
Burnt Glaze Prevention: Apply the sticky sauce only during the last 2-3 minutes of grilling. This technique, perfected by Thomas Keller in his grilling methods, prevents the sugars from burning while still achieving caramelization.
Uneven Cooking: Cut chicken pieces uniformly and leave space between pieces on each skewer. Additionally, rotate skewers every 2-3 minutes for even browning.
For more Japanese-inspired dishes that complement this recipe perfectly, try our Spicy Tuna Onigiri as an appetizer or side dish.
Conclusion
Man, oh man, this Japanese chicken yakitori recipe has become my go-to crowd-pleaser for backyard gatherings and weeknight dinners alike. The combination of sweet, savory, and smoky flavors creates an irresistible experience that keeps everyone coming back for more.
Whether you’re planning a summer barbecue or simply want to elevate your weeknight dinner routine, these skewers deliver restaurant-quality results with minimal fuss. The beauty of yakitori lies in its simplicity—quality ingredients, proper technique, and a little patience create extraordinary results.
Remember that Seattle street fair where this journey began? Now I can recreate those magical flavors whenever I want, and so can you. Give this recipe a try and tag us on social media with your creations. We love seeing how our recipes inspire your kitchen adventures.
Serve these alongside some Cracker Barrel Cheesy Hash Browns for an unexpected fusion meal that’ll surprise your guests in the best possible way.
Tasty at Home – Where bold flavors meet everyday kitchens.
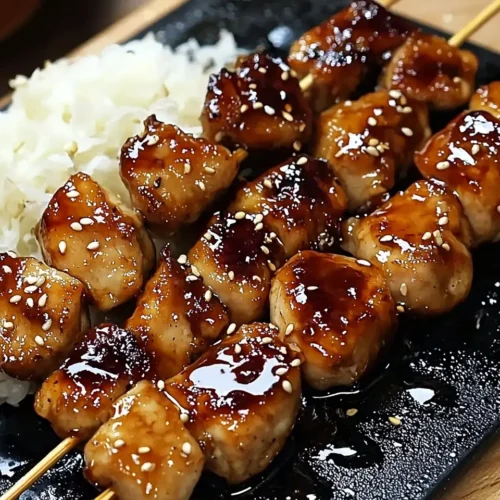
Japanese Chicken Yakitori
Equipment
- Grill
- tongs
- Basting brush
- Small saucepan
- Wooden skewers
Ingredients
Essential Ingredients
- 6-8 pieces Boneless chicken thighs Preferred for tenderness
- 5-6 pieces Boneless chicken breast Leaner alternative
- ⅓ cup Soy sauce Use low-sodium if preferred
- ¼ cup + 2 tbsp Brown sugar Creates caramelization
- 2 cloves Fresh garlic Minced fine
- 1 tbsp Fresh ginger Minced or grated
- 6-7 pieces Wooden skewers Soaked 20 minutes
Instructions
- Soak wooden skewers in water for 10-20 minutes to prevent burning.
- In a medium bowl, whisk together soy sauce, brown sugar, garlic, and ginger until smooth and glossy.
- Trim excess fat from chicken and cut into 1-2 inch uniform chunks.
- Place chicken in a dish, coat with half the marinade, and let sit for 10-30 minutes.
- Simmer the remaining marinade in a saucepan for 3-4 minutes to create a thick glaze.
- Thread chicken onto skewers, leaving small gaps between pieces.
- Grill skewers over medium-high heat for 4-5 minutes per side, basting with glaze during the last 2-3 minutes.
- Let skewers rest for 2-3 minutes before serving.

