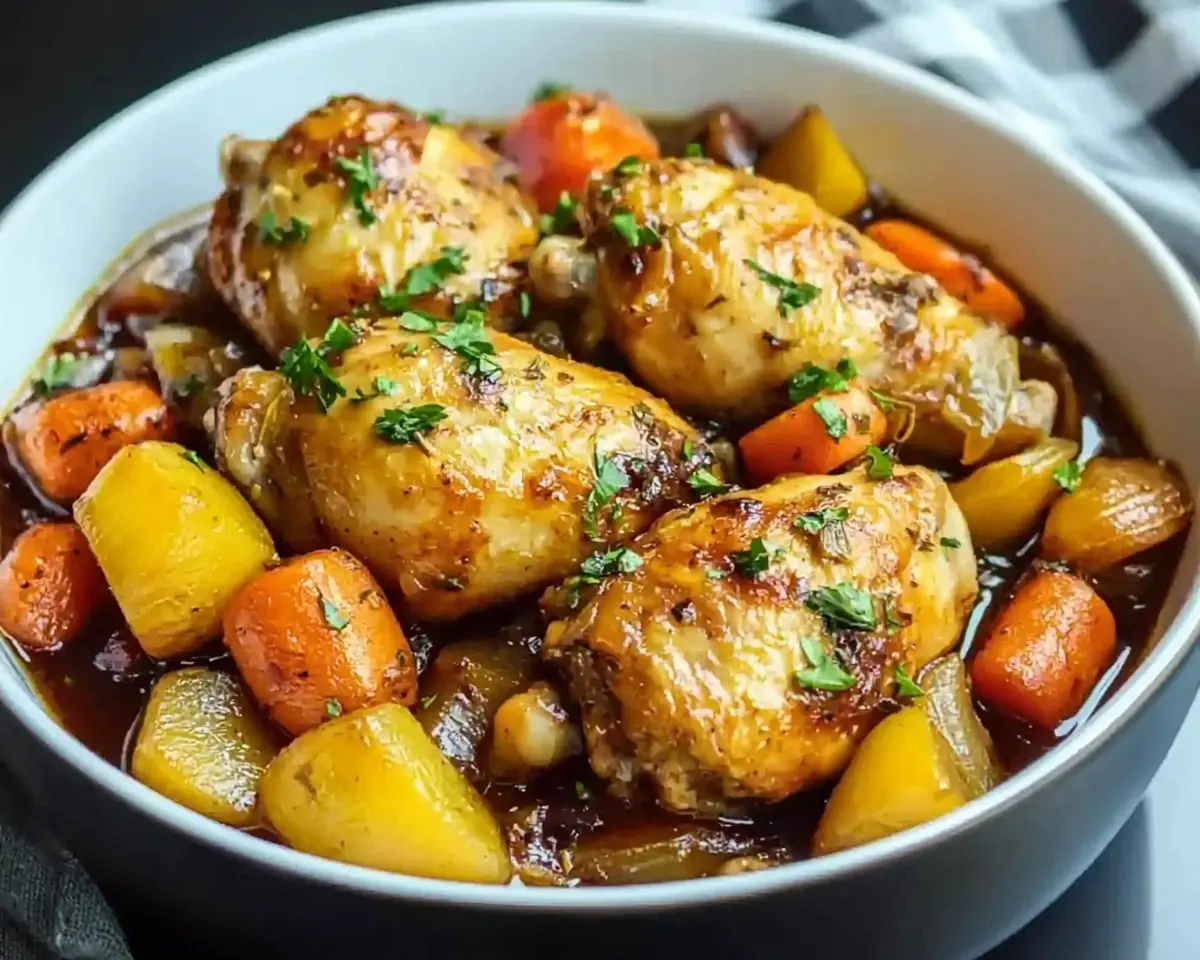
Instant Pot Homestyle Chicken and Veggies recipe delivers tender protein and perfectly cooked vegetables in one pot. Ready in 30 minutes with minimal cleanup required.
Hi, I’m Linda, and welcome to Tasty at Home—where bold flavors meet everyday kitchens. Last winter, I found myself staring into my fridge on a particularly hectic Tuesday evening. Work had been brutal. The kids were cranky. Moreover, I had promised a home-cooked meal but felt completely overwhelmed by the thought of multiple pots and pans.
That’s when I spotted my dusty Instant Pot sitting in the corner. Well, let me tell you, that moment changed everything. One pot, tender chicken, perfectly steamed vegetables, and a house filled with the most incredible aroma—it was like magic. Additionally, cleanup took less than ten minutes.
I’ve since perfected this Instant Pot Homestyle Chicken and Veggies recipe through countless dinner experiments. Furthermore, I’ve burned exactly three batches while learning the perfect timing. Consequently, you won’t have to endure those same mistakes. Whether you’re a pressure cooking newbie or a seasoned pro, this recipe delivers restaurant-quality comfort food right in your kitchen.
Table of Contents
What Makes This Recipe Absolutely Exceptional
This Instant Pot Homestyle Chicken and Veggies recipe stands apart because it combines simplicity with incredible flavor depth. Unlike traditional stovetop methods that require constant monitoring, this approach delivers consistent results every single time.
The secret lies in the layering technique. First, we build a flavor foundation with sautéed aromatics. Then, we add perfectly seasoned chicken. Finally, we layer vegetables strategically for even cooking. This method ensures each component reaches its ideal texture simultaneously.
Ingredients Table: Your Shopping List Made Simple
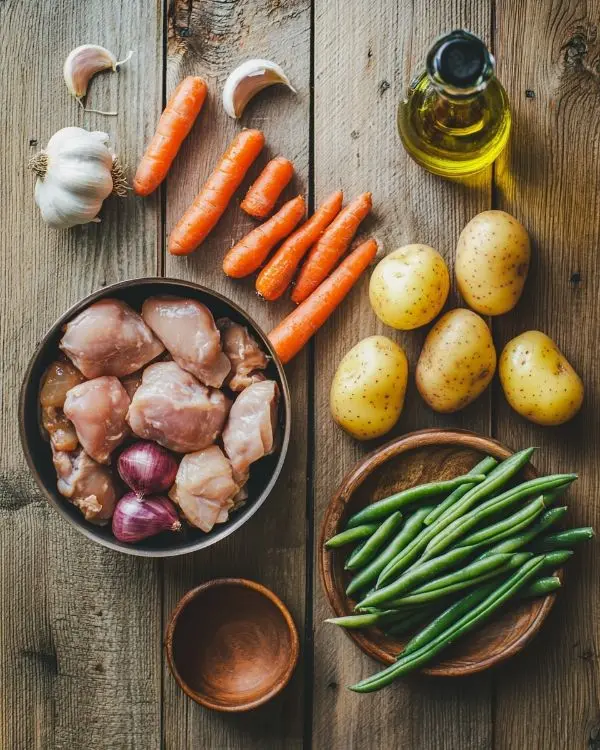
| Ingredient | US Measurement | Metric | Notes |
|---|---|---|---|
| Chicken Breast/Thighs | 2 lbs | 907g | Cut into 1-2 inch pieces |
| Mixed Vegetables | 4 cups | 600g | Carrots, potatoes, green beans |
| Yellow Onion | 1 medium | 150g | Diced |
| Fresh Garlic | 3 cloves | 15g | Minced |
| Low-Sodium Chicken Broth | 1 cup | 240ml | Room temperature |
| Dried Thyme | 2 tsp | 4g | Or 1 tbsp fresh |
| Paprika | 1 tsp | 2g | Smoked preferred |
| Olive Oil | 2 tbsp | 30ml | Extra virgin |
| Salt & Pepper | To taste | — | Freshly ground preferred |
Shopping Tips for Perfect Results
When selecting chicken for Instant Pot meals with chicken, opt for pieces of similar thickness. This ensures even cooking throughout. Additionally, organic or free-range chicken provides superior flavor and nutritional value.
For vegetables, choose firm carrots without white spots. Select potatoes that feel heavy for their size. Fresh green beans should snap crisply when bent. These quality indicators make a noticeable difference in your final dish.
Bold Add-ins for Creative Variations:
- Mushrooms (add with onions)
- Bell peppers (any color)
- Frozen corn kernels
- Fresh herbs like rosemary
International Substitutions
Living abroad or missing specific ingredients? No problem! Substitute chicken broth with vegetable stock for a lighter flavor. Replace thyme with oregano or Italian seasoning. Furthermore, sweet potatoes work beautifully in place of regular potatoes.
Essential Equipment and Smart Alternatives
You’ll need an Instant Pot (6-quart works perfectly for this recipe). However, don’t worry if you’re missing other tools. A sharp knife and cutting board are essential. Additionally, measuring cups and spoons ensure accuracy.
DIY Equipment Alternatives:
- No garlic press? Use the flat side of your knife to crush cloves
- Missing measuring cups? One standard coffee mug equals roughly one cup
- No cutting board? A clean dinner plate works temporarily
Pro Equipment Tip: Julia Child always emphasized the importance of sharp knives. A dull blade actually increases injury risk and makes prep work unnecessarily difficult.
Step-by-Step Cooking Instructions
Step 1: Building Your Flavor Foundation
Set your Instant Pot to “Sauté” mode. Wait for the display to read “Hot.” This process typically takes 2-3 minutes. Next, add olive oil and let it shimmer slightly.
Add diced onion to the hot oil. Sauté for 3-5 minutes, stirring occasionally. The onion should become translucent and fragrant. Then, add minced garlic and cook for another minute. Be careful not to burn the garlic—it turns bitter quickly.
Common Mistake Alert: I once walked away during this step to answer a phone call. Oops! Burned garlic ruined the entire batch. Stay present during sautéing for best results.
Step 2: Seasoning and Adding Protein
In a separate bowl, combine chicken pieces with thyme, paprika, salt, and pepper. Toss thoroughly to coat every piece evenly. This pre-seasoning technique ensures flavor penetrates the meat completely.
Add seasoned chicken to your Instant Pot on top of the sautéed aromatics. Don’t worry about browning the chicken—pressure cooking will handle that beautifully. Arrange pieces in as close to a single layer as possible.
Step 3: Liquid and Vegetable Layers
Pour chicken broth into the pot. The liquid will deglaze the bottom, lifting up those flavorful browned bits. This step prevents the dreaded “burn” message that sometimes appears on Instant Pot displays.
Layer your mixed vegetables on top of the chicken. Start with carrots (they take longest to cook), then potatoes, finally green beans. This strategic layering ensures everything finishes simultaneously.
Step 4: Pressure Cooking Perfection
Secure the Instant Pot lid, ensuring the sealing ring sits properly in place. Set the valve to “Sealing” position. Press “Pressure Cook” and set timer for 10 minutes.
The pressurization process takes approximately 5-10 minutes. Don’t worry—this is normal! Your Instant Pot will beep when cooking begins. Meanwhile, clean up your prep dishes to stay ahead of the game.
Step 5: Pressure Release Strategy
When the cooking cycle completes, allow natural pressure release for 10 minutes. This gentle release keeps your chicken incredibly tender. After 10 minutes, carefully perform a quick release using a kitchen towel to protect your hand from steam.
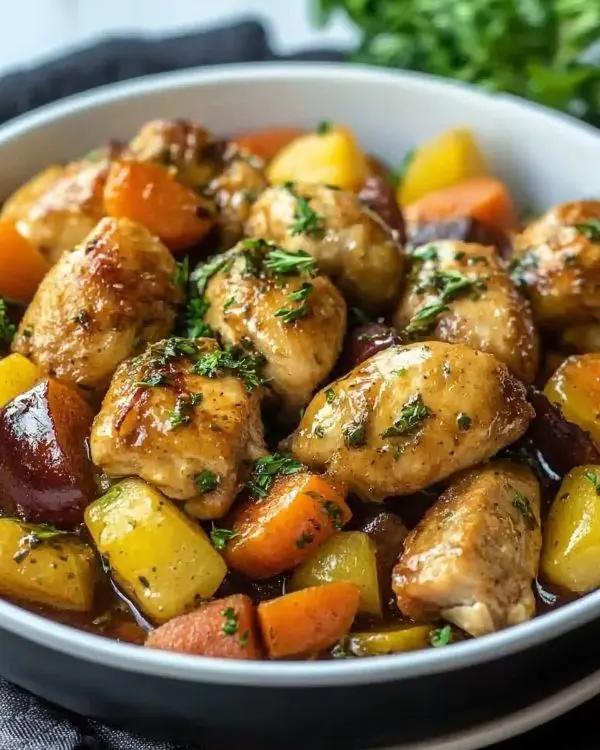
Open the lid away from your face to avoid steam burns. Gently stir everything together, allowing the flavors to meld. The result? Fork-tender chicken and perfectly cooked vegetables swimming in aromatic broth.
Expert Tips for Restaurant-Quality Results
Temperature Matters: Thomas Keller always stresses the importance of letting protein rest. Allow your finished dish to sit for 2-3 minutes before serving. This brief rest distributes juices evenly throughout the chicken.
Seasoning Layers: Taste your broth before pressure cooking and adjust salt accordingly. Remember, you can always add more seasoning after cooking, but you cannot remove it.
Texture Control: For firmer vegetables, reduce cooking time to 8 minutes. For softer vegetables (perfect for kids), increase to 12 minutes.
Creative Variations for Every Occasion
Holiday Version: Add cranberries and sage for Thanksgiving flavors. The sweetness balances beautifully with savory herbs.
Mediterranean Style: Include kalamata olives, sun-dried tomatoes, and oregano. Serve over rice or couscous.
Tex-Mex Twist: Add cumin, chili powder, and diced jalapeños. Top with fresh cilantro and lime juice.
Comfort Food Classic: Include diced celery and serve over mashed potatoes or egg noodles.
Asian-Inspired: Add ginger, soy sauce, and sesame oil. Garnish with green onions and sesame seeds.
Storage and Make-Ahead Magic
This Instant Pot chicken roast style dish stores beautifully in the refrigerator for up to four days. Moreover, it actually tastes better the next day as flavors continue to develop.
| Storage Method | Duration | Best Practices |
|---|---|---|
| Refrigerator | 4 days | Store in airtight containers |
| Freezer | 3 months | Divide into meal-sized portions |
| Meal Prep | 5 days | Keep components separate |
Make-Ahead Strategy: Prep all vegetables the night before. Store in refrigerator in separate containers. This shortcut reduces active cooking time to under 10 minutes.
Perfect Pairings and Internal Links
Serve this hearty meal alongside Linda’s Best Ever Pumpkin Bread for a complete comfort food experience. Additionally, try pairing with Brown Butter Pumpkin Chocolate Chip Cookies for dessert.
For lighter options, consider serving over cauliflower rice or alongside a crisp green salad. The versatility of this chicken meal Instant Pot recipe makes it suitable for any dining occasion.
Beverage Pairings:
- Pinot Grigio for white wine lovers
- Light beer like Wheat or Pilsner
- Sparkling water with lemon
- Hot herbal tea for cozy evenings
Want to explore more pressure cooking techniques? Check out our Birria Ramen with Beef Recipe for another one-pot wonder.
Instant Pot Homestyle Chicken and Veggies FAQs
Can I put raw chicken in the Instant Pot?
Absolutely! Raw chicken cooks perfectly in the Instant Pot. The high-pressure environment ensures safe cooking temperatures while maintaining incredible tenderness. Always ensure internal temperature reaches 165°F (74°C) for food safety.
Is there anything you should not put in the Instant Pot?
Avoid dairy products during pressure cooking as they can curdle. Additionally, don’t use thickeners like flour or cornstarch until after cooking. Delicate vegetables like spinach should be added during the final minutes to prevent overcooking.
What are common mistakes cooking chicken in an Instant Pot?
The biggest mistake is not using enough liquid, which can trigger burn messages. Another common error involves overcooking, which makes chicken stringy. Finally, skipping natural pressure release can result in tough, dry protein.
Why is my Instant Pot chicken so chewy?
Chewy chicken usually results from overcooking or insufficient liquid. For tender results, stick to recommended cooking times and always include at least one cup of liquid. Natural pressure release also plays a crucial role in maintaining moisture.
The Final Word on Comfort Food Perfection
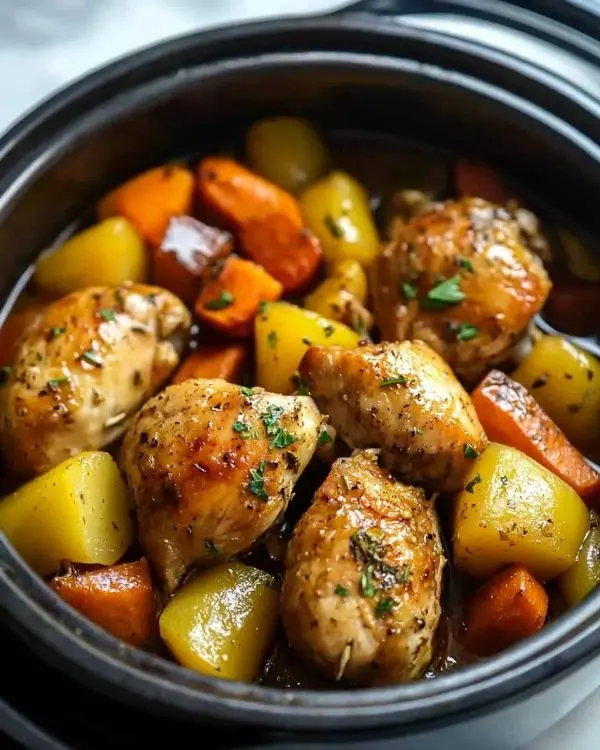
This Instant Pot Homestyle Chicken and Vegetables Recipe transforms busy weeknight dinners into something special. Furthermore, it proves that homestyle cooking doesn’t require hours of preparation or mountains of dishes.
The beauty lies in its simplicity. One pot brings together protein, vegetables, and incredible flavor in just 30 minutes total time. Additionally, the minimal cleanup means more time with family and less time scrubbing pans.
Man, oh man, there’s something magical about opening that Instant Pot lid to reveal perfectly cooked chicken surrounded by tender vegetables. The steam that escapes carries aromas that instantly transport you to grandmother’s kitchen on Sunday afternoons.
Next time you’re planning dinner, consider pairing this dish with Healthy Pumpkin Protein Balls for a balanced dessert option. Your family will thank you for both the incredible meal and the effortless cleanup.
Ready to create your own comfort food magic? Fire up that Instant Pot and let the pressure do the work. Tag us @TastyAtHome when you share your creation—we love seeing your culinary victories!
Remember, every dish tells a story, and this one might just become your new family favorite.
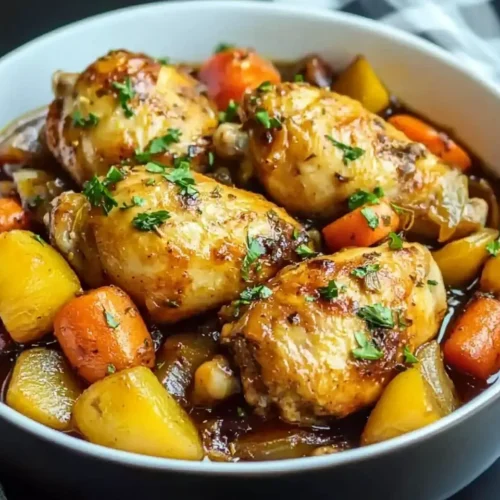
Instant Pot Homestyle Chicken and Veggies
Equipment
- Instant Pot
- Knife
- Cutting board
- Measuring cups and spoons
Ingredients
Main Ingredients
- 2 lbs Chicken breast or thighs Cut into 1-2 inch pieces
- 4 cups Mixed vegetables Carrots, potatoes, green beans
- 1 medium Yellow onion Diced
- 3 cloves Fresh garlic Minced
- 1 cup Low-sodium chicken broth Room temperature
- 2 tsp Dried thyme Or 1 tbsp fresh
- 1 tsp Paprika Smoked preferred
- 2 tbsp Olive oil Extra virgin
- to taste Salt & pepper Freshly ground preferred
Instructions
- Set Instant Pot to sauté mode, heat olive oil, and cook diced onion until translucent. Add garlic and cook 1 more minute.
- Season chicken with thyme, paprika, salt, and pepper. Add to the pot over aromatics.
- Pour in chicken broth to deglaze. Layer carrots, potatoes, then green beans on top.
- Secure lid, set to sealing, and pressure cook for 10 minutes. Allow 10 minutes natural release, then quick release.
- Open lid carefully, stir gently, and let rest 2-3 minutes before serving.

