Classic Homemade Orange Candy Recipe delivers bright citrus flavor in every bite. Learn how to make authentic Christmas candy at home with simple ingredients.
Last December, my grandmother handed me a crinkled recipe card at our family Christmas gathering. The corners were worn smooth from decades of use. She smiled and said these orange candies were her mother’s signature holiday gift during the Depression era.
I tested this recipe seven times before getting it just right. The aroma of fresh orange zest simmering with sugar transported me straight back to childhood winters. Now I make these gems every holiday season, and guests always ask for the recipe.
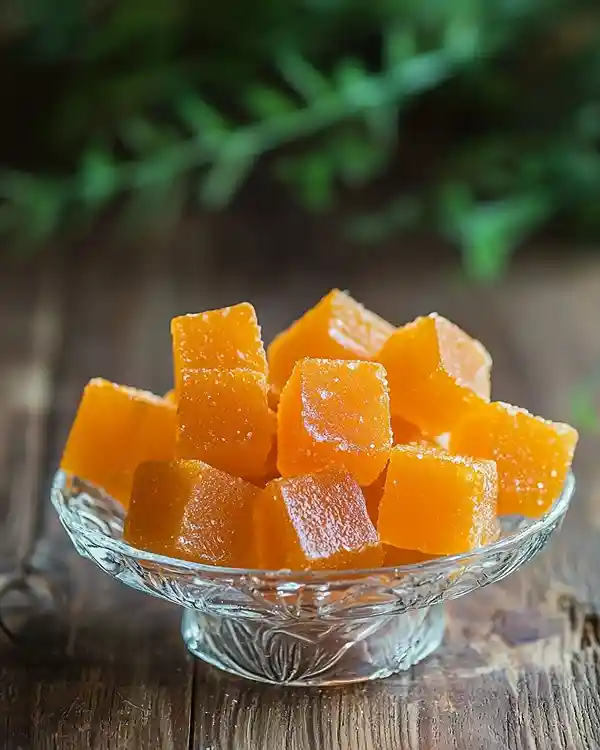
This isn’t your typical store-bought candy. We’re talking about jewel-toned, citrus-packed confections that taste like sunshine wrapped in nostalgia. The texture hits that perfect sweet spot between firm and tender.
Tasty at Home – Where bold flavors meet everyday kitchens.
Table of Contents
What Makes This Orange Candy Special
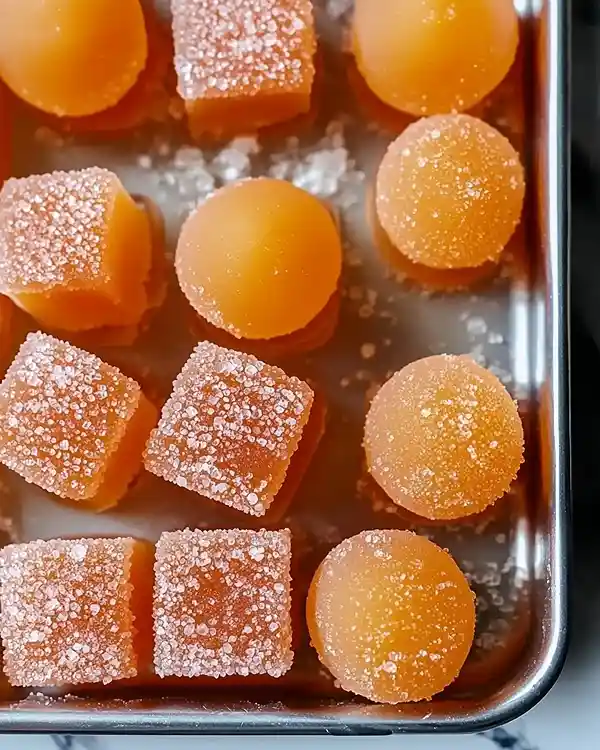
This classic orange candy recipe stands apart because it uses fresh orange juice and zest instead of artificial flavoring. The gelatin creates a smooth, melt-in-your-mouth texture that commercial candies can’t match. I’ve spent years perfecting the sugar-to-juice ratio to achieve that ideal balance of sweetness and bright citrus punch.
The technique dates back to early American candy-making traditions when home cooks transformed simple ingredients into holiday luxuries. You’ll notice the honey-like consistency develops gradually as the sugars concentrate. This isn’t a rushed process, and that patience pays off in flavor depth.
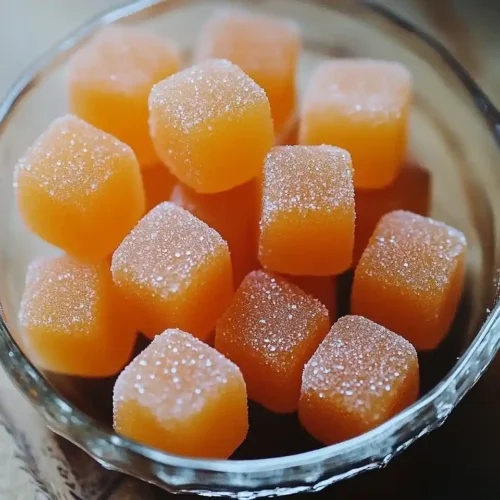
Classic Homemade Orange Candy
Equipment
- Heavy-bottomed saucepan
- Candy thermometer
- Silicone spatula
- Silicone candy molds
- Microplane zester
- 8×8 inch baking dish
- Parchment paper
Ingredients
Main Ingredients
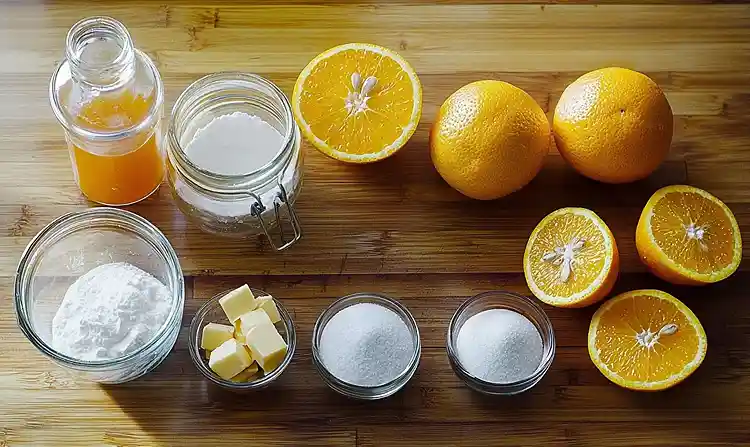
- 2 large Fresh oranges Choose juice oranges
- 2 cups Granulated sugar Pure cane preferred
- ¼ cup Corn syrup Light corn syrup
- ½ cup Water Filtered recommended
- 1 tablespoon Butter Unsalted
- 1 packet Unflavored gelatin Knox brand works well
- 1 teaspoon Orange extract Optional but recommended
- As needed Powdered sugar For dusting
- 1 pinch Salt Enhances flavor
Instructions
- Wash and zest the oranges, then juice them to measure 3/4 cup, straining seeds and pulp.
- Combine orange juice, water, sugar, and corn syrup in a heavy-bottomed saucepan. Stir until sugar dissolves, then simmer for 10 minutes without stirring.
- Bloom gelatin in 1/4 cup cold water for 5 minutes, then add to the simmering syrup and stir until fully dissolved.
- Add butter and orange zest, stirring constantly for 5 minutes until mixture thickens to a honey-like consistency.
- Remove from heat and let cool at room temperature for 1-2 hours until pourable but substantial.
- Pour into greased molds or baking dish, tap to release air bubbles, and let sit at room temperature for 1-2 hours. Refrigerate for 4-6 hours or overnight.
- Loosen edges with a knife, flip onto a cutting board, cut into squares or rectangles, and dust with powdered sugar.
Notes
Essential Ingredients for Authentic Flavor
Select oranges that feel heavy for their size—these contain the most juice. The skin should be bright and firm without soft spots. Quality really matters here since citrus is your star ingredient.
For the sugar base, use pure cane sugar rather than beet sugar. Corn syrup prevents crystallization and creates that signature smooth texture. Fresh orange extract amplifies the citrus notes, though it’s optional if your oranges are particularly fragrant.
| Ingredient | US Measurement | Metric | Notes |
|---|---|---|---|
| Fresh oranges | 2 large | ~400g total | Choose juice oranges |
| Granulated sugar | 2 cups | 400g | Pure cane preferred |
| Corn syrup | 1/4 cup | 60ml | Light corn syrup |
| Water | 1/2 cup | 120ml | Filtered recommended |
| Butter | 1 tablespoon | 14g | Unsalted |
| Unflavored gelatin | 1 packet | 7g | Knox brand works well |
| Orange extract | 1 teaspoon | 5ml | Optional but recommended |
| Powdered sugar | For dusting | As needed | Confectioner’s sugar |
| Salt | 1 pinch | To taste | Enhances flavor |
Shopping Tips for US Grocery Stores
Look for Valencia or Navel oranges in the produce section—they’re typically available year-round. Avoid pre-zested citrus since the oils diminish quickly after processing. Knox gelatin sits in the baking aisle near the pudding mixes.
Corn syrup lives near the pancake syrups and honey. If you’re avoiding corn products, try glucose syrup or golden syrup as alternatives. Both prevent sugar crystallization effectively.
Creative Substitutions
International readers can substitute caster sugar for granulated sugar in equal amounts. Replace corn syrup with honey, though this adds distinct flavor notes. For a vegan version, use agar-agar powder instead of gelatin, following package directions for setting strength.
Add a tablespoon of Campari or Grand Marnier for an adult twist. This variation works beautifully for New Year’s Eve parties.
Equipment You’ll Need
A heavy-bottomed saucepan distributes heat evenly and prevents scorching—this matters when working with sugar. You’ll also need a candy thermometer, though I’ve included visual cues for those without one. A silicone spatula withstands high heat better than wooden spoons.
Silicone candy molds create uniform shapes, but an 8×8-inch baking dish works perfectly. Lightly grease your chosen vessel with neutral oil or cooking spray. Parchment paper makes removal easier if you’re using a baking dish.
A microplane zester produces fine orange zest that distributes evenly throughout your candy. Box graters work in a pinch, though avoid the white pith—it tastes bitter.
DIY Equipment Alternatives
No candy thermometer? Watch for the soft-ball stage when a drop of syrup forms a flexible ball in cold water. Skip the microplane by using a vegetable peeler and mincing the zest finely with a sharp knife. Replace silicone molds with a parchment-lined loaf pan.
How to Make Classic Homemade Orange Candy
Prepare Your Citrus Foundation
Wash your oranges under warm water and pat them completely dry. Roll each orange firmly against your counter—this breaks down the internal membranes and releases more juice. Zest the oranges using light pressure to capture only the fragrant orange layer.
Juice your oranges until you measure exactly 3/4 cup. Strain out any seeds or large pulp pieces. Reserve both the zest and juice in separate bowls.
Build the Sugar Base
Combine orange juice, water, granulated sugar, and corn syrup in your heavy-bottomed saucepan. Set the heat to medium and stir constantly with your silicone spatula until every sugar crystal dissolves. This takes about 3-4 minutes of patient stirring.
Stop stirring once the mixture reaches a simmer. Let it bubble gently for 10 minutes. You’ll notice the liquid reducing and the orange scent intensifying—like walking through a citrus grove on a hot day.
Here’s where I messed up initially: I stirred constantly during simmering and ended up with grainy candy. Well… Thomas Keller emphasizes the importance of letting sugar syrups cook undisturbed once they reach temperature. Trust the process and resist the urge to fiddle.
Bloom and Incorporate Gelatin
While your syrup simmers, sprinkle gelatin over 1/4 cup cold water in a small bowl. Let it sit for exactly 5 minutes until it swells and softens. This “blooming” activates the gelatin’s setting power.
Add the bloomed gelatin to your simmering syrup and stir until it dissolves completely. No lumps should remain—this takes about 30 seconds of gentle stirring.
Infuse with Butter and Zest
Drop in your tablespoon of butter and all that beautiful orange zest. The butter adds richness and helps prevent the mixture from foaming excessively. Stir constantly for 5 minutes as the mixture thickens to a honey-like consistency.
Watch for the color deepening to a rich amber-orange. The mixture should coat your spatula and fall in thick ribbons when lifted. If it seems thin, cook for an additional 2-3 minutes.
Cool to Room Temperature
Remove your saucepan from heat immediately when the mixture reaches that honey consistency. Let it cool at room temperature for 1-2 hours. Don’t rush this step by refrigerating—rapid cooling can cause the candy to separate or develop a grainy texture.
The mixture will thicken further as it cools. You’re looking for a pourable but substantial consistency, similar to warm caramel sauce.
Set Your Candy
Pour the cooled mixture into your greased 8×8-inch dish or silicone molds. Tap the container gently against your counter to release air bubbles. Let it sit undisturbed at room temperature for 1-2 hours until it develops a skin on top.
Transfer to your refrigerator and chill for 4-6 hours minimum. Overnight works even better for achieving that perfect sliceable texture. The candy should feel firm but slightly yielding when pressed.
Cut and Finish
Run a butter knife around the edges of your dish to loosen the candy slab. Flip it onto a cutting board and peel away any parchment. Use a sharp chef’s knife dipped in hot water to cut clean squares or rectangles.
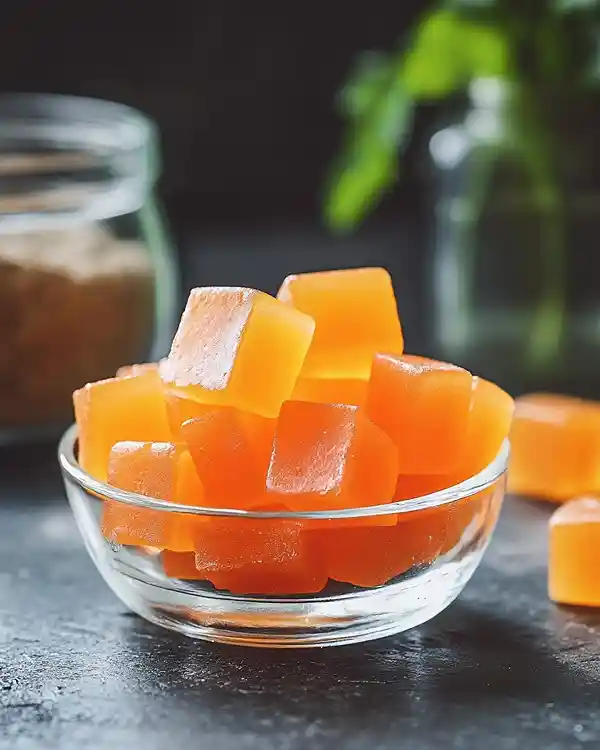
Dust each piece generously with powdered sugar to prevent sticking. Store between layers of parchment paper. These candies look stunning arranged in a vintage tin or clear glass jar.
Expert Tips for Perfect Orange Candy Results
Temperature matters more than you’d think. If your kitchen runs warm, increase refrigeration time to ensure proper setting. Cold climates might need less chilling—check firmness after 4 hours.
Fresh orange juice makes all the difference compared to store-bought cartons. The natural oils and bright acidity can’t be replicated. I learned this after a disappointing batch made with concentrate.
Add a pinch of salt to your sugar syrup. It enhances the orange flavor and balances sweetness beautifully. Julia Child often mentioned salt as the secret ingredient in desserts.
Creative Variations to Try
Spiced Holiday Version: Add 1/2 teaspoon cinnamon and 1/4 teaspoon ground cloves during simmering. This transforms your candy into a Christmas market specialty.
Blood Orange Beauty: Substitute blood oranges for a stunning ruby color and slightly tart flavor. These work particularly well for Valentine’s Day gifts.
Chocolate-Dipped Decadence: Dip half of each candy square in melted dark chocolate. Let them set on parchment paper before packaging.
Tangy Grapefruit Twist: Replace one orange with a small grapefruit for a more sophisticated, slightly bitter edge. Adults especially appreciate this grown-up variation.
Champagne Celebration: Add 2 tablespoons of champagne or prosecco to the syrup for New Year’s Eve parties. The subtle fizz flavor pairs beautifully with citrus.
Storage and Make-Ahead Strategy
Store your orange candies in an airtight container at room temperature for up to 2 weeks. Layer parchment paper between rows to prevent sticking. Keep them away from heat sources and direct sunlight.
Refrigeration extends shelf life to one month but may cause the texture to firm up considerably. Let candies sit at room temperature for 15 minutes before serving for the best texture.
| Storage Method | Duration | Notes |
|---|---|---|
| Room temperature | 2 weeks | Best texture |
| Refrigerated | 1 month | May firm up |
| Frozen | 3 months | Thaw gradually |
| Gift packaging | 1 week | Use within freshness window |
Freeze individual candies on a parchment-lined tray before transferring to freezer bags. They’ll keep for 3 months. Thaw in the refrigerator overnight before bringing to room temperature.
Perfect Pairings
These orange candies shine alongside tender garlic butter beef bites as an unexpected sweet counterpoint at dinner parties. Serve them with strong black coffee or Earl Grey tea to cut through the sweetness.
Package them with savory teriyaki chicken leftovers for a sweet-and-savory lunch surprise. They also complement rich beef stroganoff beautifully when you need a palate cleanser.
Pair these citrus gems with champagne cocktails or orange liqueur for sophisticated entertaining. They also work wonderfully crumbled over vanilla ice cream or stirred into hot chocolate.
Homemade Orange Candy FAQs
What candies are orange?
Orange candies include classic homemade orange candy made with fresh citrus, orange jelly slices, orange cream candies, and orange-flavored hard candies. This old-fashioned orange candy recipe creates translucent, jewel-toned confections with authentic fruit flavor.
What is orange peel candy?
Orange peel candy refers to candied orange peels—strips of orange rind boiled in sugar syrup until tender and translucent. This differs from our homemade orange candy, which uses fresh orange juice and zest for a softer, melt-in-your-mouth texture rather than chewy candied peel.
What strain is orange candy?
Orange Candy refers to a cannabis strain, but this article focuses on the classic Christmas candy made from fresh oranges, sugar, and gelatin. Our family-friendly orange candy recipe creates delicious citrus confections perfect for holiday gifting and celebrations.
Is orange candy good?
Yes, homemade orange candy delivers bright, authentic citrus flavor that surpasses store-bought versions. The combination of fresh orange juice, zest, and quality ingredients creates a smooth texture and natural sweetness that tastes like biting into sunshine.
Making Memories One Candy at a Time
You’ve just learned how to create a timeless classic that’ll have everyone asking for seconds. These orange candies work beautifully for Christmas cookie trays, teacher gifts, or simply treating yourself during winter months. The bright citrus flavor cuts through heavy holiday meals like a refreshing breeze.
Why not pair these candies with flavorful pepper steak stir-fry for an Asian-fusion dinner party? Or serve them alongside creamy marry me tortellini when you need a sweet finale.
What family tradition will you start with this recipe? Share your orange candy creations in the comments below—I’d love to see your variations and hear your stories.

