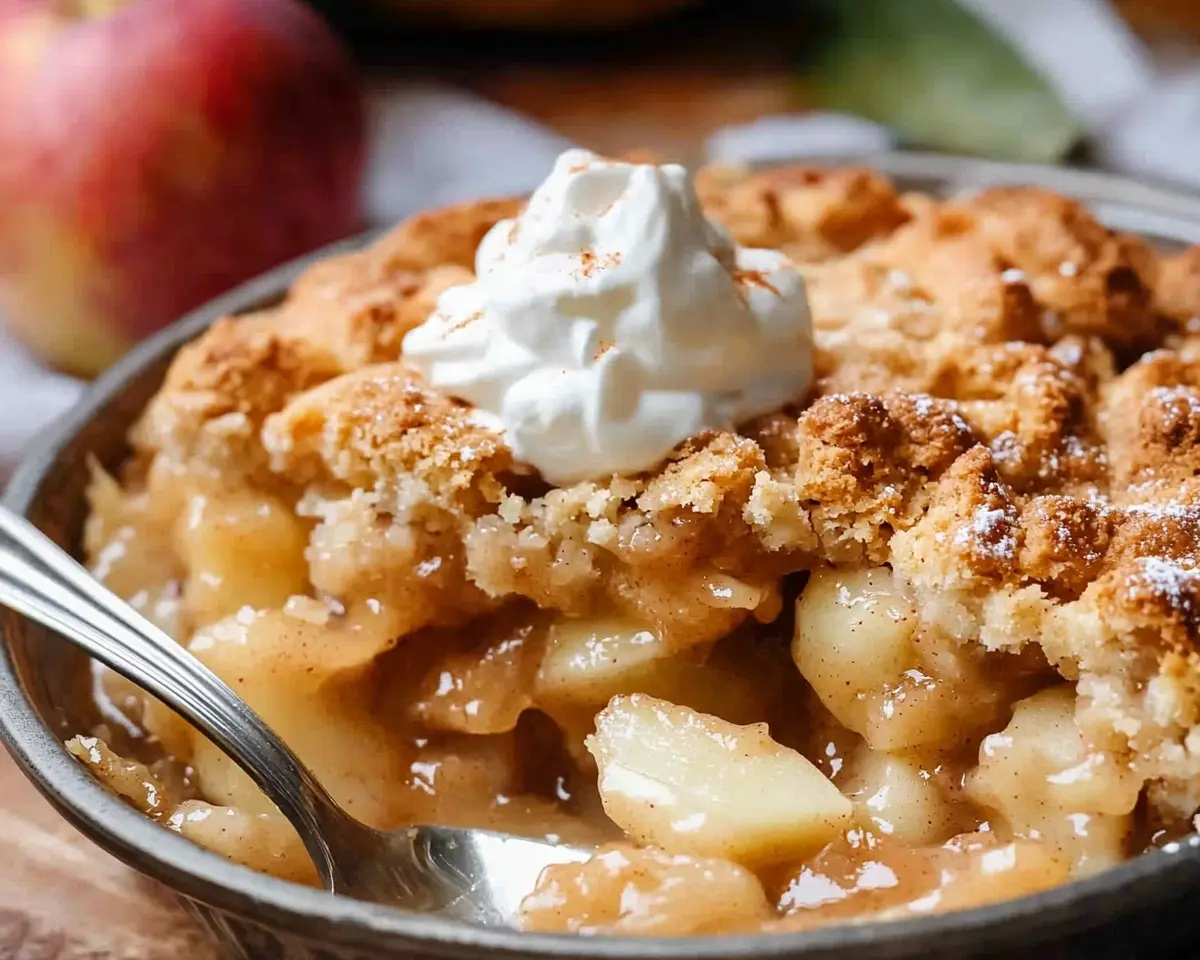
Homemade Apple Cobbler starts with tender apples and buttery topping. Learn the secrets to making the best apple cobbler recipe from scratch.
Hi, I’m Linda, and welcome to Tasty at Home—where bold flavors meet everyday kitchens.
Last October, I stood in my Vermont kitchen watching rain streak down the windows. My daughter had just texted asking for “that apple thing Grandma used to make.” Well, I panicked because I’d never gotten the recipe.
So I did what any determined baker would do. I tested apple cobbler seventeen times in three weeks.
Burned edges? Check. Soggy middles? Absolutely. One disaster involved cardamom that tasted like soap because I added tablespoons instead of teaspoons. Oops!
But here’s what I discovered: homemade apple cobbler isn’t about perfection. It’s about understanding how apples release moisture, how butter creates that golden crust, and why cooking the filling first changes everything.
This recipe combines old-fashioned warmth with modern technique. Therefore, you’ll get consistent results every single time.
Whether you’re baking for Thanksgiving or just craving something cozy on a Tuesday, this best apple cobbler recipe delivers. Moreover, it works with whatever apples you have on hand.
Let me tell you, the smell alone will make your house feel like home.
Table of Contents
Why This Apple Cobbler Recipe Works Better Than Others
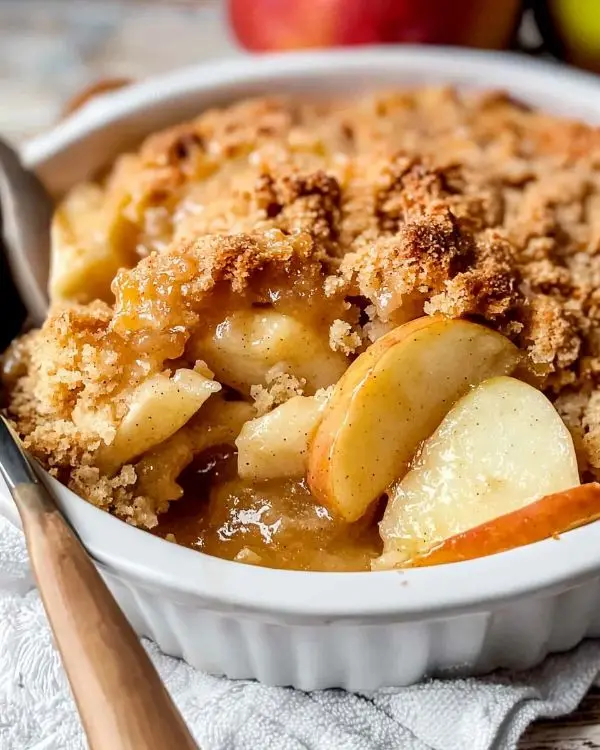
Most cobbler recipes skip the crucial pre-cooking step. Consequently, you end up with crunchy apples floating in a flour paste.
Not this one.
This apple cobbler recipe from scratch uses a skillet method borrowed from classic French technique. Julia Child always said that cooking fruit first concentrates flavor and controls moisture. She was absolutely right.
Additionally, this recipe balances three types of sweetness: granulated sugar for clean sweetness, brown sugar for molasses depth, and the natural sugars from properly selected apples. The result? Complex flavor that tastes homemade, not one-dimensional.
I’ve also included measurements that account for apple variety. Because here’s the truth: Granny Smiths hold less moisture than Galas. Therefore, the flour ratio adjusts based on your apple mix.
This attention to detail separates good cobblers from great ones.
What Makes This the Best Apple Cobbler Recipe
The buttermilk cobbler topping creates tender crumbs, not dense cake. Furthermore, the cold butter scattered on top melts into golden puddles that crisp up beautifully.
You know what else? The optional cardamom adds warmth without screaming “chai spice.” It’s subtle, sophisticated, and slightly unexpected.
Thomas Keller teaches that restraint in spicing lets primary ingredients shine. This recipe proves that philosophy works for home bakers too.
Ingredients: Building Blocks of Perfect Apple Cobbler
Apple Filling Components
| Ingredient | US Measurement | Metric | Purpose |
|---|---|---|---|
| Apples (mixed varieties) | 5 pounds (9-11 large) | 2.3 kg | Base fruit |
| Lemon zest | 1/2 teaspoon | 1g | Brightness |
| Lemon juice | 3 tablespoons | 45ml | Prevent browning |
| Granulated sugar | 3/4 cup | 150g | Sweetness |
| Brown sugar (packed) | 3/4 cup | 165g | Caramel notes |
| All-purpose flour | 5 tablespoons | 40g | Thickening |
| Cinnamon | 1 & 1/2 teaspoons | 3g | Warm spice |
| Nutmeg | 3/4 teaspoon | 2g | Depth |
| Cardamom (optional) | 1/2 teaspoon | 1g | Complexity |
| Kosher salt | 1/4 teaspoon | 1.5g | Flavor enhancer |
| Vanilla extract | 1 teaspoon | 5ml | Aromatic finish |
Cobbler Topping Essentials
| Ingredient | US Measurement | Metric | Purpose |
|---|---|---|---|
| All-purpose flour | 2 & 1/2 cups | 315g | Structure |
| Granulated sugar | 1 & 1/2 cups | 300g | Sweetness |
| Kosher salt | 1 teaspoon | 6g | Balance |
| Baking powder | 1 teaspoon | 4g | Lift |
| Buttermilk | 1/2 cup | 120ml | Tenderness |
| Egg | 1 large | 50g | Binding |
| Cold butter | 1/2 cup (1 stick) | 113g | Richness |
| Topping sugar | 2 tablespoons | 25g | Crunch |
| Vanilla ice cream | For serving | — | Non-negotiable |
Shopping Smart at Your Local Grocery Store
Head to the produce section first. Look for apples that feel firm when squeezed gently. Avoid any with soft spots or wrinkled skin.
For the best apple cobbler recipe, I recommend buying a mix: 3 Granny Smiths for tartness, 3 Galas for sweetness, and 3-5 Golden Delicious for balance. This combination creates layers of flavor that single-variety cobblers lack.
Buttermilk lives near the milk, but if your store doesn’t carry it, simply add 1 tablespoon white vinegar to 1/2 cup regular milk. Let it sit for 5 minutes. Boom—cheater buttermilk that works perfectly.
Grab real vanilla extract, not imitation. The quality difference matters here because vanilla is a primary flavor note, not just background.
Bold Add-Ins and Creative Variations
Want to make an apple pear cobbler recipe? Replace 2 pounds of apples with firm pears like Bosc or Anjou. Consequently, you’ll get a more delicate sweetness and silkier texture.
For bourbon lovers, add 2 tablespoons to the filling after cooking. The alcohol burns off, leaving smoky depth.
Crystallized ginger (1/4 cup chopped) adds zingy brightness that cuts through richness beautifully.
Ingredient Substitutions for International Readers
If you’re using metric measurements exclusively, remember that cup measurements can be imprecise. Therefore, weighing ingredients ensures consistency.
Can’t find kosher salt? Use half the amount of table salt since it’s more concentrated.
No buttermilk in your country? Plain yogurt thinned with a tablespoon of milk works similarly.
Demerara sugar isn’t required, but it creates superior crunch on top. Raw turbinado sugar makes an excellent substitute.
Quality Indicators: Selecting the Best Ingredients
Ripe apples should smell fragrant, not musty. Additionally, they should feel heavy for their size, indicating high juice content.
Fresh cinnamon has a sweet, almost spicy aroma. Old cinnamon smells like dust and delivers flat flavor.
Real butter (not margarine) must be cold for proper topping texture. Room temperature butter won’t create those crispy golden bits we’re after.
Equipment You’ll Need (Plus DIY Alternatives)
Essential Tools
A 12-inch high-sided skillet works best for cooking the filling. The high sides prevent splashing, and the wide surface area speeds evaporation. Don’t have one? Use a large saucepan instead, though it’ll take slightly longer.
A 9×13-inch baking dish is traditional, but honestly, any similar-sized casserole works. Ceramic, glass, or metal all perform fine. Just avoid super-thin pans that hot-spot.
A vegetable peeler makes quick work of apples. However, those rotary apple peelers feel like magic and save time. I bought mine for fifteen dollars and use it constantly.
Tools That Make Life Easier
A microplane grater creates feathery lemon zest without bitter white pith. In contrast, a regular box grater tears the peel and releases harsh oils.
A pastry cutter blends topping ingredients without overworking the dough. No pastry cutter? Two forks or a sturdy whisk work surprisingly well. Use a cutting motion, not stirring.
A kitchen timer prevents the burned disasters I mentioned earlier. Man, oh man, you don’t want to learn that lesson the hard way.
Step-by-Step Instructions: Master the Best Apple Cobbler Recipe
Step 1: Choose and Prepare Your Apples
Start by selecting 5 pounds of mixed apples. Remember, variety creates complexity.
Use your microplane to zest half a lemon directly into your 12-inch skillet. Then cut the lemon in half and squeeze about 3 tablespoons juice into the pan.
Now comes the meditative part: peeling. Some people find this relaxing, others tedious. Either way, peel all your apples with a vegetable peeler.
Slice them thin—about 1/8 inch thick. This thickness ensures they cook evenly and create the right sauce consistency. Thick slices stay too firm, while super-thin slices turn to mush.
As you work, toss the sliced apples into the skillet with the lemon juice. This prevents browning and keeps everything looking fresh.
You should end up with roughly 9 cups of sliced apples.
Step 2: Cook the Apple Filling (Game-Changing Technique)
Set your skillet over medium heat. This is where the magic happens.
Sprinkle both sugars over the apples: 3/4 cup granulated and 3/4 cup packed brown sugar. The brown sugar adds that caramel depth we’re after.
Add 5 tablespoons flour, 1.5 teaspoons cinnamon, 3/4 teaspoon nutmeg, and that optional half teaspoon of cardamom. Finally, add 1/4 teaspoon kosher salt.
Stir gently with a wooden spoon. You’re not making applesauce, so treat those slices with respect.
Once everything looks evenly coated, cover the skillet with a lid. Set your timer for 20 minutes.
Here’s the crucial part: stir every 3 minutes. Therefore, you’ll prevent sticking and ensure even cooking. Each time you stir, replace the lid immediately.
After 20 minutes, test an apple slice with a fork. It should pierce easily but still hold its shape. This is your “apple al dente,” and only you can judge perfection for your taste.
The mixture will look syrupy and gorgeous. Remove from heat and stir in 1 teaspoon vanilla extract.
Pour everything into your 9×13-inch baking dish. Let it cool while you make the topping.
Step 3: Create the Perfect Cobbler Topping
Preheat your oven to 375°F. Don’t skip preheating—it affects rise and browning.
In a large bowl, whisk together the dry ingredients: 2.5 cups flour, 1.5 cups sugar, 1 teaspoon salt, and 1 teaspoon baking powder.
In a small bowl, whisk 1/2 cup buttermilk with 1 egg until combined.
Pour the wet ingredients into the dry ingredients. Now here’s where people mess up: they stir it smooth.
Don’t.
Instead, use your pastry cutter with a firm chopping motion. You want a shaggy, barely-combined dough with visible dry flour patches. This creates tender crumbs instead of dense cake.
Spoon this mixture over your cooled apple filling. Spread it around, but don’t stress about perfection. Rustic looks authentic.
Step 4: Add Butter and Final Touches
Chop your stick of cold butter into 1/2-inch cubes. Scatter them evenly across the flour mixture.
As they bake, these butter chunks will melt and create golden, crispy patches. This technique comes from biscuit-making tradition and works brilliantly here.
Sprinkle 2 tablespoons sugar over everything. I use half regular granulated and half demerara for extra crunch and sparkle.
Step 5: Bake to Golden Perfection
Slide your cobbler into the preheated 375°F oven. Set a timer for 45 minutes initially.
Watch for two signs of doneness: light golden browning across the entire surface (not just spots) and aggressive bubbling around the edges.
This usually takes 45-55 minutes total. Your oven may run hot or cool, so use visual cues as your primary guide.
Want an extra-crispy top? Switch to broil for 1-3 minutes. Don’t move the oven rack—leave it in the middle position.
But seriously, don’t walk away during broiling. I’ve cremated more desserts than I care to admit by getting distracted. Check every 60 seconds.
Step 6: The Hardest Part—Waiting
Traditional advice says to let cobbler cool completely. However, I’m calling hogwash on that.
Wait 15 minutes for the juices to set up slightly. Otherwise, you’ll have apple soup on your plate.
But serving it warm, with that contrast between hot cobbler and cold vanilla ice cream? That’s the whole point.
Trust me on this one.
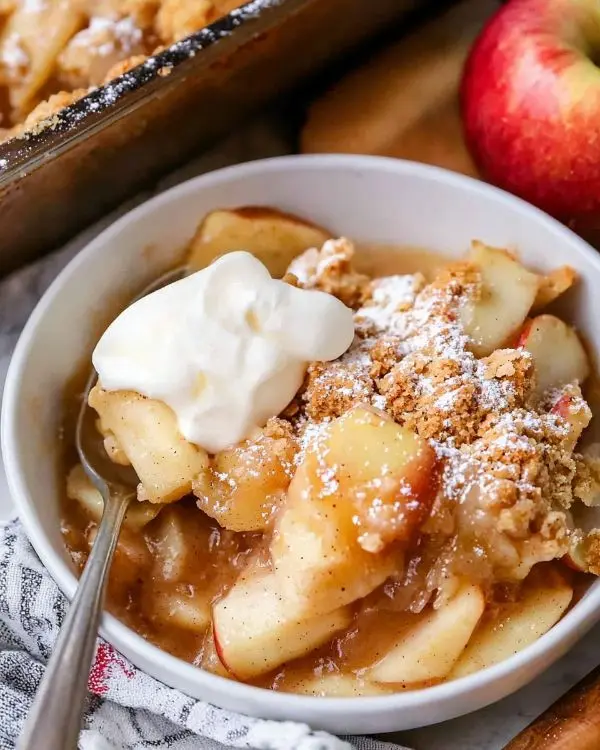
Expert Tips for Apple Cobbler Success
Temperature Matters More Than You Think
Room temperature butter won’t create those crispy bits. Similarly, warm apples will make your topping gummy.
Therefore, let the cooked filling cool for at least 10 minutes before adding topping. Additionally, keep that butter cold until the moment you scatter it.
Don’t Skip the Lemon
Lemon juice isn’t just about preventing browning. It balances sweetness and brightens apple flavor.
Furthermore, the zest adds aromatic oils that make the whole dessert smell incredible.
Flour Variations Based on Apple Choice
If you’re using only tart apples like Granny Smith, they release more liquid. Consequently, you might need an extra tablespoon of flour in the filling.
Conversely, sweeter varieties hold moisture better. The recipe as written assumes a mix.
The Broiler Trick (Advanced Move)
That final broiling step adds restaurant-quality finish. The caramelized sugar crystals create textural contrast that elevates the whole dish.
However, it’s genuinely optional. Your cobbler will be delicious either way.
My Biggest Mistake (And How You Can Avoid It)
During test batch number eight, I got impatient and skipped cooking the apples. I figured they’d soften in the oven.
Wrong.
The apples stayed crunchy, the sauce was thin, and the flour taste never cooked out. It was disappointing after all that work.
The pre-cooking step isn’t fussy—it’s functional. Therefore, don’t skip it unless you’re following the raw apple variation in the notes.
Creative Variations for Every Occasion
Apple Pear Cobbler Recipe (Elegant Twist)
Replace 2 pounds of apples with firm pears. Bosc pears work beautifully because they hold their shape.
This apple pear cobbler recipe tastes more delicate and slightly floral. It’s perfect for dinner parties where you want something refined but still comforting.
Bourbon-Spiked Version (Adults Only)
Add 2 tablespoons bourbon to the filling after cooking. The alcohol burns off during baking, leaving smoky complexity.
This variation pairs wonderfully with our Dark Chocolate Chess Pie for a Southern-inspired dessert spread.
Thanksgiving Apple Cobbler
Double the cardamom to 1 teaspoon and add 1/4 teaspoon ground ginger. These warm spices complement turkey dinner perfectly.
Serve alongside Sweet Apple Cinnamon Rolls for a dessert table that’ll have guests talking.
Gluten-Free Adaptation
Replace all-purpose flour with a 1:1 gluten-free baking blend. Bob’s Red Mill works reliably.
You might also enjoy our Gluten-Free Apple Cider Cupcakes if you’re building a gluten-free menu.
Individual Cobbler Portions
Divide filling among 8 ramekins. Top each with a scoop of cobbler dough and a pat of butter.
Bake at 375°F for 25-30 minutes. These work brilliantly for portion control or dinner party presentation.
Storage and Make-Ahead Strategy
Storage Times and Methods
| Storage Method | Duration | Best Practices |
|---|---|---|
| Counter (covered) | 2 days | Use foil tent, not plastic |
| Refrigerator | 5 days | Cover tightly |
| Freezer (before baking) | 3 months | Wrap in plastic, then foil |
| Freezer (after baking) | 2 months | Individual portions freeze best |
Make-Ahead Tips for Busy Bakers
You can prepare the filling up to 2 days ahead. Store it covered in the fridge, then bring to room temperature before adding topping.
The topping mixture also holds well in the fridge overnight. Just give it a quick toss before spreading over apples.
For complete make-ahead, assemble the entire cobbler without baking. Cover tightly with plastic wrap and refrigerate up to 24 hours. Add 10 minutes to baking time when cooking from cold.
Reheating for Best Results
Reheat individual portions in the microwave for 30-45 seconds. However, the topping won’t be crispy this way.
For crispy topping, reheat portions in a 350°F oven for 10-12 minutes. Cover loosely with foil if the top browns too quickly.
Alternatively, reheat the whole cobbler covered at 325°F for 20-25 minutes.
Perfect Pairings and Serving Suggestions
The Ice Cream Question (Not Really a Question)
Vanilla ice cream isn’t optional here. The cold creaminess against warm spiced apples creates the contrast this dessert needs.
However, salted caramel ice cream takes it to another level. The salt enhances the brown sugar notes beautifully.
Beverage Pairings That Work
Hot coffee cuts through richness perfectly. Similarly, spiced chai tea echoes the warm spices in the filling.
For something special, try it with apple brandy or a glass of late-harvest Riesling. The wine’s sweetness won’t compete but rather complement the dessert.
Complete the Menu
This cobbler pairs naturally with roasted pork tenderloin or herb-roasted chicken. The apple’s tartness balances rich proteins.
For a lighter meal, serve it after a crisp autumn salad. Our Apple Cheesecake Crumble offers similar flavors in a different format if you want variety.
During summer, pair this with our refreshing No-Bake Key Lime Cheesecakes to offer both warm and cool dessert options.
Homemade Apple Cobbler FAQs
What are the ingredients for apple cobbler?
The ingredients for apple cobbler include mixed apples, lemon juice, sugars, flour, warm spices like cinnamon and nutmeg, plus a simple cobbler topping made with flour, sugar, buttermilk, egg, and butter.
What’s the difference between apple crumble and apple cobbler?
The difference between apple crumble and apple cobbler lies in the topping: crumbles use a streusel mixture of butter, sugar, and flour rubbed together, while cobblers feature a biscuit-like dough dropped or spread over fruit.
What’s the secret to a juicy cobbler?
The secret to a juicy cobbler is pre-cooking the apples with sugar and spices, which draws out moisture and creates a syrupy sauce, then using just enough flour to thicken without turning gluey.
What are the best apples for cobblers?
The best apples for cobblers are a mix of tart and sweet varieties like Granny Smith, Gala, and Golden Delicious because they create complex flavor and hold their shape during cooking.
Final Thoughts: Your New Favorite Fall Tradition
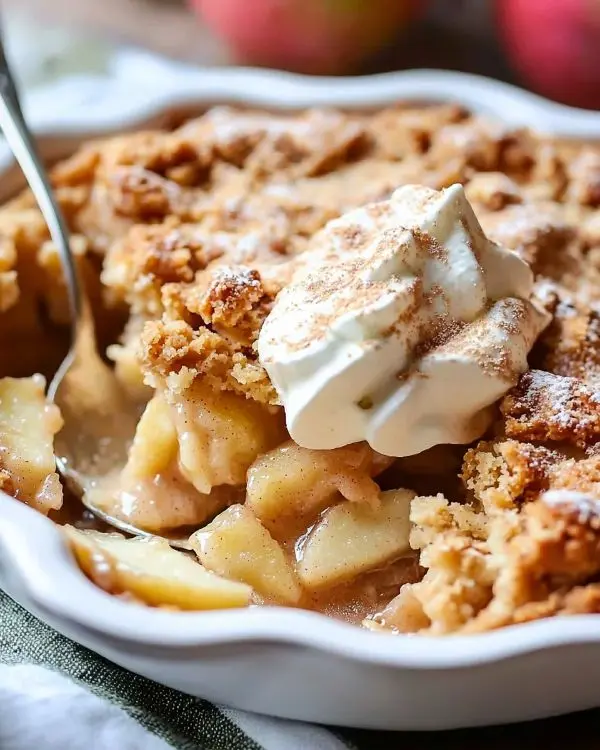
This homemade apple cobbler has become my go-to dessert for everything from Tuesday dinners to Thanksgiving.
It’s forgiving enough for beginners yet delivers results that’ll impress experienced bakers. Moreover, it fills your house with the kind of smell that makes people genuinely happy.
Remember that rainy October afternoon I mentioned? My daughter came over the next weekend, and I served her this cobbler.
She took one bite, closed her eyes, and said, “This is it. This is Grandma’s.”
It wasn’t, of course. But somehow I’d captured that same warmth, that same feeling of home.
That’s what great food does. It connects us across time and distance.
So grab those apples, fire up your oven, and create your own memory. Whether you follow the recipe exactly or make it your own with one of the variations, I promise you won’t regret it.
Tag me on social media when you make this! I love seeing your golden, bubbling creations. Also, if you try the apple pear cobbler recipe variation, please share how it turns out.
Because here at Tasty at Home, every recipe tells a story. What story will your cobbler tell?
Tasty at Home – Where bold flavors meet everyday kitchens.
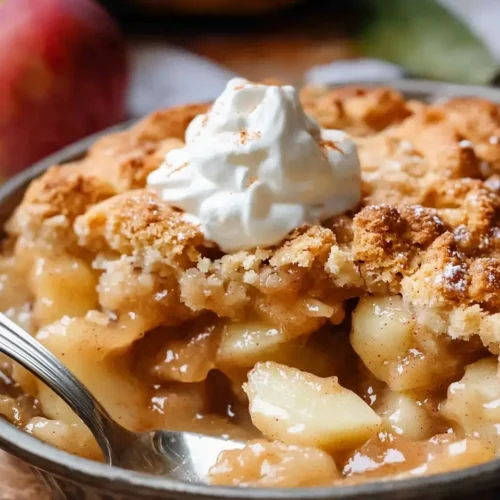
Apple Cobbler
Equipment
- Mixing bowl
- baking dish
- Skillet
- Oven
Ingredients
Apple Filling
- 6 apples peeled and sliced
- 100 g granulated sugar
- 50 g brown sugar
- 1 tsp ground cinnamon
- 0.25 tsp ground nutmeg
- 1 lemon juiced
- 2 tbsp butter
Cobbler Topping
- 120 g all-purpose flour
- 50 g granulated sugar
- 1 tsp baking powder
- 0.25 tsp salt
- 120 ml buttermilk
- 1 egg beaten
- 60 g butter melted
Instructions
- Preheat the oven to 180°C (350°F). Grease a baking dish and set aside.
- In a skillet, melt the butter and add apple slices, sugars, cinnamon, nutmeg, and lemon juice. Cook until the apples soften and caramelize slightly, about 8–10 minutes.
- Pour the apple filling into the prepared baking dish, spreading evenly.
- In a bowl, whisk together flour, sugar, baking powder, and salt. Add buttermilk, beaten egg, and melted butter. Stir until just combined.
- Spoon the cobbler batter over the apple filling, leaving a few gaps for bubbling.
- Bake for 35–40 minutes, or until the topping is golden brown and the filling is bubbly.
- Let cool slightly before serving with vanilla ice cream.

