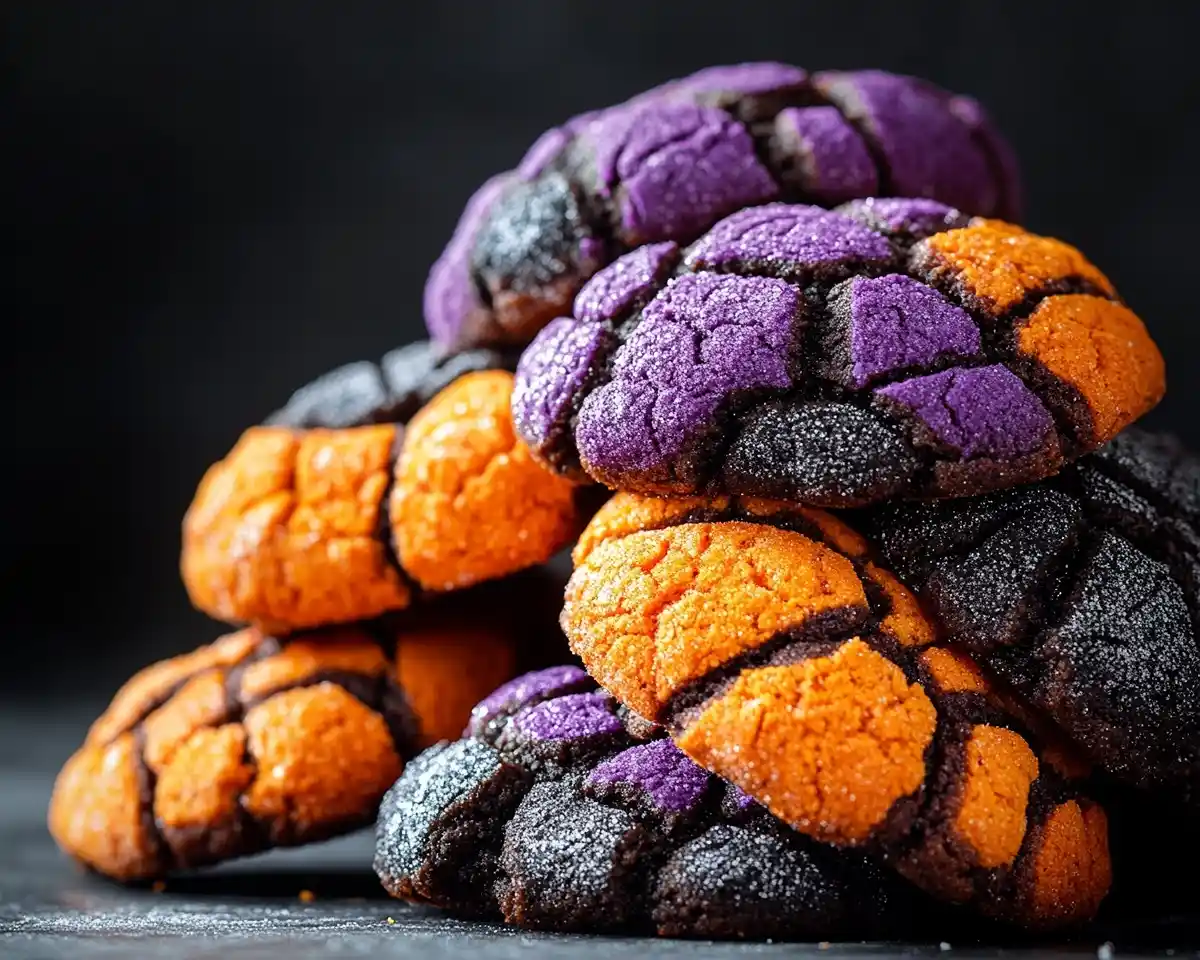
Halloween crinkle cookies with vibrant colors and dramatic cracks. Easy chocolate cookies rolled in powdered sugar for spooky celebrations.
Hi, I’m Linda, and welcome to Tasty at Home—where bold flavors meet everyday kitchens.
Last October, my nephew asked for “scary cookies that look like they exploded.” Well, mission accomplished. These Halloween crinkle cookies turned our kitchen counter into a graveyard of cracked, colorful treats that disappeared faster than I could photograph them.
I’ve baked seventeen batches since then. Seriously. Some were too flat, others didn’t crack enough, and one batch looked like sad brown blobs. But those failures taught me the exact formula for cookies that crack dramatically every single time.
These cookies work magic because they’re simple. You mix, chill, roll, and bake. No fancy equipment needed. No complicated techniques to master.
The powdered sugar coating creates those signature cracks as the dough expands in the oven. Add gel food coloring, and suddenly you’ve got orange pumpkin vibes, purple monster energy, or jet-black witch aesthetics.
Whether you’re planning a costume party or just want Halloween cookies that actually look impressive, this recipe delivers. Let me tell you—the contrast between the dark chocolate base and bright sugar cracks makes these cookies Instagram-worthy without any extra effort.
Ready to create some spooky magic? Let’s get baking.
Table of Contents
What Makes These Halloween Crinkle Cookies Special
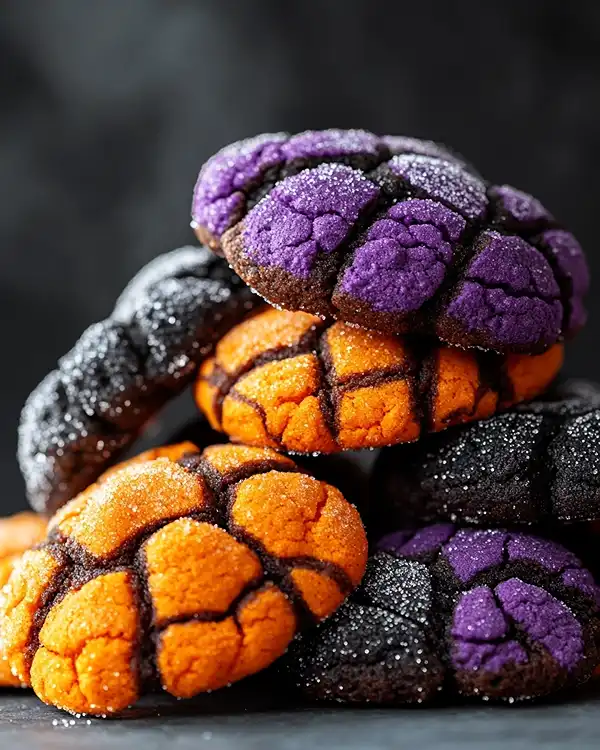
These aren’t your average Halloween cookies. They’re engineering marvels disguised as simple treats.
The science behind crinkle cookies fascinates me. As the dough bakes, steam creates pressure that pushes outward. Meanwhile, the powdered sugar coating stays put. That tension creates those gorgeous cracks running across the surface.
Chocolate provides the perfect base. Its rich flavor balances the sweetness of the sugar coating. Plus, the dark color makes the white cracks pop dramatically.
Food coloring transforms basic cookies into themed Halloween treats. Orange creates jack-o’-lantern vibes. Purple channels spooky midnight energy. Black delivers full gothic drama.
Why This Recipe Works
I’ve tested this against five other crinkle cookie recipes. This version wins because it uses vegetable oil instead of butter.
Oil creates a softer, chewier texture. Butter makes cookies spread too much and crack less dramatically. That’s the secret professional bakers use.
Room temperature eggs blend smoothly into the batter. Cold eggs create lumps and uneven texture. Trust me—I learned this the hard way on batch number three.
The chilling step isn’t optional. Cold dough holds its shape better and creates more dramatic cracks. Skip this, and you’ll get flat, disappointing cookies.
Ingredients Breakdown
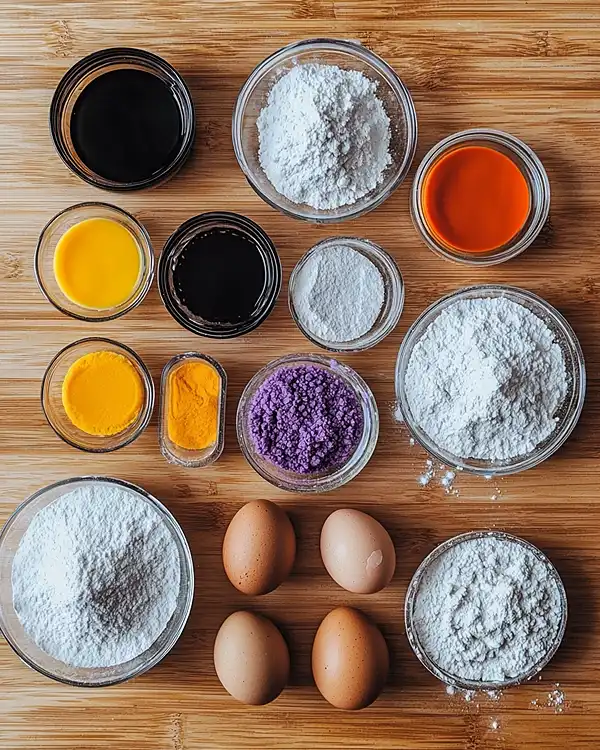
| Ingredient | US Measurement | Metric | Purpose |
|---|---|---|---|
| All-purpose flour | 1 cup | 120g | Structure |
| Unsweetened cocoa powder | ½ cup | 45g | Chocolate flavor |
| Baking powder | 1 tsp | 5g | Lift and cracking |
| Salt | ¼ tsp | 1.5g | Flavor balance |
| Granulated sugar | 1 cup | 200g | Sweetness and spread |
| Vegetable oil | ¼ cup | 60ml | Soft texture |
| Large eggs | 2 | 2 | Binding |
| Vanilla extract | 1 tsp | 5ml | Depth |
| Gel food coloring | As needed | As needed | Color |
| Powdered sugar | ½ cup | 60g | Coating |
Shopping Tips for US Grocery Stores
Find gel food coloring in the baking aisle near cake decorating supplies. Wilton and Americolor brands work best. Liquid food coloring creates muddy colors and adds too much moisture.
Dutch-process cocoa creates darker cookies with smoother flavor. Natural cocoa works fine but produces lighter, slightly acidic results. Both crack beautifully.
Any neutral vegetable oil works—canola, sunflower, or grapeseed. Avoid olive oil unless you want cookies that taste like salad dressing. Oops!
Bold Add-ins and Variations
Add mini chocolate chips for extra richness. Stir in ¼ cup after combining wet and dry ingredients.
Orange zest brightens the chocolate flavor. Grate one teaspoon directly into the wet mixture.
Espresso powder intensifies chocolate without adding coffee flavor. Mix ½ teaspoon with the dry ingredients.
Substitutions
Gluten-free: Use 1:1 gluten-free flour blend. Bob’s Red Mill or King Arthur work perfectly. Don’t use almond flour—it won’t crack properly.
Vegan: Replace eggs with two flax eggs (2 tablespoons ground flax plus 6 tablespoons water). Use coconut oil instead of vegetable oil.
Lower sugar: You can reduce granulated sugar to ¾ cup, but cookies will spread less and taste less sweet.
Quality Indicators
Fresh baking powder fizzes when mixed with water. Test it before baking to avoid flat cookies.
Good cocoa powder smells rich and chocolatey, not dusty or bland. Store it in an airtight container away from light.
Equipment and Preparation
You’ll need basic equipment most kitchens already have. No stand mixer required.
Essential Equipment
Mixing bowls: Two medium bowls work perfectly. One for dry ingredients, one for wet.
Whisk: Breaks up cocoa lumps better than a fork. Trust me on this one.
Measuring cups and spoons: Accuracy matters for proper texture and cracking.
Baking sheets: Two sheets let you bake while one batch cools.
Parchment paper: Prevents sticking and makes cleanup easier. Silicone mats work too.
Small bowl for powdered sugar: Makes rolling easier than working from the bag.
DIY Alternatives
No parchment paper? Lightly grease your baking sheet with cooking spray.
Missing a whisk? Use a fork to mix dry ingredients, then switch to a wooden spoon for combining.
No cooling rack? Let cookies cool on the baking sheet for five extra minutes instead.
Step-by-Step Instructions
Mix the Dry Ingredients
Whisk together flour, cocoa powder, baking powder, and salt in a medium bowl. Break up any cocoa lumps as you mix.
Sift the cocoa if it’s particularly lumpy. This prevents dark spots in your finished cookies.
Combine the Wet Ingredients
Beat granulated sugar, vegetable oil, eggs, and vanilla extract in another bowl. Mix until completely smooth and slightly pale, about two minutes.
Add gel food coloring now. Start with three to four drops for pastel shades. Use ten to twelve drops for vibrant Halloween colors.
You know what? I once added too much purple and created cookies that looked radioactive. Start with less—you can always add more.
Bring It Together
Pour dry ingredients into wet ingredients. Stir gently until just combined. Don’t overmix or cookies will turn tough.
The dough should look thick and fudgy. It’ll feel slightly sticky but hold together when pressed.
The Crucial Chill
Cover the bowl with plastic wrap. Refrigerate for at least one hour. This is where patience pays off.
Need faster results? Freeze the dough for thirty minutes instead. I do this constantly when I’m running late for parties.
Cold dough creates cookies with better texture and more dramatic cracks. Room temperature dough spreads too much.
Prep Your Oven
Preheat to 350°F (175°C). Line two baking sheets with parchment paper.
Pour powdered sugar into a small bowl. Make sure you have enough—about ½ cup minimum.
Shape and Coat
Scoop one tablespoon of dough and roll it between your palms. Form a smooth ball.
Drop the ball into powdered sugar. Roll it around until completely coated. I mean completely—don’t be shy with the sugar.
The thick coating creates those signature cracks. Thin coating means boring, less cracked cookies.
Bake to Perfection
Place coated balls two inches apart on prepared baking sheets. They’ll spread slightly but not much.
Bake for ten to twelve minutes. Cookies should look cracked on top but still feel soft in the center when lightly pressed.
They’ll firm up as they cool. Overbaked crinkle cookies turn hard and lose their chewy texture.
Common mistake I made: Baking for fourteen minutes because I wanted them “more done.” They turned into chocolate hockey pucks. Pull them out when they still look slightly underdone.
Cool Properly
Let cookies sit on the baking sheet for five minutes. This prevents them from breaking when you move them.
Transfer to a cooling rack and let them cool completely. The texture improves as they reach room temperature.
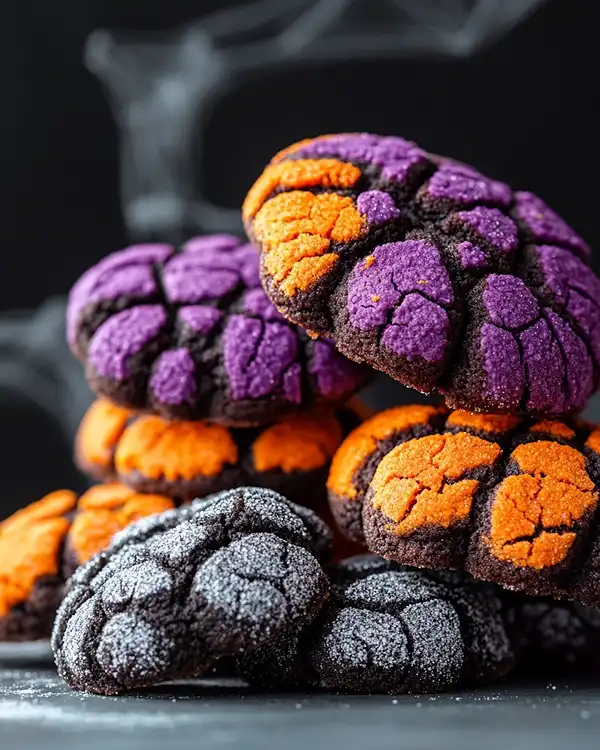
Expert Tips for Perfect Results
Temperature matters: Room temperature eggs blend smoothly. Cold eggs create lumps and uneven texture.
Don’t skip chilling: This is the most important step. Warm dough spreads too much and cracks less.
Generous coating: Roll cookies twice in powdered sugar if needed. More sugar equals more cracks.
Watch the clock: Set a timer for ten minutes and check. Cookies continue baking on the hot pan after you remove them from the oven.
Consistent sizing: Use a cookie scoop for uniform balls. This ensures even baking.
As Julia Child always said, “The only time to eat diet food is while you’re waiting for the steak to cook.” These cookies aren’t diet food—they’re celebration food.
Creative Variations
Regional Twists
New England Maple Crinkles: Add one tablespoon maple extract to the wet ingredients. Roll in cinnamon sugar instead of plain powdered sugar.
Southern Pecan Crinkles: Fold in ½ cup chopped toasted pecans. These pair beautifully with bacon cheddar gnocchi soup for a savory-sweet combo.
California Orange Crinkles: Add one tablespoon orange zest and replace vanilla with orange extract.
Dietary Adaptations
Keto Halloween Crinkles: Replace sugar with almond flour-based sweetener. Use coconut flour instead of all-purpose. Results vary significantly.
Paleo Crinkles: Use coconut sugar and almond flour. These spread more and crack less but taste incredible.
Holiday Variations
Thanksgiving Brown Butter Crinkles: Brown the butter before mixing. Add ½ teaspoon cinnamon and ¼ teaspoon nutmeg.
Christmas Peppermint Crinkles: Add ½ teaspoon peppermint extract. Roll half the batch in crushed candy canes mixed with powdered sugar.
Valentine’s Day Red Velvet Crinkles: Use red gel coloring and add one tablespoon white vinegar for tangy flavor.
Storage and Make-Ahead Instructions
| Storage Method | Duration | Instructions |
|---|---|---|
| Room temperature | 5 days | Airtight container, layers separated by parchment |
| Refrigerator | 2 weeks | Airtight container |
| Freezer (baked) | 3 months | Freezer bag, thaw at room temp |
| Freezer (dough) | 3 months | Shape balls, freeze on tray, transfer to bag |
Make-Ahead Strategy
Mix and chill the dough up to three days ahead. Let it warm up slightly before rolling—about fifteen minutes at room temperature.
Freeze shaped, uncoated dough balls. When ready to bake, roll frozen balls in powdered sugar and add two minutes to baking time.
Baked cookies freeze beautifully. Layer them with parchment paper to prevent sticking. Thaw at room temperature for thirty minutes before serving.
Serving Suggestions
These Halloween themed desserts shine at costume parties and fall gatherings.
Serve them with cold milk for dunking. The chocolate flavor intensifies when paired with dairy.
Create a Halloween dessert board with eyeball deviled eggs and these cookies. The contrast between savory and sweet keeps guests coming back.
Pair them with hot apple cider for the ultimate autumn experience. The spices in cider complement the chocolate perfectly.
Stack them in clear jars as party favors. Tie with orange and black ribbon for festive presentation.
Crumble them over vanilla ice cream for a quick sundae. Add roasted pumpkin seeds for crunch.
For a fun dinner-to-dessert transition, serve these after grilled cheese burrito copycat for a casual Halloween dinner party.
Halloween Crinkle Cookies FAQs
Why didn’t my Halloween crinkle cookies crack?
Your dough was too warm or you didn’t use enough powdered sugar. Chill the dough for at least one hour and roll cookies generously in sugar before baking.
Can I use liquid food coloring instead of gel?
Gel food coloring works best because it doesn’t add extra moisture. Liquid coloring can make dough too wet, resulting in flat cookies that spread excessively.
How do I make my cookies more chewy?
Remove them from the oven when they still look slightly underdone in the center. They’ll continue baking on the hot pan and develop perfect chewy texture as they cool.
Can I make Halloween crinkle cookies without eggs?
Yes, use two flax eggs (2 tablespoons ground flax mixed with 6 tablespoons water). Let the mixture sit for five minutes before adding to your wet ingredients.
Final Thoughts
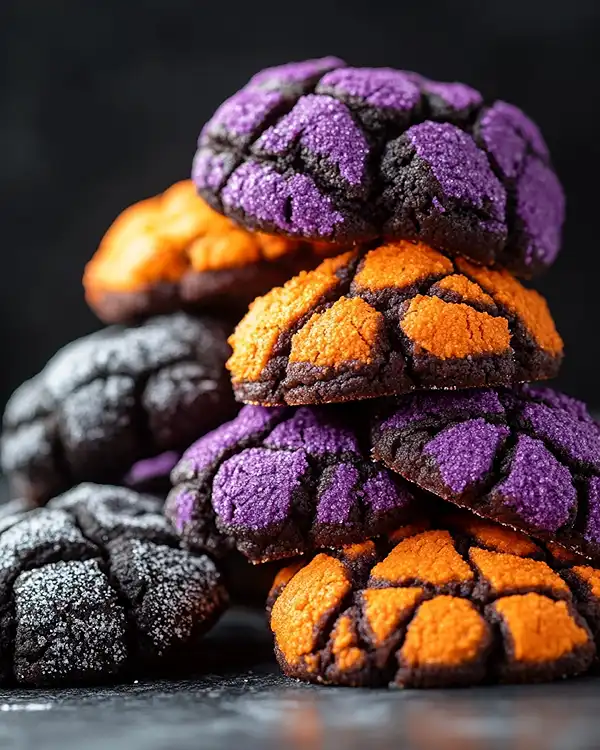
These Halloween crinkle cookies transformed my October baking routine. They’re reliable, impressive, and genuinely delicious.
The dramatic cracks never fail to impress guests. Kids love the vibrant colors. Adults appreciate the rich chocolate flavor.
Remember my nephew who wanted “scary cookies that look like they exploded”? These became his birthday request for three years running. That’s the power of a good crinkle cookie.
Make a double batch. Seriously. They disappear fast at parties, and you’ll want extras for late-night snacking.
Try the orange version first—it screams Halloween without being too intense. Then experiment with purple or black for your next batch.
Serve them at your costume party with confidence. These Halloween themed snacks deliver every time.
What color will you make first? Share your spooky creations on social media and tag us. I love seeing your cracked, colorful masterpieces.
Now get baking. Your October dessert table needs these cookies.
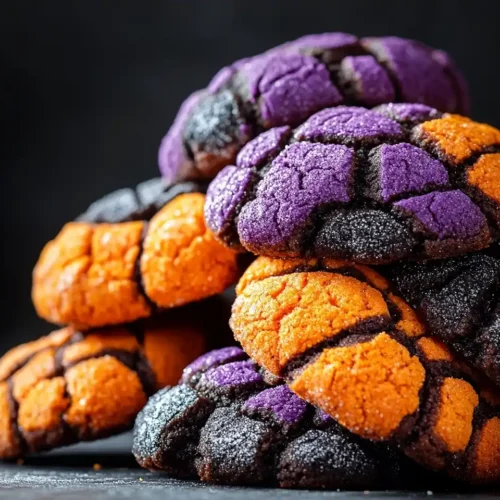
Halloween Crinkle Cookies
Equipment
- mixing bowls
- Whisk
- Measuring cups and spoons
- Baking sheets
- Parchment paper
- small bowl
Ingredients
Cookie Dough
- 1 cup All-purpose flour 120g
- ½ cup Unsweetened cocoa powder 45g
- 1 tsp Baking powder 5g
- ¼ tsp Salt 1.5g
- 1 cup Granulated sugar 200g
- ¼ cup Vegetable oil 60ml
- 2 large Eggs
- 1 tsp Vanilla extract 5ml
- as needed Gel food coloring orange, purple, or black
- ½ cup Powdered sugar 60g
Instructions
- Whisk together flour, cocoa powder, baking powder, and salt in a medium bowl to remove any lumps.
- In another bowl, beat sugar, vegetable oil, eggs, and vanilla extract until smooth. Add gel food coloring to achieve the desired color.
- Gently fold the dry ingredients into the wet ingredients until just combined. The dough should be thick and fudgy.
- Cover the dough and chill for at least 1 hour to firm up and create better cracks when baking.
- Preheat oven to 350°F (175°C). Line baking sheets with parchment paper and fill a small bowl with powdered sugar.
- Roll 1-tablespoon portions of dough into balls and coat them generously in powdered sugar.
- Place coated dough balls 2 inches apart on prepared baking sheets and bake for 10–12 minutes, until cracked on top but soft in the center.
- Let cookies cool on the baking sheet for 5 minutes before transferring to a wire rack to cool completely.

