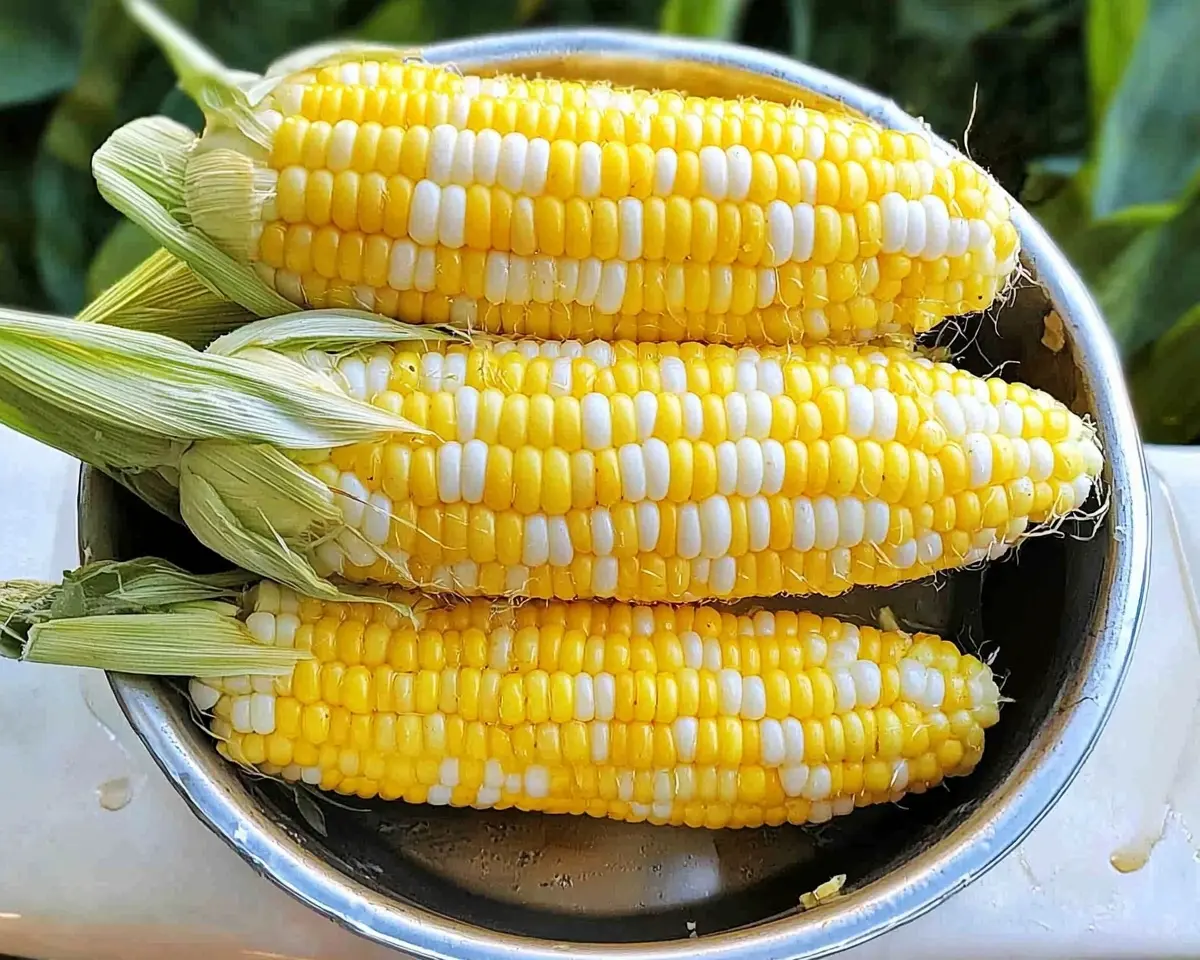
Freezing corn made simple! Learn the ultimate method to preserve sweet corn’s flavor and nutrients. Expert tips, storage advice, and troubleshooting included.
Hi, I’m Linda, and welcome to Tasty at Home—a cozy corner where bold flavors meet everyday kitchens. Last August, I stood in my grandmother’s Iowa kitchen, surrounded by thirty ears of sweet corn from her garden. Meanwhile, the summer heat was unbearable, but those golden kernels called to me like treasure.
I’ve tested freezing corn methods for over fifteen years—ruined batches with mushy textures and learned the hard way that timing matters. However, I finally cracked the code to preserving that burst-in-your-mouth sweetness. Whether you’re dealing with a farmer’s market haul or your own backyard harvest, this proven method will save you money and deliver restaurant-quality results.
Furthermore, proper corn freezing transforms your winter meals. Instead of settling for bland canned corn, you’ll have garden-fresh flavor waiting in your freezer. Let’s dive into the ultimate freezing corn technique that actually works.
Table of Contents
About This Freezing Corn Method
What makes this freezing corn technique superior? First, we use the blanching method that stops enzyme activity completely. Additionally, this process preserves both texture and nutritional value better than raw freezing methods.
Sweet corn contains natural enzymes that continue breaking down sugars even after picking. Therefore, blanching becomes essential for maintaining that signature sweetness. Professional food preservation experts recommend this method because it delivers consistent results every time.
Essential Ingredients for Freezing Corn
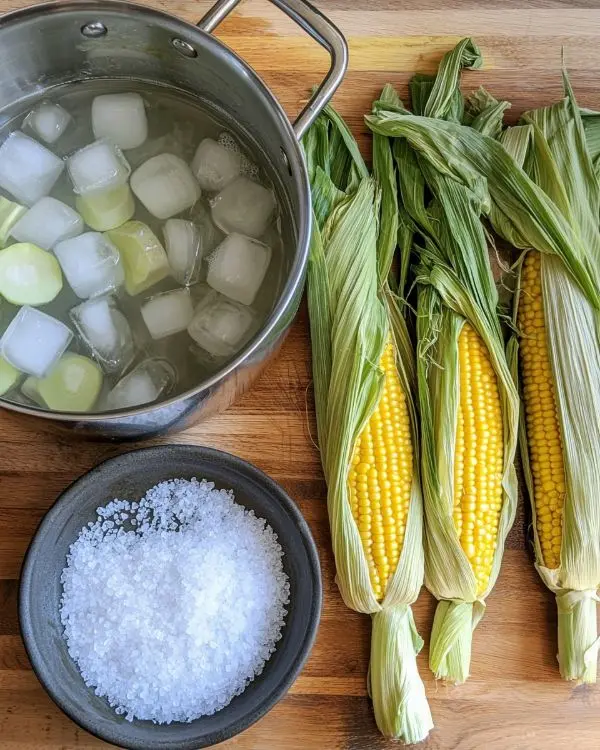
| Ingredient | Amount | Notes |
|---|---|---|
| Fresh sweet corn | 6-8 ears | Choose ears with bright green husks |
| Water | 1 gallon | For blanching pot |
| Ice | 2 pounds | For ice bath |
| Salt (optional) | 1 tablespoon | Enhances flavor retention |
Shopping Tips for Perfect Corn
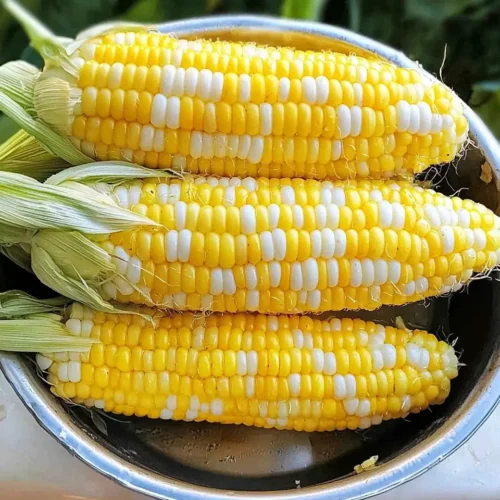
When selecting corn at US grocery stores, look for these quality indicators. First, examine the husks—they should appear bright green and feel slightly damp. Next, check the silk at the top; fresh silk looks golden and slightly sticky.
Bold Add-ins for Enhanced Flavor:
- Sea salt for mineral enhancement
- Butter powder for richness
- Herb seasonings for variety
Moreover, peak corn season runs from July through September in most US regions. During this time, local farmers’ markets offer the freshest options. However, grocery store corn works perfectly when farmers’ markets aren’t available.
Smart Substitutions to Freeze Corn
For international readers, these substitutions work well:
- Metric measurements: 1 gallon water = 3.8 liters
- European corn varieties: Use the same blanching time
- No ice available: Use very cold tap water, changing it frequently
Equipment and Step-by-Step Instructions
Essential Equipment
You’ll need these tools for successful corn freezing:
- Large stockpot (8-quart minimum) – or use your biggest pot
- Slotted spoon or tongs for handling
- Sharp knife for cutting kernels
- Large bowl for ice bath
- Freezer bags or airtight containers
- Permanent marker for labeling
Step 1: Prepare Your Corn
Start by husking each ear completely. Then, remove every strand of silk by running your hands along the kernels. Rinse under cool water to eliminate remaining debris.
Pro tip: Save time by husking corn outdoors. This prevents silk from scattering throughout your kitchen.
Step 2: Set Up Your Blanching Station
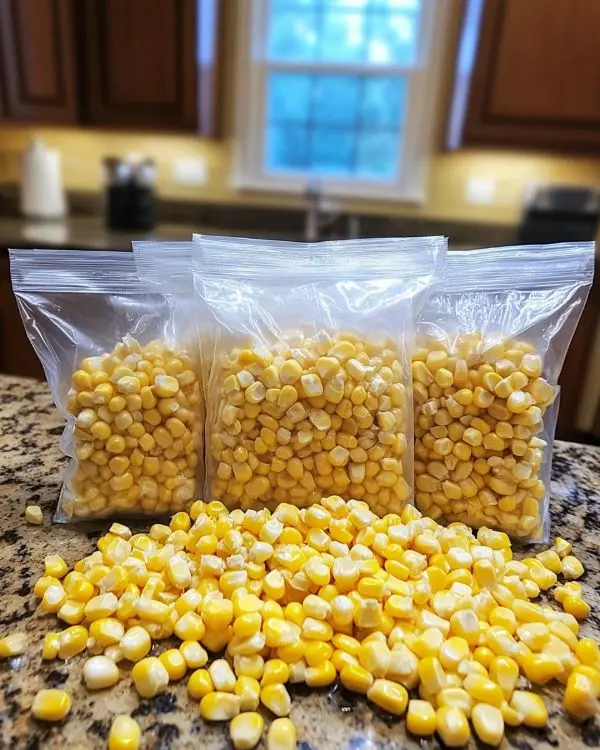
Fill your large stockpot with water and bring it to a rolling boil. Meanwhile, prepare an ice bath in your largest bowl. Add plenty of ice cubes and cold water.
This setup allows for immediate temperature shock, which stops the cooking process instantly. Therefore, your corn maintains perfect texture.
Step 3: Blanch the Corn
Carefully lower 4-6 ears into the boiling water using tongs. Blanch for exactly 5-6 minutes, depending on kernel size. Small kernels need 5 minutes, while large kernels require 6 minutes.
Common mistake I made: Initially, I blanched corn for 8 minutes, thinking longer was better. However, this created mushy kernels. Stick to the 5-6 minute rule for perfect results.
Step 4: Ice Bath Shock
Immediately transfer blanched corn to your ice bath. Let ears sit for 2 full minutes. This rapid cooling stops enzyme activity and locks in sweetness.
During this time, the corn should feel cool throughout. If not, add more ice and extend the cooling time slightly.
Step 5: Remove Kernels (Optional)
For kernel storage, stand each ear on a cutting board. Use a sharp knife to slice downward, removing kernels in strips. Alternatively, freeze whole ears for later use.
Kitchen hack: Place the cutting board inside a large bowl. This catches flying kernels and reduces cleanup time.
Step 6: Package for Freezing
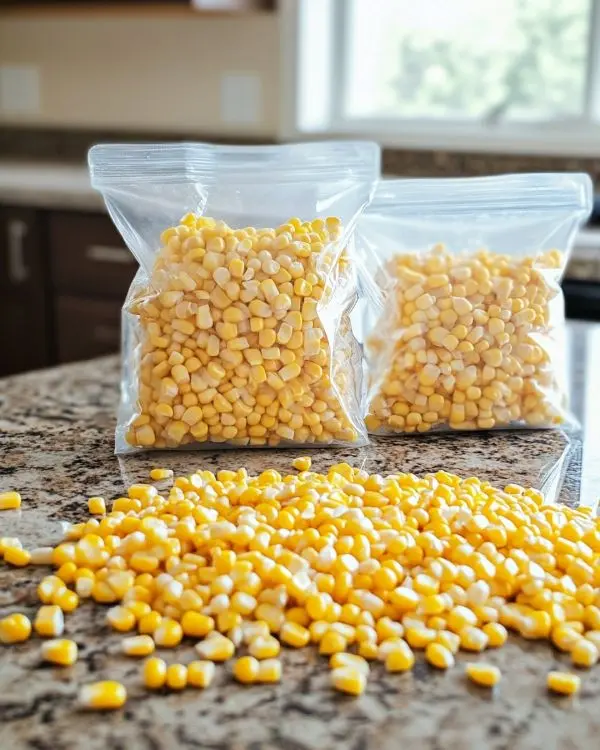
For kernels: Fill freezer bags, leaving 1-inch headspace for expansion. Remove air by pressing gently before sealing.
For whole ears: Wrap each ear individually in plastic wrap, then place in freezer bags.
Label everything with the date and contents. Properly stored corn maintains quality for 10-12 months.
Expert Tips and Variations
Professional Storage Advice
The key to maintaining corn quality lies in proper packaging. First, remove as much air as possible from freezer bags. Then, freeze in single-layer formation initially. After 24 hours, you can stack bags for space efficiency.
Storage Temperature Guide to Freeze Corn:
| Storage Method | Temperature | Duration |
|---|---|---|
| Freezer bags | 0°F (-18°C) | 10-12 months |
| Vacuum sealed | 0°F (-18°C) | 12-15 months |
| Containers | 0°F (-18°C) | 8-10 months |
Freezing Corn: Creative Variations
Southwest Style: Add diced jalapeños and lime zest before freezing. This creates instant flavor for Mexican dishes.
Herb Garden Blend: Mix in fresh basil, thyme, and oregano. Perfect for Italian-inspired meals later.
Butter Corn: Toss kernels with melted butter and herbs before freezing. Ready-to-heat side dish in minutes.
Holiday Harvest: Combine corn with diced red peppers and sage. Ideal for Thanksgiving stuffing preparation.
Summer Medley: Mix corn with blanched zucchini and cherry tomatoes. One-stop summer vegetable blend.
Make-Ahead and Meal Prep
Smart cooks blanch corn during peak season, then portion it for specific recipes. For instance, measure 2-cup portions for our famous chicken pot pie. Additionally, 1-cup portions work perfectly in hearty lasagna soup.
Furthermore, frozen corn integrates beautifully into breakfast dishes. Try adding it to cinnamon roll breakfast bakes for surprising sweetness.
Serving Suggestions and Pairings
Frozen corn shines in countless American classics. First, it elevates creamy buffalo chicken dip with natural sweetness. Moreover, it adds substance to garlic butter chicken pasta.
For lighter options, frozen corn works wonderfully in summer salads and grain bowls. Additionally, it complements zucchini bakes during harvest season.
FAQs on How to Freeze Sweet Corn
What’s the best way to freeze fresh corn?
The best way to freeze fresh corn involves blanching first, then rapid cooling in an ice bath. Blanching for 5-6 minutes stops enzyme activity that would otherwise degrade flavor and texture. After blanching, cool corn completely in ice water, then package in airtight freezer bags with minimal air exposure.
Can you freeze corn without blanching?
You can freeze corn without blanching, but quality suffers significantly. Raw frozen corn becomes mushy and loses sweetness within 2-3 months. Blanched corn maintains peak quality for 10-12 months, making the extra step worthwhile for long-term storage.
Is frozen corn healthy?
Frozen corn retains most of its nutritional value when properly blanched and stored. It contains fiber, vitamin C, and antioxidants like lutein and zeaxanthin. Studies show that properly frozen vegetables often contain more nutrients than fresh produce that’s been stored for weeks.
Can you defrost frozen corn and eat it?
You can defrost frozen corn safely, but it’s best used in cooked dishes rather than eaten raw. Thawed corn works perfectly in salads, soups, and casseroles. For best texture, cook frozen corn directly from frozen rather than thawing first.
Is frozen sweet corn already cooked?
Frozen sweet corn is partially cooked through the blanching process. However, it needs additional cooking for optimal flavor and food safety. The blanching process only takes 5-6 minutes, which partially cooks the kernels but doesn’t fully cook them.
Is it okay to eat frozen vegetables raw?
Eating frozen vegetables raw isn’t recommended for food safety reasons. While blanching reduces harmful bacteria, it doesn’t eliminate them completely. Always cook frozen corn thoroughly before eating for both safety and optimal digestibility.
Can you eat freezer burned corn?
Freezer burned corn is safe to eat but may have altered texture and flavor. The corn might taste bland or have a tough, chewy texture. While not harmful, freezer burn indicates quality degradation. Properly packaged corn with minimal air exposure prevents freezer burn.
Conclusion
Mastering corn freezing transforms your seasonal abundance into year-round enjoyment. This proven method preserves that sweet, summer flavor while maintaining perfect texture. Remember, the key lies in proper blanching timing and rapid cooling.
Just like my grandmother’s Iowa kitchen taught me, patience and technique create the best results. Now you can capture summer’s bounty and enjoy garden-fresh corn taste throughout winter months.
Try pairing your frozen corn with a classic American barbecue spread or hearty winter stews. The possibilities are endless when you have premium frozen corn ready in your freezer.
Share your corn freezing adventures with us! Tag us on social media and show us your frozen corn creations. What recipes will you enhance with your perfectly preserved summer corn?
Freezing Corn
Equipment
- Large stockpot
- Slotted spoon
- Sharp knife
- Large bowl
- Freezer bags
Ingredients
Essential Ingredients
- 6-8 ears Fresh sweet corn Choose ears with bright green husks
- 1 gallon Water For blanching pot
- 2 pounds Ice For ice bath
- 1 tablespoon Salt Optional – enhances flavor retention
Instructions
- Husk each ear of corn completely, removing all silk strands by running your hands along the kernels. Rinse under cool water to eliminate remaining debris.
- Fill your large stockpot with water and bring it to a rolling boil. Meanwhile, prepare an ice bath in your largest bowl with plenty of ice cubes and cold water.
- Carefully lower 4-6 ears into the boiling water using tongs. Blanch for exactly 5-6 minutes, depending on kernel size. Small kernels need 5 minutes, while large kernels require 6 minutes.
- Immediately transfer blanched corn to your ice bath. Let ears sit for 2 full minutes to stop enzyme activity and lock in sweetness.
- For kernel storage, stand each ear on a cutting board and use a sharp knife to slice downward, removing kernels in strips. Alternatively, freeze whole ears for later use.
- Fill freezer bags with kernels, leaving 1-inch headspace for expansion. For whole ears, wrap each individually in plastic wrap, then place in freezer bags. Remove air, seal, and label with date.

