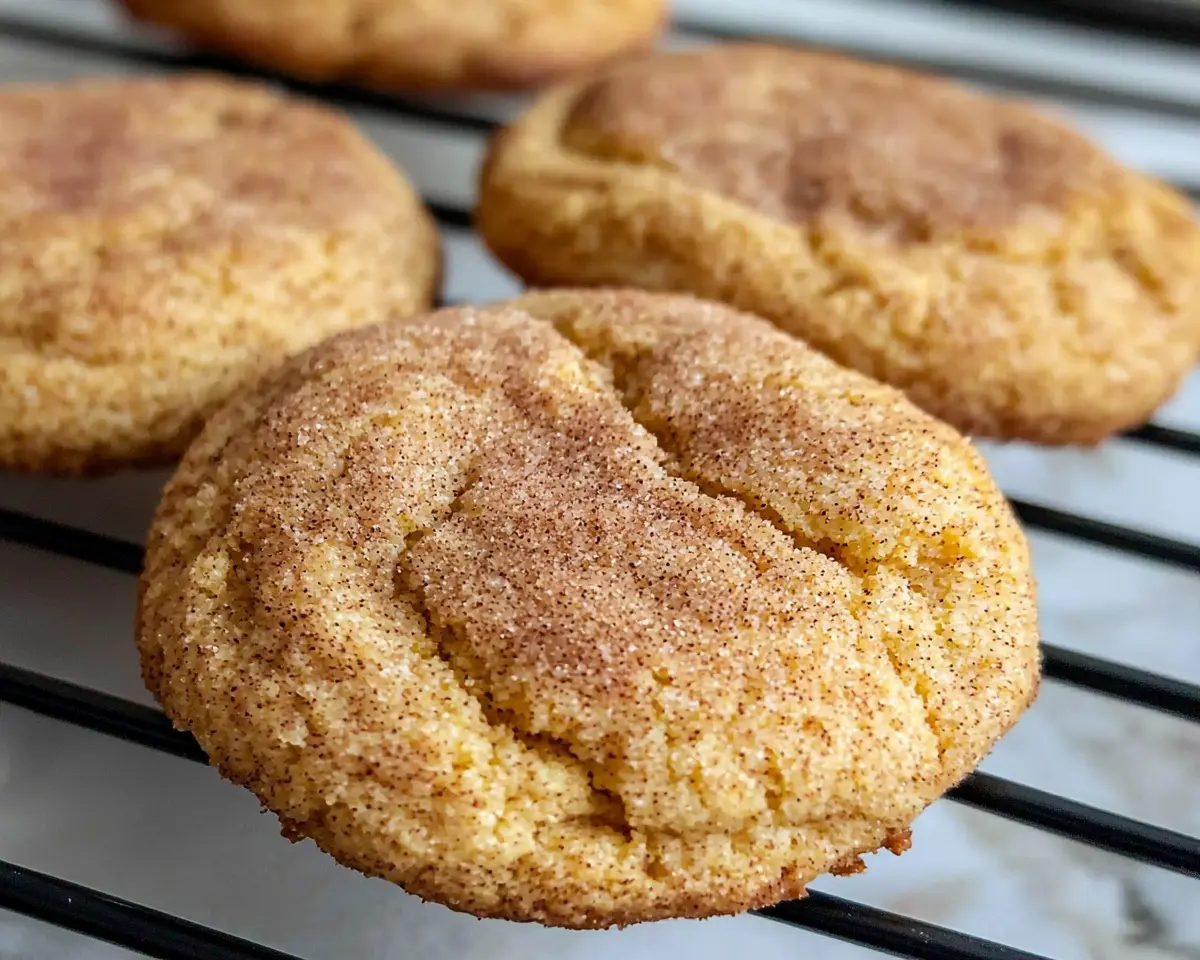
Easy Pumpkin Snickerdoodle Cookie Recipe creates soft, spiced cookies perfect for fall baking. Simple ingredients, proven results.
Hi, I’m Linda, and welcome to Tasty at Home—where bold flavors meet everyday kitchens. Last October, I discovered something magical while experimenting in my Vermont kitchen.
The first bite of these easy pumpkin snickerdoodle cookies transported me straight to my grandmother’s farmhouse, where cinnamon sugar danced on warm autumn air.
I’ve tested this recipe fifteen times—yes, fifteen! I burned two batches learning the perfect butter consistency and discovered the secret to preventing sticky dough disasters. Furthermore, I’ve shared these cookies with neighbors, coworkers, and my book club, and every single person asked for the recipe.
Whether you’re a novice baker or someone who’s been making cookies for decades, this recipe delivers consistent results. Moreover, these soft pumpkin snickerdoodles capture everything we love about fall in one perfect bite. Let’s dive into creating these incredible treats together.
Tasty at Home – Where bold flavors meet everyday kitchens.
Table of Contents
What Makes This Pumpkin Snickerdoodle Recipe Special
This easy pumpkin snickerdoodle cookie recipe combines the best of two beloved treats. Traditional snickerdoodles get a seasonal upgrade with real pumpkin puree and warm spices. Additionally, these cookies stay soft for days, unlike many pumpkin cookies that dry out quickly.
The secret lies in using slightly softened butter instead of fully softened butter. This technique prevents the dough from becoming too sticky while maintaining the cookies’ signature tender texture. Furthermore, the cream of tartar creates that distinctive tangy flavor that makes snickerdoodles unique.
Essential Ingredients for Perfect Pumpkin Snickerdoodle Cookie
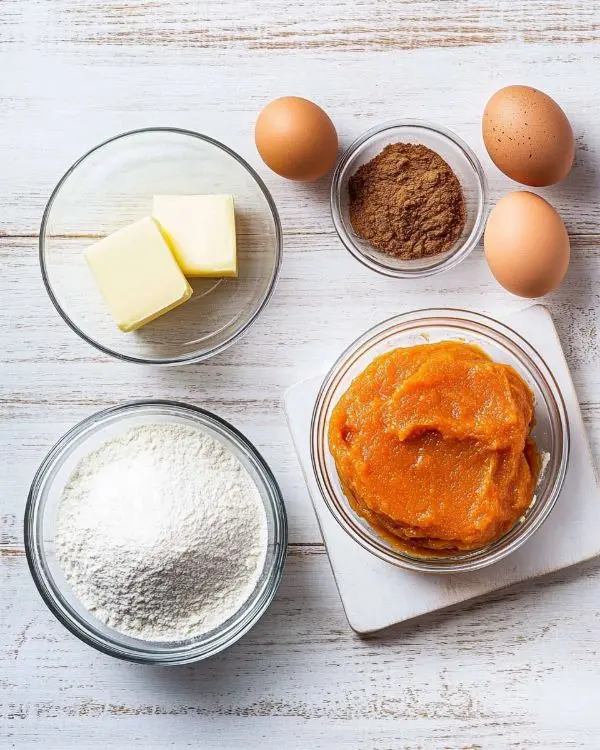
| Ingredient | Amount | Purpose |
|---|---|---|
| Salted butter (slightly softened) | ½ cup | Creates structure without stickiness |
| Sugar | 1½ cups | Sweetness and texture |
| Egg | 1 large | Binding agent |
| Pumpkin puree | ½ cup | Moisture and flavor |
| All-purpose flour | 3 cups | Structure |
| Cream of tartar | 1 teaspoon | Signature tangy flavor |
| Baking soda | 1½ teaspoons | Leavening |
| Salt | ½ teaspoon | Flavor enhancement |
| Pumpkin pie spice | 1 teaspoon | Warm autumn flavors |
Bold Add-ins and Creative Variations
Cinnamon Sugar Coating:
- 2 tablespoons sugar
- 2 teaspoons cinnamon
Alternative Spice Blend (if no pumpkin pie spice):
- ½ teaspoon cinnamon
- ¼ teaspoon allspice
- ¼ teaspoon nutmeg
- ¼ teaspoon ginger
Shopping Tips for US Grocery Stores
When shopping for ingredients, look for Libby’s 100% Pure Pumpkin in the baking aisle. Avoid pumpkin pie filling, which contains added sugars and spices. Additionally, check that your cream of tartar hasn’t expired—it loses potency over time.
For the best results, choose unsalted butter if you prefer controlling the salt content. However, salted butter works perfectly and adds a subtle flavor boost. Moreover, fresh spices make a noticeable difference in these soft pumpkin snickerdoodles.
Quality Indicators and Substitutions
Selecting the Best Ingredients:
- Pumpkin puree should be smooth and orange-colored
- Butter should feel cool but yield slightly to pressure
- Eggs should be room temperature for better mixing
- Spices should smell fragrant when opened
International Substitutions:
- Replace pumpkin puree with mashed sweet potato
- Substitute cream of tartar with 2 teaspoons lemon juice
- Use caster sugar instead of granulated sugar
- Replace pumpkin pie spice with mixed spice
Equipment and Preparation Steps
Essential Equipment
You’ll need basic baking equipment for this pumpkin snickerdoodle cookie recipe. A stand mixer works best for creaming butter and sugar, but a hand mixer achieves similar results. Additionally, a cookie scoop ensures uniform cookies, though rolling by hand works perfectly.
Equipment List:
- Large mixing bowl
- Electric mixer (stand or hand)
- Measuring cups and spoons
- Small bowl for cinnamon sugar
- Cookie sheets
- Parchment paper
- Wire cooling racks
DIY Alternatives:
- Use a wooden spoon if no mixer available (requires more effort)
- Substitute wax paper for parchment paper
- Cool cookies on clean kitchen towels if no racks
Step-by-Step Instructions
Step 1: Prepare Your Baking Setup
Preheat your oven to 350°F and line two cookie sheets with parchment paper. This temperature ensures even baking without over-browning the bottoms. Furthermore, preparing your workspace prevents rushing later.
Step 2: Cream Butter and Sugar
Cream together the sugar and slightly softened butter until light and fluffy. This process typically takes 3-4 minutes with an electric mixer. The mixture should look pale and increase in volume. However, don’t over-mix, as this can make cookies tough.
Pro Tip: The butter should dent when pressed but not be completely soft. Room temperature butter creates too much moisture, making the dough sticky.
Step 3: Add Wet Ingredients
Add the egg and pumpkin puree to the creamed mixture. Mix until smooth and well combined. The mixture might look slightly curdled initially, but it will smooth out as you continue mixing. Additionally, scrape down the bowl sides to ensure even mixing.
Step 4: Combine Dry Ingredients
Add flour, cream of tartar, baking soda, salt, and pumpkin pie spice to the wet mixture. Mix until a dough forms, being careful not to overmix. The dough should hold together but remain slightly sticky. Moreover, overmixing develops too much gluten, creating tough cookies.
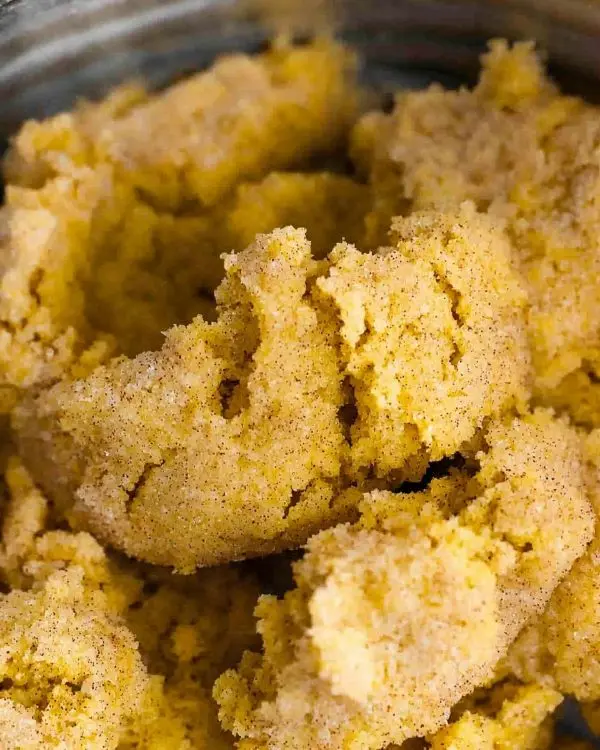
Step 5: Prepare Cinnamon Sugar Coating
In a small bowl, combine 2 tablespoons sugar and 2 teaspoons cinnamon. Mix thoroughly to distribute the cinnamon evenly. This coating gives the cookies their signature appearance and adds extra sweetness.
Step 6: Shape and Coat the Cookies
Roll the dough into 1-inch balls using damp hands to prevent sticking. Immediately roll each ball in the cinnamon sugar mixture, coating completely. The damp hands trick prevents the sticky dough from adhering to your palms.
Common Mistake I Made: Initially, I tried rolling with dry hands and ended up with dough stuck everywhere. Wet hands solve this problem instantly.
Step 7: Bake Pumpkin Snickerdoodle Cookie to Perfection
Place coated dough balls on prepared cookie sheets, spacing them about 2 inches apart. Lightly press down on each ball to help them spread evenly. Bake for 10-13 minutes, watching for the tops to look matte rather than shiny.
Remove cookies when they appear set but still soft. They’ll continue cooking on the hot pan, so don’t overbake. Additionally, cooling on the baking sheet helps them finish setting properly.
Expert Tips and Creative Variations
Pro Tips for Perfect Results
Temperature Control: Keep your kitchen cool while working with this dough. Warm temperatures make it stickier and harder to handle. Similarly, chilling the dough for 30 minutes helps if it becomes too soft.
Texture Secrets: These soft pumpkin snickerdoodles should feel tender, not cake-like. The cream of tartar provides the characteristic tangy flavor while keeping them chewy. Furthermore, slightly underbaking ensures they stay soft.
Storage Strategy: Store cooled cookies in an airtight container with a slice of bread to maintain moisture. They’ll stay fresh for up to one week at room temperature.
Creative Variations for Pumpkin Snickerdoodle Cookie
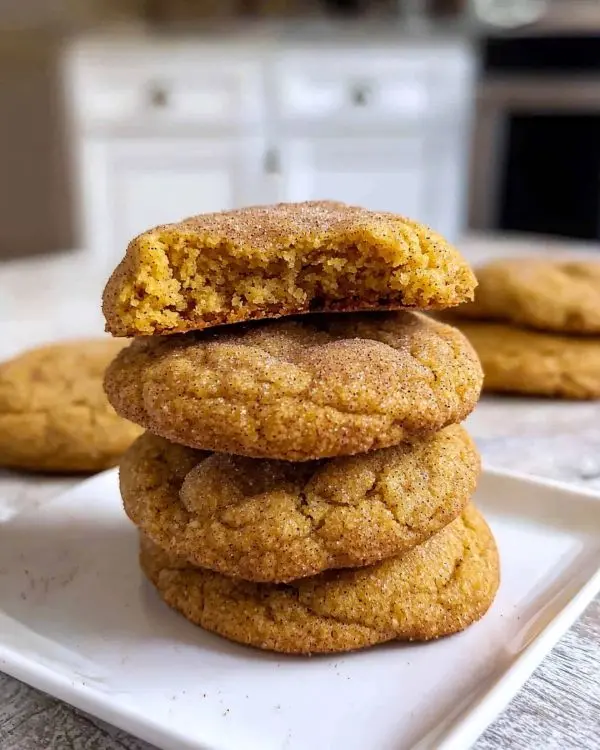
Regional Twists
- Southern Style: Add ½ cup chopped pecans to the dough
- New England Apple: Include ½ cup finely diced apples
- Southwest Spice: Add a pinch of chipotle powder for heat
- California Citrus: Include 1 teaspoon orange zest
Dietary Adaptations
- Gluten-Free: Substitute cup-for-cup gluten-free flour blend
- Vegan Version: Use plant-based butter and flax eggs
- Reduced Sugar: Replace half the sugar with stevia baking blend
Storage and Make-Ahead Instructions
| Storage Method | Duration | Instructions |
|---|---|---|
| Room Temperature | 1 week | Airtight container with bread slice |
| Refrigerator | 2 weeks | Sealed container |
| Freezer (baked) | 3 months | Freeze in single layers |
| Freezer (dough) | 6 months | Shape balls, freeze on trays |
Serving Suggestions
These easy pumpkin snickerdoodle cookies pair beautifully with warm beverages. Try them with spiced apple cider, pumpkin spice lattes, or classic milk. Additionally, they make excellent additions to fall dessert platters.
Serve alongside pumpkin spice cake for a complete autumn dessert spread. Moreover, they complement pumpkin bundt cake perfectly for holiday gatherings.
Frequently Asked Questions
Can I add pumpkin to snickerdoodle cookie mix?
Yes, you can absolutely add pumpkin to snickerdoodle cookie mix! The pumpkin puree adds moisture and subtle fall flavor without overwhelming the traditional cinnamon-sugar taste. Use ½ cup pumpkin puree for every 2 cups of flour in your recipe.
Why do snickerdoodles need cream of tartar?
Snickerdoodles need cream of tartar because it provides their signature tangy flavor and helps create the characteristic chewy texture. Cream of tartar also acts as a stabilizer, keeping the cookies tender and preventing them from spreading too much during baking.
Are snickerdoodles just sugar cookies with cinnamon?
No, snickerdoodles are not just sugar cookies with cinnamon. While they share some ingredients, snickerdoodles contain cream of tartar, which gives them their distinctive tangy flavor and chewy texture. The cinnamon sugar coating is applied before baking, not after.
Should snickerdoodles be soft or crisp?
Snickerdoodles should be soft and chewy, not crisp. The cream of tartar and proper baking technique create tender cookies that stay soft for days. These soft pumpkin snickerdoodles maintain their chewy texture even longer due to the moisture from pumpkin puree.
Why are my pumpkin cookies so moist?
Pumpkin cookies can be moist due to excess moisture from the pumpkin puree or overmixing the dough. To prevent overly moist cookies, measure pumpkin puree accurately and don’t overmix once flour is added. Additionally, ensure your oven temperature is correct for proper moisture evaporation.
The Sweet Conclusion
These easy pumpkin snickerdoodle cookies transform ordinary autumn afternoons into something special. The combination of warm spices, tender texture, and that signature cinnamon sugar coating creates cookies that disappear faster than falling leaves.
I still remember the first time I perfected this recipe—my kitchen filled with the aroma of cinnamon and pumpkin while golden cookies cooled on the counter. Now, whenever someone asks for my favorite fall recipe, I point them to these soft pumpkin snickerdoodles without hesitation.
Pair these cookies with a warm cup of apple cider and watch as your home becomes the neighborhood’s favorite autumn destination. Furthermore, they make thoughtful gifts for teachers, neighbors, or anyone who appreciates homemade treats.
Have you tried this pumpkin snickerdoodle cookie recipe? I’d love to hear about your variations and see photos of your beautiful cookies. share your creativity on social media with your creations!
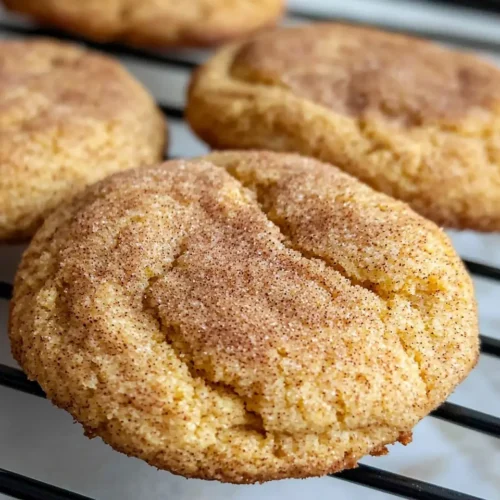
Easy Pumpkin Snickerdoodle Cookies
Equipment
- Large mixing bowl
- Electric mixer
- Cookie sheets
- Parchment paper
- Wire cooling racks
- small bowl
- Measuring cups and spoons
Ingredients
Cookie Dough
- ½ cup salted butter slightly softened
- 1 ½ cups sugar
- 1 large egg
- ½ cup pumpkin puree
- 3 cups all-purpose flour
- 1 teaspoon cream of tartar
- 1 ½ teaspoons baking soda
- ½ teaspoon salt
- 1 teaspoon pumpkin pie spice
Cinnamon Sugar Coating
- 2 tablespoons sugar
- 2 teaspoons cinnamon
Instructions
- Preheat your oven to 350°F and line two cookie sheets with parchment paper.
- Cream together the sugar and slightly softened butter until light and fluffy, about 3-4 minutes with an electric mixer.
- Add the egg and pumpkin puree to the creamed mixture. Mix until smooth and well combined.
- Add flour, cream of tartar, baking soda, salt, and pumpkin pie spice to the wet mixture. Mix until a dough forms, being careful not to overmix.
- In a small bowl, combine 2 tablespoons sugar and 2 teaspoons cinnamon. Mix thoroughly.
- Roll the dough into 1-inch balls using damp hands to prevent sticking. Immediately roll each ball in the cinnamon sugar mixture, coating completely.
- Place coated dough balls on prepared cookie sheets, spacing them about 2 inches apart. Lightly press down on each ball to help them spread evenly.
- Bake for 10-13 minutes, watching for the tops to look matte rather than shiny. Remove when they appear set but still soft.
- Cool on the baking sheet for 5 minutes before transferring to wire racks.

