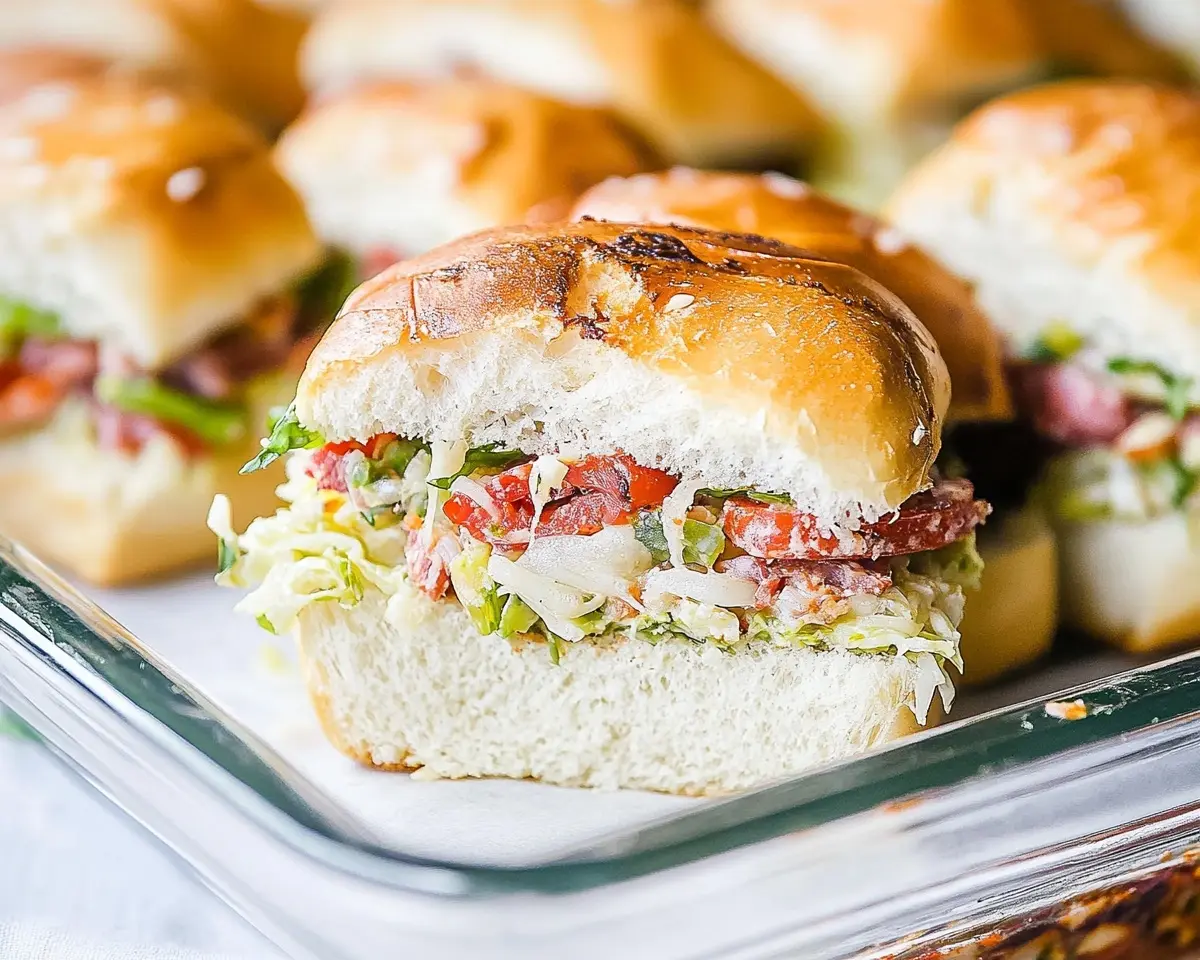
Family-Friendly Italian Grinder Sliders packed with Italian meats, cheese, and fresh grinder salad. Perfect for game day or family dinner.
Hi, I’m Linda, and welcome to Tasty at Home—where bold flavors meet everyday kitchens. Last summer, during a sweltering Fourth of July barbecue in my backyard
I watched my nephew devour three store-bought sandwiches while complaining they tasted “boring.” Well… that comment sparked something in me. I marched straight into my kitchen, determined to create something that would make his taste buds dance.
After burning my first batch (oops!), I discovered the secret to these Family-Friendly Italian Grinder Sliders. The combination of perfectly melted provolone, savory Italian meats, and that fresh, tangy grinder salad creates magic in every bite. Man, oh man, watching that same nephew ask for seconds, then thirds, made all those kitchen experiments worth it.
You know what makes these sliders absolutely irresistible? They taste like your favorite Italian deli sandwich, but in perfectly portioned, kid-friendly sizes. Let me tell you, these have become our go-to for everything from soccer team dinners to holiday gatherings.
Tasty at Home – Where bold flavors meet everyday kitchens.
Table of Contents
What Makes These Italian Slider Sandwiches Special
These Family-Friendly Italian Grinder Sliders transform ordinary Hawaiian rolls into extraordinary flavor bombs. Moreover, they combine the best elements of a traditional Italian grinder with the convenience of slider-sized portions.
The secret lies in the layering technique and that incredible garlic-parmesan glaze. Furthermore, the fresh grinder salad adds a crisp contrast that cuts through the rich meats and cheese. This recipe feeds six people generously, making it perfect for family dinners or entertaining guests.
Ingredients That Create Italian Slider Sandwiches Magic
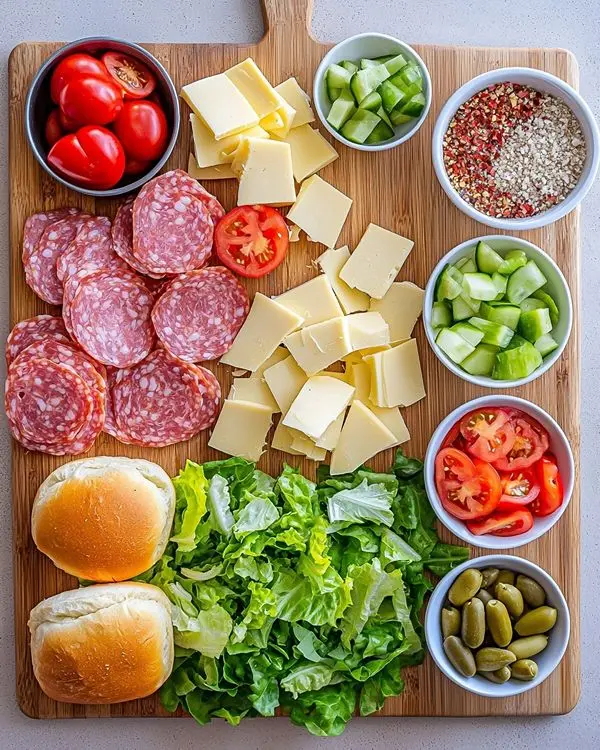
| For the Sliders | US Measure | Metric |
|---|---|---|
| Hawaiian rolls | 12 rolls | 12 rolls |
| Ham, thinly sliced | 8 ounces | 225g |
| Provolone cheese, sliced | 4 ounces | 115g |
| Pepperoni, thinly sliced | 3 ounces | 85g |
| Salami, thinly sliced | 3 ounces | 85g |
| For the Glaze | US Measure | Metric |
|---|---|---|
| Butter | 2 tablespoons | 30ml |
| Grated parmesan | 2 tablespoons | 30g |
| Garlic powder | 1/2 teaspoon | 2.5ml |
| Salt | 1/4 teaspoon | 1.25ml |
| Grinder Salad Topping | US Measure | Metric |
|---|---|---|
| Shredded lettuce | 8 ounces | 225g |
| Diced tomato | 1/2 cup | 120ml |
| Sliced pepperoncini peppers | 1/2 cup | 120ml |
| Mayonnaise | 1/4 cup | 60ml |
| Red wine vinegar | 1 tablespoon | 15ml |
| Italian seasoning | 1 teaspoon | 5ml |
| Salt | 1/2 teaspoon | 2.5ml |
| Black pepper | 1/2 teaspoon | 2.5ml |
| Garlic powder | 1/2 teaspoon | 2.5ml |
Shopping Smart at Your Local Grocery Store
When shopping for these Easy Italian Sliders, head to the deli counter first. Additionally, ask for meats sliced to medium thickness—too thin and they tear, too thick and they overpower the bread. The provolone should be sliced slightly thicker than the meats for proper melting.
Look for Hawaiian rolls that feel soft but not overly sweet. King’s Hawaiian brand works perfectly, but store brands often deliver excellent results too. Furthermore, choose pepperoncini with bright color and firm texture for the best crunch in your grinder salad.
Essential Ingredients vs. Bold Add-ins
Must-Have Essentials:
- Quality Italian meats (ham, pepperoni, salami)
- Real provolone cheese (not processed)
- Fresh Hawaiian rolls
- Crisp lettuce for the salad
Creative Variations:
- Substitute turkey for ham to lighten the flavor
- Add thin slices of red onion for extra bite
- Include roasted red peppers for sweetness
- Try capicola instead of salami for spicier notes
International Substitutions
Can’t find Hawaiian rolls? Brioche slider buns work beautifully as alternatives. Similarly, if pepperoncini aren’t available, banana peppers provide similar tangy heat. European readers can substitute prosciutto for ham, though the flavor profile shifts slightly more upscale.
Equipment and Step-by-Step Preparation
What You’ll Need for the Perfect Italian Slider Sandwiches
Essential equipment includes a 9×13-inch baking dish, sharp serrated knife, and medium mixing bowl. However, don’t worry if you lack a baking dish—a large cast iron skillet works wonderfully too.
A pastry brush helps distribute the glaze evenly, but a spoon works in a pinch. Additionally, having a good cutting board makes slicing through the assembled sliders much easier.
Creating Your Italian Grinder Masterpiece

Step 1: Prep and Preheat
Preheat your oven to 350°F while gathering ingredients. This temperature ensures the cheese melts perfectly without burning the tops. Trust me, I learned this the hard way after cremating my first batch at 400°F!
Step 2: Foundation Building
Cut the Hawaiian rolls horizontally, keeping them connected as much as possible. Lay the bottom halves in your baking dish, creating a solid foundation. This technique, inspired by Julia Child’s approach to layered dishes, ensures even cooking throughout.
Step 3: Cheese First, Always
Layer the provolone cheese directly on the bread bottoms. This creates a moisture barrier that prevents soggy sliders while ensuring even melting. Then, add the ham, followed by pepperoni and salami in overlapping layers.
Step 4: The Glaze That Changes Everything
Combine softened butter, grated parmesan, garlic powder, and salt. Spread this mixture evenly over the tops before baking. The butter creates golden color while the parmesan adds nutty depth—a technique Thomas Keller often uses for elevated comfort foods.
Step 5: Perfect Timing
Bake for 15-20 minutes until the cheese bubbles and tops turn golden brown. Meanwhile, prepare your grinder salad by whisking the dressing ingredients until smooth, then tossing with vegetables.
Step 6: The Final Assembly
Remove tops, add generous portions of grinder salad, then replace tops. Serve immediately while the contrast between warm sliders and cool salad creates textural magic.
Italian Slider Sandwiches Expert Tips and Creative Variations
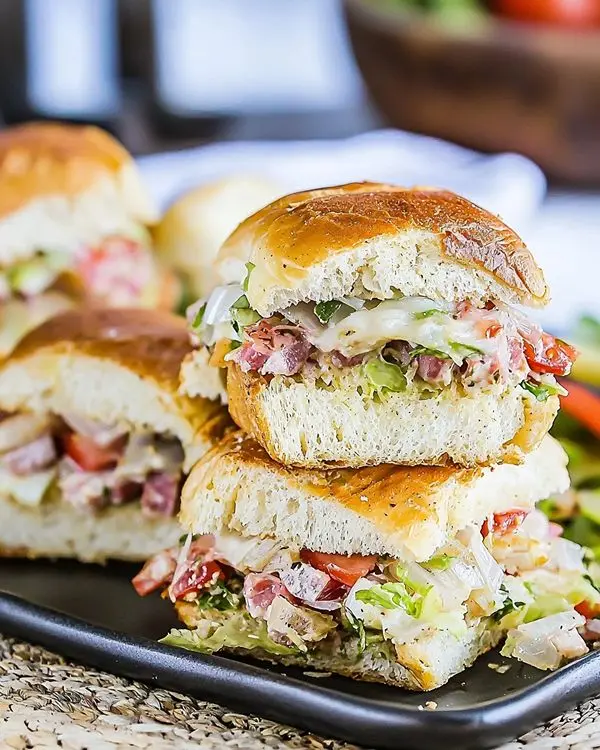
Pro Secrets for Perfect Results
Temperature control makes all the difference in these Italian Slider Sandwiches. Furthermore, letting the assembled sliders rest for five minutes before baking allows flavors to meld beautifully.
Cut completely through each slider before baking to ensure even cooking. Additionally, tent with foil if tops brown too quickly—you want melted cheese, not burnt bread.
Regional and Seasonal Variations
East Coast Style: Add thin slices of fresh mozzarella and basil leaves Midwest Comfort: Include sautéed mushrooms and onions Holiday Special: Incorporate cranberry mayo for Thanksgiving gatherings Summer Fresh: Add sliced avocado and extra tomatoes Game Day Glory: Include jalapeños and pepper jack cheese
Make-Ahead Magic
| Storage Method | Timeline | Best Practice |
|---|---|---|
| Assembled, unbaked | 4 hours refrigerated | Cover tightly with plastic wrap |
| Grinder salad | 1 day ahead | Store dressing separately |
| Baked sliders | 2 days refrigerated | Reheat at 300°F for 10 minutes |
| Frozen components | 1 month | Wrap individually, thaw overnight |
These sliders pair beautifully with BBQ Sausage Bites for larger gatherings. Similarly, they complement Slow Cooker Garlic Butter Beef Bites when serving multiple appetizers.
Italian Slider Sandwiches FAQs
Can I make Family-Friendly Italian Grinder Sliders ahead of time?
You can assemble these sliders up to 4 hours ahead, cover tightly, and refrigerate until ready to bake.
What’s the best way to reheat leftover Italian Slider Sandwiches?
Reheat leftover sliders in a 300°F oven for 8-10 minutes to restore crispness without drying out the filling.
Can I substitute the Hawaiian rolls for regular slider buns?
Hawaiian rolls provide the perfect sweetness balance, but brioche slider buns work excellently as alternatives for these Easy Italian Sliders.
How do I prevent the grinder salad from making the sliders soggy?
Add the grinder salad just before serving, and drain excess liquid from tomatoes and pepperoncini beforehand.
What’s the secret to getting perfectly melted cheese?
Layer provolone directly on the bread, bake at 350°F, and tent with foil if tops brown before cheese melts completely.
The Perfect Ending to Your Italian Adventure
These Family-Friendly Italian Grinder Sliders prove that exceptional food doesn’t require complicated techniques. Instead, they celebrate the beauty of quality ingredients combined thoughtfully. The way the savory Italian meats meld with creamy provolone, then get brightened by that fresh, tangy grinder salad—it’s like taking a bite of pure comfort.
Serve these alongside Crockpot Taco Casserole for international flavor variety, or pair with Classic Pumpkin Spice Cake Roll for a complete meal that spans seasons.
Next time you need to feed a crowd or just want to elevate family dinner, remember these Italian Slider Sandwiches. They’re proof that the best recipes often come from the simplest inspirations—like a nephew’s honest critique on a hot summer day.
Share your creative variations on social media and tag us @TastyAtHome. We’d love to see how you make these Easy Italian Sliders your own!
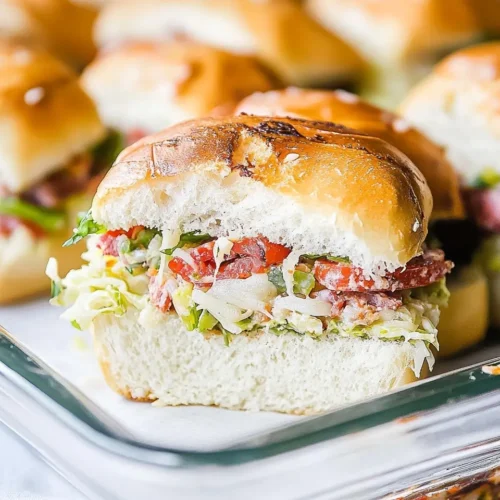
Family-Friendly Italian Grinder Sliders
Equipment
- 9×13 inch baking dish
- Sharp serrated knife
- Medium mixing bowl
- Pastry brush
Ingredients
For the sliders
- 12 Hawaiian rolls
- 8 ounces ham thinly sliced
- 4 ounces provolone cheese sliced
- 3 ounces pepperoni thinly sliced
- 3 ounces salami thinly sliced
For the glaze
- 2 tablespoons butter
- 2 tablespoons grated parmesan
- ½ teaspoon garlic powder
- ¼ teaspoon salt
Grinder Salad topping
- 8 ounces shredded lettuce
- ½ cup diced tomato
- ½ cup sliced pepperoncini peppers
- ¼ cup mayonnaise
- 1 tablespoon red wine vinegar
- 1 teaspoon Italian seasoning
- ½ teaspoon salt
- ½ teaspoon pepper
- ½ teaspoon garlic powder
Instructions
- Preheat the oven to 350°F.
- Cut the Hawaiian rolls horizontally. Lay the bottoms in a baking dish.
- Layer the provolone cheese on the bread. Then add the ham, pepperoni, and salami on top. Place the tops back on the rolls and cut through the sandwiches between each roll.
- Combine the butter, parmesan, garlic powder, and salt. Spread over the tops of the slider sandwiches. Bake for 15-20 minutes or until the cheese is melted and the tops are golden brown.
- While the sandwiches bake, make the grinder salad by whisking together the mayonnaise, red wine vinegar, Italian seasoning, salt, pepper, and garlic powder to form a dressing.
- Toss the lettuce, tomatoes, and pepperoncini peppers together with the dressing.
- Once the sandwiches are done, remove the tops, add the grinder salad and put the tops back on. Serve immediately.

