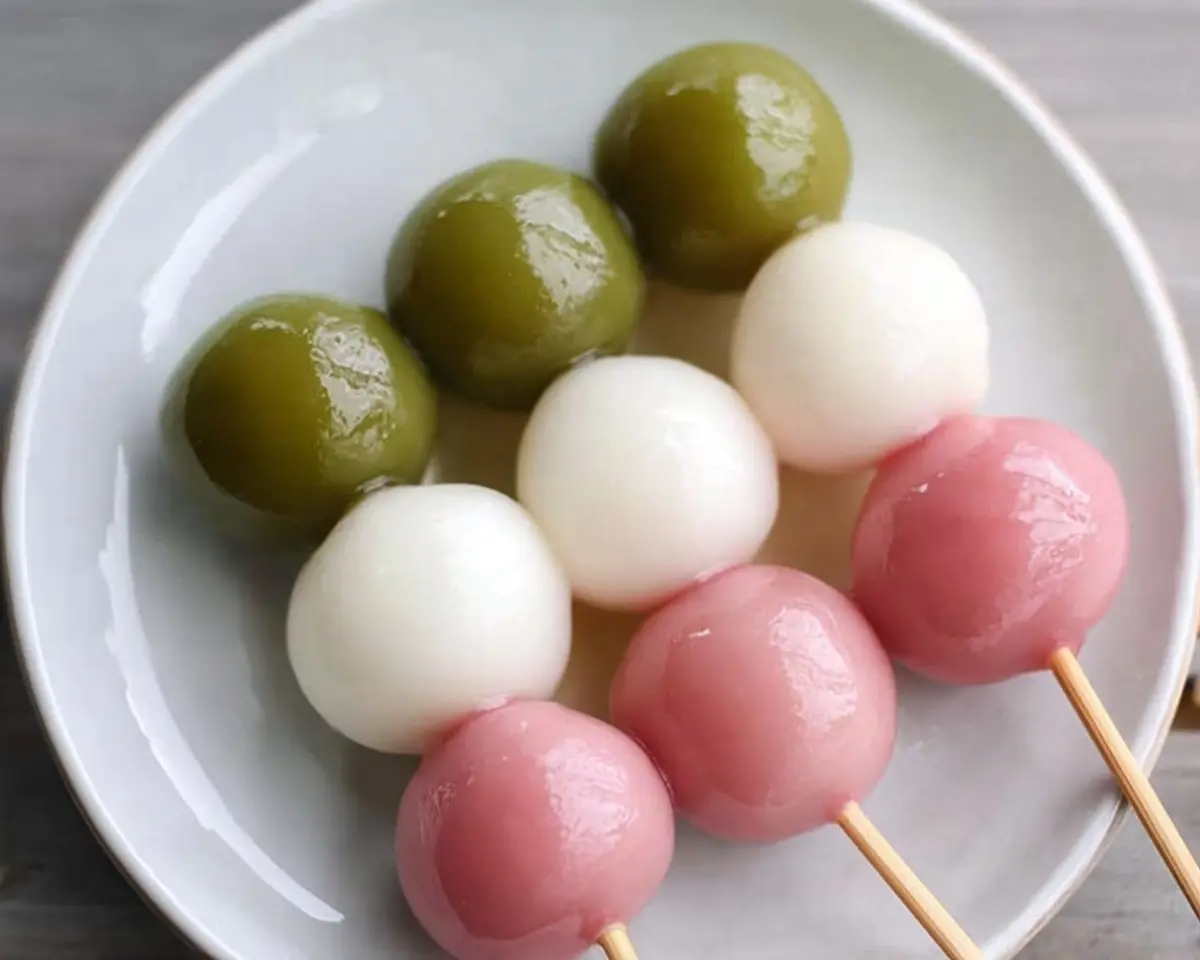
Easy dango recipe with step-by-step guide. Learn to make colorful Japanese sweet dumplings perfect for spring celebrations and quick desserts.
Hi, I’m Linda, and welcome to Tasty at Home—where bold flavors meet everyday kitchens. Let me tell you, my first encounter with dango happened during a spontaneous trip to a Japanese festival in San Francisco’s Japantown.
Well, I was expecting something chewy and bland, but that first bite completely changed my perspective on Japanese sweets. Moreover, the delicate sweetness and satisfying texture left me craving more for weeks.
After countless kitchen experiments and several failed attempts (trust me, I’ve turned dango into soup more times than I care to admit), I’ve finally perfected this easy dango recipe. Furthermore, this version requires just a few simple ingredients that you can find at most Asian grocery stores or order online. The result? Absolutely stunning tri-colored dumplings that taste as amazing as they look.
Whether you’re planning a spring celebration or simply want to try your hand at Japanese cooking, this recipe delivers authentic flavors without intimidating techniques. Now, let’s dive into creating these colorful treasures that will transport your taste buds straight to cherry blossom season.
Table of Contents
About This Traditional Japanese Sweet
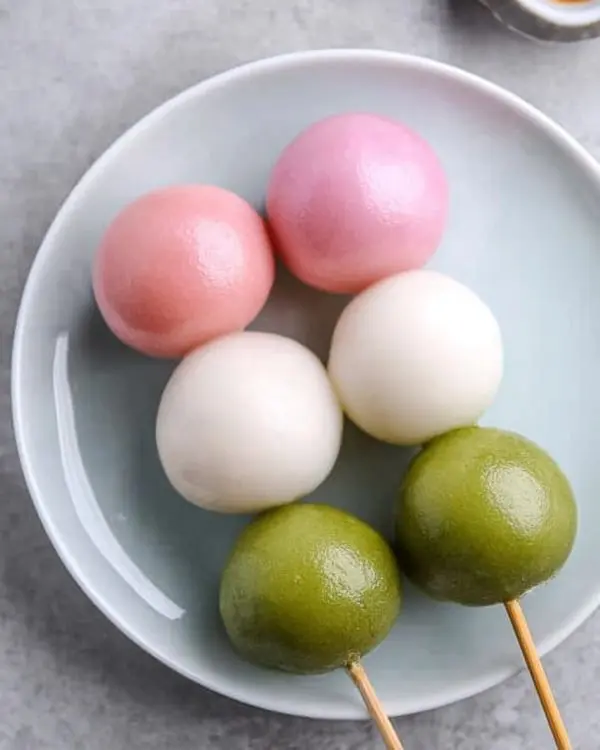
Dango represents one of Japan’s most beloved traditional sweets, dating back over a thousand years. These small, round dumplings showcase the beauty of simplicity in Japanese cuisine. Additionally, the tri-color version we’re making today holds special seasonal significance.
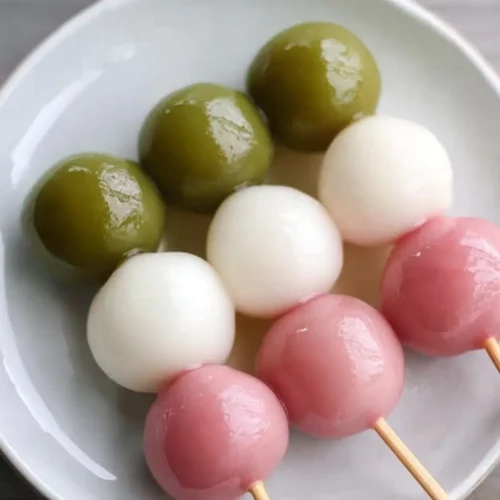
The green represents summer grass, white symbolizes winter snow, and pink captures the essence of spring cherry blossoms. Consequently, these colors create a visual story of Japan’s changing seasons. You know what makes this recipe particularly special? The combination of two different rice flours creates the perfect chewy texture that dango lovers crave.
Dango Recipe Ingredients Table
| Essential Ingredients | US Measurement | Metric | Purpose |
|---|---|---|---|
| Joshinko (non-glutinous rice flour) | 1 1/3 cups | 150g | Base structure |
| Shiratamako (glutinous sweet rice flour) | 1 1/2 cups | 200g | Chewy texture |
| Hot water | 1 1/3 cups | 315ml | Binding agent |
| Optional/Coloring | |||
| Powdered sugar | 3/4 cup | 75g | Added sweetness |
| Matcha powder | 1 teaspoon | 5g | Green coloring |
| Pink food coloring | 1 drop | – | Pink coloring |
| Bamboo skewers | 12 pieces | – | Serving |
Shopping Tips for US Grocery Stores
Finding the right rice flours can initially seem challenging. However, most major cities now have Asian markets carrying these specialty ingredients. Alternatively, you can order both flours online from retailers like Amazon or specialty Japanese food suppliers.
Look for joshinko in the baking aisle of Asian stores, usually in small bags with Japanese text. Meanwhile, shiratamako often appears in the same section but feels distinctly different when touched through the packaging. The glutinous version feels slightly stickier and more cohesive.
If you can’t find these specific flours immediately, some Korean markets carry similar products. Nevertheless, authentic Japanese brands like Koda Farms or Mochiko produce the most reliable results.
Equipment and Preparation Steps
Essential Equipment
You’ll need basic kitchen tools that most home cooks already own. First, gather three medium mixing bowls for separating the colored dough. Additionally, have a kitchen scale ready for precise measurements, as weight accuracy significantly affects the final texture.
A large pot for boiling water, slotted spoon for transferring dumplings, and a bowl of ice water complete your setup. Don’t forget those bamboo skewers! Soak them for at least 30 minutes before starting to prevent splintering.
Step 1: Creating the Base Dough
Begin by combining both rice flours in a large mixing bowl. Oops, here’s where I made my biggest mistake initially—I added cold water instead of hot! The dough turned into a crumbly mess that refused to hold together.
Hot water activates the starches properly, creating that signature dango texture. Gradually pour the hot water while mixing with a spoon. Once the mixture starts forming clumps, switch to using your hands.
The dough should feel similar to Play-Doh but slightly softer. If it seems too dry, add water one tablespoon at a time. Conversely, if it feels too sticky, sprinkle in a bit more joshinko flour.
Step 2: Dividing and Coloring
Divide your finished dough into three equal portions using your kitchen scale. Each piece should weigh approximately 175 grams. Place each portion into separate bowls for coloring.
For the matcha dango, mix one teaspoon of matcha powder with one teaspoon of water to create a smooth paste. This technique prevents lumps and ensures even distribution throughout the dough. Work the matcha paste into one portion until the color appears uniform.
Add just one drop of pink food coloring to the second portion. Man, oh man, a little goes a long way with food coloring! Start conservatively—you can always add more, but removing excess color proves impossible.
Step 3: Shaping Individual Dango
Now comes the meditative part of dango making. Roll each portion into small balls weighing exactly 20 grams. This precision ensures even cooking and professional presentation.
Use your kitchen scale for consistency, though experienced cooks can eyeball the portions after making a few batches. The dough should yield approximately 36 balls total—12 of each color.
Keep unused portions covered with damp paper towels while working. This prevents the surface from drying out and cracking during the shaping process.
Step 4: The Cooking Process
Bring a large pot of water to a rolling boil. Here’s a crucial tip I learned from watching Japanese cooking shows: always cook the white dango first, followed by green, then pink last.
Why this specific order? Well, cooking darker colors first can tint the water and affect the appearance of lighter-colored dango. Additionally, this sequence prevents any unwanted color bleeding between batches.
Drop the white dango balls into the boiling water carefully. They’ll initially sink to the bottom, then magically float to the surface when nearly done. Continue cooking for exactly two more minutes after they float.
Immediately transfer the cooked dango to ice water using a slotted spoon. This sudden temperature change stops the cooking process and firms up the exterior texture perfectly.
Expert Tips and Variations
Professional Techniques
Temperature control makes the difference between perfect dango and disappointing results. Keep your water at a steady boil throughout the cooking process. Furthermore, that ice bath isn’t optional—it creates the ideal chewy-yet-firm texture that characterizes authentic dango.
Julia Child once emphasized the importance of mise en place in cooking, and this principle applies beautifully to dango making. Prepare all your colored dough portions before starting the cooking process, as timing becomes crucial once you begin boiling.
Creative Variations
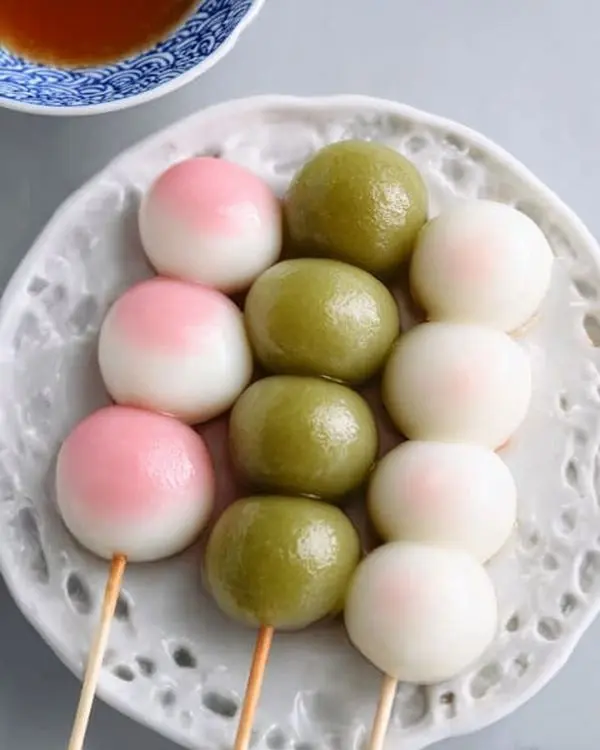
Seasonal Holiday Dango: Replace traditional colors with Halloween orange and black for October festivities. Similarly, red and green versions work wonderfully for Christmas celebrations.
Flavor Variations: Incorporate different extracts into your base dough. Vanilla adds Western appeal, while yuzu extract provides authentic Japanese citrus notes.
Dietary Modifications: This recipe naturally accommodates gluten-free diets since rice flour contains no gluten. Additionally, the absence of dairy makes it suitable for lactose-intolerant individuals.
Storage and Make-Ahead Tips
| Storage Method | Duration | Instructions |
|---|---|---|
| Room temperature | Same day | Cover with damp cloth |
| Refrigerator | 2-3 days | Airtight container |
| Freezer | 1 month | Individual wrapping |
Freshly made dango tastes best within hours of preparation. However, you can prepare the dough up to one day ahead and store it covered in the refrigerator.
For longer storage, freeze cooked dango individually before transferring to freezer bags. Thaw at room temperature for about 30 minutes before serving.
Serving Suggestions and Pairings
Traditional Accompaniments
Dango pairs beautifully with green tea, creating an authentic Japanese tea ceremony experience. The subtle bitterness of matcha complements the mild sweetness perfectly. Moreover, consider serving alongside other Japanese sweets like mochi or sweet Japanese potato crème brûlée for an impressive dessert spread.
Modern American Twists
Drizzle dango with maple syrup for a fusion approach that appeals to American palates. Alternatively, dust them with cinnamon sugar immediately after cooking for a churro-inspired variation.
These colorful dumplings also work wonderfully as party appetizers. Thread them alternately with fresh fruit for eye-catching kabobs that disappear quickly at gatherings.
During spring celebrations, serve dango alongside seasonal salads to create interesting textural contrasts. The chewy sweetness provides a delightful counterpoint to crisp, savory flavors.
Troubleshooting Common Issues
Texture Problems
If your dango turns out too hard, you likely used insufficient water in the initial mixing stage. Conversely, mushy dango results from overcooking or using too much liquid initially.
The ideal dango should bounce back gently when pressed but maintain structural integrity on the skewer. Additionally, properly cooked dango exhibits a slight sheen on the surface without appearing wet or sticky.
Color Issues
Uneven coloring usually stems from inadequate mixing during the preparation stage. Take extra time working the matcha paste or food coloring throughout the dough until no streaks remain visible.
If your colors appear too intense, remember that less is more with both matcha and food coloring. Start with minimal amounts and gradually increase until you achieve the desired shade.
Frequently Asked Questions
What are the ingredients in dango?
The main ingredients include two types of rice flour: joshinko (non-glutinous) and shiratamako (glutinous sweet rice flour), plus hot water. Optional additions include powdered sugar for sweetness and natural colorings like matcha powder or food coloring.
What is this 🍡 called?
This emoji represents dango, traditional Japanese sweet dumplings served on bamboo skewers. The specific tri-colored version we’re making is called “hanami dango,” traditionally eaten during cherry blossom viewing season.
Is it hard to make dango?
Making dango requires patience rather than advanced cooking skills. The process involves simple mixing, shaping, and boiling techniques that beginners can master with practice. Most difficulties arise from incorrect flour ratios or improper water temperature.
Is dango healthy to eat?
Dango offers a relatively healthy sweet treat option since it’s made primarily from rice flour and contains no dairy or eggs. However, it is carbohydrate-dense and often served with sweet sauces, so moderation is key for balanced nutrition.
Conclusion
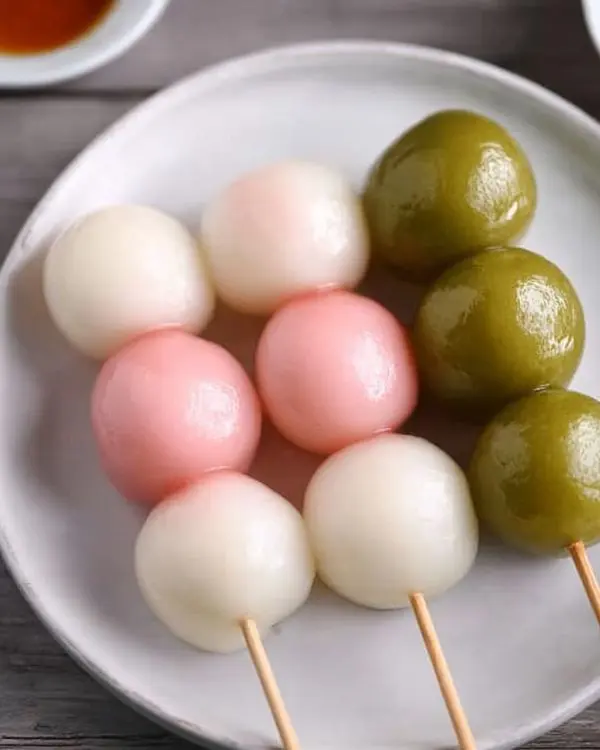
Creating authentic dango at home connects you to centuries of Japanese culinary tradition while satisfying modern cravings for unique, Instagram-worthy treats. These delightful dumplings prove that simple ingredients can produce extraordinary results when handled with care and respect.
The gentle chew, subtle sweetness, and beautiful presentation make dango perfect for spring gatherings, cultural exploration, or quiet moments with tea. Furthermore, once you master this basic recipe, countless variations await your creative touch.
Serve your homemade dango alongside Japanese-inspired pancakes for a complete cultural dining experience. The contrast between savory and sweet creates memorable meals that guests will discuss long after the last bite.
I’d love to see your dango creations! Share photos of your colorful results and tag us on social media. Did you try any creative flavor variations? Your experiments might inspire the next addition to our recipe collection.
Remember, every expert was once a beginner. Don’t worry if your first batch doesn’t look picture-perfect—the delicious taste will more than compensate for any imperfections. Happy cooking!
Easy Dango Recipe: Ultimate Japanese Sweet Treat
Equipment
- mixing bowls
- Kitchen scale
- Large pot
- Slotted spoon
- Bamboo skewers
Ingredients
Essential Ingredients
- 150 g Joshinko (non-glutinous rice flour) Base structure
- 200 g Shiratamako (glutinous sweet rice flour) Chewy texture
- 315 ml Hot water Binding agent
Optional/Coloring
- 75 g Powdered sugar Added sweetness
- 5 g Matcha powder Green coloring
- 1 drop Pink food coloring Pink coloring
- 12 pieces Bamboo skewers Serving
Instructions
- Combine joshinko and shiratamako in a large mixing bowl. Gradually add hot water while stirring until a dough forms.
- Divide the dough into three equal portions. Color one with matcha paste, one with pink food coloring, and leave one plain white.
- Roll each portion into 20 g balls. Cover with a damp cloth to prevent drying.
- Bring a large pot of water to a boil. Cook white dango first until they float, then cook for 2 more minutes. Repeat with green and pink portions.
- Transfer cooked dango immediately to ice water to stop cooking. Thread three balls (green, white, pink) onto soaked bamboo skewers and serve.

