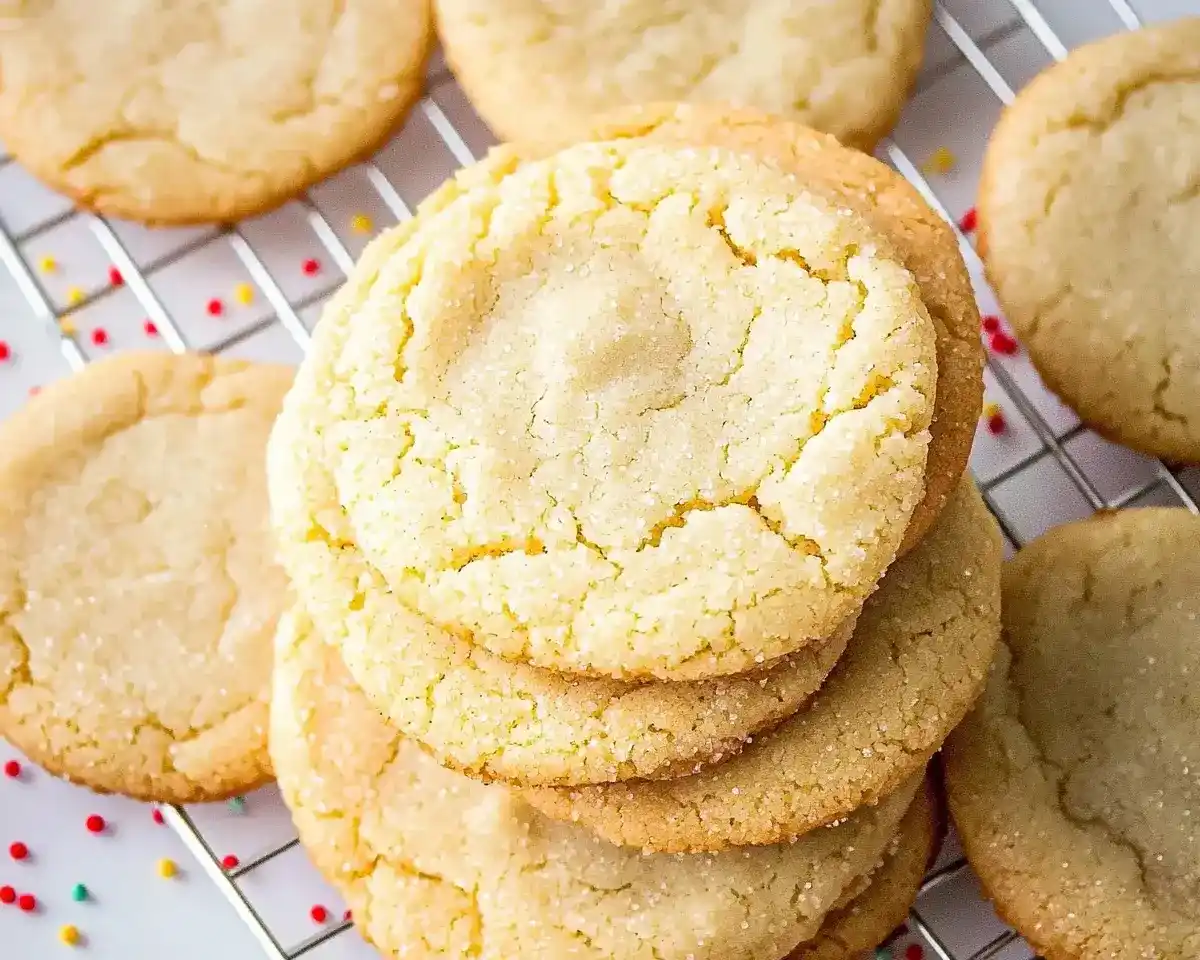
Easy Dairy-Free Sugar Cookies Recipe creates perfectly chewy treats everyone loves. Master allergy-free cookie recipes with simple ingredients and expert tips.
Hi, I’m Linda, and welcome to Tasty at Home—a cozy corner where bold flavors meet everyday kitchens. Last December, my niece showed up at my Boston doorstep with tears in her eyes. She’d just been diagnosed with a dairy allergy, and Christmas was two weeks away. “Does this mean no more sugar cookies?” she asked, her voice cracking.
Well… let me tell you, that moment changed everything.
I spent the next ten days testing batch after batch of dairy-free sugar cookies. Some came out like hockey pucks. Others crumbled before they even cooled.
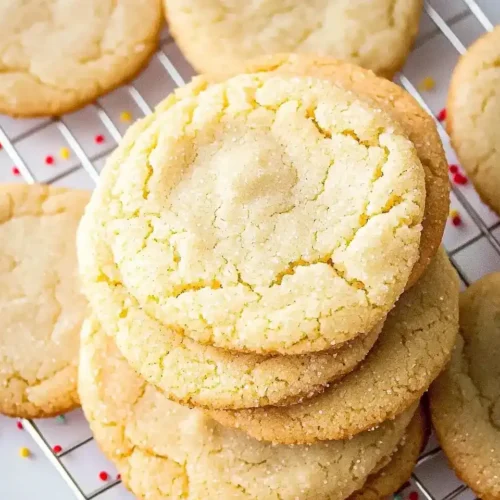
But then, on attempt number eleven, I pulled a tray from the oven that smelled like pure vanilla heaven. The edges had that perfect golden crisp, and the centers stayed pillowy soft.
My niece took one bite and grinned. “Aunt Linda, these are even better than the regular ones!”
That’s when I realized something important. Removing dairy doesn’t mean removing joy. In fact, these easy dairy-free sugar cookies have become my most requested recipe. Whether you’re navigating food allergies or simply looking for a lighter treat, this recipe delivers every single time.
I’ve tested this dozens of times—burned edges, flat disasters, and everything in between—so you don’t have to face those kitchen heartbreaks. Today, I’m sharing every secret I learned along the way.
Table of Contents
Why This Dairy-Free Sugar Cookie Recipe Works
This recipe succeeds where others fail because it addresses the biggest challenge in dairy-free baking: texture. Traditional butter creates flakiness and richness through milk solids and fat content. When you remove it, cookies often turn out dry or cakey.
However, this easy dairy-free sugar cookies recipe uses vegan butter paired with a precise ratio of white and brown sugar. The combination creates moisture retention while the brown sugar adds subtle molasses notes that deepen flavor complexity.
Additionally, the chilling step transforms everything. Cold dough spreads more slowly in the oven, creating those coveted chewy centers with crisp edges. Julia Child always emphasized the importance of temperature control in baking, and she was absolutely right.
These chewy dairy-free sugar cookies contain no unusual ingredients. You’ll find everything at your regular grocery store. No specialty shops required.
What Makes These Cookies Special
First, they’re incredibly versatile. This base recipe works for rolled cutouts, drop cookies, or even sandwich cookies. Second, they taste exactly like traditional sugar cookies. Most people can’t detect any difference at all.
Moreover, these allergy-free cookie recipes accommodate multiple dietary needs simultaneously. Swap the all-purpose flour for a gluten-free blend, and you’ve got GF dairy-free cookies that everyone at the table can enjoy together.
Essential Ingredients for Perfect Results
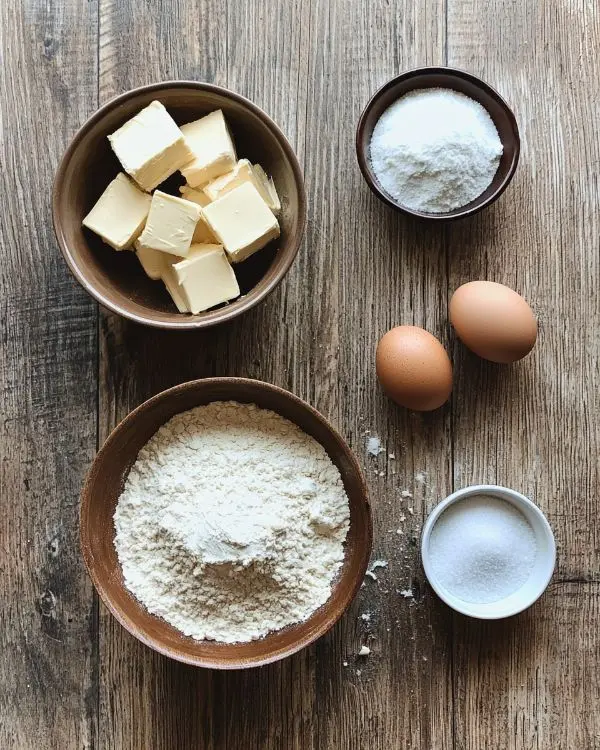
| Ingredient | US Measurement | Metric | Purpose |
|---|---|---|---|
| All-purpose flour | 1 ½ cups | 180g | Structure (use GF 1:1 blend if needed) |
| Baking soda | ½ teaspoon | 2.5g | Leavening and spread |
| Baking powder | ½ teaspoon | 2.5g | Additional rise |
| Salt | ¼ teaspoon | 1.5g | Flavor enhancement |
| Vegan butter | ½ cup | 113g | Fat and texture |
| Granulated sugar | 1 cup | 200g | Sweetness and structure |
| Brown sugar | 1 tablespoon | 12g | Moisture and depth |
| Large egg | 1 | 1 | Binding |
| Vanilla extract | ½ teaspoon | 2.5ml | Flavor |
| Rolling sugar | ¼ cup | 50g | Coating |
Shopping Tips for American Grocery Stores
You’ll find vegan butter in the refrigerated section near regular butter. Earth Balance and Miyoko’s are reliable brands that perform consistently in baking. Avoid margarine—it contains too much water and creates flat cookies.
Furthermore, choose pure vanilla extract rather than imitation. The difference shows up clearly in simple recipes like this. Look for bottles labeled “pure vanilla extract” at stores like Trader Joe’s or Whole Foods.
For flour, King Arthur and Bob’s Red Mill both make excellent gluten-free blends if you need GF sugar cookies recipe options. Their 1:1 baking flours work without any recipe modifications.
Bold Add-ins and Creative Variations
Transform these basic cookies into something spectacular with these additions:
- Lemon zest (1 tablespoon): Creates bright, citrusy notes
- Almond extract (¼ teaspoon): Adds bakery-style sophistication
- Sprinkles (2 tablespoons): Perfect for celebrations
- Cinnamon sugar coating: Swap plain sugar for cinnamon-sugar blend
Ingredient Substitutions
For the egg: Use 3 tablespoons aquafaba (chickpea liquid) or 1 flax egg (1 tablespoon ground flaxseed mixed with 3 tablespoons water, rested 5 minutes).
For vegan butter: Coconut oil works in equal measure, though it creates slightly crisper cookies. Alternatively, vegetable shortening produces a more traditional texture.
For brown sugar: Add 1 extra tablespoon of white sugar plus ¼ teaspoon molasses if you’re out of brown sugar.
Quality Indicators: Selecting the Best Ingredients
Choose vegan butter with at least 70% fat content. Check the nutrition label—lower fat products contain too much water. This creates steam during baking, leading to puffy rather than chewy cookies.
Similarly, use fresh baking powder and baking soda. Test baking powder by adding ½ teaspoon to hot water. It should bubble immediately. For baking soda, add a pinch to vinegar. Active ingredients create vigorous fizzing.
Fresh ingredients make the difference between good cookies and exceptional ones. Thomas Keller often says that great cooking starts at the shopping stage, and he’s absolutely right about baking too.
Equipment and Preparation
What You’ll Need
Essential tools:
- Stand mixer or hand mixer
- Two mixing bowls
- Medium cookie scoop (2 tablespoon capacity)
- Baking sheets
- Parchment paper
- Cooling rack
- Small bowl for rolling sugar
DIY alternatives: No cookie scoop? Use a standard spoon and roll dough between your palms. No stand mixer? Hand mixers work perfectly—just add two extra minutes to the creaming time. No parchment paper? Lightly grease your baking sheets with a thin coating of vegan butter.
How to Make Dairy-Free Sugar Cookies
Cream the Butter and Sugar
Start by adding softened vegan butter to your mixing bowl. It should feel like cool room-temperature Play-Doh—not melted, not cold. Beat on low speed for about one minute until it looks creamy and smooth.
Next, add both sugars. Now increase the speed to medium and whip for five full minutes. Man, oh man, this step matters more than most people realize. The mixture should nearly double in volume and turn pale yellow. Those air bubbles you’re creating become the foundation for chewy texture.
Oops! Here’s where I messed up during my early tests: I rushed this step and only mixed for two minutes. Those cookies came out dense and flat. Don’t make my mistake—set a timer and let science work its magic.
Add Wet Ingredients
Add the egg and vanilla extract to the fluffy butter mixture. Mix on medium speed until everything blends completely. You know those little specks of vanilla seeds? They should distribute evenly throughout the dough.
Scrape down the sides of the bowl with a spatula. Butter loves hiding in the corners, and unmixed butter creates uneven texture.
Combine Dry Ingredients
In your second bowl, whisk together flour, baking soda, baking powder, and salt. Whisking distributes the leavening agents evenly. Otherwise, you’ll get cookies that rise unevenly—some sections puffed, others flat.
This step takes thirty seconds but prevents countless problems later.
Mix the Dough
Reduce your mixer to low speed. Add the dry ingredients in three separate additions, mixing just until the flour disappears after each addition. Stop mixing as soon as you can’t see any dry flour streaks.
Overmixing develops gluten strands, creating tough cookies instead of tender ones. Julia Child warned against overworking pastry dough for exactly this reason—the same principle applies here.
The dough should look slightly shaggy but hold together when pressed.
The Critical Chilling Step
Cover the bowl with plastic wrap or a clean kitchen towel. Place it in the refrigerator for exactly 30 minutes. This step isn’t optional—it’s essential.
Cold butter melts more slowly during baking. Slower melting means cookies spread less before they set. That’s how you get thick, chewy centers instead of thin, crispy wafers.
During chilling, the flour also hydrates fully. This creates better structure and improved texture in the final cookies.
Shape and Coat
Remove the chilled dough from the refrigerator. Use your medium cookie scoop to portion out approximately 18 equal balls. Roll each ball between your palms to create perfect spheres.
Pour the rolling sugar into a small bowl. Roll each dough ball in sugar until completely coated. The sugar creates a slight crust during baking, adding textural contrast.
Now’s the perfect time to preheat your oven to 375°F. Position the rack in the center of the oven for even heat distribution.
Prepare for Baking
Line your baking sheets with parchment paper. Arrange the sugar-coated balls about two inches apart. They’ll spread during baking, so don’t crowd them.
Here’s a professional trick: gently press each ball with the bottom of a drinking glass or your palm. Press just slightly—maybe flattening them by one-third. This pre-flattening creates more even baking.
However, don’t press too firmly. Pancake-flat dough loses that wonderful chewy texture we’re after.
Bake to Perfection
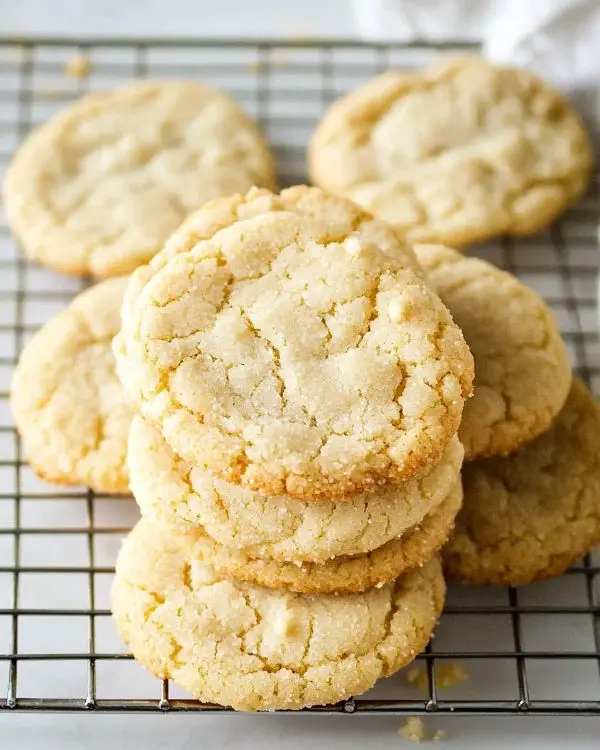
Bake at 375°F for approximately 10 minutes. Watch for these visual cues: edges should turn slightly golden, and centers should look just barely set. They’ll appear slightly underdone—that’s exactly right.
The cookies continue baking on the hot pan after you remove them from the oven. This residual heat finishes the centers while keeping them soft.
If you notice uneven shapes, use a drinking glass to gently nudge the edges into rounder circles immediately after removing the pan from the oven. The cookies are still soft enough to reshape but firm enough to hold their new form.
Cool Properly
Let the cookies rest on the baking sheet for five full minutes. This waiting period allows them to firm up enough for safe transfer.
After five minutes, use a spatula to move them to a cooling rack. Air circulates around the cookies on a rack, preventing soggy bottoms.
Wait until they’re completely cool before storing. Warm cookies create condensation in containers, leading to soggy texture.
Expert Tips for Bakery-Quality Results
Measure flour correctly: Spoon flour into your measuring cup and level it with a knife. Scooping directly from the bag packs too much flour, creating dry cookies.
Room temperature matters: Take the egg out of the refrigerator 30 minutes before baking. Cold eggs can cause butter to seize and become grainy.
Rotate the pan: Halfway through baking, rotate your baking sheet 180 degrees. This compensates for uneven oven heat and creates uniform browning.
The underbake secret: Remove cookies when centers still look slightly underdone. They’ll firm up perfectly during cooling while maintaining that coveted chewiness.
Consistent sizing: Use a cookie scoop rather than spoons. Uniform size means even baking. Otherwise, small cookies burn while large ones stay raw in the middle.
Creative Variations for Every Occasion
Regional Twists
Texas-Style Cinnamon Sugar: Mix ¼ cup sugar with 1 tablespoon cinnamon for coating. These taste like snickerdoodles without the cream of tartar.
California Lemon Cookies: Add 1 tablespoon lemon zest to the dough and coat in lemon sugar (mix ¼ cup sugar with 1 teaspoon lemon zest).
New England Maple Cookies: Replace vanilla with ½ teaspoon maple extract and drizzle cooled cookies with maple glaze.
Dietary Adaptations
Gluten-free version: Swap all-purpose flour for a 1:1 gluten-free baking blend. Bob’s Red Mill or King Arthur brands work beautifully. The texture stays remarkably similar—even my gluten-eating friends can’t tell the difference.
Vegan version: Replace the egg with 3 tablespoons aquafaba. Whip it slightly before adding to create better structure.
Sugar-free option: Use monk fruit sweetener in a 1:1 ratio. The cookies won’t brown as deeply, but the flavor remains delicious.
Holiday Specials
Christmas cutouts: Roll the dough ¼-inch thick and use cookie cutters. Bake for 8-10 minutes. Check out my Italian Christmas cookies for more festive ideas.
Valentine’s hearts: Add 2 tablespoons freeze-dried strawberry powder to the dough for natural pink color and fruity flavor.
Halloween spice: Add ½ teaspoon pumpkin pie spice and coat in orange-colored sugar.
Storage and Make-Ahead Strategies
| Storage Method | Duration | Instructions |
|---|---|---|
| Room temperature | 5-7 days | Store in airtight container with parchment between layers |
| Refrigerator | 2 weeks | Use airtight container; bring to room temp before serving |
| Freezer (baked) | 3 months | Wrap individually in plastic, then store in freezer bag |
| Freezer (dough balls) | 3 months | Freeze on tray, then transfer to freezer bag; bake from frozen, adding 2 minutes |
Make-Ahead Game Plan
Prepare the dough up to three days ahead. Keep it wrapped tightly in the refrigerator. When ready to bake, let it sit at room temperature for 10 minutes before scooping.
Alternatively, freeze shaped dough balls for ultimate convenience. Arrange them on a baking sheet and freeze until solid. Transfer to a freezer bag with the date labeled. Bake directly from frozen—just add two extra minutes to the baking time.
Baked cookies freeze exceptionally well. Stack them with parchment paper between layers in an airtight container. Thaw at room temperature for 30 minutes before serving.
Perfect Pairings and Serving Suggestions
These chewy dairy-free sugar cookies shine alongside cold almond milk or dairy-free hot chocolate. They’re also fantastic crumbled over dairy-free ice cream for an instant sundae.
For a complete dessert spread, pair them with my colorful sprinkles Italian cookies or white chocolate peppermint cookies. The variety keeps guests interested while accommodating different dietary needs.
Consider creating a cookie board for parties. Arrange these sugar cookies with sweetened condensed milk snowballs and funfetti Christmas cookies for visual impact.
They’re equally delicious packed in lunch boxes or served as afternoon snacks. The simple flavor appeals to both kids and adults.
Dairy-Free Sugar Cookies FAQs
What makes cookies chewy instead of soft?
Chewy cookies result from higher moisture content and specific sugar ratios. Brown sugar contains molasses, which attracts and holds moisture during baking. Additionally, slightly underbaking cookies leaves more moisture in the centers, creating that characteristic chew. The cooling process on the pan also matters—residual heat continues cooking the edges while centers stay tender.
What is a good milk substitute for sugar cookies?
These dairy-free sugar cookies don’t require any milk at all in the dough. However, if you’re making royal icing or glaze, almond milk, oat milk, or soy milk all work excellently. Choose unsweetened varieties to control sweetness levels. Oat milk creates the creamiest consistency due to its natural thickness.
Can I use oil instead of butter in sugar cookies?
You can substitute coconut oil for vegan butter in equal measure, though the texture changes slightly. Oil lacks the water content found in butter, creating crisper rather than chewy cookies. For best results, stick with vegan butter specifically formulated for baking. These products mimic real butter’s fat and water balance, producing superior texture.
How to make chewy vs cakey cookies?
Chewy cookies need more fat, less flour, and slightly underbaking. Use melted or very soft butter, add an extra egg yolk, and remove them from the oven when centers look barely set. Cakey cookies require more flour, an extra egg white, and longer baking times. The leavening ratio also matters—more baking powder creates cake-like rise, while baking soda produces spread and chewiness.
The Joy of Inclusive Baking
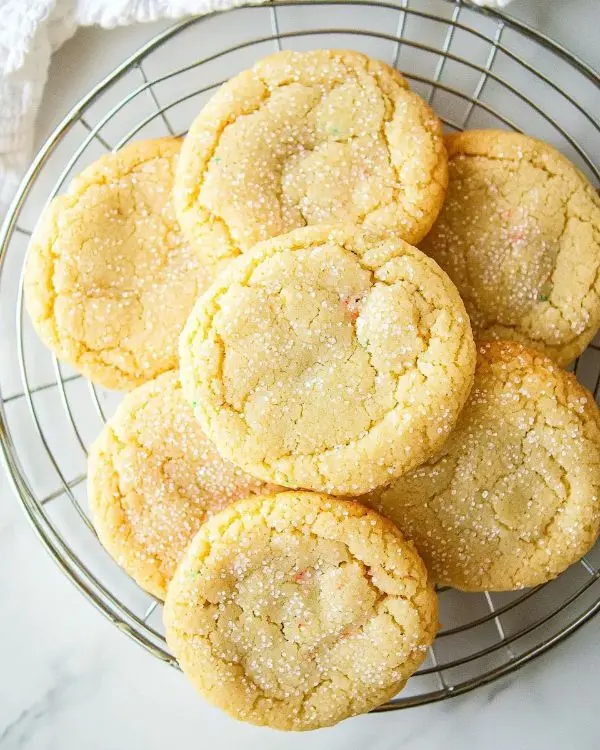
Remember my niece from the beginning of this story? She’s now twelve years old and bakes these dairy-free sugar cookies herself. Last Christmas, she brought three dozen to her school party. By the end of lunch, not a single crumb remained.
The best part? None of her classmates realized they were dairy-free until she mentioned it. That’s when I knew this recipe truly succeeded.
These easy dairy-free sugar cookies prove that dietary restrictions don’t limit deliciousness. They expand it. You’ll discover new techniques, better ingredients, and recipes that work for everyone at your table.
Whether you’re baking for someone with allergies or simply exploring healthier options, this recipe delivers consistent results. The chewy texture, classic flavor, and simple preparation make it a year-round favorite.
Try pairing these with a glass of cold almond milk or dairy-free eggnog during the holidays. The combination tastes absolutely magical.
I’d love to see your creations! Snap a photo of your finished cookies and tag @TastyAtHome on social media. Share your favorite variation in the comments—I’m always looking for new ideas to test in my kitchen.
After all, every great recipe starts with someone brave enough to try something different. Today, that someone is you.
Tasty at Home – Where bold flavors meet everyday kitchens.
Easy Dairy-Free Sugar Cookies
Equipment
- stand mixer or hand mixer
- mixing bowls
- Cookie scoop
- Baking sheets
- Parchment paper
- Cooling rack
- spatula
Ingredients
Cookie Dough
- 1 ½ cups All-purpose flour or GF 1:1 blend
- ½ teaspoon Baking soda
- ½ teaspoon Baking powder
- ¼ teaspoon Salt
- ½ cup Vegan butter softened
- 1 cup Granulated sugar
- 1 tablespoon Brown sugar
- 1 Large egg
- ½ teaspoon Vanilla extract
For Coating
- ¼ cup Rolling sugar for coating
Instructions
- Cream softened vegan butter until smooth, then beat with granulated and brown sugar for 5 minutes until pale and fluffy.
- Add the egg and vanilla extract, mixing until fully combined. Scrape bowl sides.
- Whisk flour, baking soda, baking powder, and salt in a separate bowl.
- Gradually mix dry ingredients into wet until no flour streaks remain. Do not overmix.
- Cover and chill dough in refrigerator for 30 minutes.
- Scoop dough into 18 balls, roll in sugar, and place on parchment-lined baking sheets.
- Gently flatten balls slightly, then bake at 375°F (190°C) for about 10 minutes until edges are golden and centers look barely set.
- Cool on baking sheet for 5 minutes, then transfer to wire rack until fully cooled.

