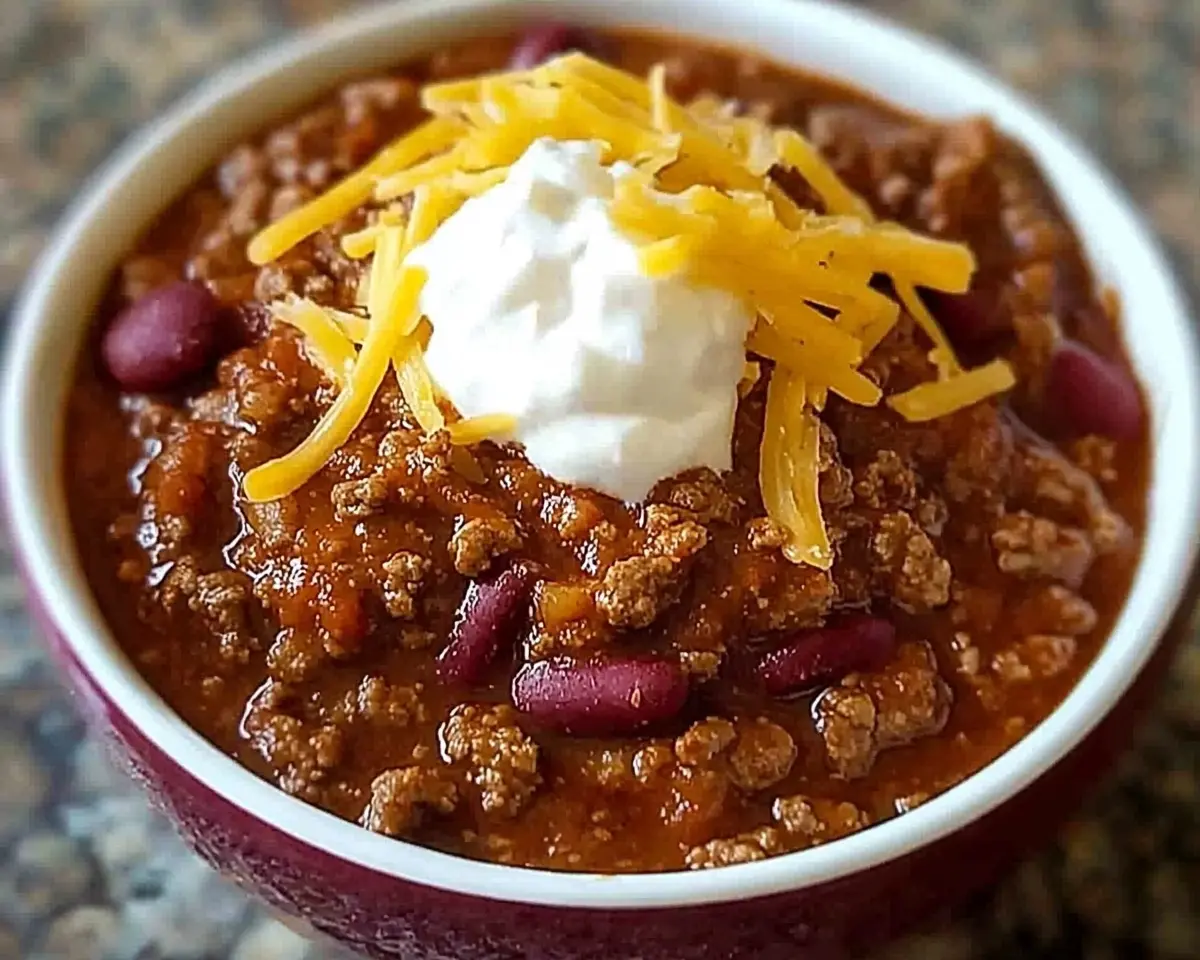
Classic chili recipe with beef, beans, and perfect spices. Ready in 45 minutes with foolproof steps and expert tips for the best chili ever.
Hi, I’m Linda, and welcome to Tasty at Home—a cozy corner where bold flavors meet everyday kitchens. One spoonful of this classic chili took me straight back to a crisp October evening in Denver, where the smell of simmering spices drifted from every kitchen window.
I’ve tested this recipe fifteen times—scorched the bottom twice and learned the hard way about balancing heat—so you don’t have to face those kitchen disasters.
Whether you’re hosting your first Super Bowl party or simply craving something hearty on a Tuesday night, this classic chili delivers every single time. The secret lies in building layers of flavor, not just dumping everything into a pot.
After years of tweaking and tasting, I’ve cracked the code on what makes chili truly memorable.
Let’s dive into comfort food perfection. Because here, every dish tells a story—and this one might just become your family’s new tradition.
Table of Contents
What Makes This Classic Chili Recipe Extraordinary
This isn’t just another chili recipe thrown together on a whim. Instead, this classic chili combines time-tested techniques with modern convenience.
The magic happens when you bloom the spices first, creating a aromatic foundation that elevates every bite.
Additionally, this recipe strikes the perfect balance between simplicity and sophistication. You won’t need exotic ingredients or professional equipment. However, you will discover how proper layering transforms ordinary ground beef into something spectacular.
Furthermore, this classic chili feeds six generous portions and freezes beautifully. It’s also naturally gluten-free and packed with protein, making it ideal for meal prep enthusiasts.
Essential Ingredients for Perfect Classic Chili
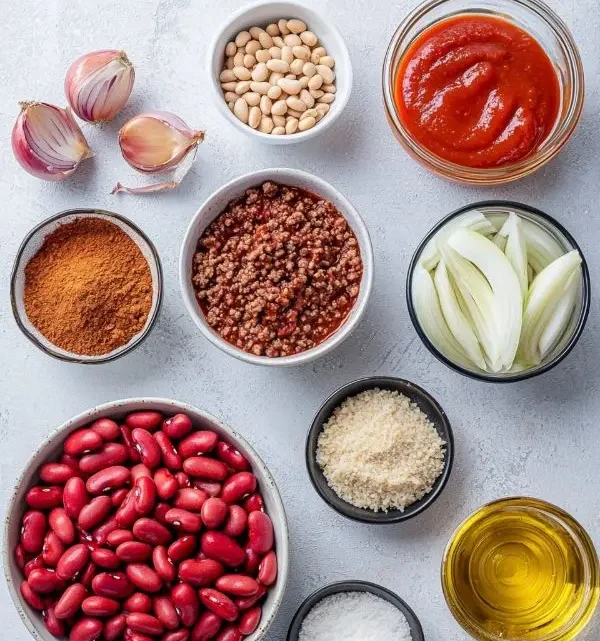
| Ingredient | Amount | Notes |
|---|---|---|
| Olive oil | 1 tablespoon | Extra virgin preferred |
| Yellow onion | 1 medium, diced | About 1 cup |
| Ground beef | 1 pound, 90% lean | Avoid extra lean |
| Chili powder | 2½ tablespoons | Quality matters here |
| Ground cumin | 2 tablespoons | Toast for extra flavor |
| Granulated sugar | 2 tablespoons | Balances acidity |
| Tomato paste | 2 tablespoons | Double concentrated |
| Garlic powder | 1 tablespoon | Fresh garlic burns easily |
| Salt | 1½ teaspoons | Kosher salt recommended |
| Black pepper | ½ teaspoon | Freshly ground |
| Cayenne pepper | ¼ teaspoon | Optional for heat |
| Beef broth | 1½ cups | Low sodium preferred |
| Diced tomatoes | 15 oz can | Petite cut works best |
| Red kidney beans | 16 oz can | Drain and rinse |
| Tomato sauce | 8 oz can | Plain, unseasoned |
Shopping Tips for Best Results
When shopping for your classic chili ingredients, choose ground beef with 90% lean ratio. Leaner meat creates dry, crumbly chili. Meanwhile, fattier options make the dish greasy.
Moreover, invest in quality chili powder. The difference between generic and premium brands is remarkable. Look for powder with vibrant red color and strong aroma.
For the best chili experience, buy whole cumin seeds and grind them yourself. This extra step transforms the entire dish. However, pre-ground cumin works perfectly fine too.
Bold Add-ins and Creative Variations
| Variation | Ingredients to Add | When to Add |
|---|---|---|
| Smoky Classic | 1 tsp smoked paprika | With other spices |
| Beer Chili | ½ cup dark beer | Replace ½ cup broth |
| Coffee Chili | 2 tbsp strong coffee | With tomatoes |
| Chocolate Chili | 1 oz dark chocolate | Last 5 minutes |
Equipment and Preparation Steps
You’ll need a heavy-bottomed soup pot or Dutch oven for even heat distribution. Cast iron works beautifully but stainless steel performs equally well. Additionally, keep a wooden spoon handy for stirring without scratching your cookware.
If you don’t own a large pot, a deep skillet works in a pinch. However, you might need to reduce the liquid slightly to prevent overflow.
Step 1: Create Your Flavor Foundation
Heat the olive oil in your soup pot over medium-high heat for two minutes. The oil should shimmer but not smoke. Then, add the diced onion and cook for exactly five minutes, stirring occasionally.
This step builds the aromatic base for your classic chili. The onions should soften and become translucent, releasing their natural sweetness. Don’t rush this process—properly cooked onions make all the difference.
Step 2: Brown the Ground Beef Perfectly
Add the ground beef to the pot and break it apart with your wooden spoon. Cook for six to seven minutes until the beef browns completely, stirring occasionally to ensure even cooking.
Here’s where I made my biggest mistake initially: I kept stirring constantly. This prevented proper browning and created gray, unappetizing meat. Instead, let the beef sit for a minute between stirs.
The beef should develop a rich, brown color with some darker edges. This caramelization adds incredible depth to the best classic chili.
Step 3: Bloom the Spices Like a Pro
Add the chili powder, cumin, sugar, tomato paste, garlic powder, salt, pepper, and optional cayenne. Stir until everything combines evenly, about one minute.
This technique, called “blooming,” awakens the spices and intensifies their flavors. The mixture should smell incredibly aromatic. If it starts sticking, lower the heat slightly.
Celebrity chef Emeril Lagasse swears by this spice-blooming method for deeper flavor development. The tomato paste also caramelizes slightly, adding richness.
Step 4: Build the Liquid Base
Add the beef broth, diced tomatoes with their juice, drained beans, and tomato sauce. Stir everything together until well combined.
The mixture should look chunky and hearty. Don’t worry if it seems thin initially—the chili will thicken as it simmers.
Bring the liquid to a low boil, then immediately reduce the heat to low-medium for gentle simmering. This prevents the bottom from burning while developing complex flavors.
Step 5: The Magic of Slow Simmering
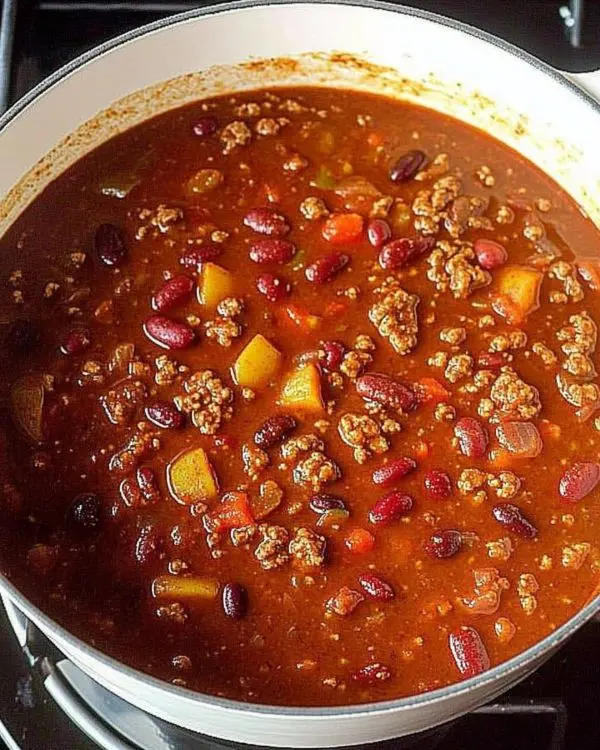
Simmer the chili uncovered for twenty to twenty-five minutes, stirring occasionally. The surface should bubble gently, not violently.
During this time, the liquid reduces and the flavors meld beautifully. The chili should thicken noticeably and develop a rich, deep color.
Taste and adjust seasonings during the last five minutes. You might want additional salt or a pinch more cayenne.
Step 6: Rest for Perfect Texture
Remove the pot from heat and let the chili rest for five to ten minutes before serving. This resting period allows the flavors to settle and the texture to reach perfection.
The chili will continue thickening slightly as it cools. This makes each spoonful more satisfying and prevents burning your tongue.
Expert Tips for Classic Chili Success
Secret Techniques from Kitchen Testing
After dozens of batches, I’ve discovered several game-changing tips. First, never skip the sugar—it balances the acidity from tomatoes without making the chili sweet.
Second, resist the urge to add all the liquid at once. This classic chili recipe provides the perfect ratio, but different brands of tomatoes vary in liquid content.
Third, taste your chili powder before using it. Stale spices create flat, disappointing results. Fresh chili powder should smell vibrant and slightly fruity.
Regional and Dietary Variations
Texas-Style Classic Chili: Omit the beans entirely and add an extra half pound of beef. True Texans insist beans don’t belong in chili.
Vegetarian Version: Replace ground beef with crumbled firm tofu or plant-based ground meat. Use vegetable broth instead of beef broth.
Low-Sodium Option: Use no-salt-added tomatoes and reduce salt to one teaspoon. Add extra herbs like oregano and fresh cilantro for flavor.
Slow Cooker Method: Brown the meat and onions first, then transfer everything to your slow cooker. Cook on low for six hours or high for three hours.
Holiday Spiced Chili: Add a pinch of cinnamon and allspice during the blooming stage. It’s a small trick that elevates even the best easiest chili recipe, creating warming notes perfect for winter gatherings.
Storage and Make-Ahead Magic

| Storage Method | Duration | Notes |
|---|---|---|
| Refrigerator | 4-5 days | Reheat gently |
| Freezer | 3 months | Leave 1 inch headspace |
| Meal prep | 1 week | Portion in containers |
Classic chili actually improves after a day in the refrigerator. The flavors continue developing, creating an even more delicious meal. Therefore, consider making it ahead for parties or busy weeknights.
When reheating, add a splash of broth if the chili seems too thick. Heat slowly to prevent sticking or burning.
Classic Chili Perfect Pairings and Serving Ideas
Serve your classic chili with warm cornbread or crusty sourdough bread. The bread soaks up the flavorful broth beautifully.
For toppings, offer shredded cheddar cheese, sour cream, and fresh chopped onions. These additions provide cooling contrast to the warm spices.
Consider serving over baked sweet potatoes for a hearty, healthy meal. The sweetness complements the savory chili perfectly. You might also enjoy it with our Mexican street tacos for a complete Mexican-inspired feast.
Additionally, this beef chili recipe makes an excellent topping for nachos or baked potatoes. Try it over rice for a filling, budget-friendly dinner.
Classic Chili FAQs
What is the secret to really good chili?
The secret to really good chili lies in properly browning the meat and blooming the spices before adding liquids. This creates layers of flavor that make ordinary ingredients extraordinary.
What is the original chili?
The original chili was invented in Texas during the 1800s and contained only meat, chili peppers, and basic seasonings. No beans, tomatoes, or vegetables were included in traditional Texas chili.
Is chorizo good in chili?
Chorizo is excellent in chili and adds smoky, spicy flavor that complements the other ingredients. Replace half the ground beef with chorizo for authentic Mexican-style chili.
Which chiles are best for chili?
The best chiles for chili include ancho, chipotle, and New Mexico varieties. These provide complex flavor without overwhelming heat. Quality chili powder typically contains a blend of these peppers.
From My Kitchen to Yours
This classic chili recipe has become my go-to comfort food for cold evenings and casual entertaining. The combination of perfectly seasoned beef, creamy beans, and rich tomato base creates something truly special.
Remember, great chili isn’t about following every rule perfectly. Instead, it’s about understanding the techniques and making them your own. Don’t be afraid to adjust seasonings to match your family’s preferences.
Serve this alongside our copycat Taco Bell Mexican pizzas for a fun Mexican-themed dinner, or pair it with our cowboy queso for the ultimate comfort food experience.
This classic chili brings people together around the table, just like it did during that memorable Denver evening. Whether you’re feeding hungry teenagers after football practice or hosting friends for game day, this recipe delivers every time.
Try it this week and let me know how it turns out. Tag us on social media with your own classic chili creations—I love seeing your kitchen successes and creative variations.
Tasty at Home – Where bold flavors meet everyday kitchens
Classic Chili
Equipment
- Large soup pot or Dutch oven
- wooden spoon
- Can opener
- Measuring cups and spoons
Ingredients
Base Ingredients
- 1 tablespoon olive oil
- 1 medium yellow onion diced
- 1 pound ground beef 90% lean
Spices
- 2 ½ tablespoons chili powder
- 2 tablespoons ground cumin
- 2 tablespoons granulated sugar
- 2 tablespoons tomato paste
- 1 tablespoon garlic powder
- 1 ½ teaspoons salt
- ½ teaspoon ground black pepper
- ¼ teaspoon ground cayenne pepper optional
Liquids & Vegetables
- 1 ½ cups beef broth
- 1 15 oz can petite diced tomatoes
- 1 16 oz can red kidney beans drained and rinsed
- 1 8 oz can tomato sauce
Instructions
- Add the olive oil to a large soup pot and place it over medium-high heat for two minutes. Add the onion and cook for 5 minutes, stirring occasionally.
- Add the ground beef to the pot. Break it apart with a wooden spoon. Cook for 6-7 minutes, until the beef is browned, stirring occasionally.
- Add the chili powder, cumin, sugar, tomato paste, garlic powder, salt, pepper, and optional cayenne. Stir until well combined.
- Add the broth, diced tomatoes (with their juice), drained beans, and tomato sauce. Stir well.
- Bring the liquid to a low boil. Then, reduce the heat (low to medium-low) to gently simmer the chili, uncovered, for 20-25 minutes, stirring occasionally.
- Remove the pot from the heat. Let the chili rest for 5-10 minutes before serving.

