Cinnamon Swirl Pumpkin Sourdough Bread combines fall flavors with tangy sourdough. Easy recipe with expert tips for perfect swirl bread results.
Hi, I’m Linda, and welcome to Tasty at Home—a cozy corner where bold flavors meet everyday kitchens. Last October, while visiting a charming farm market in Vermont, the aroma of cinnamon and pumpkin wafted through the crisp autumn air like nature’s own perfume. Well, that single whiff changed everything.
I watched bakers pull golden loaves from wood-fired ovens, each one swirled with ribbons of spice. However, when I tasted my first slice, disappointment hit hard. The bread was dense, lacking that perfect balance of tangy sourdough and warm autumn spices I craved.
That moment sparked a six-month journey of testing, tweaking, and perfecting this cinnamon swirl pumpkin sourdough bread. I burned exactly three loaves learning the ideal temperature. Moreover, I discovered the secret to achieving those gorgeous cinnamon ribbons without creating dense pockets.
Now, this recipe delivers everything that Vermont bakery couldn’t. Furthermore, it brings the essence of fall directly to your kitchen counter. Let me tell you, once you master this technique, you’ll never buy store-bought pumpkin bread again.
Table of Contents
What Makes This Pumpkin Sourdough Special
This isn’t your typical pumpkin bread recipe. Instead, we’re combining the complex flavors of wild yeast fermentation with the warm embrace of autumn spices. The result tastes like biting into a perfectly balanced symphony of tangy and sweet.
Additionally, the lamination technique creates distinct cinnamon swirls throughout each slice. You know those gorgeous patterns you see in artisan bakeries? Well, you’re about to create them in your own kitchen using simple folding methods.
Ingredients That Make Magic Happen
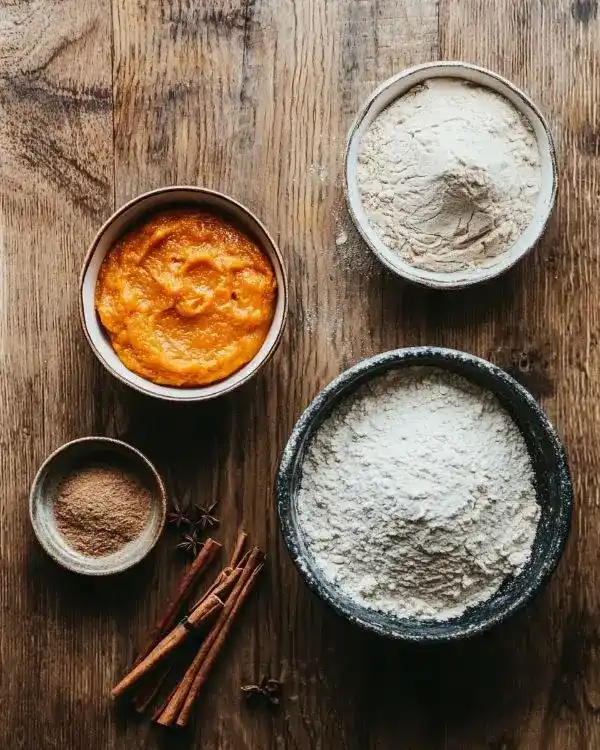
| Pumpkin Sourdough Base | US Measure | Metric |
|---|---|---|
| Active sourdough starter (levain) | 1/3 cup | 80g |
| Filtered water | 3/4 cup + 2 tbsp | 200ml |
| Bread flour | 3 cups | 375g |
| Pumpkin puree | 1/2 cup | 100g |
| Brown sugar | 1/4 cup packed | 50g |
| Salt | 2 tsp | 10g |
| Pumpkin pie spice | 1/2 tsp | 2g |
| Cinnamon Swirl | Amount |
|---|---|
| Ground cinnamon | 2-3 tbsp |
Shopping Smart at American Grocery Stores
Look for Libby’s pumpkin puree in the baking aisle—it’s consistently smooth and flavorful. However, avoid pumpkin pie filling, which contains added sugars and spices that will throw off our carefully balanced recipe.
Choose King Arthur bread flour if possible. It provides the protein content needed for proper gluten development during fermentation. Meanwhile, your sourdough starter should pass the float test—a spoonful should bob happily in water when ready.
Pro Shopping Tip: Grab extra cinnamon from the spice aisle. I prefer Saigon cinnamon for its bold, sweet heat that cuts through the pumpkin’s earthiness beautifully.
Essential Equipment and Setup for the Best Sourdough Pumpkin Bread
You’ll need a large mixing bowl, danish dough whisk (or sturdy wooden spoon), and a proofing basket. Additionally, a Dutch oven creates the perfect steamy environment for crusty sourdough.
Don’t have a proofing basket? No problem! Line a medium bowl with a clean kitchen towel dusted with flour. This DIY alternative works perfectly for home bakers.
The Three-Day Timeline
Day 1 Evening: Feed your starter and let it bubble with anticipation overnight.
Day 2 Morning: Mix, fold, and shape your dough. Then, let cold fermentation work its magic in the refrigerator.
Day 3: Score, bake, and enjoy the fruits of your patience.
This timeline might seem long, but active work time totals just two hours spread across three days. Furthermore, the extended fermentation develops incredible flavor complexity you simply cannot achieve with commercial yeast.
Step-by-Step Baking Instructions
Day 1: Preparing Your Starter Foundation
Seven to eight hours before starting your dough, feed your sourdough starter using a 1:1:1 ratio. I recommend 50g starter, 50g flour, and 50g water for this recipe.
Your starter should double in size and develop a pleasant, yeasty aroma. Moreover, it should pass the float test—a small spoonful will float in water when properly active.
Day 2: Building Flavor Through Fermentation
Morning Mix (9:00 AM)
In your largest mixing bowl, combine the active levain with filtered water. Oops! I forgot to mention—avoid chlorinated tap water, which can inhibit fermentation.
Next, add bread flour, pumpkin puree, brown sugar, salt, and pumpkin pie spice. Using your danish dough whisk, mix until smooth and no dry flour remains visible.
The dough will feel sticky initially—this is perfectly normal. Therefore, resist the urge to add extra flour at this stage.
Bulk Fermentation Magic
Over the next two hours, you’ll perform four sets of stretch and folds every thirty minutes. This technique develops gluten structure without traditional kneading.
To perform stretch and folds, wet your hand lightly. Then, reach to the bottom of the bowl and pull one edge of dough toward the center. Rotate the bowl a quarter turn and repeat. Complete this motion four times per set.
Common Mistake Alert: I once tried skipping the wet hands step and ended up with dough stuck to my fingers like cement. Trust me, damp hands make all the difference!
After your final stretch and fold, cover the dough and let it rise for three to four hours. You’ll know it’s ready when the dough doubles in size and develops visible bubbles on the surface.
Creating the Signature Cinnamon Swirl
Turn your risen dough onto a lightly floured surface. Now comes the fun part—creating those Instagram-worthy swirls!
Gently stretch the dough into the largest rectangle possible without tearing. The dough should feel elastic and cooperative after proper fermentation.
Sprinkle ground cinnamon evenly across the entire surface. Then, perform a letter fold by folding the dough into thirds, just like folding a business letter.
Roll the folded dough into a ball and let it rest for fifteen minutes. This rest period relaxes the gluten, making the final shaping easier.
Final Shaping
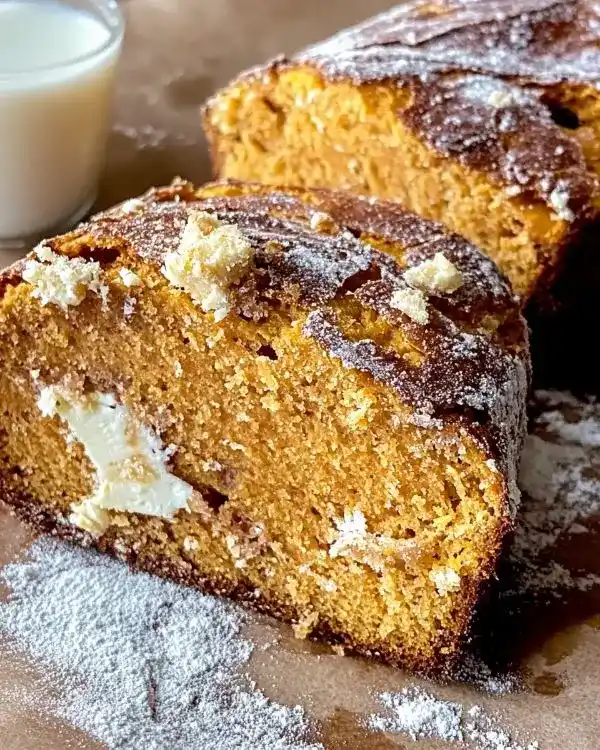
After resting, stretch the dough into a rectangle once more. Sprinkle with additional cinnamon—don’t be shy here! The cinnamon creates those beautiful marbled patterns we’re after.
Fold into thirds again, then roll into a tight ball. Create surface tension by pushing and pulling the dough ball across your counter, forming a seam underneath.
Place the shaped dough seam-side up in your floured proofing basket. Cover and refrigerate overnight, or up to three days for deeper flavor development.
Day 3: The Grand Finale
Preheating Perfection
One hour before baking, place your Dutch oven in the oven and preheat to 480°F. This extended preheating ensures even heat distribution throughout the pot.
Scoring and Steam Setup
Invert your cold dough onto parchment paper. Dust the surface with flour and smooth gently with your hands.
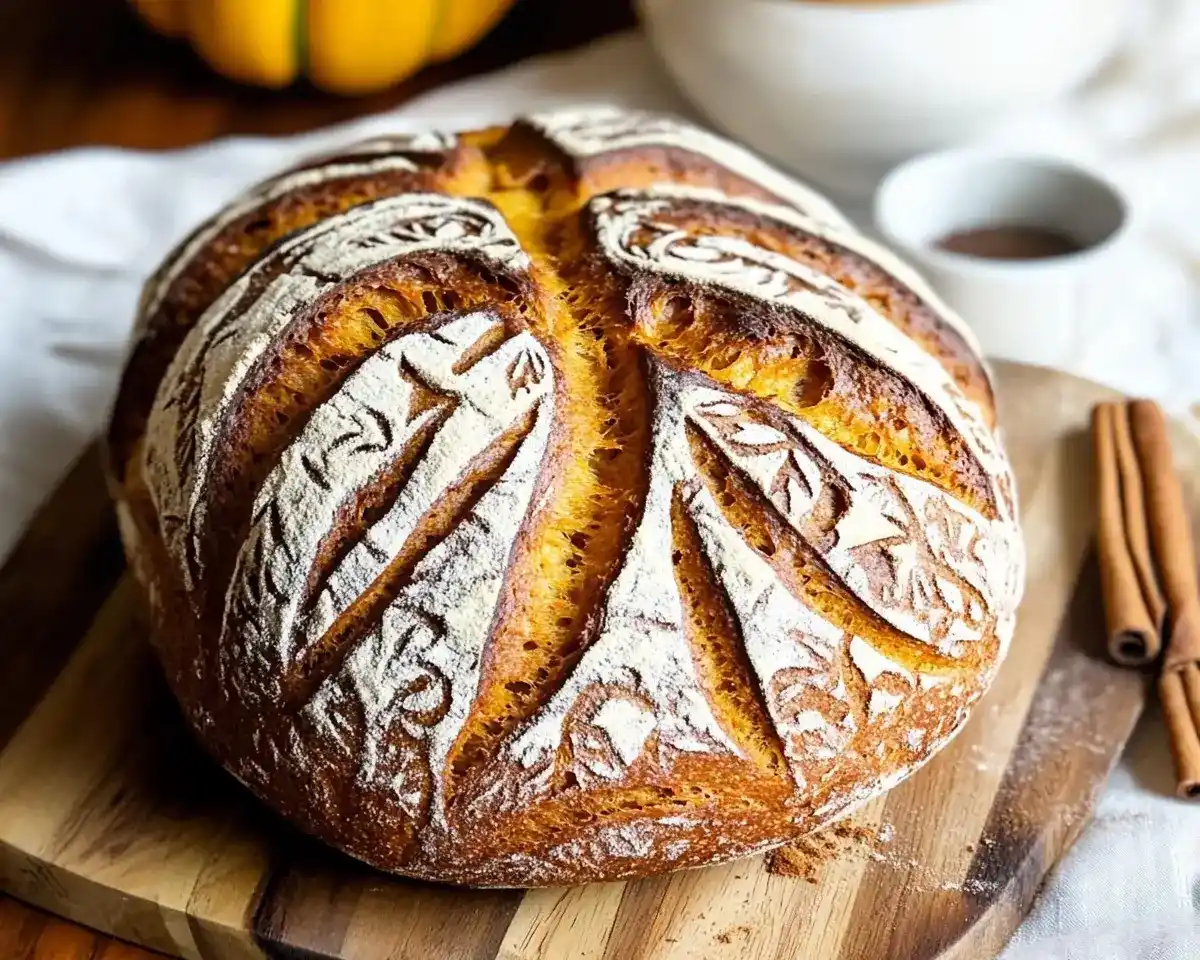
Using a sharp knife or bread lame, score the dough with confident, swift motions. I prefer a simple cross pattern that allows maximum oven spring.
Baking Technique
Lower the parchment-wrapped dough into your scorching Dutch oven. Quickly add three to four ice cubes under the parchment—they’ll create instant steam for a crispy crust.
Cover and bake for twenty minutes at 480°F with a baking sheet on the rack below. Then, reduce temperature to 450°F, remove the lid, and bake another twenty minutes until deep golden brown.
The Hardest Part: Patience
Remove the bread immediately from the Dutch oven and resist slicing for at least one hour. I know it’s torture, but cutting too early releases steam and creates a gummy texture.
Creative Variations for Sourdough Pumpkin Bread and Expert Tips
Seasonal Flavor Twists
Maple Pecan Swirl: Replace brown sugar with maple syrup and add chopped pecans to the cinnamon layer.
Apple Cinnamon Version: Dice one small apple and fold into the dough with the cinnamon for extra texture.
Holiday Spice Upgrade: Add a pinch of cardamom and nutmeg to your cinnamon mixture for a more complex flavor profile.
Storage and Make-Ahead Magic
| Storage Method | Duration | Best Use |
|---|---|---|
| Room temperature (wrapped) | 3-4 days | Daily slicing |
| Refrigerated (wrapped) | 1 week | Toast slices |
| Frozen (sliced) | 3 months | Individual portions |
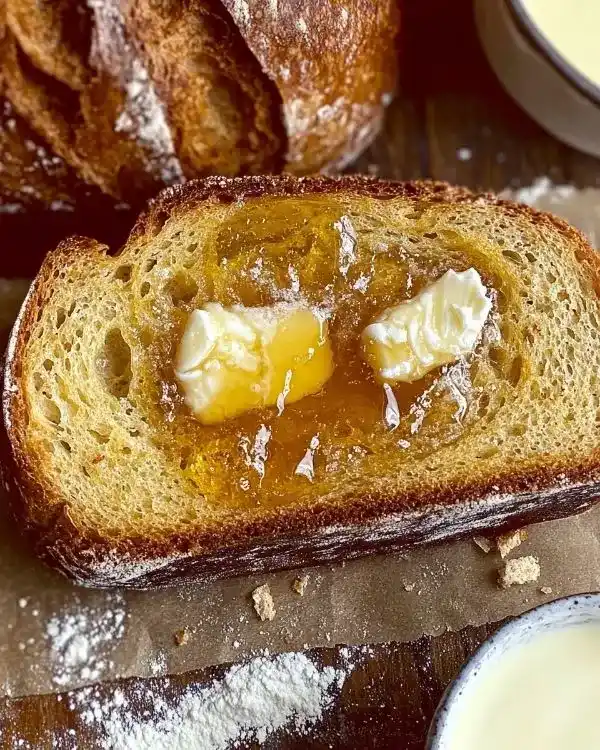
Pro Tip: Slice the entire loaf before freezing. This allows you to toast individual pieces straight from the freezer without thawing the whole loaf.
Troubleshooting Common Issues
Dense, Heavy Bread: Usually indicates under-fermented starter or insufficient bulk fermentation time. Your dough should nearly double before shaping.
Weak Cinnamon Swirl: Don’t be afraid to use more cinnamon than feels comfortable. The dough absorbs much of the spice during baking.
Pale Crust: Extend the uncovered baking time by five-minute intervals until you achieve your desired golden color.
Pumpkin Spice Sourdough Perfect Pairings
This swirl bread transforms ordinary mornings into something special. Serve warm slices with creamy butter and our viral cucumber salad for a surprising brunch combination.
Additionally, try toasted slices alongside our famous white chicken chili for the ultimate autumn comfort meal. The bread’s sweetness balances the chili’s heat perfectly.
For dessert applications, pair with pumpkin chocolate chip energy bites and coffee for an indulgent afternoon treat.
Creating the Optional Pumpkin Shape
Want to take your presentation to the next level? Transform your sourdough into an adorable pumpkin shape that’ll be the star of any fall gathering.
Cut four strings, each about twenty inches long. Arrange them in a criss-cross pattern on parchment paper, then place your cold dough ball on top.
Dust the surface lightly with flour and gently spread the dough with your hands. Readjust the strings to ensure even spacing.
Two at a time, grab strings from opposite sides and tie them at the top center. You should have eight even sections resembling a pumpkin’s natural ridges.
Score decorative patterns into each section if desired. Then, bake using the same temperature and timing as the regular loaf.
After cooling slightly, carefully remove the strings. Add a cinnamon stick “stem” by cutting a small X in the crust and inserting it gently.
Cinnamon Swirl Pumpkin Sourdough Bread FAQs
Can I use whole wheat flour instead of bread flour?
Substitute up to half the bread flour with whole wheat for added nutrition. However, expect a denser texture and longer fermentation time. The whole wheat absorbs more liquid and requires patience.
Why does my starter need to be so active?
Active starter provides the leavening power for proper rise and creates the characteristic tangy flavor. An sluggish starter results in flat, dense bread that lacks sourdough’s signature taste.
How do I know when bulk fermentation is complete?
Look for doubled size, visible bubbles on the surface, and a slightly domed appearance. The dough should feel light and airy when gently shaken in the bowl.
Can I make this bread without the cinnamon swirl?
Absolutely! Skip the lamination steps and shape directly after bulk fermentation. You’ll have delicious pumpkin sourdough bread with a more uniform crumb structure.
The Sweet Conclusion
Man, oh man, there’s something magical about pulling a perfect loaf of cinnamon swirl pumpkin sourdough from your own oven. The aroma alone transports you to that cozy autumn morning when leaves crunch underfoot and sweaters emerge from storage.
This recipe represents months of testing and refinement, transforming a disappointing bakery experience into homemade perfection. Moreover, it proves that the best flavors come from patience, practice, and a willingness to embrace the beautiful unpredictability of wild yeast.
Whether you’re serving this swirl bread at Thanksgiving breakfast or gifting loaves to neighbors, you’re sharing more than just bread. You’re offering a piece of autumn warmth, wrapped in the ancient art of fermentation.
Next time you’re craving something special, pair a toasted slice with our indulgent Dubai chocolate strawberries for the ultimate sweet ending to any meal.
Give this recipe a try and tag us @tastyathome when you share your beautiful swirled creations. I can’t wait to see your autumn baking adventures unfold!
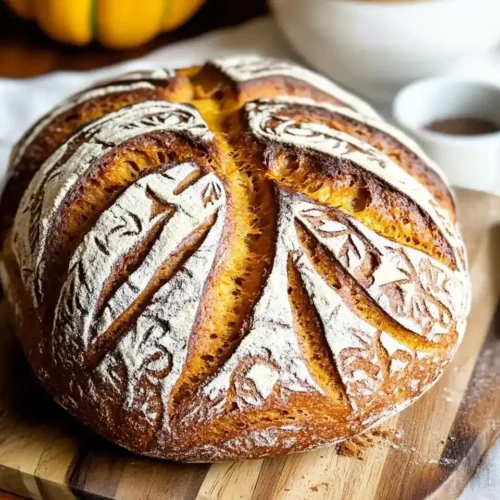
Cinnamon Swirl Pumpkin Sourdough Bread
Equipment
- Mixing bowl
- Danish dough whisk
- Proofing basket
- Dutch oven
- Kitchen towel
- Sharp knife or bread lame
Ingredients
Pumpkin Sourdough Base
- ⅓ cup Active sourdough starter (levain) 80g
- ¾ cup + 2 tbsp Filtered water 200ml
- 3 cups Bread flour 375g
- ½ cup Pumpkin puree 100g
- ¼ cup Brown sugar 50g, packed
- 2 tsp Salt 10g
- ½ tsp Pumpkin pie spice 2g
Cinnamon Swirl
- 2-3 tbsp Ground cinnamon
Instructions
- Feed your sourdough starter the evening before with a 1:1:1 ratio and let it become active overnight.
- In the morning, mix active levain with water, then add flour, pumpkin puree, brown sugar, salt, and pumpkin spice until combined.
- Perform four sets of stretch and folds every 30 minutes over 2 hours, then let the dough bulk ferment until doubled with bubbles.
- Turn dough onto a floured surface, stretch into a rectangle, sprinkle with cinnamon, and fold into thirds. Rest 15 minutes, then repeat with more cinnamon before shaping into a ball.
- Place dough seam-side up in a floured proofing basket, cover, and refrigerate overnight (up to 3 days).
- Preheat Dutch oven at 480°F for 1 hour. Invert dough onto parchment, score, and place into Dutch oven with ice cubes for steam.
- Bake covered for 20 minutes at 480°F, then uncovered at 450°F for 20 minutes until golden brown. Cool at least 1 hour before slicing.

Hi! How would I go about making this bigger? My loaves are usually around 970g and this was quite a bit smaller! We love it, so I don’t want to mess anything up trying on my own!
Hi! I’m so happy you loved it, If you’d like a bigger loaf, you can just scale everything up proportionally until you’re close to your usual 970g—no need to change the process, the fermentation and bake will stay the same. That way you’ll get the same cozy flavor, just in a larger loaf!