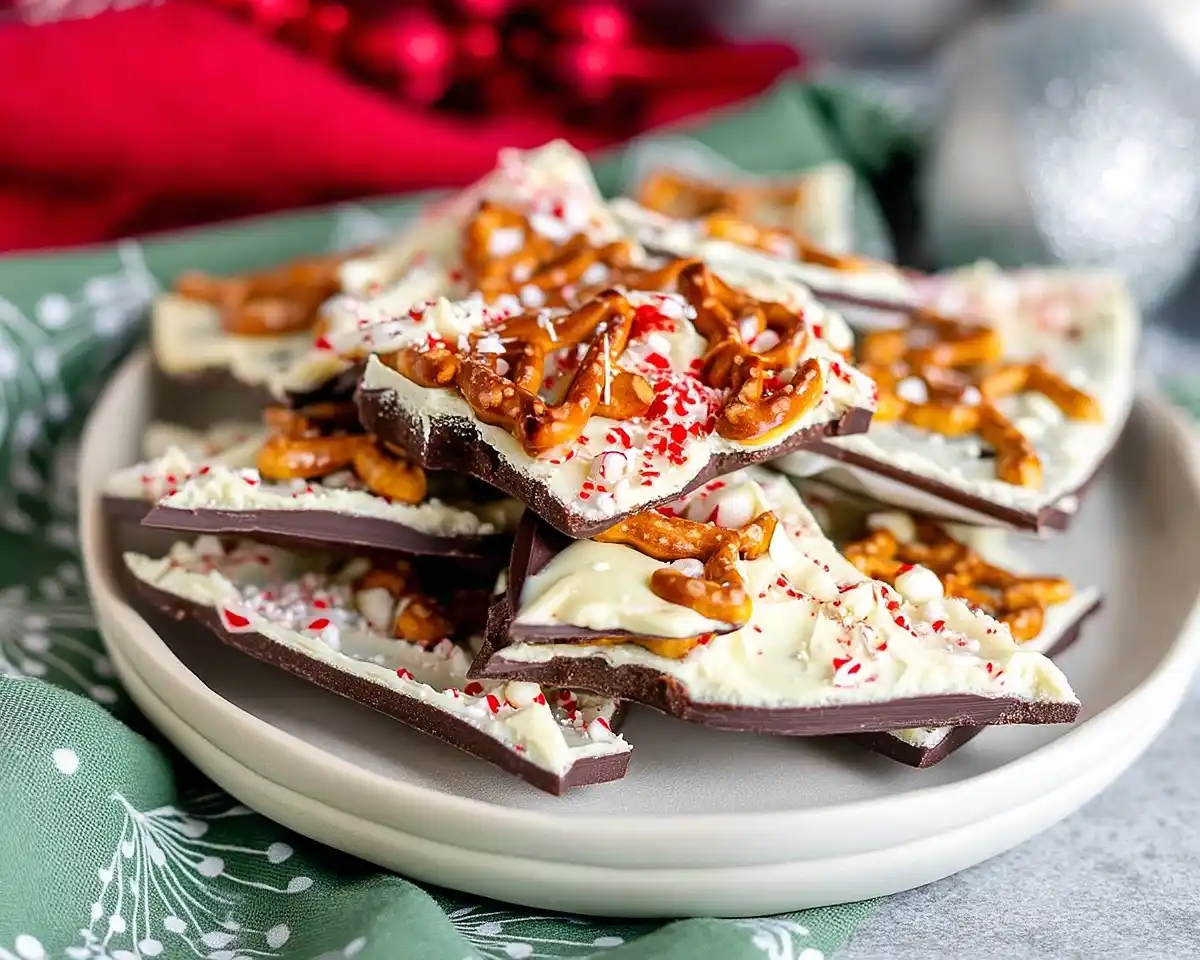
Christmas Chocolate Bark with pretzels and candy canes—easy holiday bark recipes ready in 30 minutes. Perfect for gifting or festive dessert tables.
Hey there! I’m diving into one of my favorite holiday traditions today, and let me tell you, this Christmas Chocolate Bark with Pretzels and Candy Canes is pure magic. Last December, I made six batches in one weekend because my neighbors kept asking for more. The combination of crunchy pretzels, smooth chocolate, and those festive candy cane pieces creates something absolutely irresistible.
You know what’s beautiful about this recipe? It takes less than 30 minutes of active time, yet it looks like you spent hours crafting something fancy. I’ve tested this recipe with different chocolate brands, various pretzel shapes, and even experimented with timing until I nailed the perfect texture. No complicated techniques required—just melted chocolate, strategic layering, and a little patience while it sets.
This Christmas pretzel bark solves that last-minute gift panic we all face during the holidays. One batch makes enough to fill multiple treat bags, and the flavor combination hits every note—sweet, salty, minty, and satisfying. Ready to make something that’ll disappear faster than you can say “Happy Holidays”?
Table of Contents
What Makes This Christmas Chocolate Bark Special
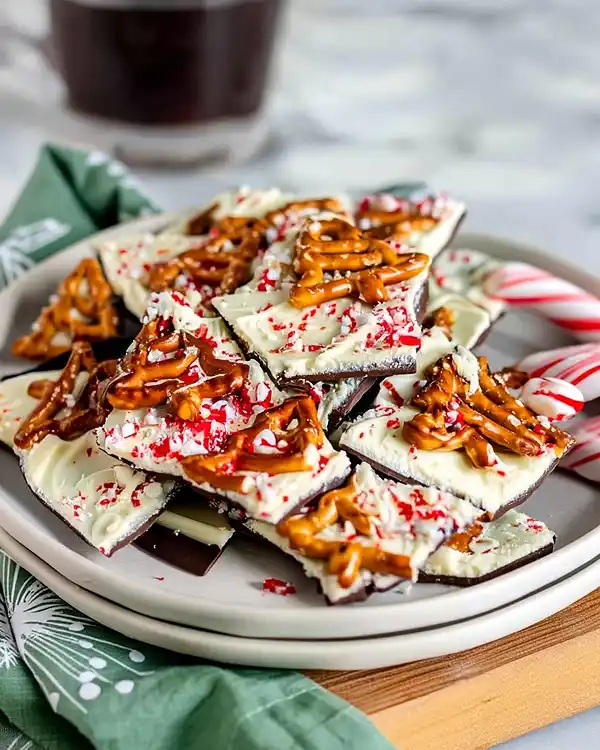
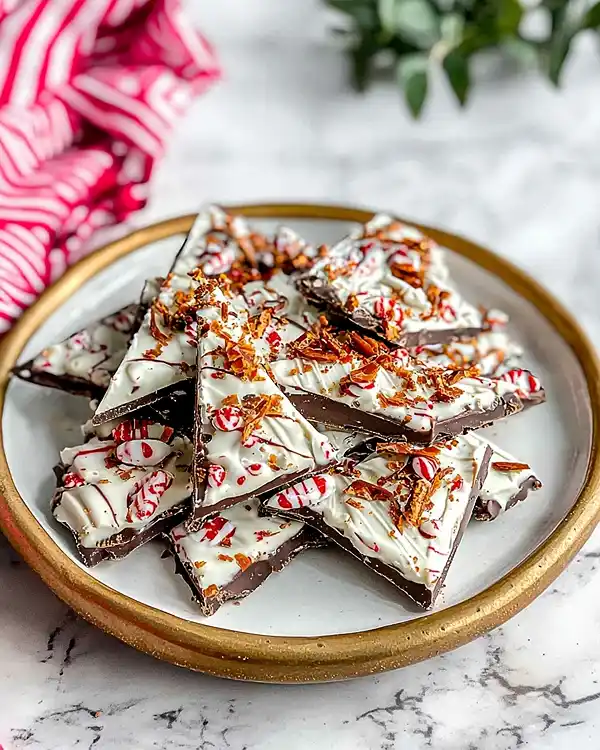
This holiday bark recipe stands out because it combines contrasting textures and flavors in perfect harmony. The dark chocolate base provides rich, slightly bitter notes that balance the sweetness of white chocolate and candy canes. Meanwhile, pretzels add that essential salty crunch that keeps you reaching for another piece.
I’ve developed this recipe through extensive testing to achieve the ideal chocolate-to-topping ratio. Too much chocolate makes it overly heavy, while too little creates a fragile bark that crumbles awkwardly. This version gives you sturdy pieces that break cleanly and look stunning on any dessert table.
The layering technique matters significantly here. By setting the dark chocolate first, you create a stable foundation that prevents the white chocolate from bleeding through or creating muddy swirls. This approach ensures each bite delivers distinct chocolate layers rather than a muddled mess.
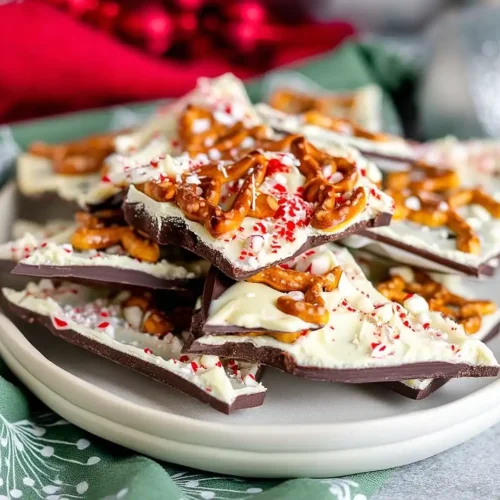
Christmas Chocolate Bark with Pretzels and Candy Canes
Equipment
- Rimmed baking sheet
- Parchment paper
- Microwave-safe bowls
- Double boiler
- Offset spatula
- Sharp knife
- Rolling Pin
Ingredients
Main Ingredients
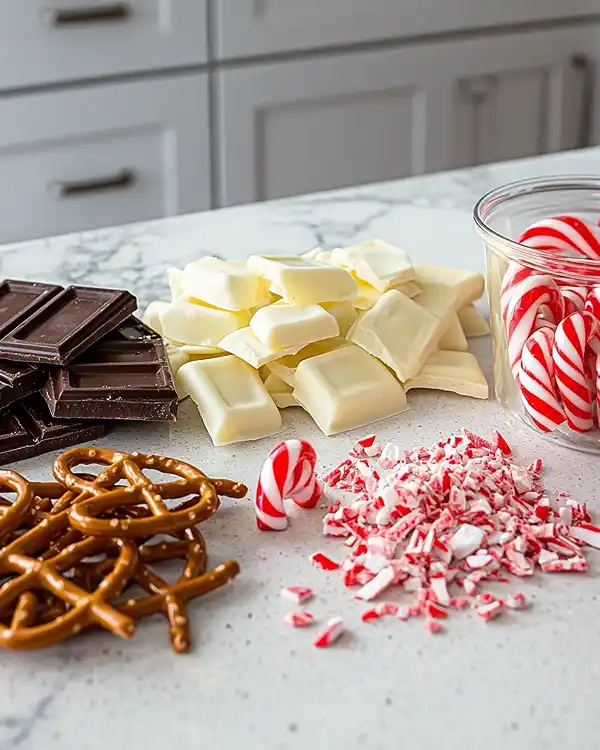
- 8 oz White chocolate melting wafers Can substitute bars or chips
- 8 oz Dark chocolate melting wafers Semi-sweet works too
- 1 cup Pretzels Mini twists or rods work best
- 1 tablespoon Crushed candy canes About 2 standard candy canes
Instructions
- Line a rimmed baking sheet with parchment paper and crush the candy canes.
- Melt dark chocolate using microwave or double boiler.
- Pour and spread melted dark chocolate onto prepared sheet in a thin, even layer.
- Refrigerate or freeze for 15-20 minutes until set.
- Melt white chocolate and spread over set dark chocolate layer.
- Press pretzels into the white chocolate and sprinkle crushed candy canes on top.
- Refrigerate or freeze another 15-20 minutes until fully set, then break into pieces.
Notes
Ingredient Selection & Quality
Choose high-quality chocolate melting wafers for the smoothest results and easiest tempering. Look for brands like Ghirardelli or Guittard at your local grocery store—they melt consistently without seizing. If using chocolate bars instead, ensure they’re real chocolate, not “chocolate-flavored” candy coating.
Fresh candy canes make a tremendous difference in both flavor and appearance. Avoid stale candy canes that have absorbed moisture and become sticky. They should snap cleanly when you crush them, releasing that distinctive peppermint aroma that signals quality.
Ingredients Table
| Ingredient | US Measurement | Metric | Notes |
|---|---|---|---|
| White chocolate melting wafers | 8 oz | 227g | Can substitute bars or chips |
| Dark chocolate melting wafers | 8 oz | 227g | Semi-sweet works too |
| Pretzels | 1 cup | 60g | Mini twists or rods work best |
| Crushed candy canes | 1 tablespoon | 8g | About 2 standard candy canes |
Shopping Tips for US Grocery Stores
Find chocolate melting wafers in the baking aisle near chocolate chips. Most major chains like Kroger, Safeway, and Walmart carry multiple brands year-round. During the holiday season, look for festive candy cane varieties in the seasonal aisle—some include fun striped patterns beyond traditional red and white.
Pretzels offer surprising flexibility in this recipe. Mini pretzel twists create adorable bite-sized pieces, while pretzel rods broken into chunks add dramatic height and texture. I typically grab whatever’s on sale, honestly.
Smart Substitutions & Bold Variations
Essentials: You need two types of chocolate for visual contrast and pretzels for that crucial salty element. Candy canes provide the signature holiday flavor, but they’re negotiable if you’re making this outside December.
Bold Add-ins: Consider crushed peppermint cookies, dried cranberries, or festive sprinkles for extra color. Sea salt flakes elevate the flavor complexity dramatically. White chocolate can be swapped for milk chocolate if you prefer sweeter bark.
International Readers: Substitute digestive biscuits for pretzels in the UK, or use stroopwafels for a Dutch twist. Replace candy canes with any hard peppermint candy available in your region.
Equipment & Preparation Steps
You’ll need basic kitchen tools for this chocolate bark recipe: a rimmed baking sheet, parchment paper, two microwave-safe bowls or a double boiler setup, an offset spatula or spoon, and a sharp knife for crushing candy canes.
Oops! I learned this the hard way—always line your baking sheet with parchment paper, not wax paper. Wax paper can stick to chocolate, creating a frustrating mess when you try to remove the bark. Parchment paper releases perfectly every time, giving you clean, beautiful pieces.
Step 1: Prepare Your Workspace
Line a standard rimmed baking sheet (approximately 13×18 inches) with parchment paper, ensuring it lies completely flat without wrinkles or bubbles. These imperfections will transfer to your chocolate bark, creating uneven surfaces that look less professional.
Place your candy canes in a sealed plastic bag and crush them using a rolling pin or the bottom of a heavy skillet. Aim for pieces ranging from powder to pea-sized chunks—this variety creates interesting texture and sparkle. Keep the bag sealed to prevent sticky candy shards from escaping across your counter.
Step 2: Melt the Dark Chocolate
Microwave method: Place dark chocolate in a microwave-safe bowl and heat for 30 seconds. Stir thoroughly, then repeat once more for another 30 seconds. Switch to 15-second intervals, stirring between each burst, until the chocolate flows smoothly without any lumps. This typically requires 2-3 additional intervals.
Double boiler method: Fill a small pot with about two inches of water and bring it to a gentle simmer over medium-low heat. Set a heat-safe bowl on top, ensuring the bowl’s bottom doesn’t touch the water—steam provides the heat, not direct contact. Add dark chocolate and stir continuously until completely melted and glossy.
Thomas Keller emphasizes the importance of gentle, consistent heat when melting chocolate to prevent scorching or seizing. Never rush this process by cranking up the temperature.
Step 3: Create the Dark Chocolate Base
Pour melted dark chocolate onto the prepared parchment paper, positioning it roughly in the center of the sheet. Use an offset spatula to spread it into a thin, even layer about ⅛ inch thick and approximately 10×12 inches.
The chocolate should spread smoothly like warm honey. If it resists spreading or looks thick and clumpy, it needs more heat—return it briefly to the microwave or double boiler. Work quickly but calmly, as chocolate begins setting once it hits the cool parchment.
Check for even thickness by tilting the baking sheet slightly under good lighting. You’ll spot any thick or thin areas immediately. Smooth them out before the chocolate sets.
Step 4: Set the First Layer
Transfer the entire baking sheet to your refrigerator or freezer for 15-20 minutes. The chocolate should feel completely firm to the touch and show no fingerprints when gently pressed.
Well, I once skipped this setting step to save time, and the layers mixed into a muddy brown mess when I added the white chocolate. Patience pays off here—proper setting creates those gorgeous distinct layers that make Christmas bark so visually appealing.
Step 5: Melt and Apply White Chocolate
While the dark chocolate sets, melt white chocolate using the same method you chose earlier. White chocolate requires slightly more attention because it scorches more easily than dark chocolate—keep those intervals short and stir frequently.
Pour white chocolate directly onto the set dark chocolate layer. Spread it into a thin, even layer using your spatula or the back of a spoon. You don’t need to cover every millimeter of dark chocolate—some peeking through creates an attractive rustic look.
Step 6: Add Toppings While Chocolate Is Soft
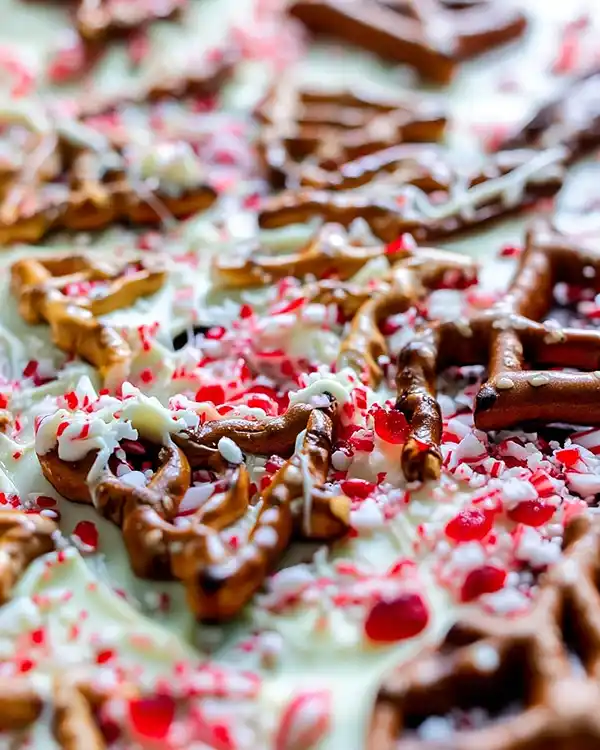
Man, oh man, this is where the fun happens! Working quickly while the white chocolate remains tacky, arrange pretzel pieces across the surface in a single layer. Press them gently into the chocolate so they adhere properly but don’t sink completely.
Immediately sprinkle crushed candy canes over everything, focusing on gaps between pretzels. The candy canes will sparkle like fresh snow and add that signature minty crunch. Don’t overthink the placement—random distribution looks more natural and appealing than rigid patterns.
Julia Child always said to trust your instincts in the kitchen, and that wisdom applies perfectly here. Your bark will look amazing regardless of whether your pretzels form perfect rows or artistic chaos.
Step 7: Final Set and Breaking
Return the baking sheet to the refrigerator or freezer for another 15-20 minutes until the bark feels completely solid. The chocolate should snap cleanly when you apply pressure, not bend or feel soft.
Once fully set, lift the entire bark sheet using the parchment paper and transfer it to a cutting board. Break the bark into irregular pieces using your hands—the natural break points create more interesting shapes than knife cuts. Aim for pieces ranging from 2-4 inches across for easy snacking and gifting.
Expert Tips for Perfect Holiday Bark
Temperature control determines success with any chocolate bark recipe. Keep your chocolate between 88-90°F while working for the smoothest texture and easiest spreading. Too hot, and it’ll be runny and take forever to set; too cool, and it becomes thick and difficult to manipulate.
Store your finished bark in an airtight container at room temperature for up to two weeks, separating layers with parchment paper to prevent sticking. Refrigeration extends shelf life to three weeks but can cause condensation that dulls the chocolate’s shine. Never freeze finished bark—it compromises texture and appearance.
Choose chocolate melting wafers over regular chocolate chips when possible. Melting wafers contain stabilizers that prevent seizing and create smoother results, even for beginners who might accidentally introduce moisture.
Creative Variations to Try
Peppermint Mocha Bark: Replace candy canes with crushed chocolate peppermint cookies and sprinkle instant espresso powder over the white chocolate layer. This sophisticated twist appeals to coffee lovers and adds depth to the holiday chocolate flavor profile.
Southern Pecan Praline Bark: Swap pretzels for toasted pecans and drizzle with homemade praline sauce before the final set. This variation brings Southern baking traditions into the chocolate bark format.
Birthday Cake Bark: Transform this into an any-occasion treat by using rainbow sprinkles instead of candy canes and adding crushed vanilla beignets for texture. The white chocolate base makes sprinkles pop beautifully.
Peanut Butter Cup Bark: Layer dark chocolate with a peanut butter-white chocolate mixture, then top with chopped peanut butter cups and pretzels. This variation rivals any chocolate chip cookie brownie for pure indulgence.
Sea Salt Caramel Bark: Drizzle store-bought caramel sauce between the chocolate layers and finish with flaky sea salt instead of candy canes. The sweet-salty combination creates an addictive flavor profile.
Storage & Make-Ahead Strategy
This Christmas pretzel bark keeps beautifully, making it ideal for early holiday preparation. Make it up to three weeks ahead and store it properly to free up kitchen time during the busy season.
Storage Times & Methods:
| Storage Method | Duration | Best For |
|---|---|---|
| Room temperature (airtight container) | 2 weeks | Quick access, gifting |
| Refrigerated (airtight container) | 3 weeks | Extended freshness |
| Frozen (freezer bag, not recommended) | 2 months | Emergency storage only |
For gifting, package the bark in clear cellophane bags tied with festive ribbon 2-3 days before distribution. Add a small moisture-absorbing packet if your climate runs humid—this prevents the chocolate from developing that whitish bloom that signals moisture exposure.
Serving Suggestions & Pairings
Serve this holiday bark on a wooden board alongside fresh fruit like strawberries and orange slices. The fruit’s acidity cuts through the chocolate’s richness beautifully. Add some buttery soft pretzel bites for guests who want more savory options.
According to EatingWell’s chocolate bark guide, pairing chocolate desserts with coffee or hot cocoa enhances the chocolate flavor compounds through temperature contrast. Serve your bark with peppermint hot chocolate for a spectacular holiday dessert experience.
This bark also makes an excellent ice cream topping. Break it into smaller pieces and sprinkle over vanilla or mint chocolate chip ice cream for instant sophistication.
Christmas Chocolate Bark FAQs
How to make Christmas chocolate bark?
Christmas chocolate bark starts with melting dark chocolate and spreading it thin on parchment paper. After setting the first layer in the refrigerator, you add melted white chocolate on top, then immediately press in pretzels and crushed candy canes. The entire process takes about 30 minutes of active work plus setting time. The key is working quickly once chocolate is melted and allowing each layer to set completely before adding the next.
What is Christmas bark?
Christmas bark is a festive no-bake dessert made by layering melted chocolate with seasonal toppings like candy canes, pretzels, dried cranberries, or peppermint pieces. The name comes from its appearance—once set and broken into pieces, the chocolate resembles tree bark with its irregular edges and textured surface. It’s popular during holidays because it’s easy to make in large batches, requires minimal ingredients, and makes excellent gifts.
What is chocolate bark?
Chocolate bark is any confection made by spreading melted chocolate thin, adding toppings while soft, allowing it to harden, then breaking it into irregular pieces. The term “bark” describes both the rustic appearance and the breaking method—you literally snap it apart like tree bark rather than cutting neat squares. Traditional bark uses just chocolate and nuts, but modern versions include endless topping combinations from cookies to candy to dried fruit.
How long is Christmas bark good for?
Christmas bark stays fresh for two weeks at room temperature when stored in an airtight container, or up to three weeks refrigerated. The chocolate itself doesn’t spoil quickly, but toppings like pretzels can lose their crunch after extended storage. For best texture and flavor, consume within the first week. Avoid freezing unless absolutely necessary, as temperature fluctuations can cause chocolate bloom—that whitish coating that affects appearance but not safety
Conclusion
This Christmas Chocolate Bark with Pretzels and Candy Canes delivers everything you want in a holiday dessert—it’s quick, impressive, delicious, and endlessly customizable. The contrast between smooth chocolate layers, crunchy pretzels, and minty candy canes creates a flavor experience that keeps people coming back for more.
I hope this recipe becomes part of your holiday tradition like it has for mine. There’s something special about making treats you can share generously without spending days in the kitchen. This bark captures the spirit of the season—sweet, festive, and meant to be shared with people you care about.
Make this Christmas chocolate bark your go-to holiday treat and watch it disappear at every gathering. Pair it with hot apple cider or peppermint tea for the ultimate cozy winter experience. Your kitchen will smell like a candy shop, and your guests will think you’re some kind of dessert genius.
Drop a comment below and tell me which variation you’re trying first—I’m always curious about creative topping combinations! Happy holidays, and may your chocolate always melt smoothly.

