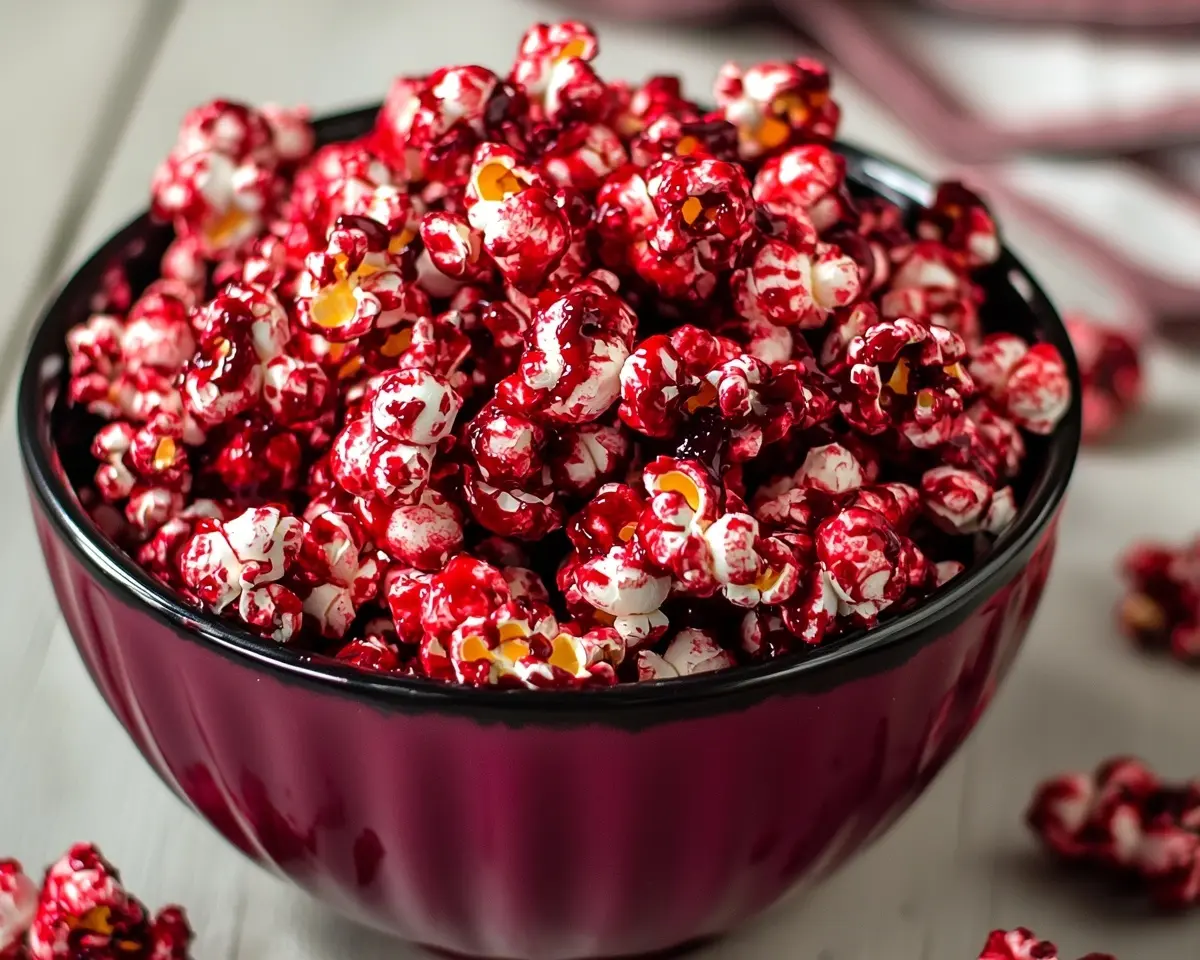
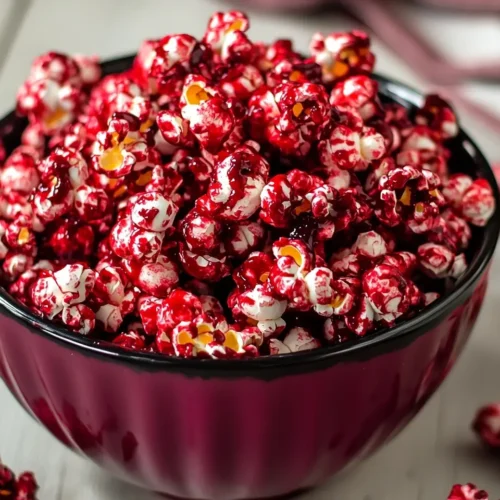
Bloody Red Velvet Popcorn transforms movie night into spooky fun. Easy Halloween popcorn treats with rich chocolate and eerie red syrup drizzle.
Hi, I’m Linda, and welcome to Tasty at Home—a cozy corner where bold flavors meet everyday kitchens. Last Halloween, I found myself frantically searching for a snack that would satisfy both my sweet tooth and my love for theatrical presentation. Well, let me tell you, one bite of this bloody red velvet popcorn transported me straight to a gothic romance novel—minus the brooding vampire, but with all the delicious drama.
I’ve tested this recipe countless times, tweaking the chocolate-to-syrup ratio until I achieved that perfect balance of sweet decadence and spooky aesthetics. Furthermore, I’ve burned more than a few batches while perfecting the timing, so you don’t have to endure the same smoky kitchen disasters.
Whether you’re hosting a horror movie marathon or looking for easy Halloween popcorn treats that’ll make your neighbors jealous, this recipe delivers theatrical flair without the fuss. Additionally, it transforms ordinary popped corn into a conversation starter that’ll have guests asking for your secret ingredient.
Table of Contents
What Makes This Bloody Red Velvet Popcorn Absolutely Irresistible
This popcorn Halloween snack combines the rich, cocoa notes of red velvet with the satisfying crunch of freshly popped kernels. Moreover, the genius lies in the dual-coating technique that creates both flavor depth and visual impact.
The red velvet chocolate melts provide a luxurious base layer, while the red syrup creates that spine-tingling “bloody” effect that makes Halloween snacks popcorn so memorable. Unlike store-bought alternatives, this homemade version lets you control both sweetness levels and visual drama.
Premium Ingredients for Maximum Impact
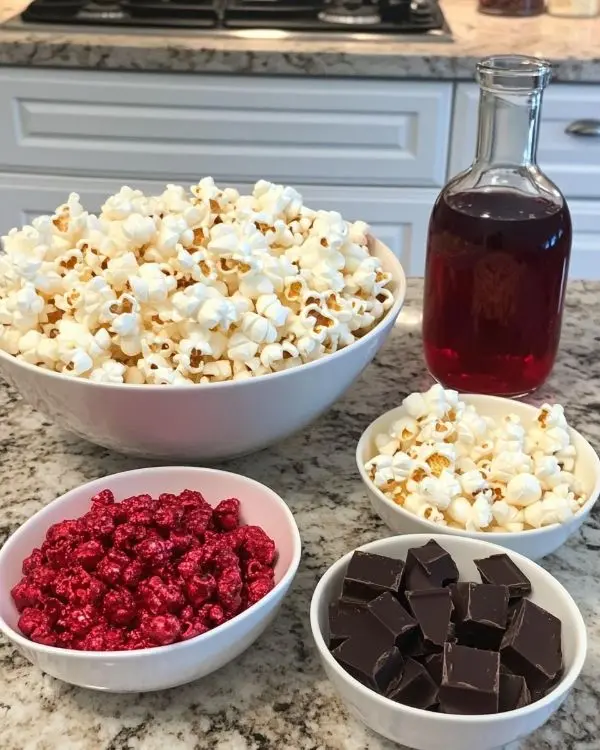
| Ingredient | US Measurement | Metric | Notes |
|---|---|---|---|
| Popped popcorn | 10 cups | 80g | Use air-popped or lightly salted |
| Red velvet chocolate melts | 1/2 cup | 85g | Ghirardhi or Wilton brand recommended |
| Red syrup | 1/4 cup | 60ml | Grenadine or red icing syrup |
Shopping Tips for US Grocery Stores
You’ll find red velvet chocolate melts in the baking aisle near the chocolate chips. Target and Walmart consistently stock Wilton brand, while Whole Foods carries premium Guittard options. If red velvet melts aren’t available, substitute with white chocolate melts and red food coloring.
For the red syrup, grenadine from the cocktail mixer section works beautifully. However, red icing syrup from the baking section provides thicker consistency and more dramatic color payoff.
Ingredient Substitutions and Quality Indicators
Essential Substitutions:
- Red velvet melts: White chocolate + red food coloring + 1 tsp cocoa powder
- Grenadine: Corn syrup + red food coloring + 1 tsp vanilla extract
- Pre-popped corn: 1/3 cup kernels yields approximately 10 cups popped
Quality Selection Tips: Choose popcorn kernels that feel heavy for their size and show minimal broken pieces. Fresh kernels should pop with minimal unpopped “old maids” remaining. Additionally, chocolate melts should appear glossy without white bloom, indicating proper storage and freshness.
Essential Equipment and Preparation Steps
Equipment You’ll Need
A large mixing bowl prevents popcorn overflow during coating. Additionally, a microwave-safe bowl ensures safe chocolate melting, while parchment paper creates easy cleanup and prevents sticking.
DIY Alternatives:
- No parchment paper? Use aluminum foil lightly greased with cooking spray
- Missing large bowl? Work in batches with a medium bowl
- No microwave? Use double boiler method on stovetop
Step-by-Step Preparation Guide
Step 1: Prepare Your Workspace
Set up your parchment-lined baking sheet in advance. This prevents the chocolate from setting before you achieve even distribution. Trust me, I learned this lesson the hard way when my first batch turned into a clumpy mess.
Step 2: Achieve Perfect Popcorn Base
Spread the 10 cups of popped popcorn evenly across your prepared baking sheet. Remove any unpopped kernels, as they can crack teeth and disrupt the smooth eating experience. The popcorn should form a single layer for optimal coating coverage.
Step 3: Master the Chocolate Melt
Place red velvet chocolate melts in your microwave-safe bowl. Heat in 30-second intervals, stirring between each session. This gradual approach prevents scorching and ensures silky smooth consistency. The chocolate should coat the back of a spoon when properly melted.
Pro Tip: Add 1 teaspoon of coconut oil if the chocolate seems too thick. This creates easier drizzling consistency without compromising flavor.
Step 4: Execute the Drizzle Technique
Working quickly, drizzle the melted chocolate over the popcorn using a spoon or squeeze bottle. Start from one corner and work systematically across the surface. Immediately toss the popcorn gently to distribute the coating evenly.
Step 5: Create the Bloody Effect
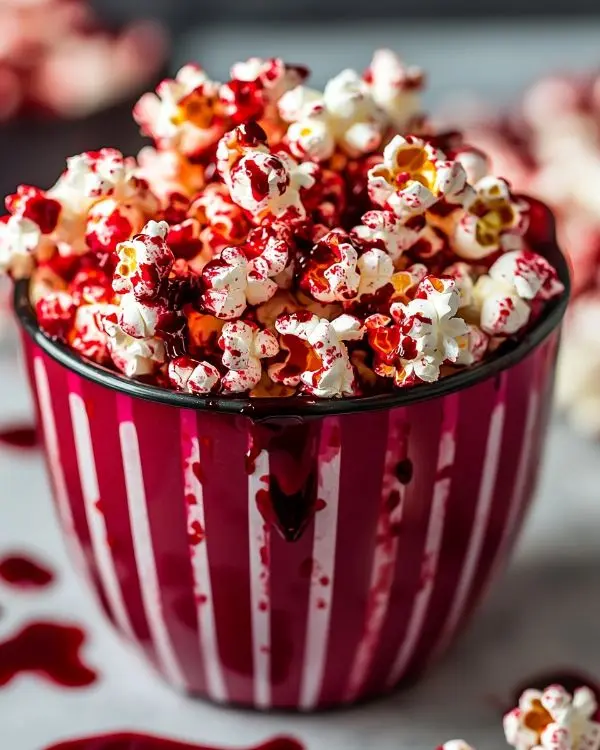
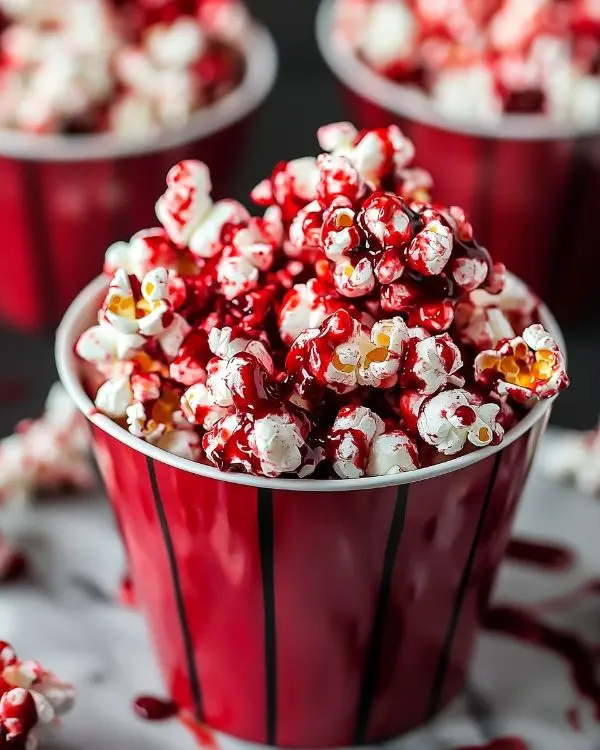
While the chocolate remains slightly warm, drizzle the red syrup strategically over the popcorn. Focus on creating dramatic “splatter” patterns rather than even coverage. The contrast between the chocolate and syrup creates the signature bloody appearance.
Step 6: Allow Proper Setting
Let the coated popcorn rest for 15-20 minutes at room temperature. The chocolate should feel firm to the touch before serving. Rushing this step results in messy fingers and compromised presentation.
Common Mistakes and Expert Solutions
Mistake #1: Overheating chocolate creates seized, unusable coating.
Solution: Use 30-second intervals and stir thoroughly between sessions.
Mistake #2: Adding syrup to completely cooled chocolate prevents proper adhesion.
Solution: Apply red syrup while chocolate feels slightly warm but not liquid.
Expert Tips and Creative Variations
Professional Techniques for Superior Bloody Red Velvet Popcorn Results
Temperature control determines success with this recipe. The chocolate should feel warm but not hot when you add the red syrup. Additionally, working in small sections ensures even distribution before the chocolate hardens.
For photography-worthy presentation, cluster the “bloody” syrup in specific areas rather than distributing it evenly. This creates more realistic splatter effects that photograph beautifully for social media sharing.
Seasonal and Dietary Variations
Spooky Black Widow Version: Replace red syrup with black icing and add plastic spider decorations for Halloween parties.
Valentine’s Day Romance: Use pink chocolate melts and strawberry syrup for a romantic twist on the same technique.
Dairy-Free Alternative: Substitute coconut-based chocolate melts and ensure your syrup contains no dairy ingredients.
Gluten-Free Guarantee: This recipe naturally contains no gluten, making it safe for celiac guests.
Adult Version: Add 1 tablespoon of bourbon to the red syrup for sophisticated flavor depth.
Storage and Make-Ahead Instructions
| Storage Method | Duration | Notes |
|---|---|---|
| Room temperature (airtight) | 3-5 days | Best texture maintenance |
| Refrigerator | 1 week | May lose some crunch |
| Freezer | 1 month | Thaw completely before serving |
Store in airtight containers to prevent humidity from making the popcorn soggy. Layer parchment paper between levels if stacking in containers.
Perfect Pairings and Serving Suggestions
This bloody red velvet popcorn pairs beautifully with pumpkin cupcakes for a complete Halloween dessert spread. Additionally, serve alongside brown sugar pumpkin loaf for contrasting textures and complementary fall flavors.
For beverages, consider spiced apple cider or hot chocolate with marshmallows. The warm drinks balance the sweet crunchiness while maintaining the seasonal theme.
Create a dessert charcuterie board featuring this popcorn alongside pumpkin pie crumble bars and small batch pumpkin pie bars for variety.
Bloody Red Velvet Popcorn FAQs
Can I make bloody red velvet popcorn without chocolate melts?
Yes, melt regular white chocolate chips with red food coloring and cocoa powder. Use 1/2 cup white chips, 4 drops red coloring, and 1 teaspoon cocoa powder for similar results.
How do I prevent the popcorn from getting soggy?
Ensure popcorn is completely cool and dry before adding toppings. Store in airtight containers with silica gel packets if your climate is particularly humid.
What’s the best red syrup for Halloween effects?
Grenadine creates the most realistic blood appearance due to its deep red color and slightly thick consistency. Corn syrup with red food coloring works as an affordable alternative.
Can I make this recipe ahead for parties?
Absolutely! Prepare up to 2 days in advance and store in airtight containers. The flavors actually improve slightly as they meld together.
Visual Appeal and Photography Tips
For stunning photos, arrange the popcorn on dark surfaces to emphasize the red “blood” contrast. Natural lighting showcases the glossy chocolate coating better than artificial lighting.
Consider using black plates or slate boards as backgrounds. The dark surface makes the red syrup pop dramatically, creating Instagram-worthy shots that’ll make your followers stop scrolling.
Process shots work wonderfully for this recipe. Capture the chocolate drizzling moment, the syrup application, and the final presentation for engaging step-by-step content.
Advanced Techniques and Troubleshooting
Temperature Troubleshooting:
If chocolate hardens too quickly, warm the baking sheet briefly in a 200°F oven. This softens the coating enough to add the red syrup effectively.
Consistency Issues:
Thick syrup creates better visual impact but may not distribute evenly. Thin it slightly with 1 teaspoon corn syrup if necessary.
Professional Presentation:
Use squeeze bottles for more controlled drizzling patterns. This technique, inspired by pastry chef techniques from Thomas Keller’s approach to plating, creates restaurant-quality visual appeal.
Scaling and Batch Cooking
Double the recipe easily for larger Halloween parties. However, work in separate batches rather than attempting to coat 20 cups simultaneously. The chocolate sets too quickly for effective distribution in oversized batches.
For commercial-scale production, consider using a popcorn tumbler or large mixing bowl with paddle attachment. This ensures even coating without breaking the popcorn kernels.
Nutritional Considerations and Dietary Adaptations
This Bloody Red Velvet Popcorn recipe provides approximately 180 calories per 1-cup serving. The chocolate contributes most of the calories, while the popcorn adds beneficial fiber.
Keto-Friendly Version: Replace traditional popcorn with pork rinds and use sugar-free chocolate melts for low-carb compliance.
Reduced Sugar: Use dark chocolate melts and sugar-free syrup alternatives. The dramatic visual impact remains while reducing overall sweetness.
Cultural Context and Halloween Traditions
Halloween snack traditions in America often emphasize visual drama over complex flavors. This bloody red velvet popcorn fits perfectly into that tradition while elevating the typical candy corn and chocolate offerings.
The red velvet flavor connection to Southern American baking adds sophistication to typical Halloween fare. It bridges the gap between childish trick-or-treat candy and adult dessert preferences.
Seasonal Marketing and Gift Giving
Package this popcorn in clear cellophane bags tied with black and orange ribbons for Halloween gifts. The dramatic appearance shows beautifully through transparent packaging.
Consider pairing with sweet sourdough pumpkin bread in gift baskets for neighbors and coworkers. The combination provides both immediate snacking pleasure and breakfast options.
Conclusion: Your New Signature Halloween Creation
This bloody red velvet popcorn transforms ordinary movie nights into theatrical events worthy of any Halloween celebration. The combination of familiar red velvet flavors with dramatic presentation creates memorable experiences that guests discuss long after the party ends.
Man, oh man, the first time I served this at a Halloween gathering, three different people asked for the recipe before I’d even finished my first handful. That’s the power of combining great taste with stunning visual appeal.
Pair this spooky snack with a warm mug of spiced cider and your favorite horror movie marathon. The sweet crunch provides perfect contrast to savory dinner elements while satisfying those late-night sweet cravings.
Circle back to that gothic romance feeling I mentioned earlier—this recipe captures that same dramatic flair in edible form. You know, sometimes the simplest ingredients create the most memorable moments, especially when you add just the right touch of theatrical presentation.
Share your bloody red velvet popcorn creations on social media and tag us @TastyAtHome. We love seeing how our recipes inspire your own kitchen adventures and Halloween celebrations.
Bloody Red Velvet Popcorn
Equipment
- Large mixing bowl
- Microwave-safe bowl
- Parchment paper
- Baking sheet
Ingredients
Main Ingredients
- 10 cups Popped popcorn Use air-popped or lightly salted
- 0.5 cup Red velvet chocolate melts Ghirardhi or Wilton brand recommended
- 0.25 cup Red syrup Grenadine or red icing syrup
Instructions
- Prepare your workspace by lining a baking sheet with parchment paper to avoid sticking.
- Spread the popped popcorn evenly across the baking sheet, removing any unpopped kernels.
- Melt the red velvet chocolate melts in a microwave-safe bowl in 30-second intervals, stirring between each until smooth.
- Drizzle the melted chocolate over the popcorn and toss gently to coat evenly.
- While the chocolate is still slightly warm, drizzle the red syrup over the popcorn in splatter patterns for a bloody effect.
- Let the coated popcorn rest for 15–20 minutes at room temperature until the chocolate sets before serving.

