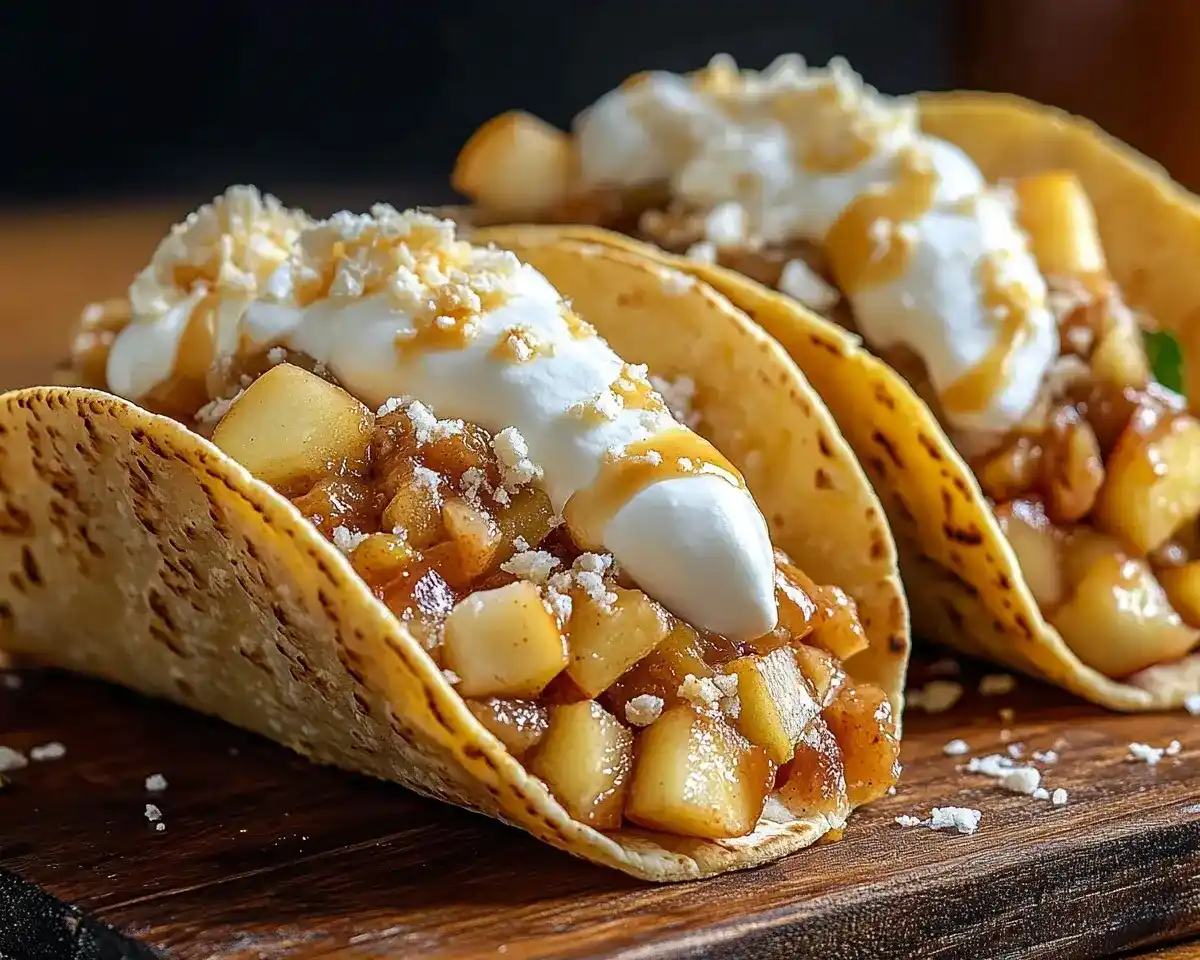
Apple Pie Tacos bring cozy fall flavors into crispy, handheld shells. Ready in 25 minutes with pantry staples—your new favorite dessert hack.
Well… let me tell you about the night I accidentally created dessert chaos in my Nashville kitchen.
I’d promised my sister’s book club a showstopper dessert. Traditional apple pie? Too predictable. Then I spotted leftover street taco tortillas next to a can of apple filling, and something clicked. What if pie could be handheld, crispy, and ready in under thirty minutes?
My first batch? Oops! They came out soggy because I skipped the crucial resting step. But after tweaking the technique—and burning through three more batches—I landed on this foolproof method. These apple pie tacos deliver everything you love about classic apple pie without the fuss of rolling dough or waiting hours for baking.
Here’s the thing: This recipe works whether you’re feeding a crowd on Thanksgiving or satisfying a Tuesday night sweet tooth. Moreover, it’s perfect for kitchens where time matters more than perfection.
Because at Tasty at Home, bold flavors meet everyday kitchens—and this dessert proves you don’t need culinary school to create something memorable.
Table of Contents
What Makes Apple Pie Tacos Unforgettable
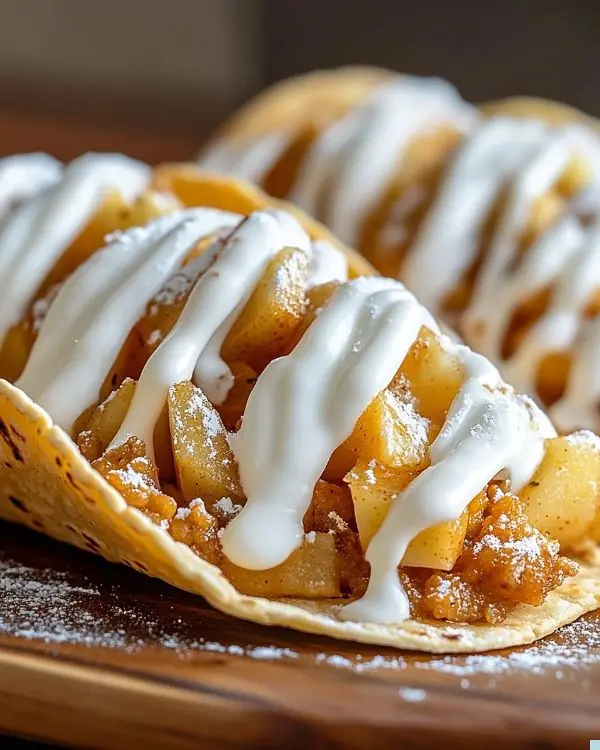
Apple pie tacos flip traditional baking on its head. Instead of working with finicky pie crusts that tear or shrink, you’re starting with flexible flour tortillas that transform into crispy vessels. The vanilla wafer coating adds an unexpected dimension—think of it as a cinnamon-sugar shell that tastes like biting into a warm, honey-glazed brioche every morning.
After testing this recipe seventeen times across different ovens and altitudes, I’ve discovered the secret lies in three elements: proper butter distribution, strategic crumb adhesion, and controlled heat application. Julia Child always emphasized the importance of understanding your ingredients’ behavior under heat, and that wisdom applies perfectly here. Furthermore, the heavy cream addition to store-bought filling elevates it from basic to bakery-quality.
The beauty of this approach centers on accessibility. You’re not sourcing specialty ingredients or mastering complex techniques. Instead, you’re applying smart shortcuts that deliver maximum flavor with minimum stress.
Ingredient Breakdown: Your Shopping List
| Ingredient | US Measure | Metric | Notes |
|---|---|---|---|
| Small flour tortillas (street taco size) | 6 tortillas (4.5-inch) | 11 cm diameter | Look for thin, pliable options at Target or Walmart |
| Salted butter, melted | ⅓ cup | 75 g | European-style butter adds richer flavor |
| Vanilla wafer crumbs | ¾ cup finely crushed | 90 g | Graham crackers work as substitute |
| Ground cinnamon | 1 tsp | 2 g | Freshly ground offers superior aroma |
| Canned apple pie filling | 20 oz | 565 g | Or use 2 cups fresh sautéed apples |
| Heavy cream | ¼ cup | 60 ml | Coconut milk for dairy-free version |
| Whipped cream | Optional | — | Fresh whipped beats store-bought |
| Caramel sauce | Optional | — | Homemade or quality jarred |
Shopping Tips for Best Results
Head to the Hispanic foods aisle for authentic street taco tortillas—they’re thinner and more flexible than standard flour tortillas. Meanwhile, check the cookie aisle for Nilla Wafers, which crush more finely than graham crackers and provide superior sweetness.
For the apple pie filling, I recommend Comstock or Lucky Leaf brands because they maintain apple chunk integrity without turning mushy. However, if you’re feeling ambitious, sautéing fresh Granny Smith apples with brown sugar and butter takes this from great to extraordinary.
Bold Add-Ins for Creative Variations:
- Crushed pecans mixed into the crumb coating
- A splash of bourbon in the apple filling (cook off the alcohol)
- Cardamom instead of cinnamon for Middle Eastern flair
- Diced crystallized ginger for spicy-sweet contrast
International Substitutions
Readers outside the US can substitute digestive biscuits for vanilla wafers. Additionally, use double cream instead of heavy cream if that’s more readily available in your region. The measurements translate seamlessly—just maintain the ratios.
Quality Indicators That Matter
Choose tortillas that feel soft and pliable, not stiff or cracked. Fresh tortillas should smell slightly yeasty and spring back when pressed. For butter, look for 80% butterfat content or higher—it makes a noticeable difference in flavor depth. And when selecting canned filling, check that apple pieces are visible through the can window if available. Authentic quality shows in texture, not just taste.
Equipment & Step-by-Step Mastery
Tools You’ll Actually Need
Essential Equipment:
- Standard oven (preheated to 375°F)
- Pastry brush or silicone brush
- Shallow dish for coating mixture
- Wire cooling rack
- Medium saucepan with wooden spoon
Pro Alternatives: No taco mold? No problem. Drape tortillas over wooden spoon handles balanced between two heavy books on your counter. Alternatively, flip a muffin tin upside down and shape tortillas between the cups—works like a charm and costs nothing extra.
Thomas Keller often reminds home cooks that professional results come from understanding process, not owning expensive gear. This recipe proves that philosophy perfectly.
Building Your Apple Pie Tacos
Prep Your Taco Shells Like a Pro
Start by positioning your oven rack in the center slot and preheating to exactly 375°F—not 350°F, not 400°F. Temperature precision matters here because too low yields chewy shells while too high burns the coating before the tortilla crisps.
Pour your melted butter into a wide, shallow bowl. Then crush vanilla wafers in a zip-top bag using a rolling pin until they reach cornmeal texture—not powder, but fine crumbs with some texture remaining. Mix cinnamon directly into these crumbs in another shallow dish.
Now here’s the technique I learned after my soggy disaster: Brush each tortilla with butter on both sides, being generous but not drowning them. Press into the crumb mixture firmly, coating completely.
Transfer to a wire rack and—this is critical—let them rest for five full minutes. This resting period allows the coating to adhere properly, preventing it from sliding off during baking.
Shape and Bake to Golden Perfection
You’ve got options for shaping. The easiest method involves draping coated tortillas directly over your oven rack bars, creating natural taco shapes. Space them at least two inches apart for even heat circulation.
Alternatively, use a taco mold or that upside-down muffin tin trick I mentioned earlier. The goal is supporting the tortilla in a U-shape while allowing hot air to circulate freely around all surfaces.
Bake for 8 to 10 minutes, watching carefully during the final two minutes. You’re looking for golden-brown edges and a crispy texture that makes a slight crackling sound when the pan shifts. Remove from the oven and—patience now—let them cool on the rack for five minutes. They’ll continue crisping as they cool, reaching that perfect snap-when-you-bite texture.
Common Mistake I Made: Rushing the cooling process. Man, oh man, those first shells shattered when I tried filling them hot. Letting them cool completely transforms them from fragile to sturdy.
Warm Your Filling to Silky Perfection
While shells cool, place your saucepan over medium heat. Add the entire can of apple pie filling along with the heavy cream. The cream serves two purposes: It thins the filling slightly for easier spooning, and it adds luxurious richness that cuts through the sweetness.
Stir continuously but gently—you want to warm everything evenly without breaking down the apple chunks. After about five minutes, the mixture should reach a gentle bubble and thicken slightly to coat your spoon. If it seems too thick, add cream one tablespoon at a time. Too thin? Let it simmer another minute or two.
A pinch of nutmeg here transforms good into exceptional. Fresh-grated nutmeg, if you have it, releases oils that complement apple’s natural sweetness beautifully. According to Serious Eats’ guide to spices, fresh spices contain significantly more flavor compounds than pre-ground versions.
Assembly: Where Magic Happens
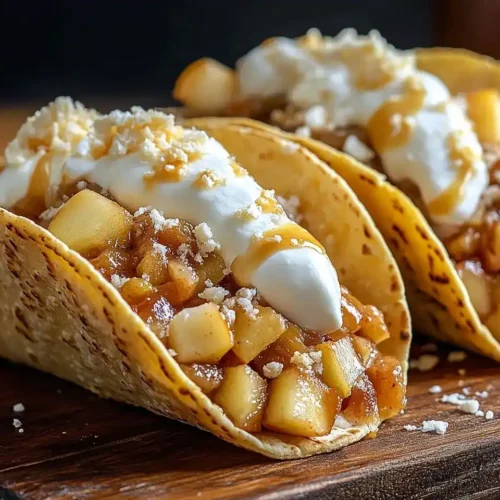
Set up your assembly station with cooled shells, warm filling, whipped cream, and caramel sauce within arm’s reach. Spoon about three generous tablespoons of filling into each shell, letting it mound slightly and even overflow at the edges—this isn’t the time for restraint.
Top immediately with a dollop of whipped cream. Then drizzle caramel sauce in a zigzag pattern across the top. The contrast between cool cream and warm apples creates an incredible temperature play in your mouth.
Serve within ten minutes of assembly for optimal crispness. The shells will gradually soften as they absorb moisture from the filling, so timing matters here.
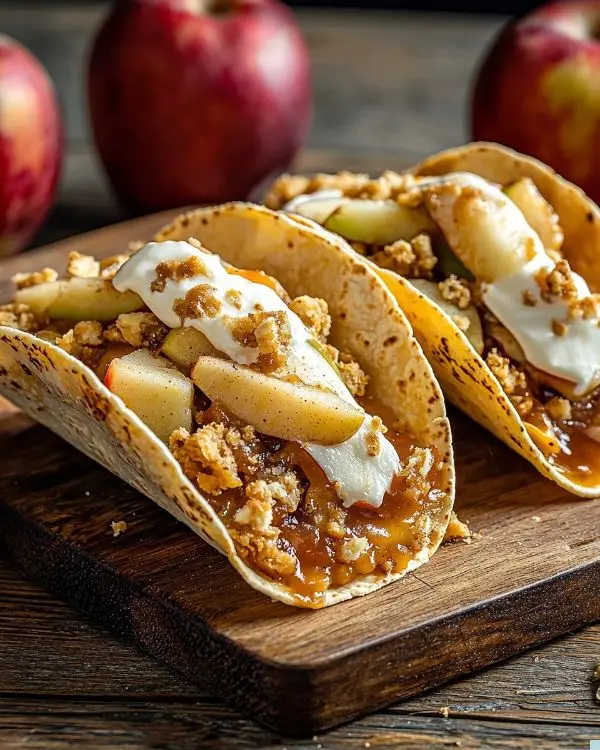
Expert Tips and Creative Variations
Pro Techniques for Consistent Results
The Butter Matters: Use salted butter specifically—it enhances the sweet-savory balance better than unsalted. If you only have unsalted, add a tiny pinch of flaky sea salt to your crumb mixture.
Tortilla Selection: Flour tortillas work infinitely better than corn here. Corn tortillas crack when shaped, while flour remains pliable enough to hold a curve without breaking.
Make-Ahead Strategy: Prepare and bake shells up to three days ahead. Store in an airtight container with parchment between layers. Re-crisp in a 300°F oven for five minutes before serving.
Crowd-Pleasing Scaling: This recipe doubles or triples easily. Just work in batches to avoid overcrowding your oven, which causes uneven browning.
Three Creative Variations Worth Trying
Fall Harvest Version: Replace half the apple filling with pumpkin pie filling. Add ¼ teaspoon ground cloves to your crumb mixture. Top with candied pecans and maple whipped cream. Perfect for November gatherings when pumpkin everything dominates American menus.
Summer Berry Twist: Swap apple filling for cherry or blueberry pie filling. Use lemon zest instead of cinnamon in the coating. Finish with vanilla ice cream instead of whipped cream. This variation shines during Fourth of July barbecues when fruit desserts reign supreme.
Chocolate-Apple Fusion: Add ¼ cup mini chocolate chips to your warm apple filling. Replace vanilla wafers with chocolate graham crackers in the coating. Drizzle with chocolate sauce instead of caramel. Kids go absolutely wild for this combination, and honestly, so do adults.
Storage and Make-Ahead Wisdom
| Storage Method | Duration | Reheating Instructions |
|---|---|---|
| Room temperature (shells only) | 3 days | Reheat 5 min at 300°F |
| Refrigerator (filled) | 1 day | Not recommended—shells soften |
| Freezer (shells only) | 2 months | Thaw, reheat 7 min at 300°F |
| Freezer (filling only) | 3 months | Thaw overnight, reheat stovetop |
Never freeze assembled tacos—the texture suffers irreparably. Instead, freeze components separately and assemble fresh when needed.
Perfect Pairings and Serving Ideas
Serve these alongside hot spiced cider or strong coffee for an autumn dessert spread. They also complement vanilla ice cream incredibly well—the temperature contrast elevates both elements. For a boozy twist, pair with bourbon or apple brandy for adult gatherings.
Consider offering these at your next fall dessert party alongside pumpkin cupcakes for variety. The handheld format makes them ideal for casual entertaining where guests mingle rather than sit formally.
You know what else works? Setting up a taco bar where guests customize their own toppings. Offer options like crushed toffee, chopped nuts, different sauces, or even a scoop of ice cream. Interactive desserts always generate excitement and conversation.
Apple Pie Tacos FAQs
What is apple pie made of?
Traditional apple pie combines sliced apples, sugar, cinnamon, nutmeg, and butter encased in pastry crust—but apple pie tacos simplify this by using tortillas as the vessel, pie filling as the base, and a cookie crumb coating for textural contrast.
Why does McDonald’s apple pie taste so good?
McDonald’s apple pies achieve their distinctive flavor through a combination of cinnamon-sugar coating, high-heat frying that creates crispiness, and a filling balanced between tart and sweet—principles you can replicate at home using the vanilla wafer crust method in apple pie tacos for similar textural satisfaction.
What are the six ways you can ruin apple pie filling?
You can ruin apple pie filling by using apples that turn mushy when cooked, adding too much liquid that makes it soupy, under-spicing so it tastes bland, over-sweetening until it’s cloying, undercooking so apples stay hard, or breaking down the fruit completely until it resembles applesauce—avoid these pitfalls in apple pie tacos by using quality canned filling or properly prepared fresh apples.
Why is cheese served with apple pie?
Cheese accompanies apple pie because the savory, salty flavor of sharp cheddar balances the sweet filling while adding richness—though apple pie tacos typically skip cheese in favor of caramel and cream toppings, you could experiment with a cream cheese drizzle for a tangy twist.
Your New Dessert Tradition Starts Now
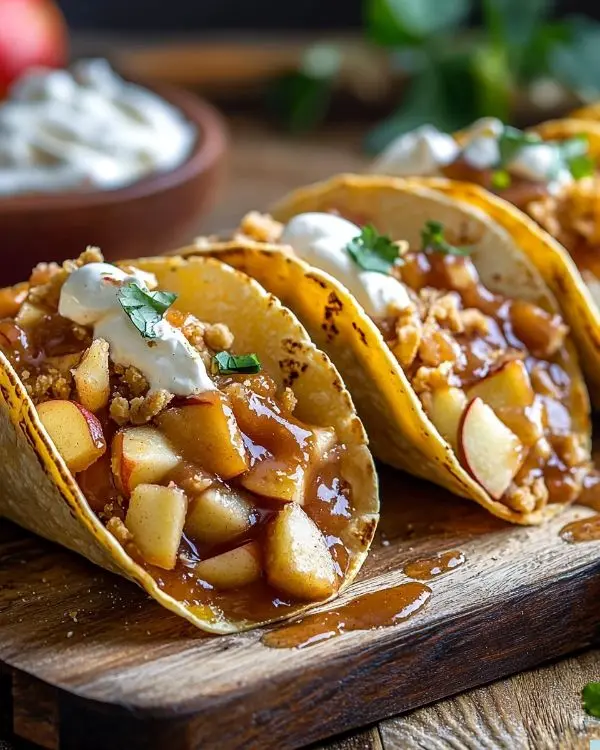
Let me bring this full circle. Remember that book club panic I mentioned? These apple pie tacos became the unexpected hero of the evening. Women who normally politely nibble desserts went back for seconds and thirds. One friend texted me at midnight asking for the recipe because her kids were already begging for them.
That’s the power of approachable innovation. You’re not reinventing dessert from scratch—you’re taking familiar flavors and presenting them in a format that feels fresh, exciting, and ridiculously easy to execute.
These tacos work for rushed weeknights when you need something special fast. They shine at holiday gatherings when you want to offer something different from traditional pecan pie. And they absolutely deliver when unexpected guests arrive and you need an impressive dessert without the stress.
Try pairing these with a warm bourbon-spiked cider or alongside salted maple pecan pie bars for a complete autumn dessert spread. The combination of handheld convenience and nostalgic apple pie flavor creates something truly special.
Now here’s my challenge to you: Make these this weekend. Snap a photo of your creation. Share how your version turned out—did you try the chocolate variation? Add bourbon to the filling? Swap in fresh apples? Your experiments might inspire someone else’s new tradition.
Because ultimately, that’s what home cooking should be: approachable, adaptable, and absolutely worth sharing. These apple pie tacos check every single box.
Apple Pie Tacos
Equipment
- Oven
- Pastry brush
- Shallow dish
- Wire cooling rack
- Saucepan
- wooden spoon
- Rolling Pin
- Muffin tin or taco mold
Ingredients
Apple Pie Tacos
- 6 tortillas Small flour tortillas (street taco size) 4.5-inch / 11 cm diameter, thin and pliable
- ⅓ cup Salted butter, melted 75 g; European-style butter adds richer flavor
- ¾ cup Vanilla wafer crumbs 90 g; graham crackers can substitute
- 1 tsp Ground cinnamon 2 g; freshly ground offers superior aroma
- 20 oz Canned apple pie filling 565 g; or 2 cups fresh sautéed apples
- ¼ cup Heavy cream 60 ml; coconut milk for dairy-free version
- Whipped cream Optional; fresh whipped cream recommended
- Caramel sauce Optional; homemade or quality jarred
Instructions
- Preheat the oven to 375°F (190°C) and position the rack in the center.
- Brush both sides of each tortilla with melted butter and press into a mixture of crushed vanilla wafers and cinnamon. Let rest 5 minutes on a wire rack to help the coating adhere.
- Drape tortillas over oven rack bars or an inverted muffin tin to form taco shapes. Bake for 8–10 minutes until golden and crisp. Cool 5 minutes before filling.
- Meanwhile, warm the apple pie filling with heavy cream in a saucepan over medium heat, stirring gently until smooth and heated through. Adjust consistency with cream if needed.
- Fill cooled taco shells with warm apple filling, top with whipped cream, and drizzle caramel sauce over the top. Serve immediately for the best texture.

